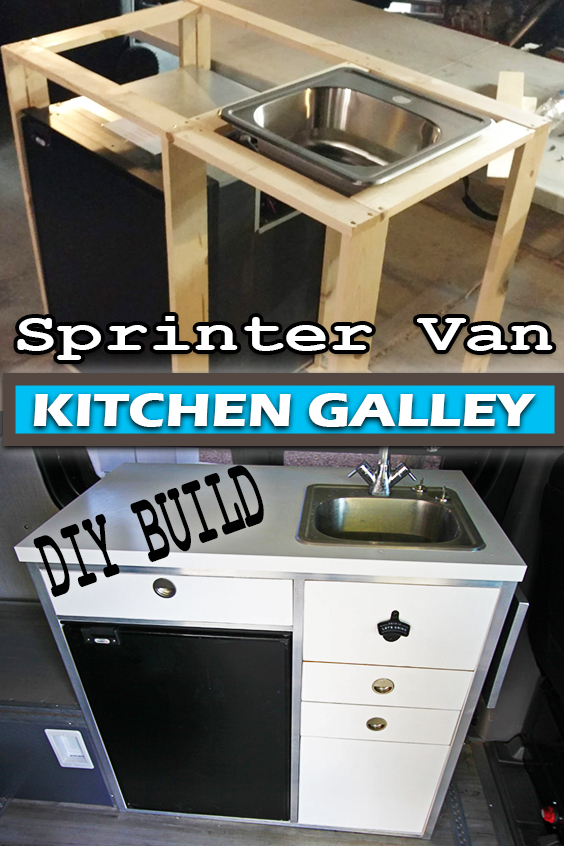
We designed the kitchen galley in our Sprinter van to be simple, yet functional for being on the road for extended periods of time. Our requirements were ample counter space, a fully functioning sink with a faucet, a few drawers for storage, simple gray water containment, and a large refrigerator.
The cooking that is done in our van is pretty simple. We usually just use the JetBoil to heat water for coffee and dehydrated meals or we’ll make a simple meal that would only require a skillet on our GasOne butane stove. Many people choose an electric induction cooktop for their cooking needs. I didn’t want to have another electrical consumer in the van so we chose to use butane or propane to cook with.
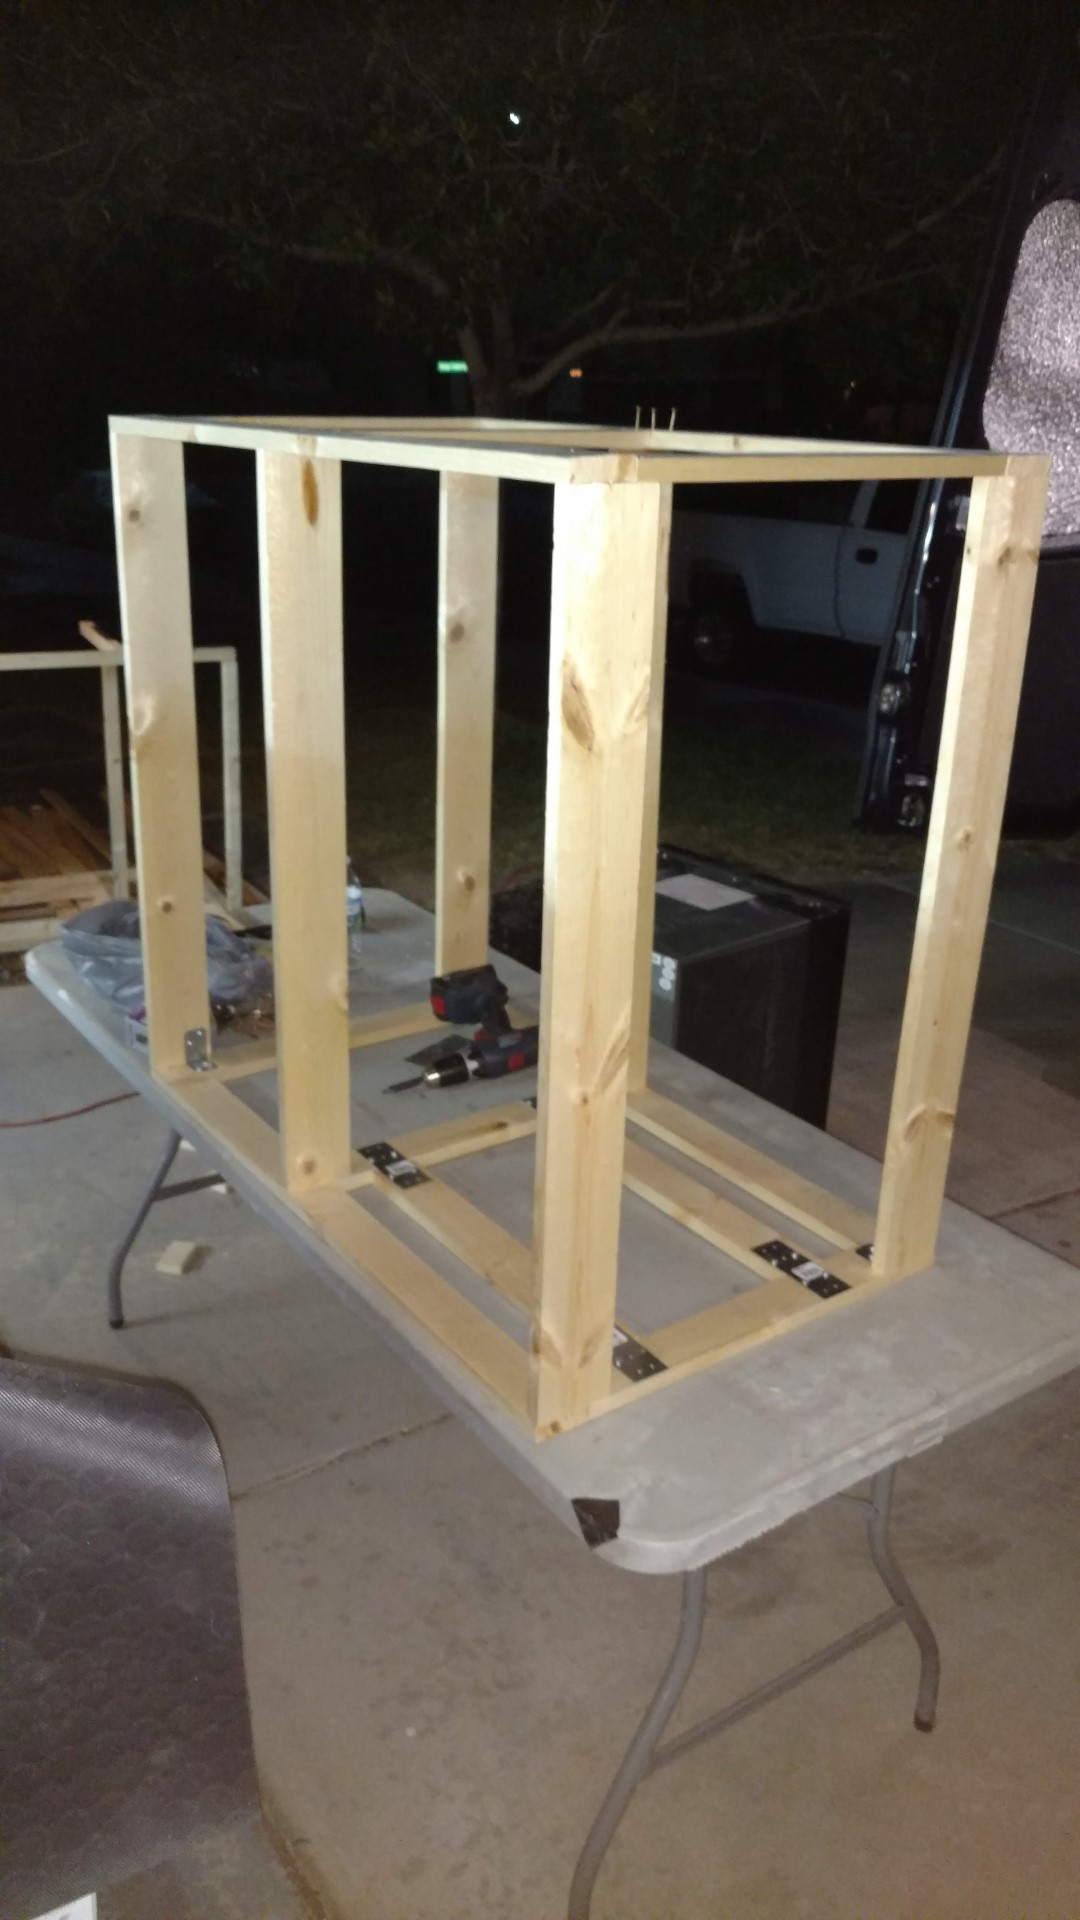
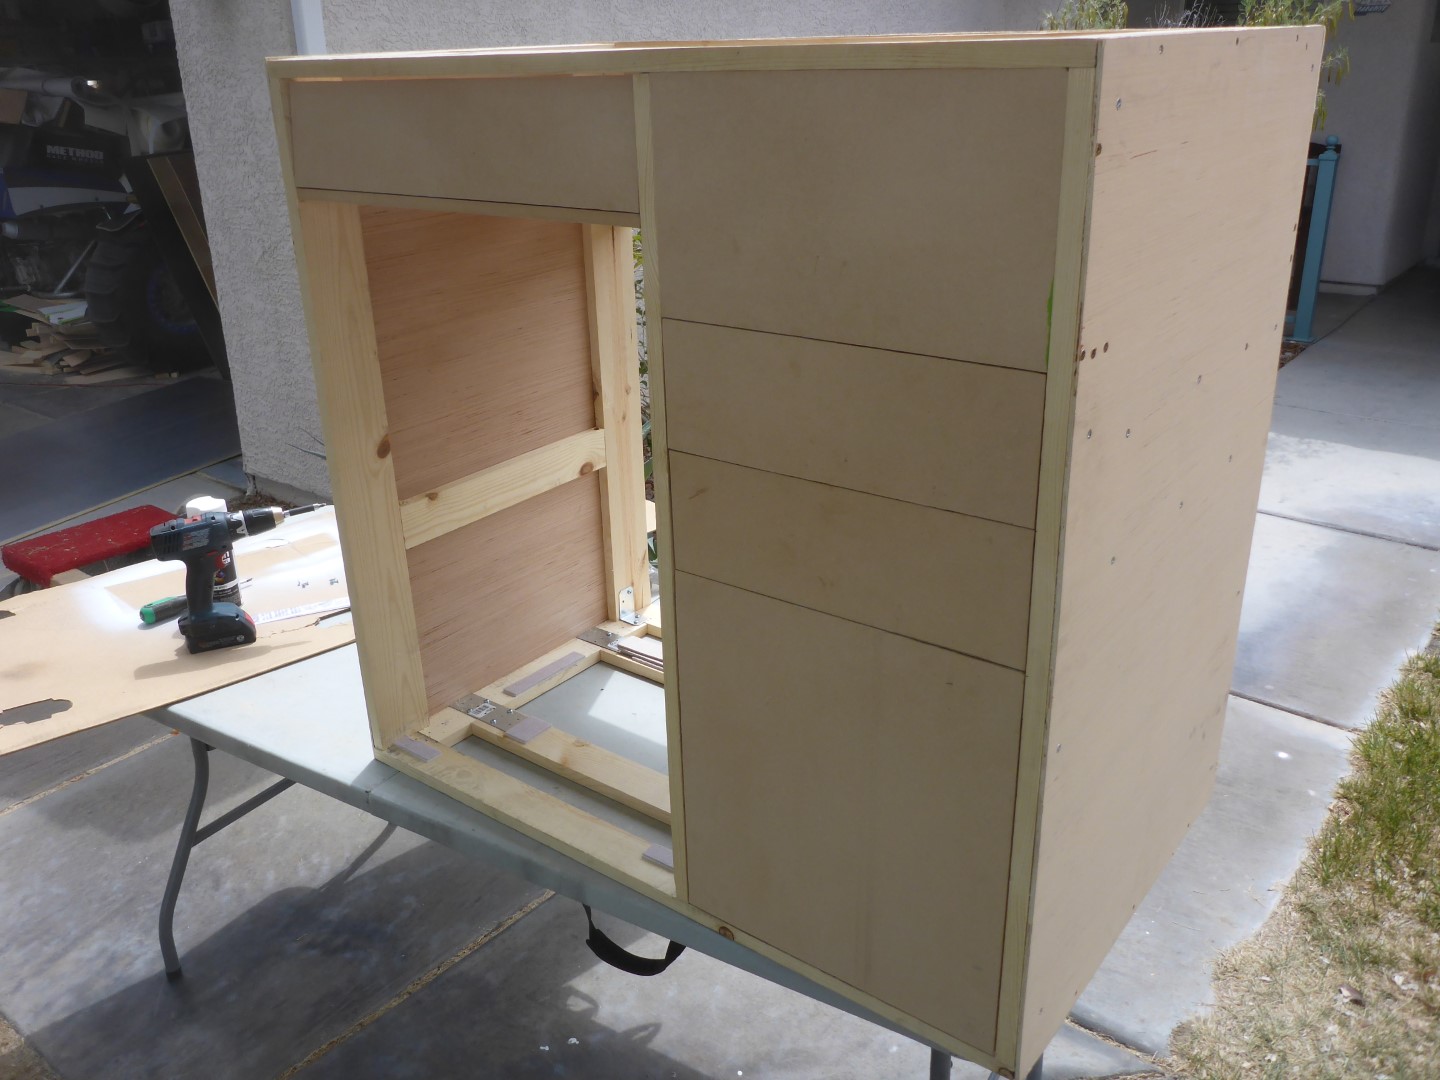
The very first part of building the galley was to get some wood and start framing up the cabinet and some drawers.
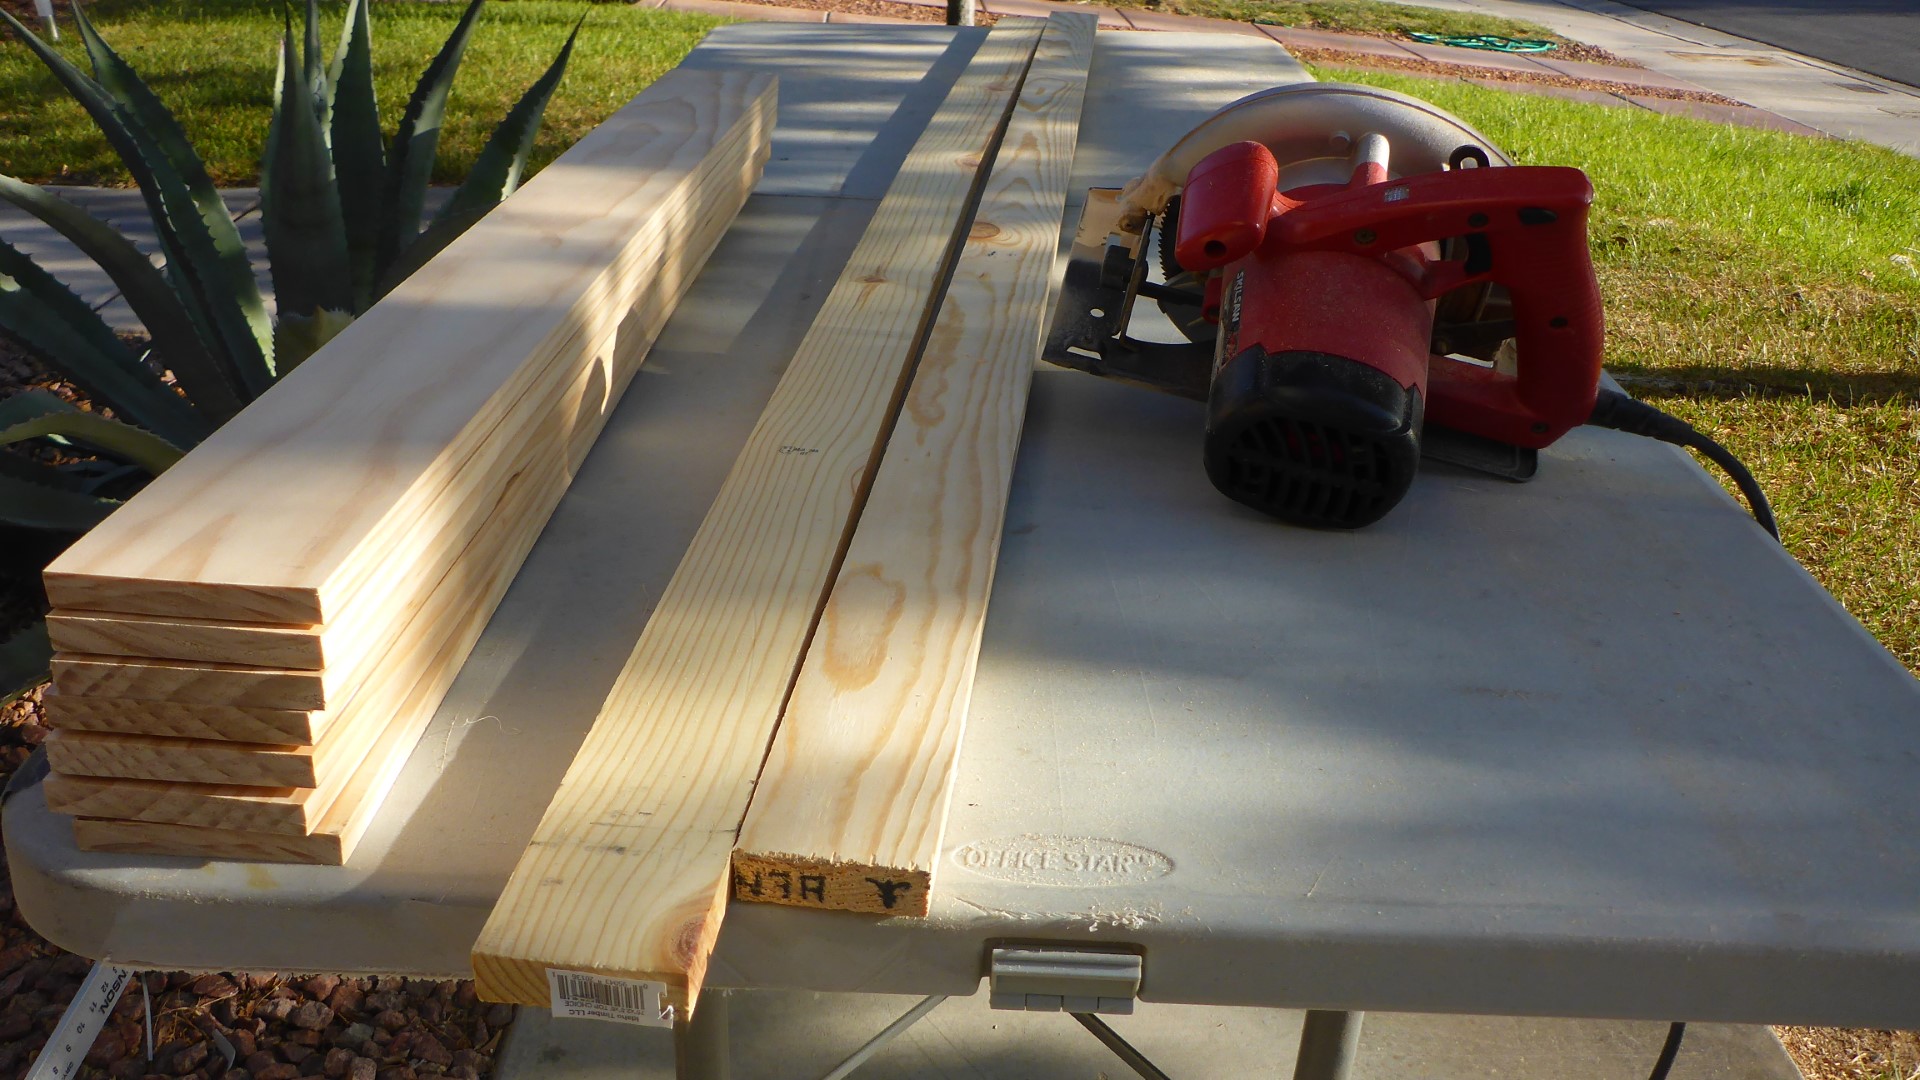
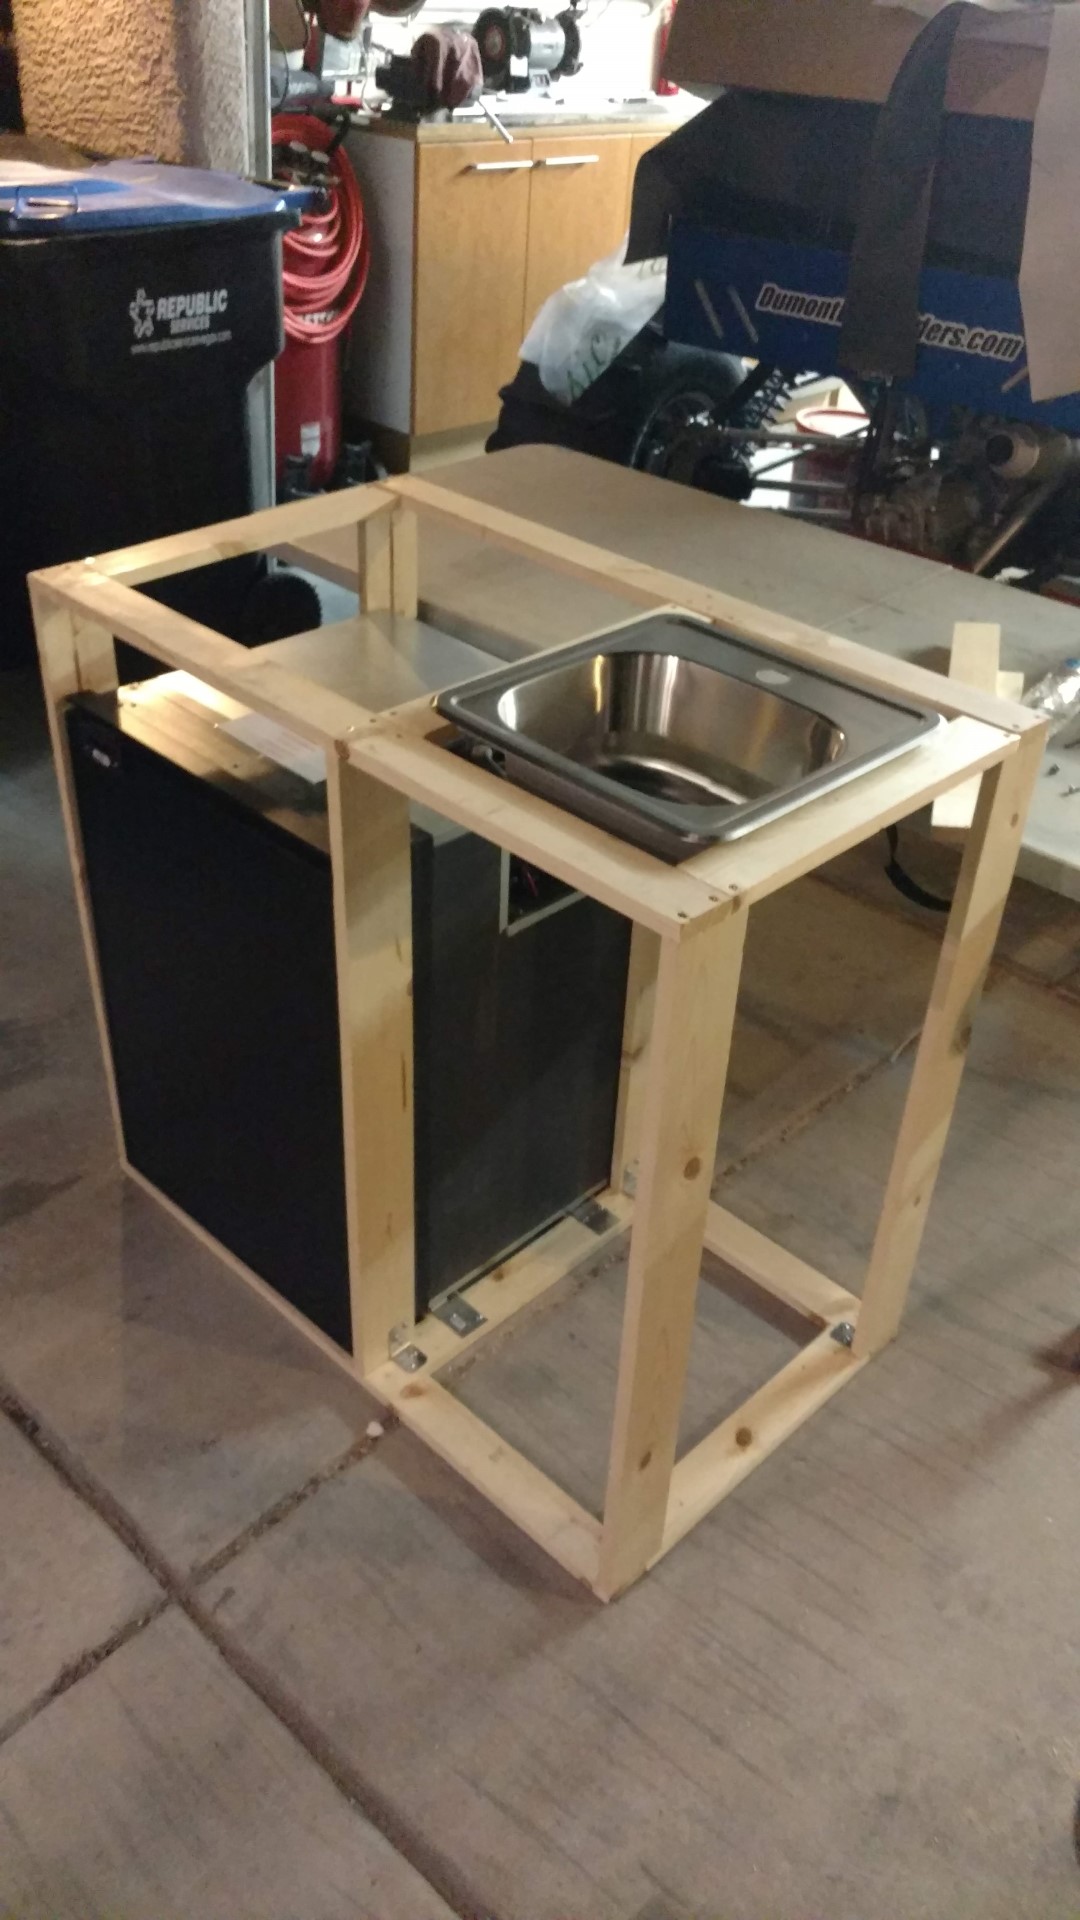
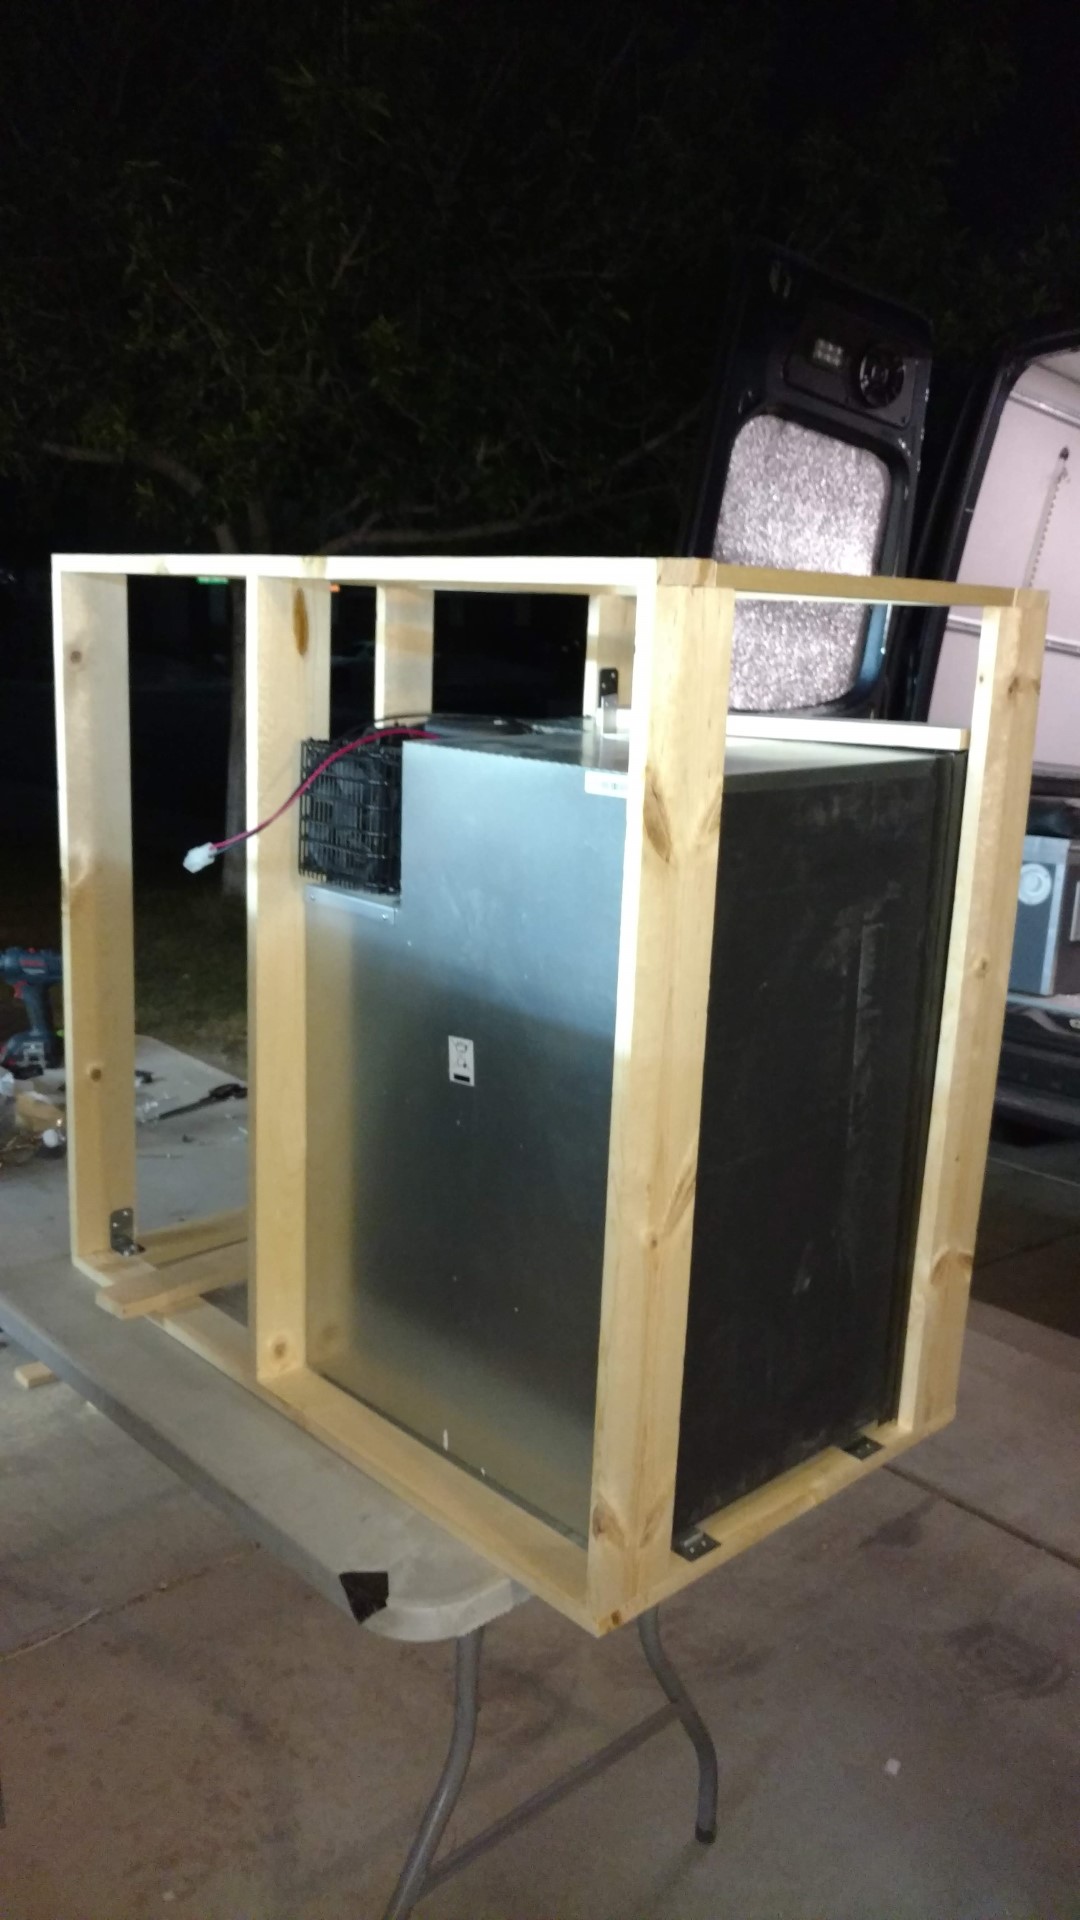
After the general layout was decided, I built the cabinet around our TF130 Truckfridge refrigerator. The framing was mostly made up of 1×3 and 1×4’s. I used wood screws, tie plates, and corner braces to secure much of the framing.

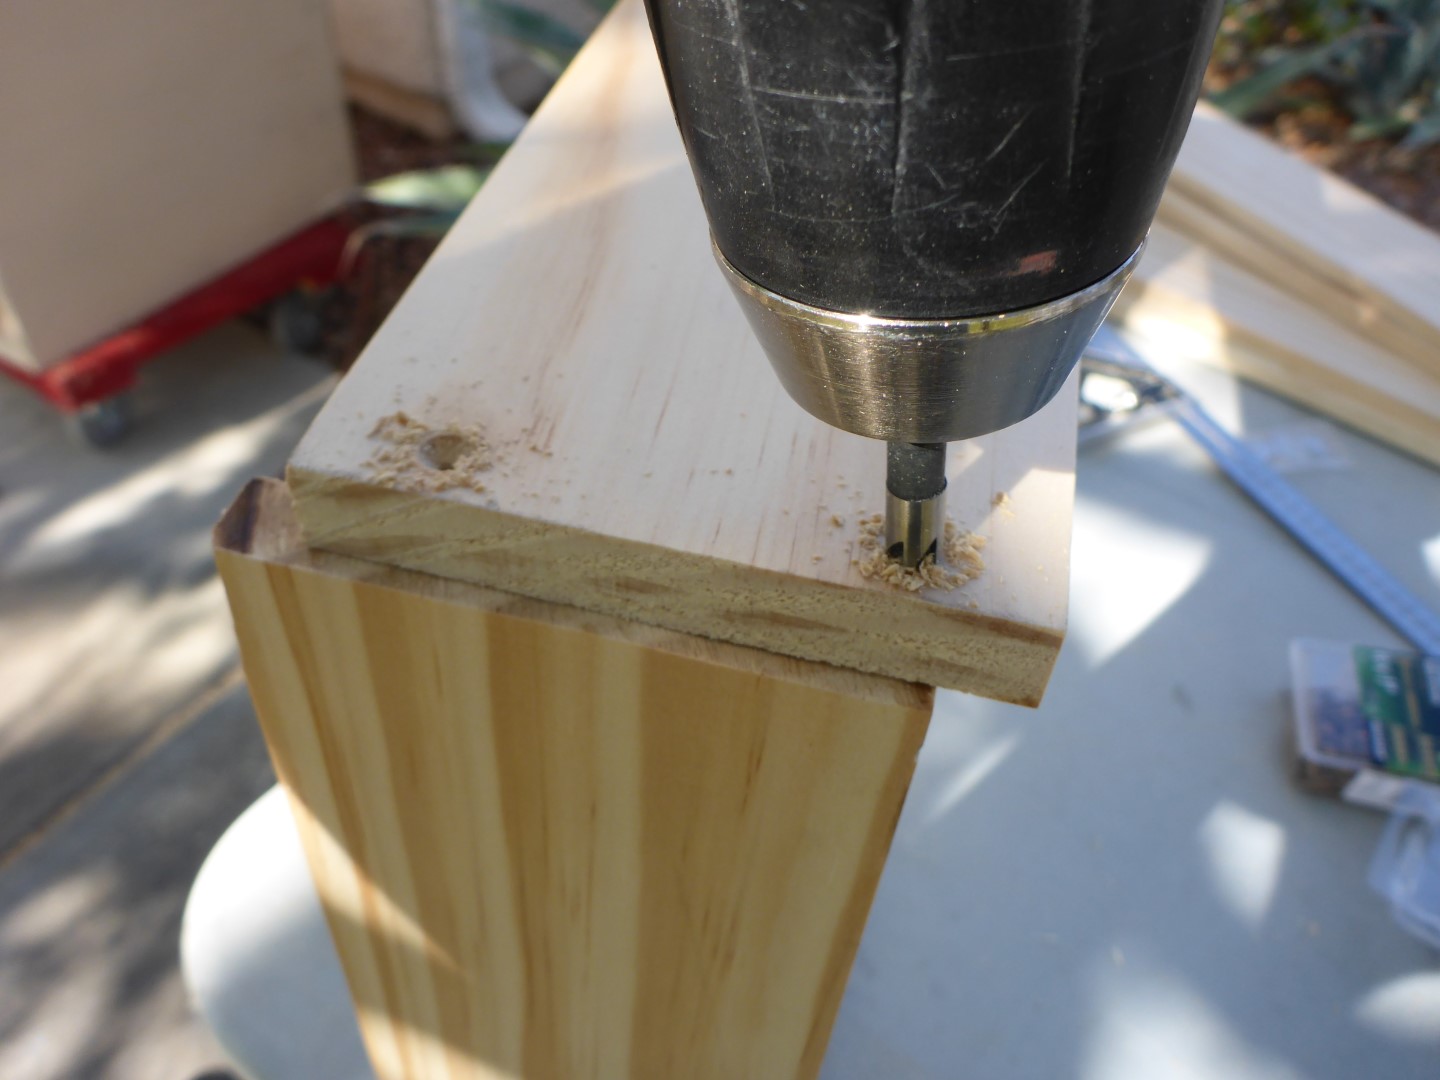
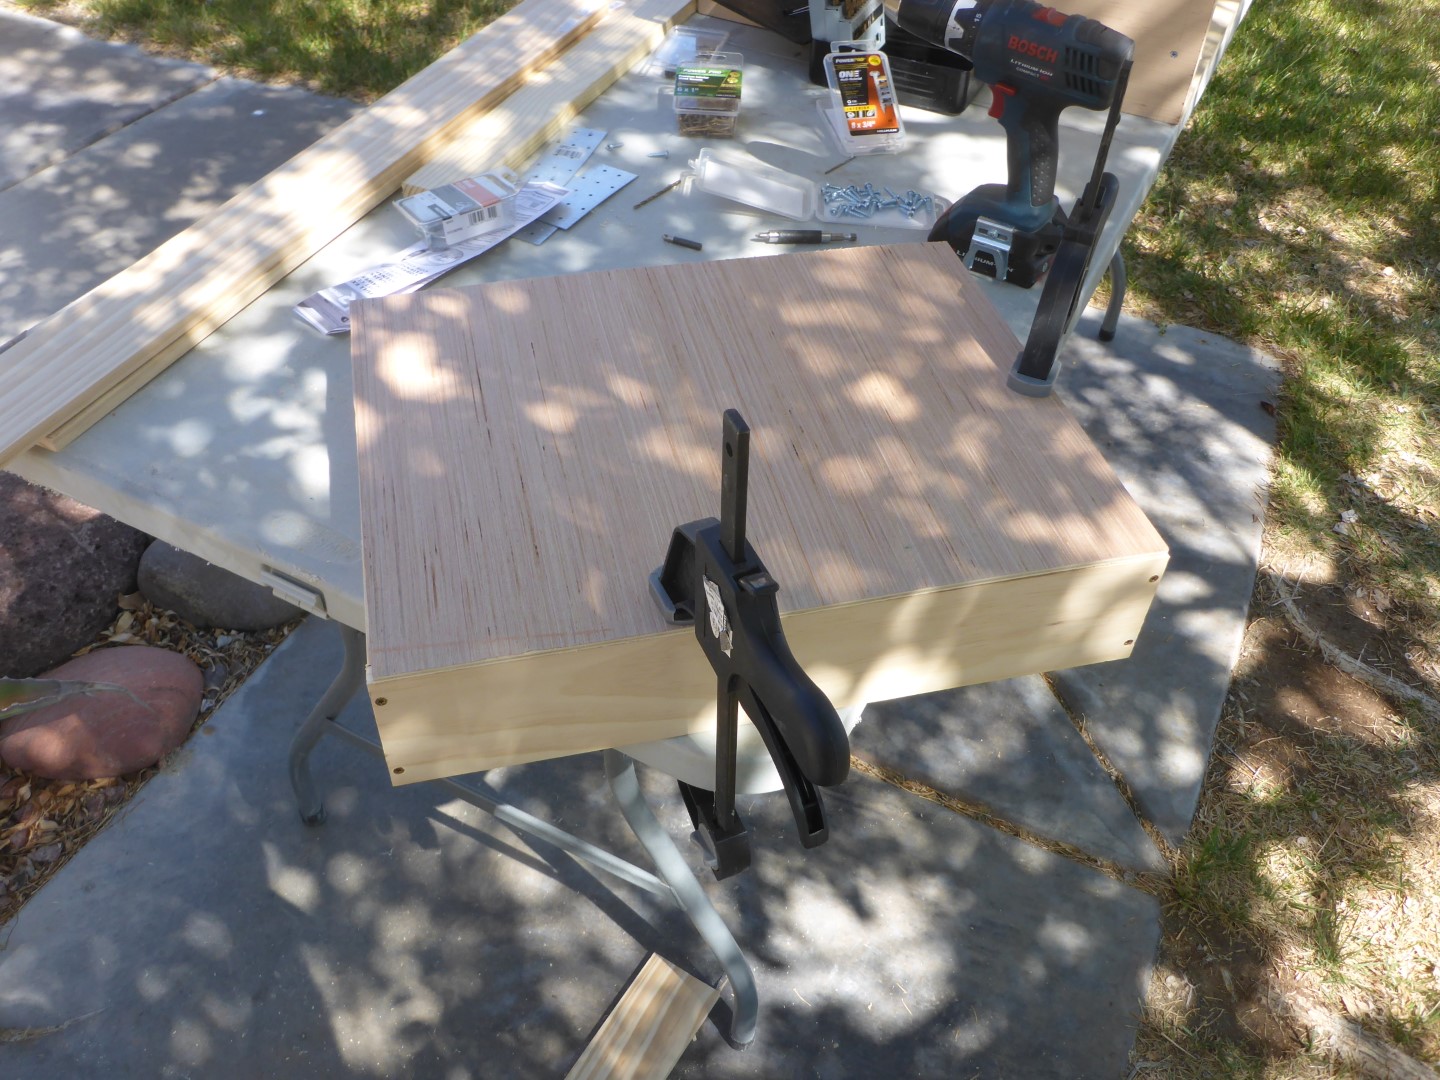
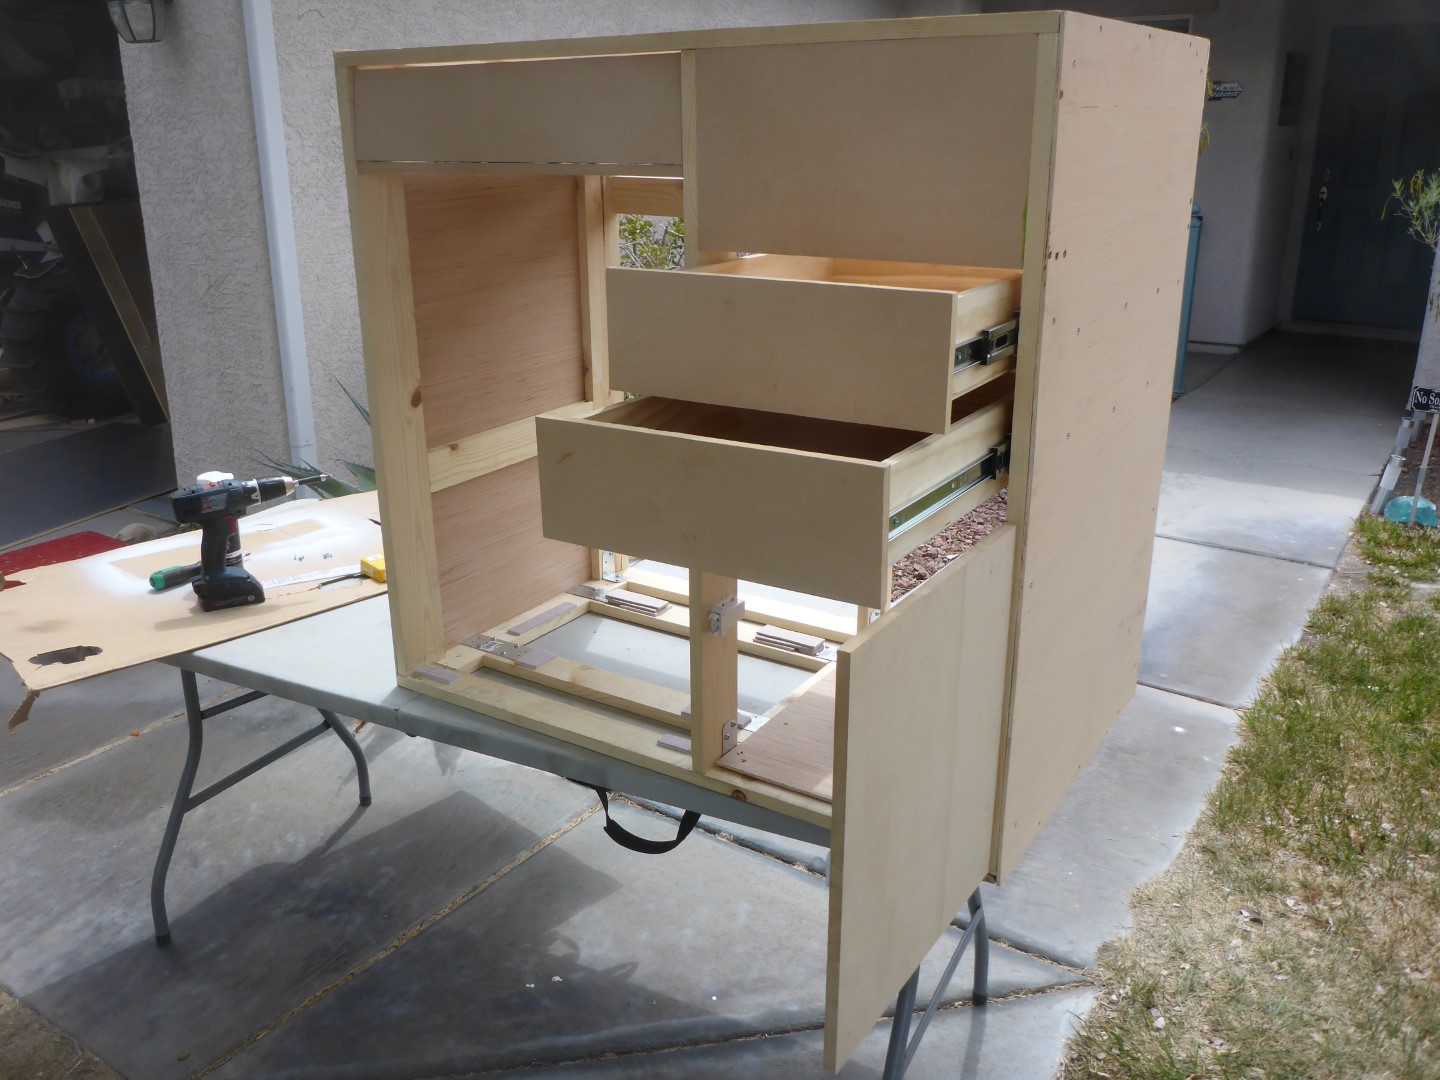
Next up: drawer boxes. You can buy drawer box kits online, but I opted to build my own. It was too stressful to have dimensions that I couldn’t adjust if something didn’t line up right. These came out really nice and I actually surprised myself.


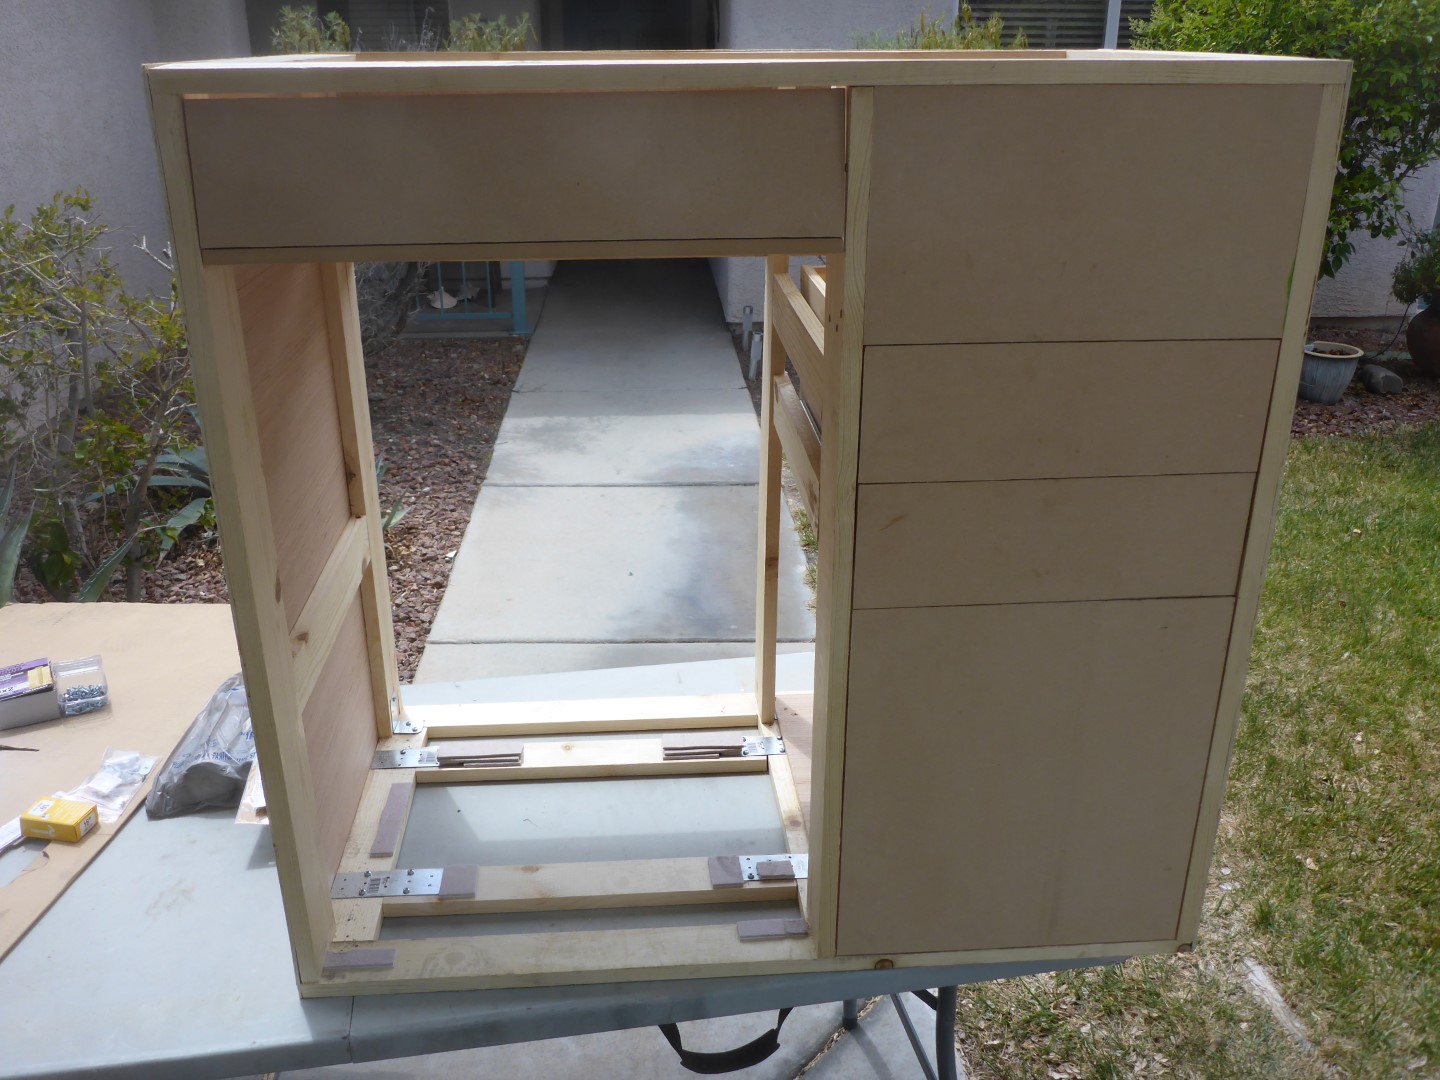
The drawers were mounted with some soft close drawer slides sourced from Lowes. They require a little force to open therefore they won’t slide open on their own.

For the bottom door, we used a latch that holds the door shut until pushed from the outside. These work great on our overhead cabinets too.

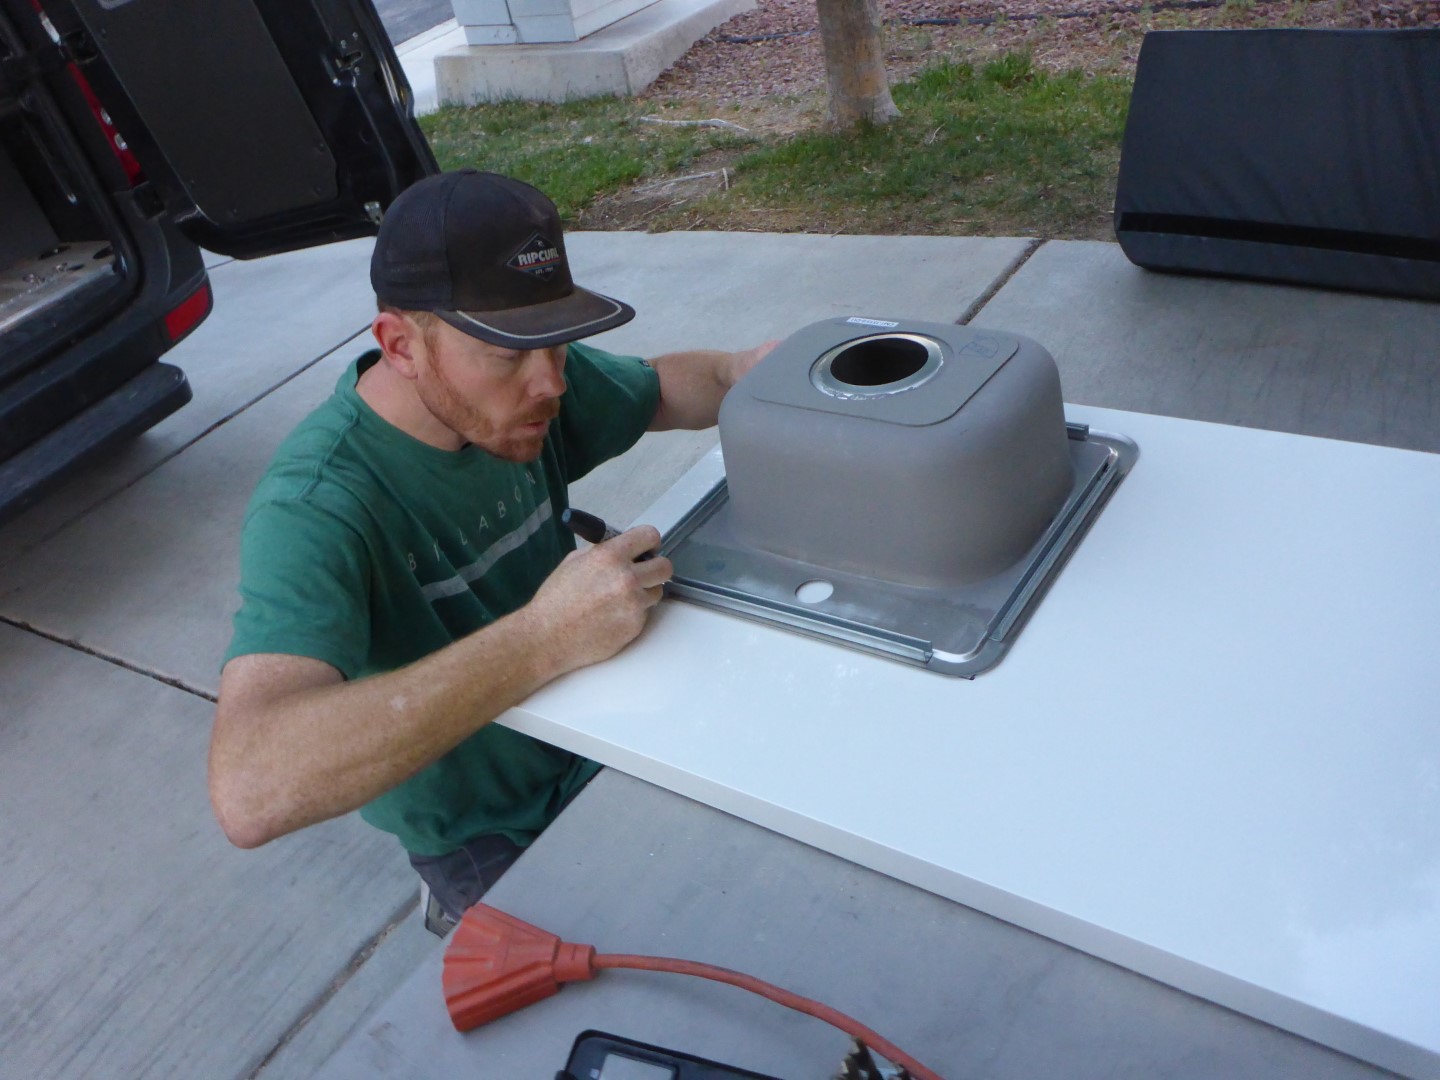
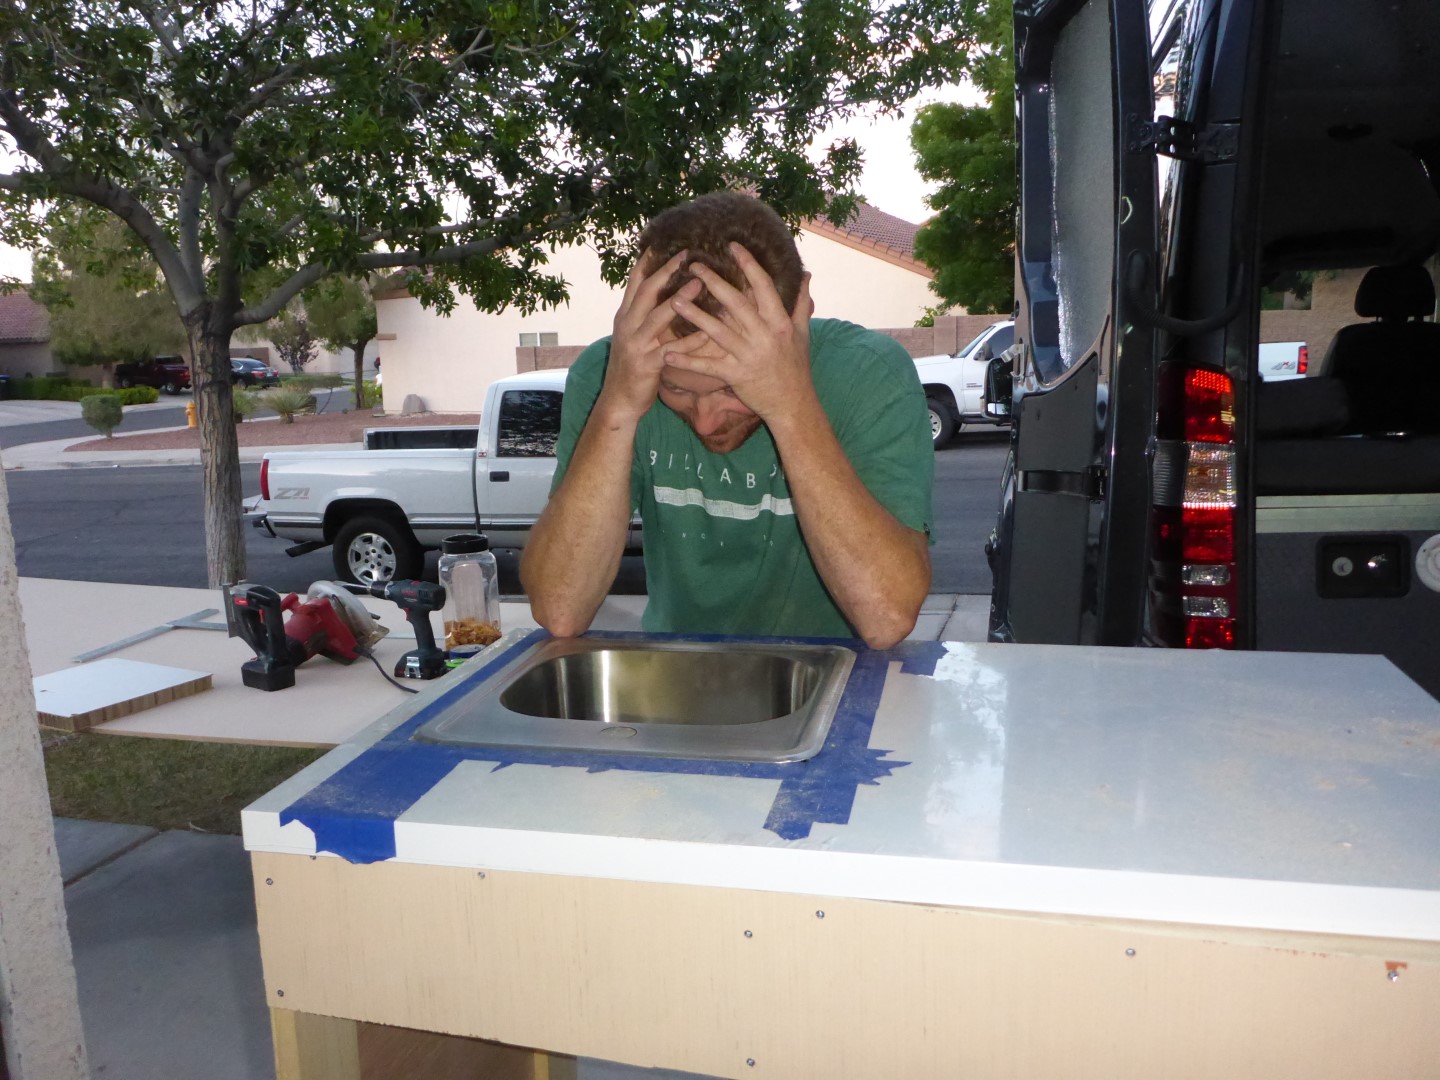
The countertop that was used was actually a tabletop from Ikea. It’s clean, simple and cheap! Nine dollars to be exact. It was also the exact size we needed. So I traced out the hole for the sink and majorly screwed it up on my first try. I completely forgot to take the radius corners into account. Back to Ikea we went. Good thing it was cheap!
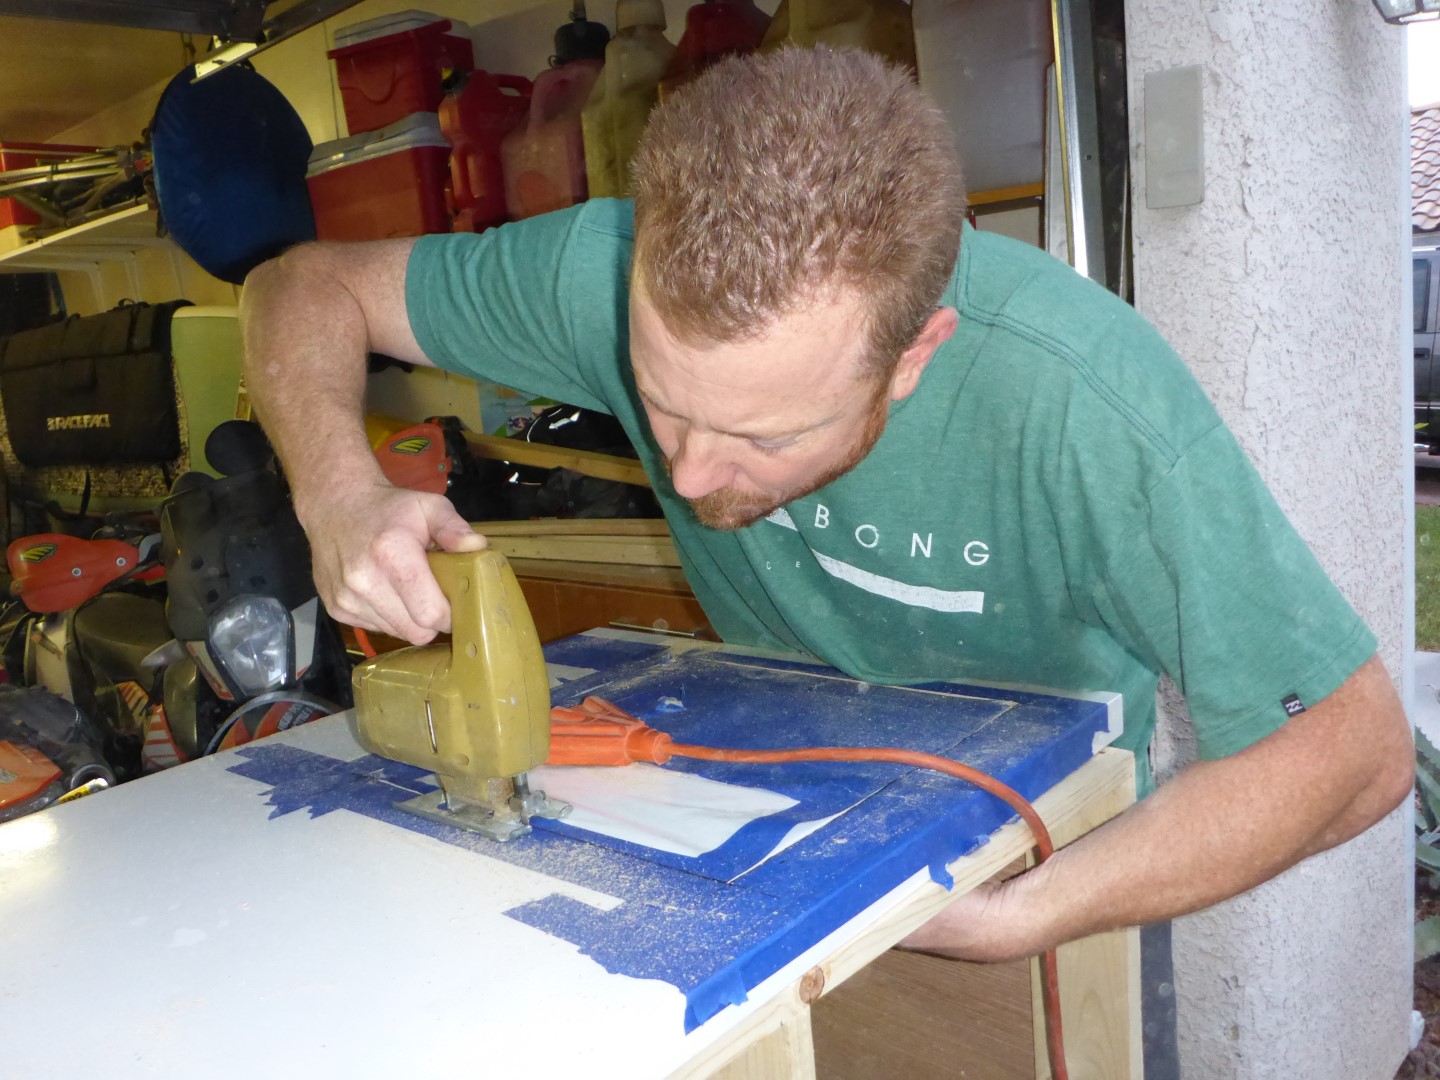
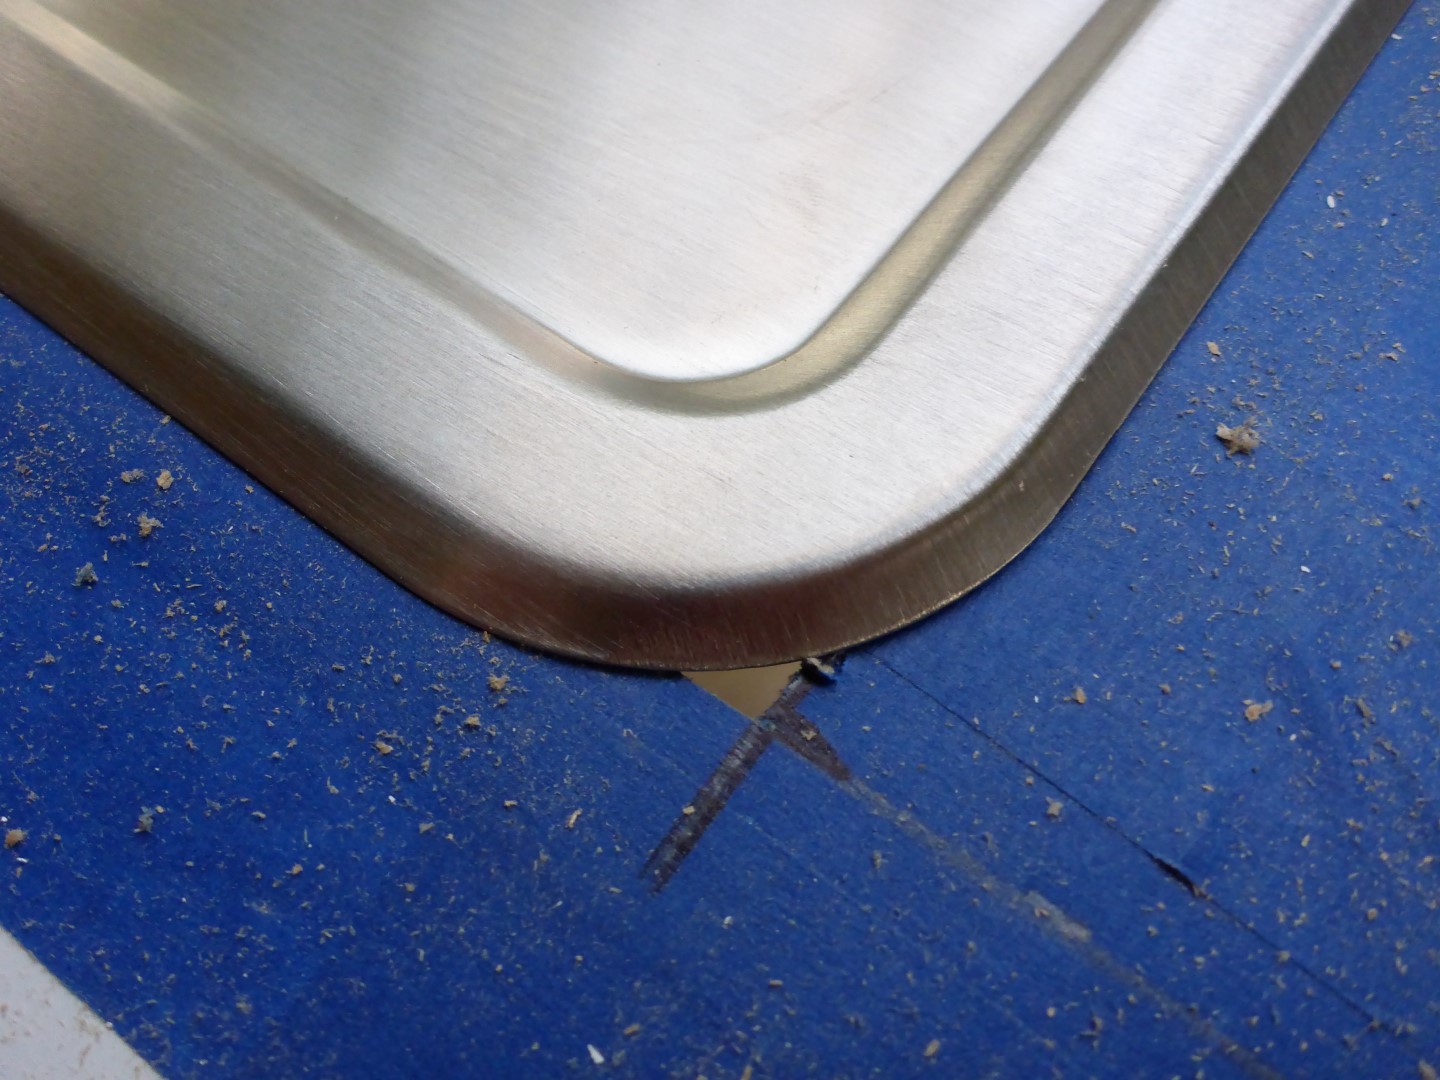
Cutting of the sink hole: take two!

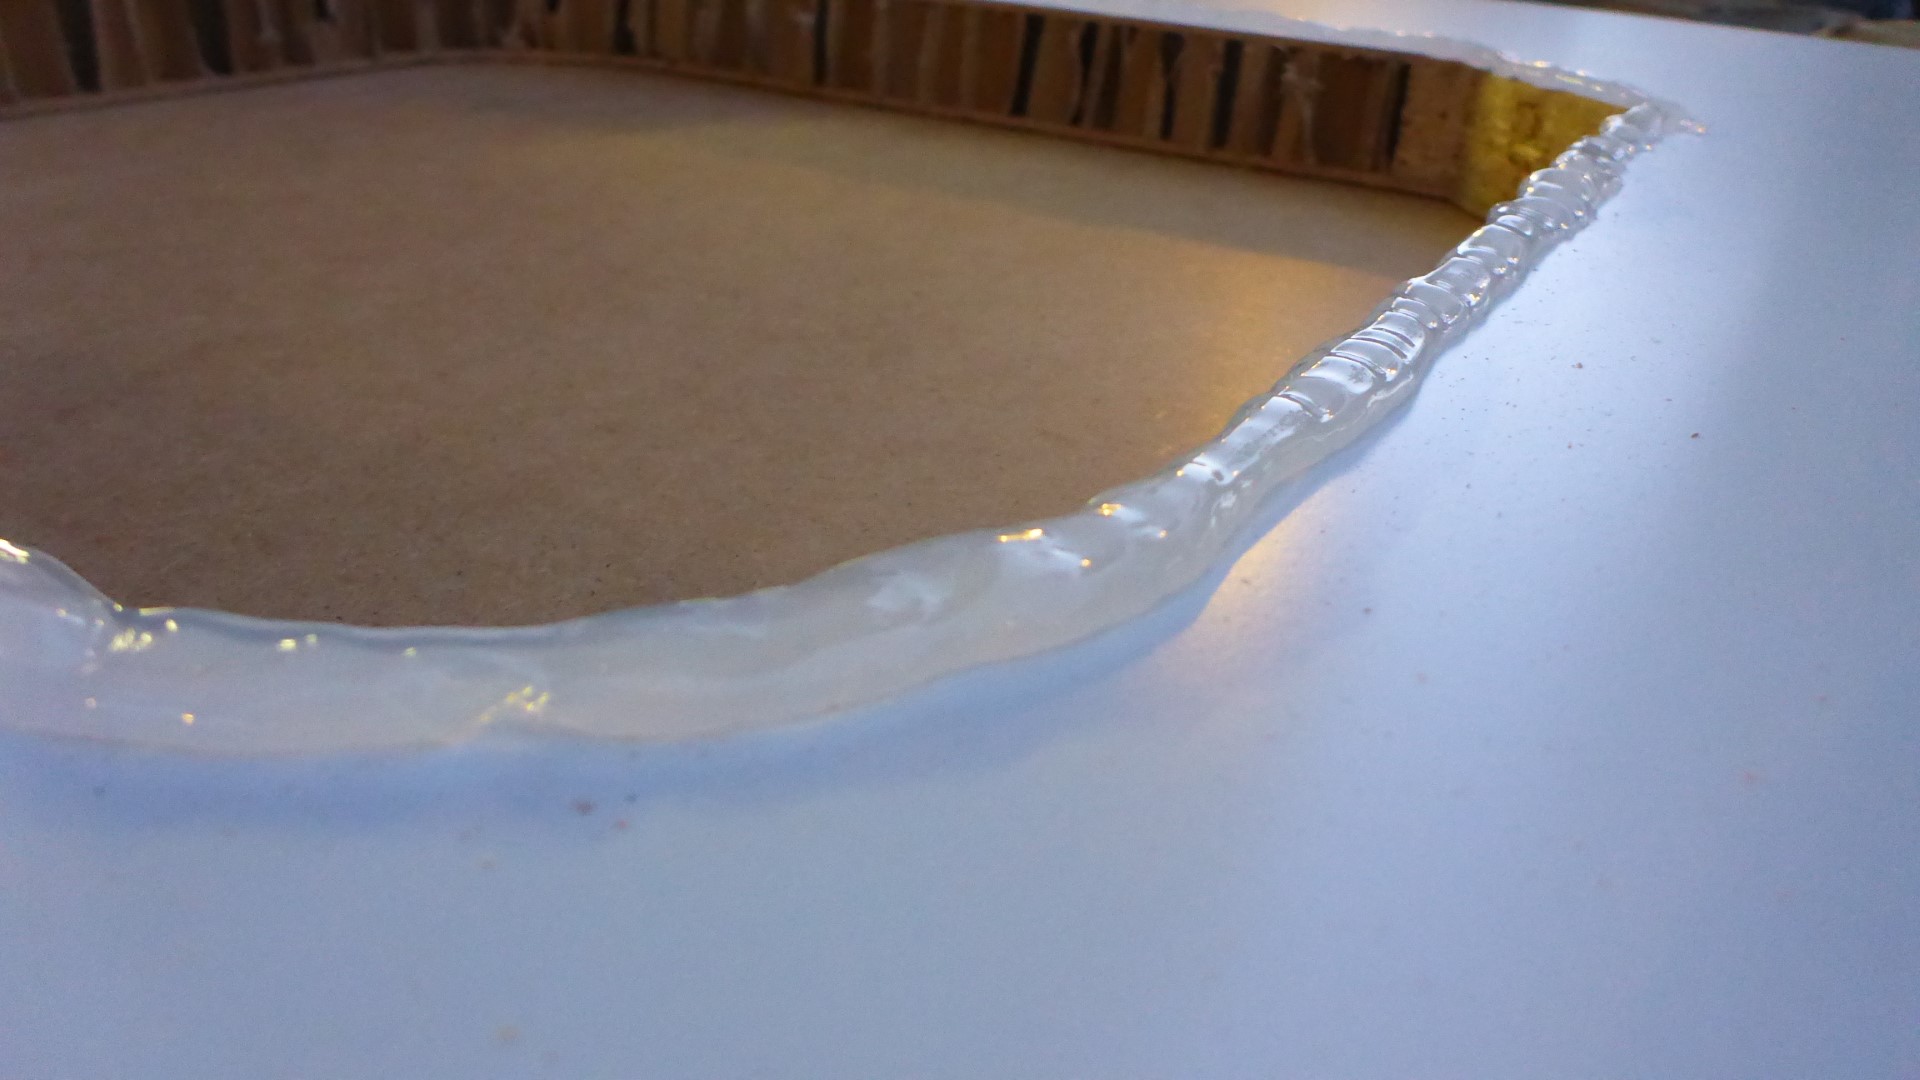
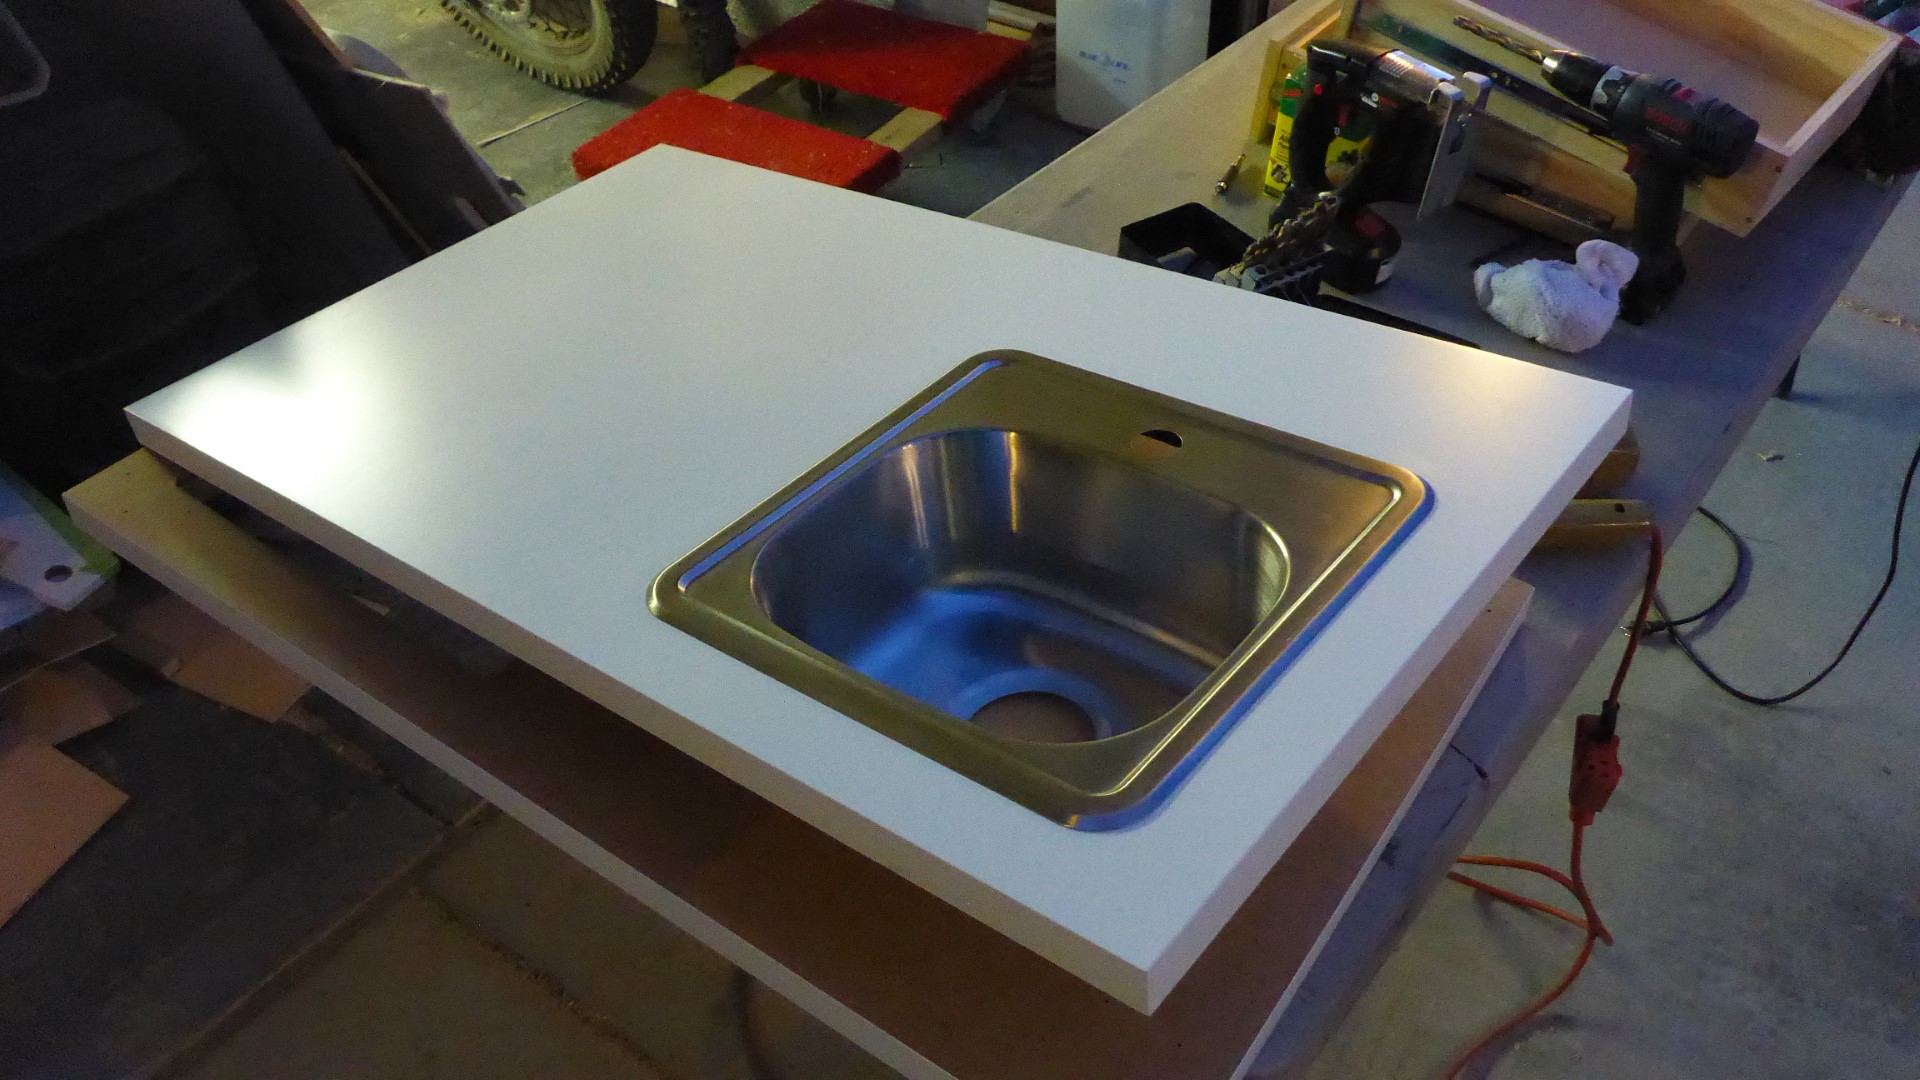
There we go. Much better! The hole turned out well and the sink was set in with silicone to seal it to the countertop.
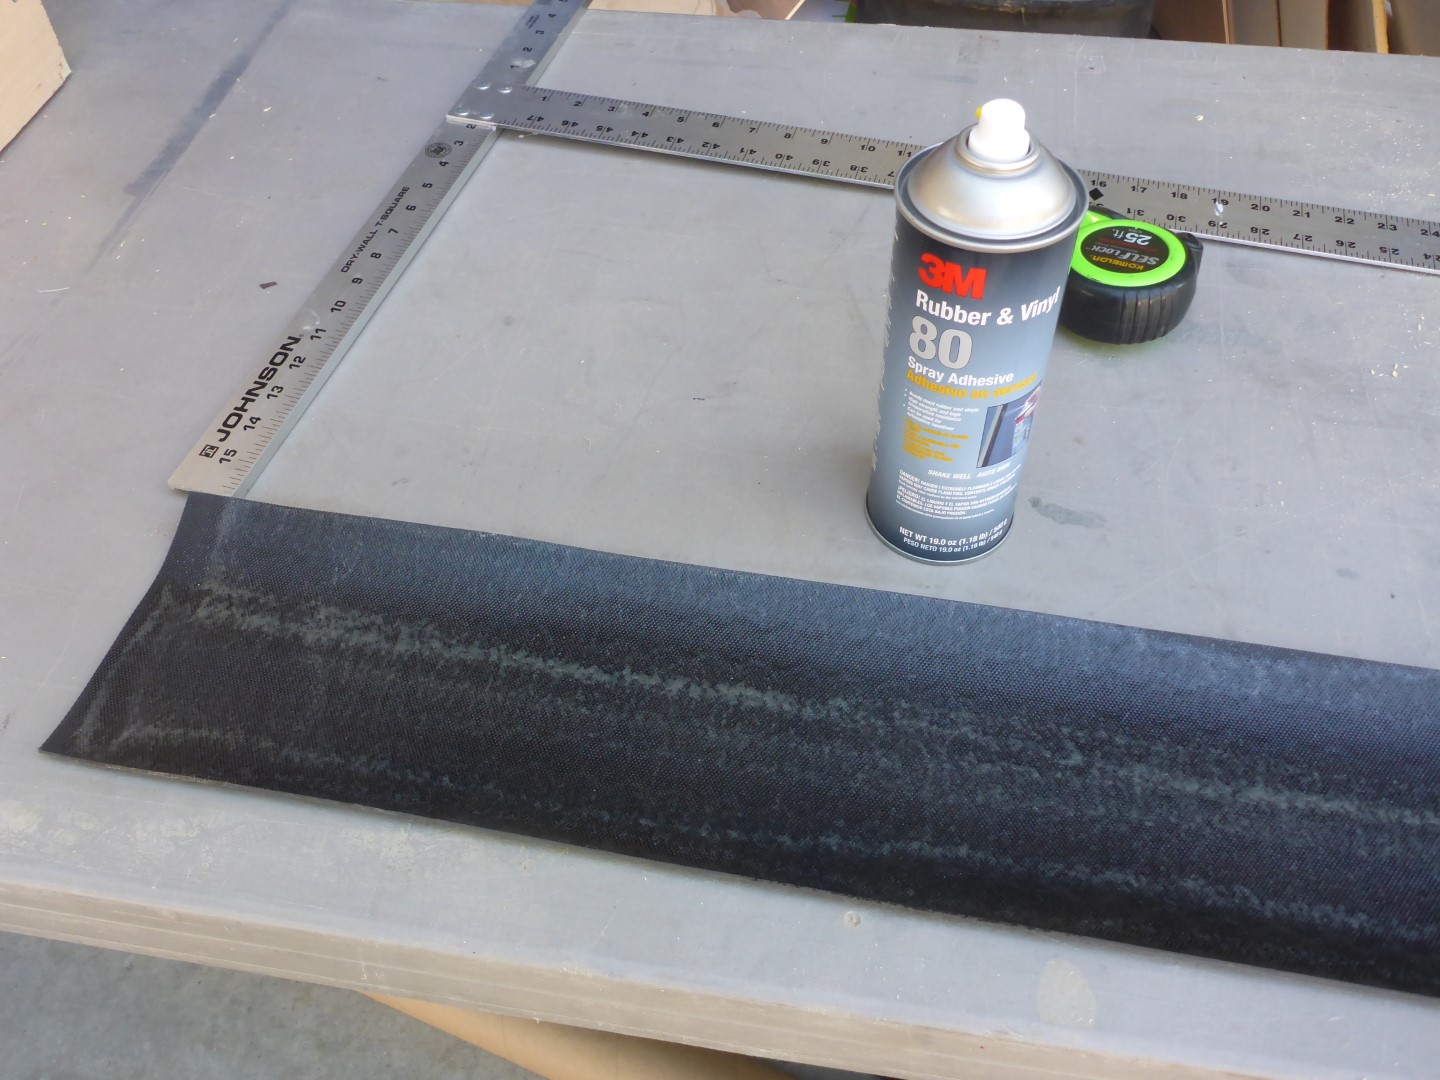
The sides were paneled in 1/4″ plywood then covered in rubber coin mat using 3M 80 Rubber and Vinyl adhesive.

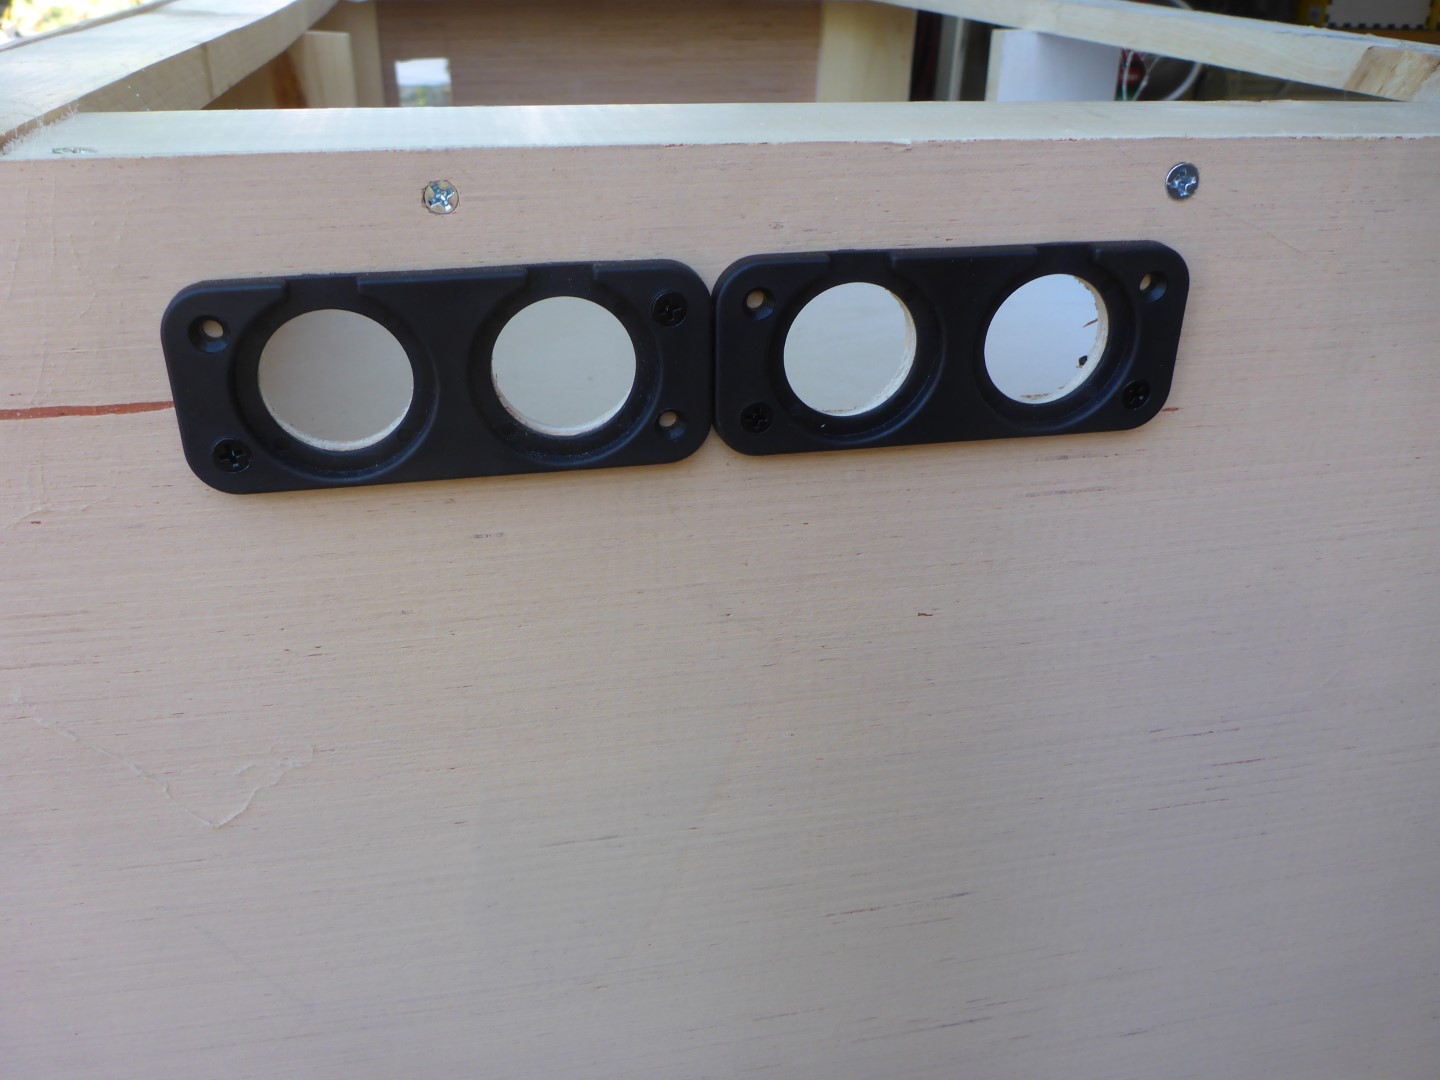
Holes were cut for the power outlets. The bezel that came with them was used as a template.
Once the galley cabinet was covered in rubber matting, I finished the edges in 1″ aluminum trim sourced from Lowes. I didn’t take any pictures of this part because it consisted of many long nights, It was dark and I was irritated.
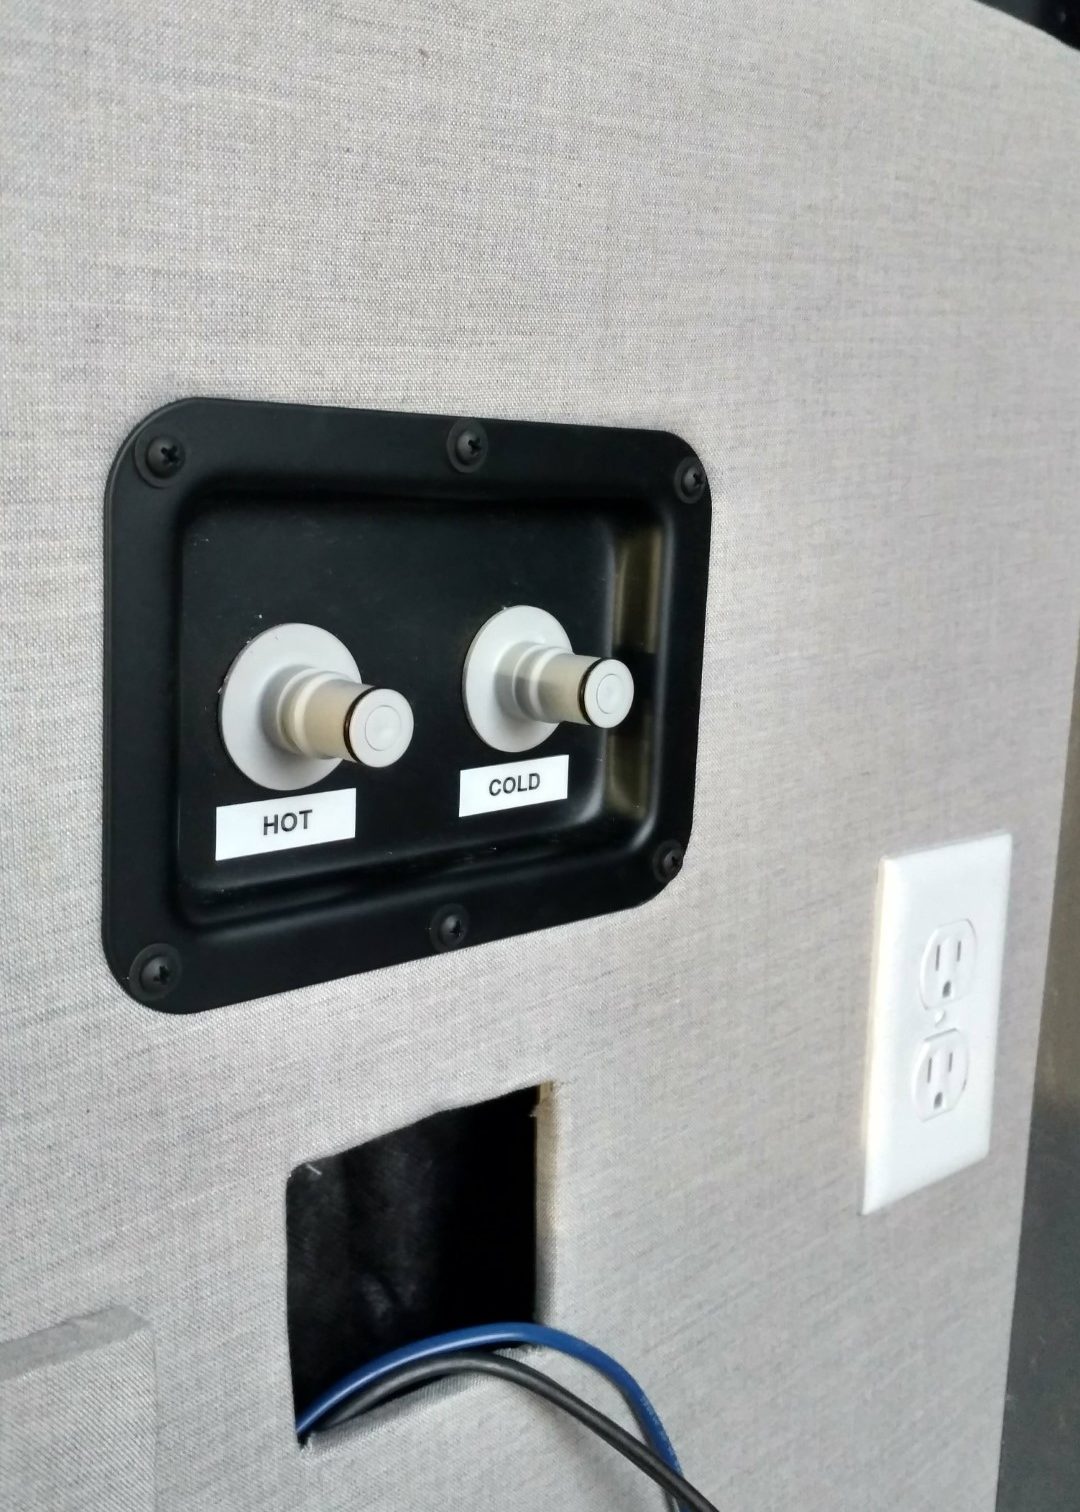
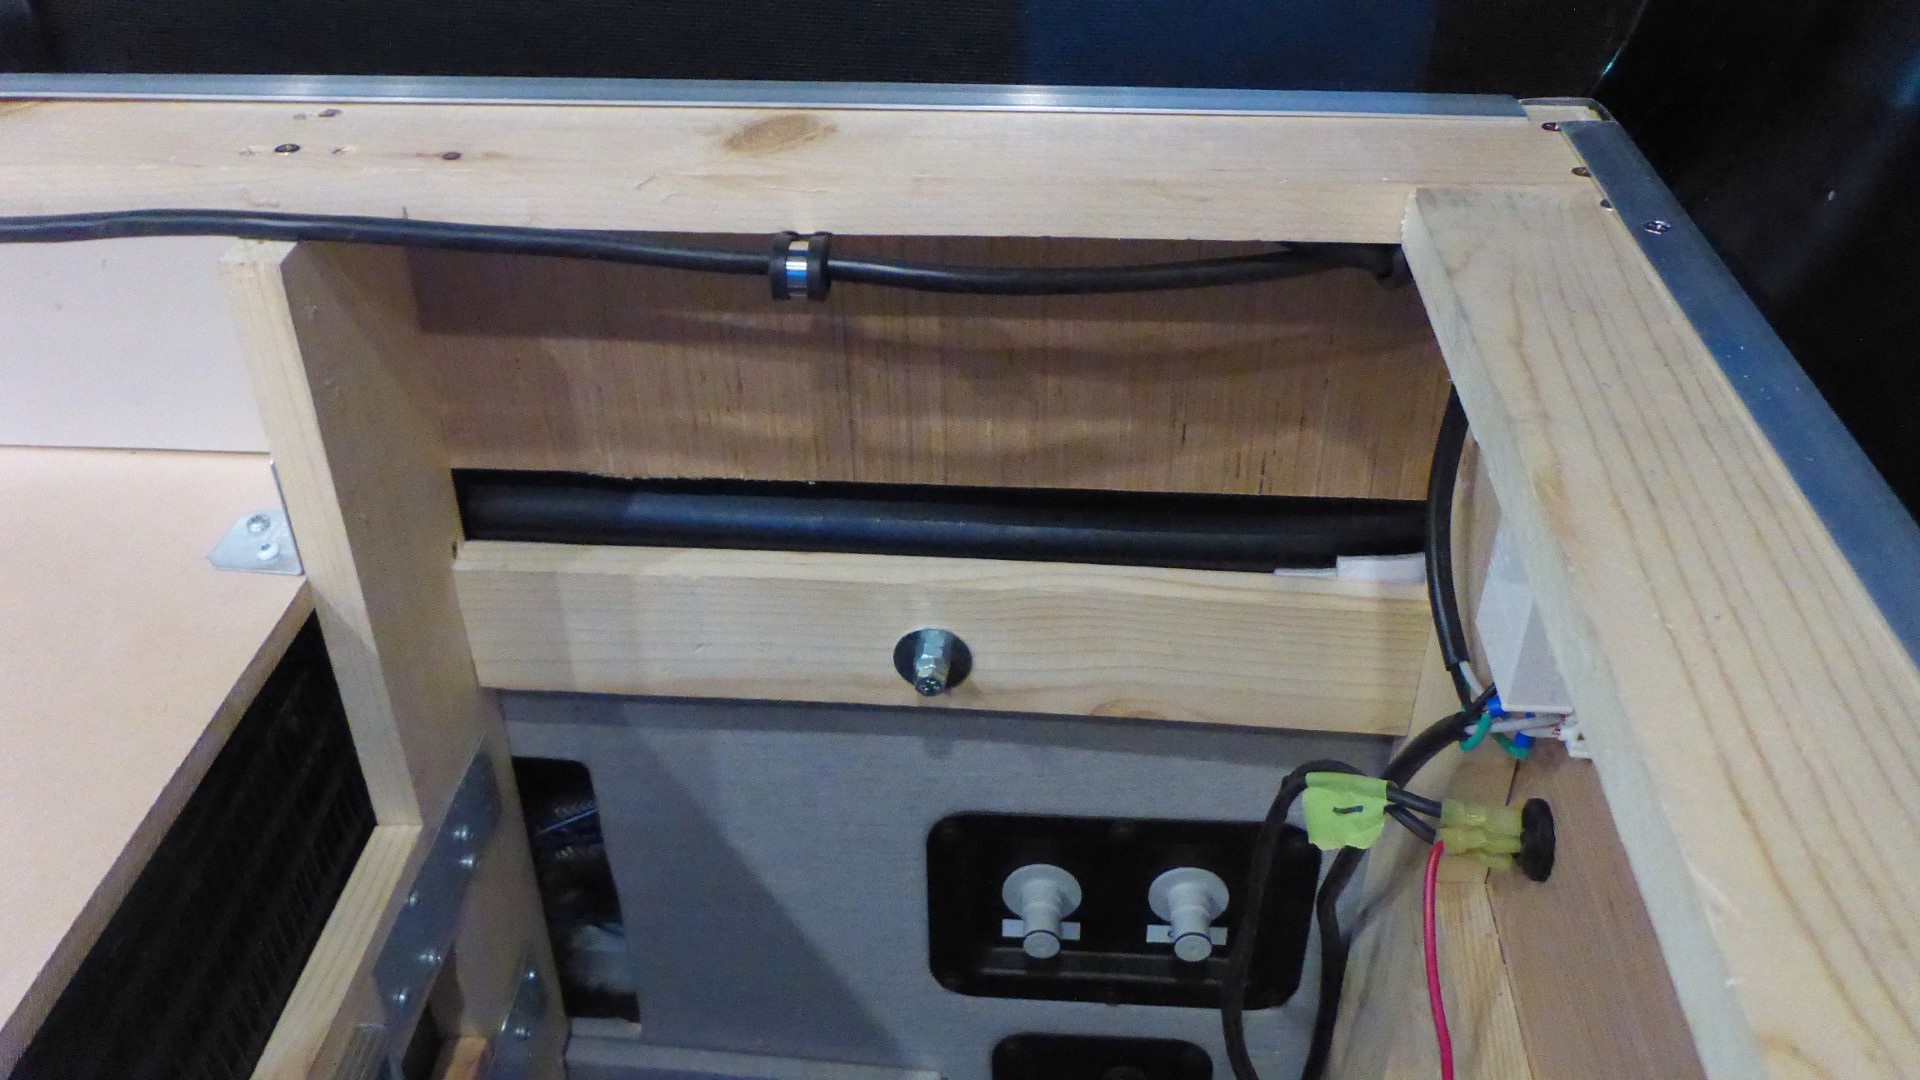
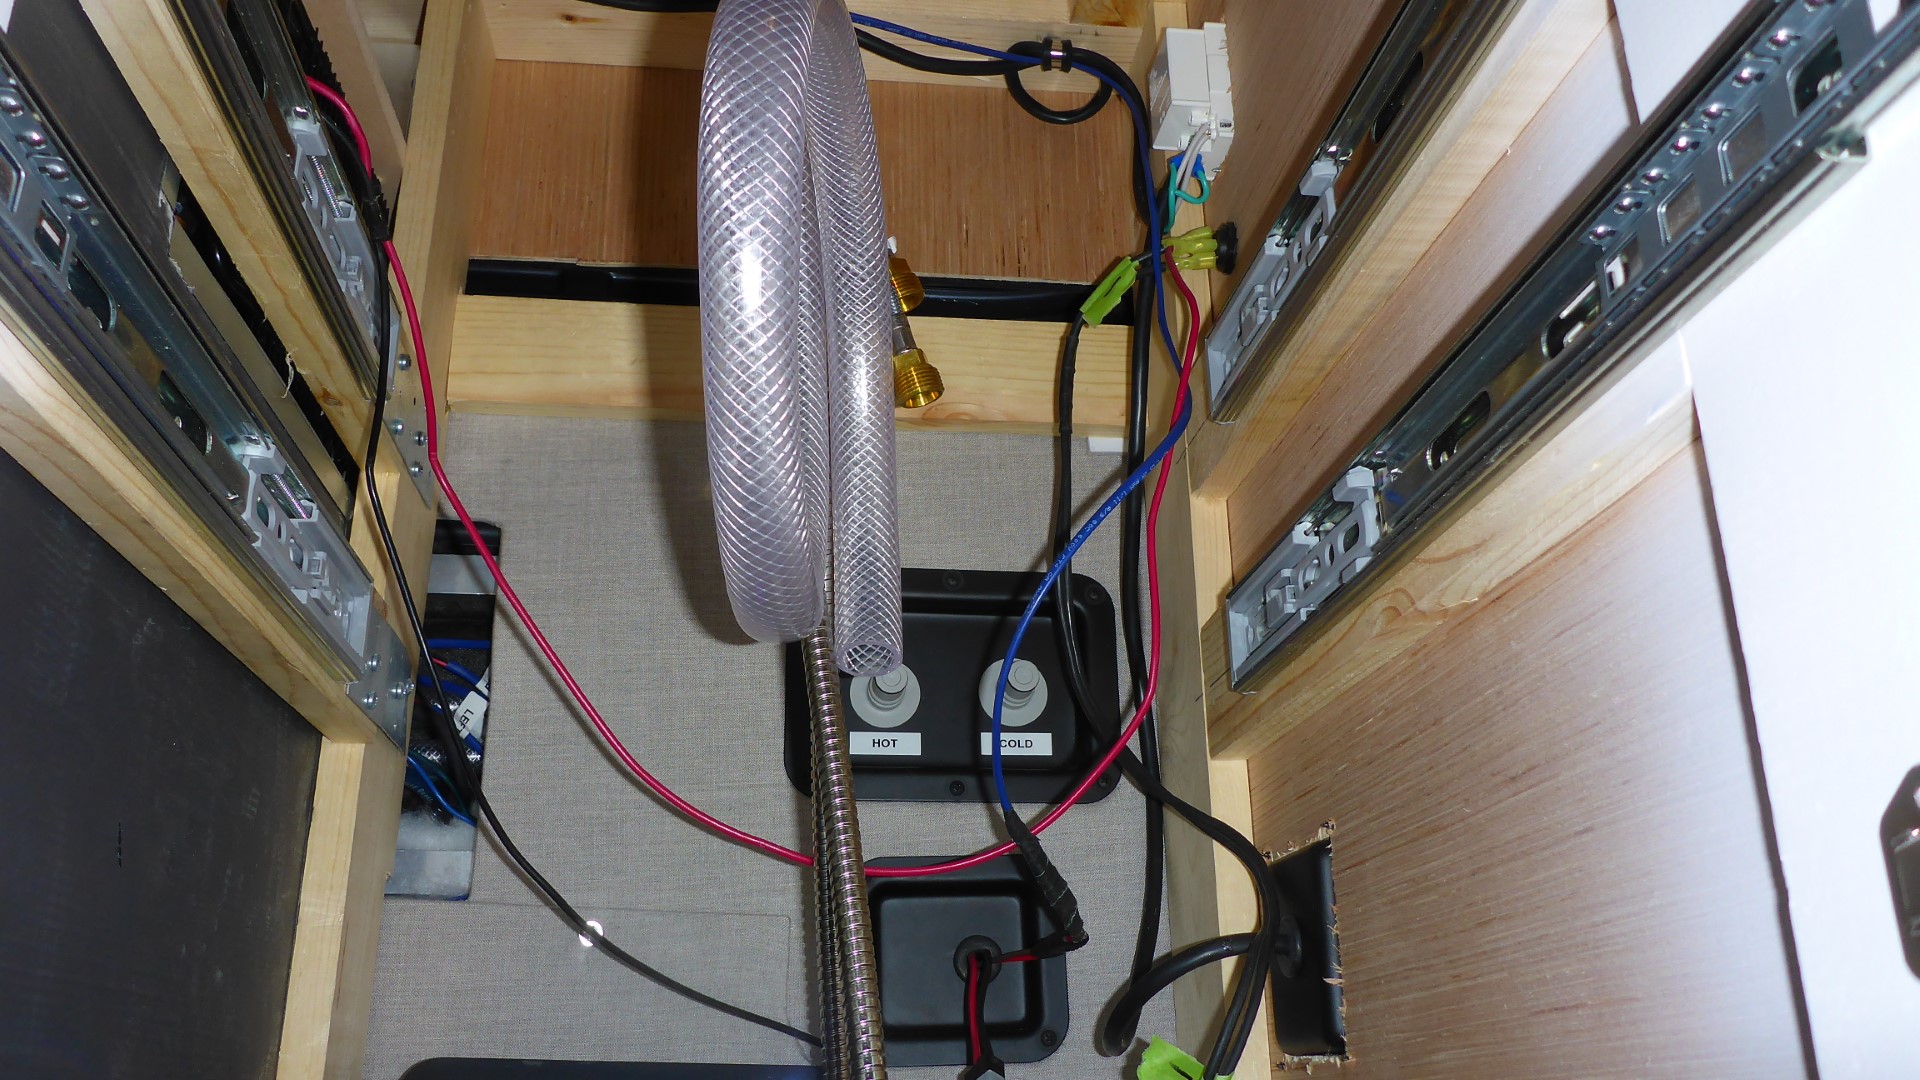
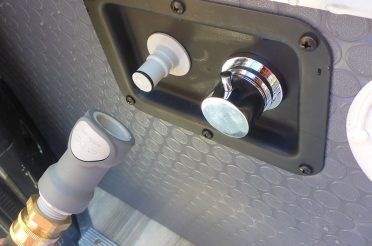
Behind the galley, the water fittings and power cords were mounted in plates that secured nicely to the van’s wall panel.

For a more in-depth look at the water tank, pump and install, visit the water system install post.
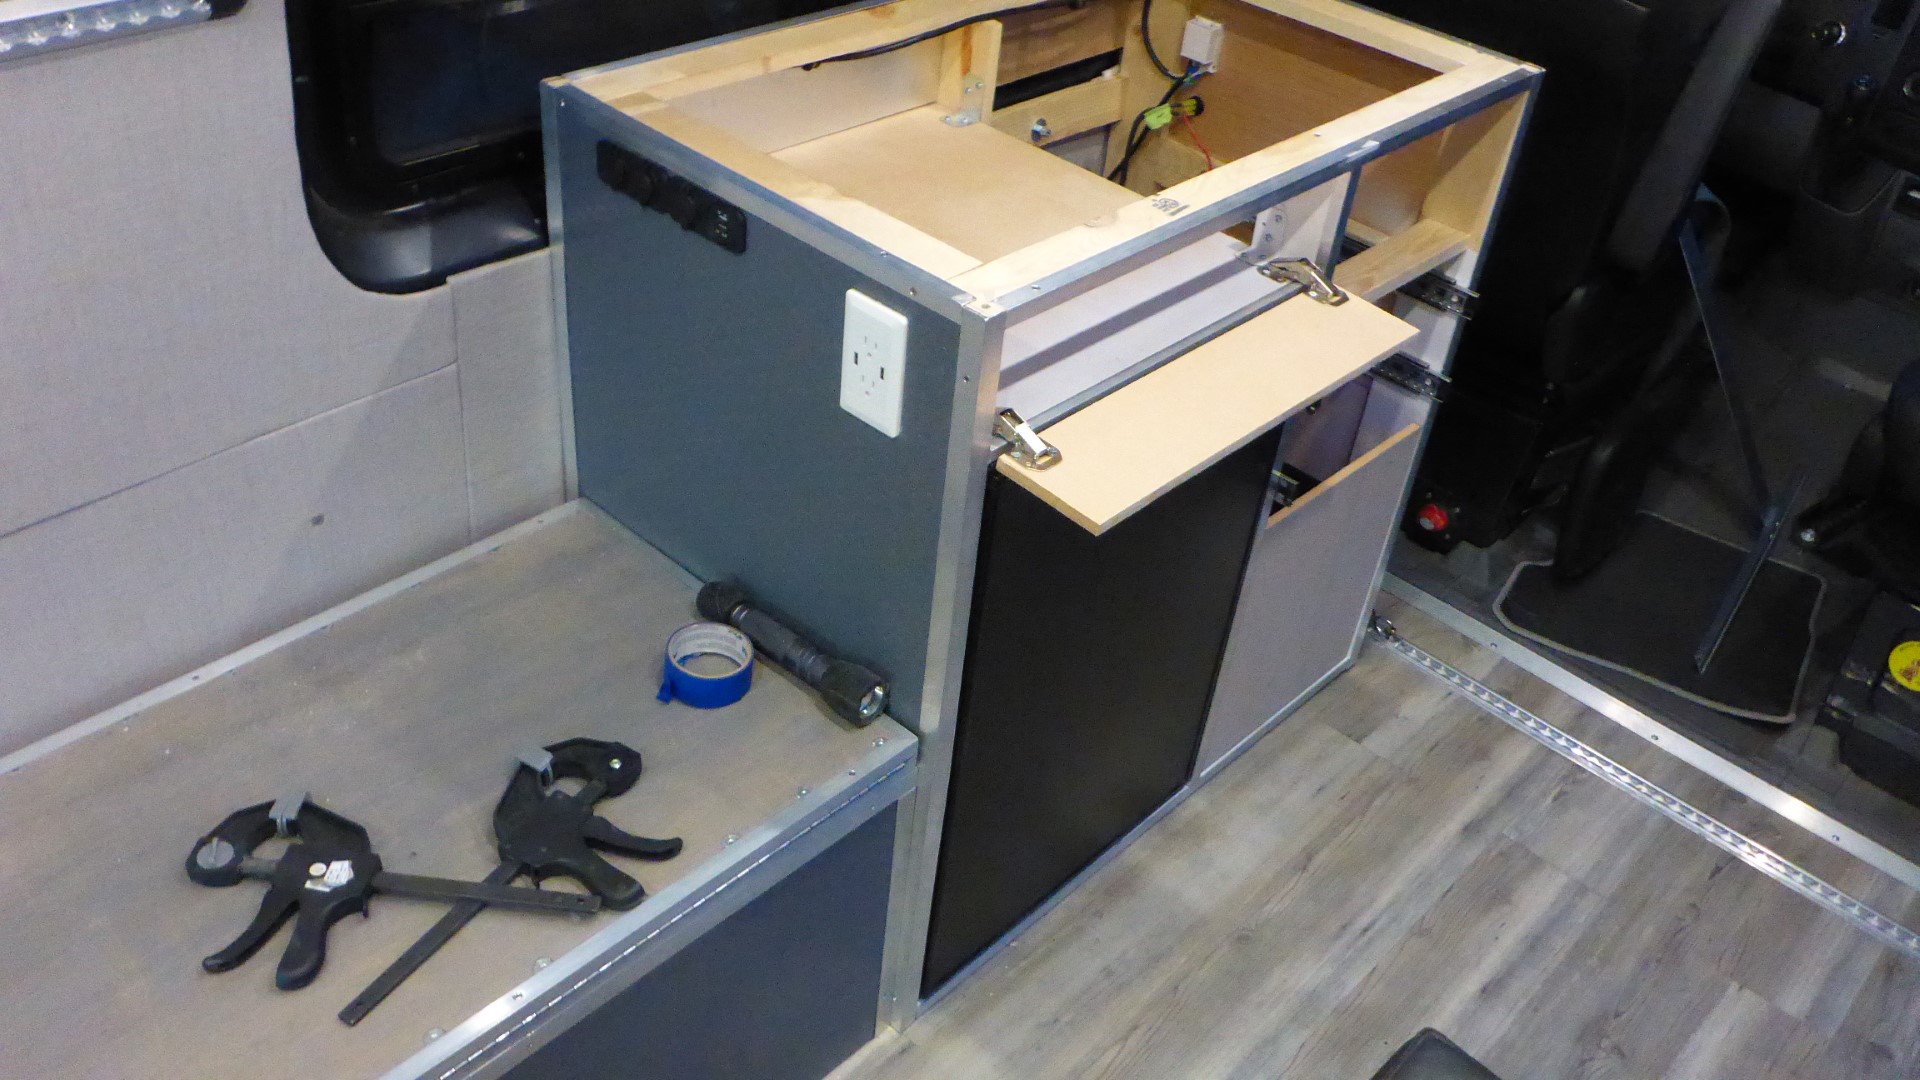
The cabinet was ready to be mounted. It was a very tedious process getting all of this to line up and fit together. It was quite the puzzle. I had the amps, power receptacle, and water fittings to take into consideration on that wall. The drawers were pulled out and I attached the cabinet with some long bolts that secure into rivnuts in the wall of the van.
|
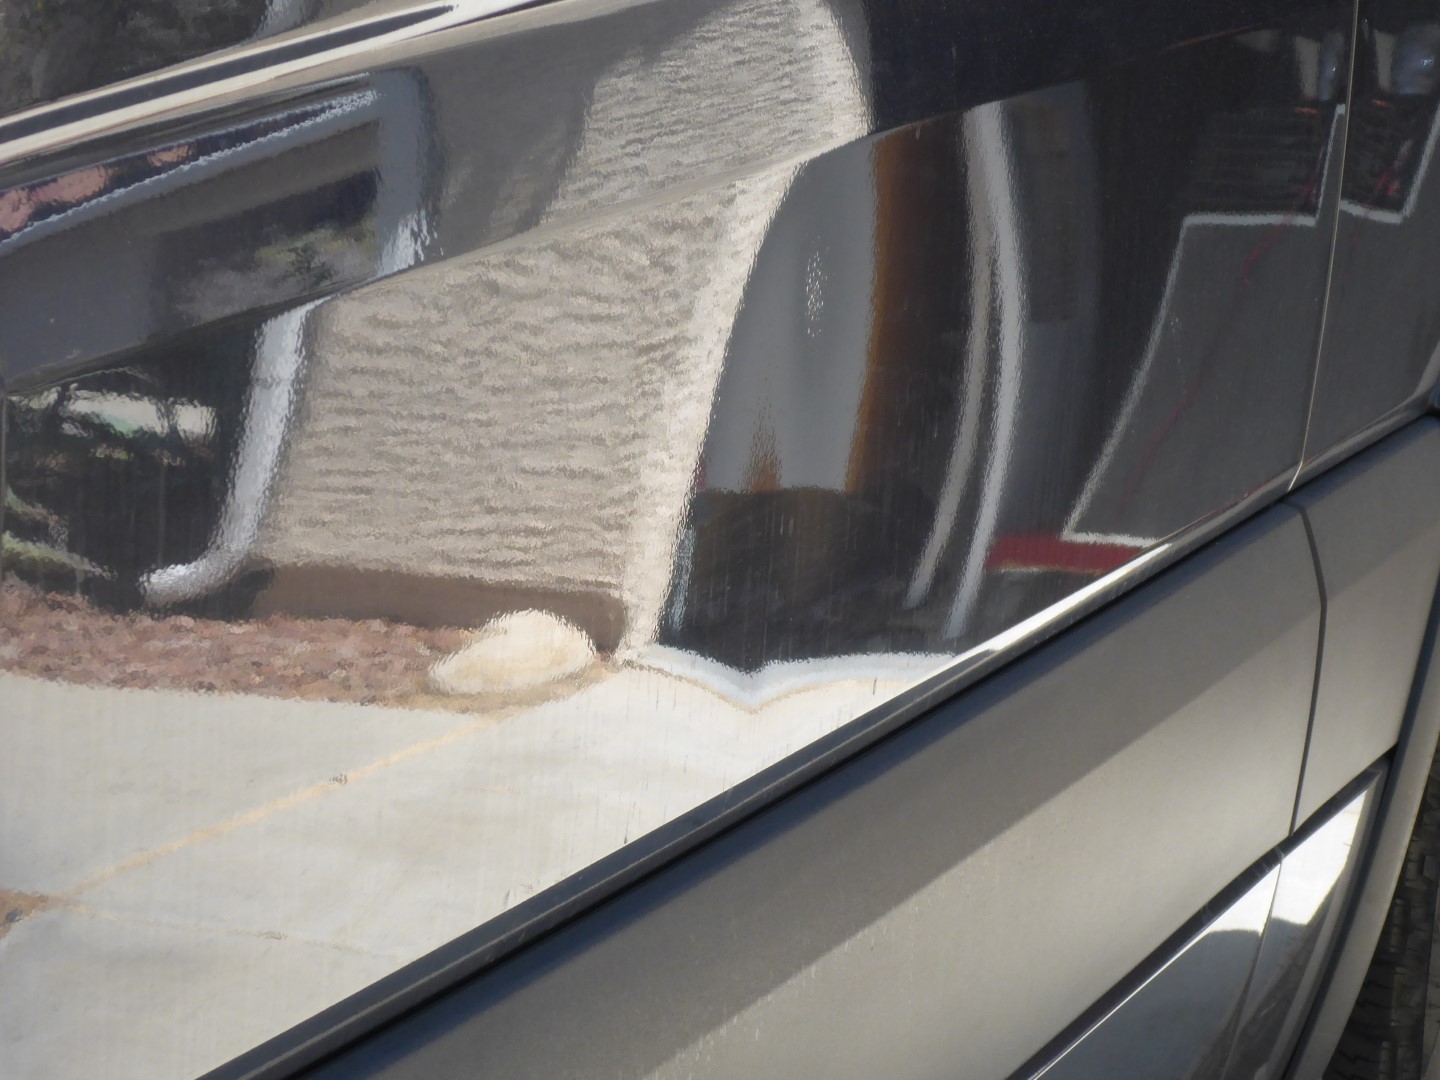
When mounting anything to the Sprinter’s metal structural wall ribs, be very careful not to overtighten them. Use thread lock and just cinch your bolts down. If you don’t, you’ll find what looks like dents on the outside of your van. They come out by loosening the bolts that were mounted, but just be careful.
|
It was coming together, but there was still a bit of work to do.

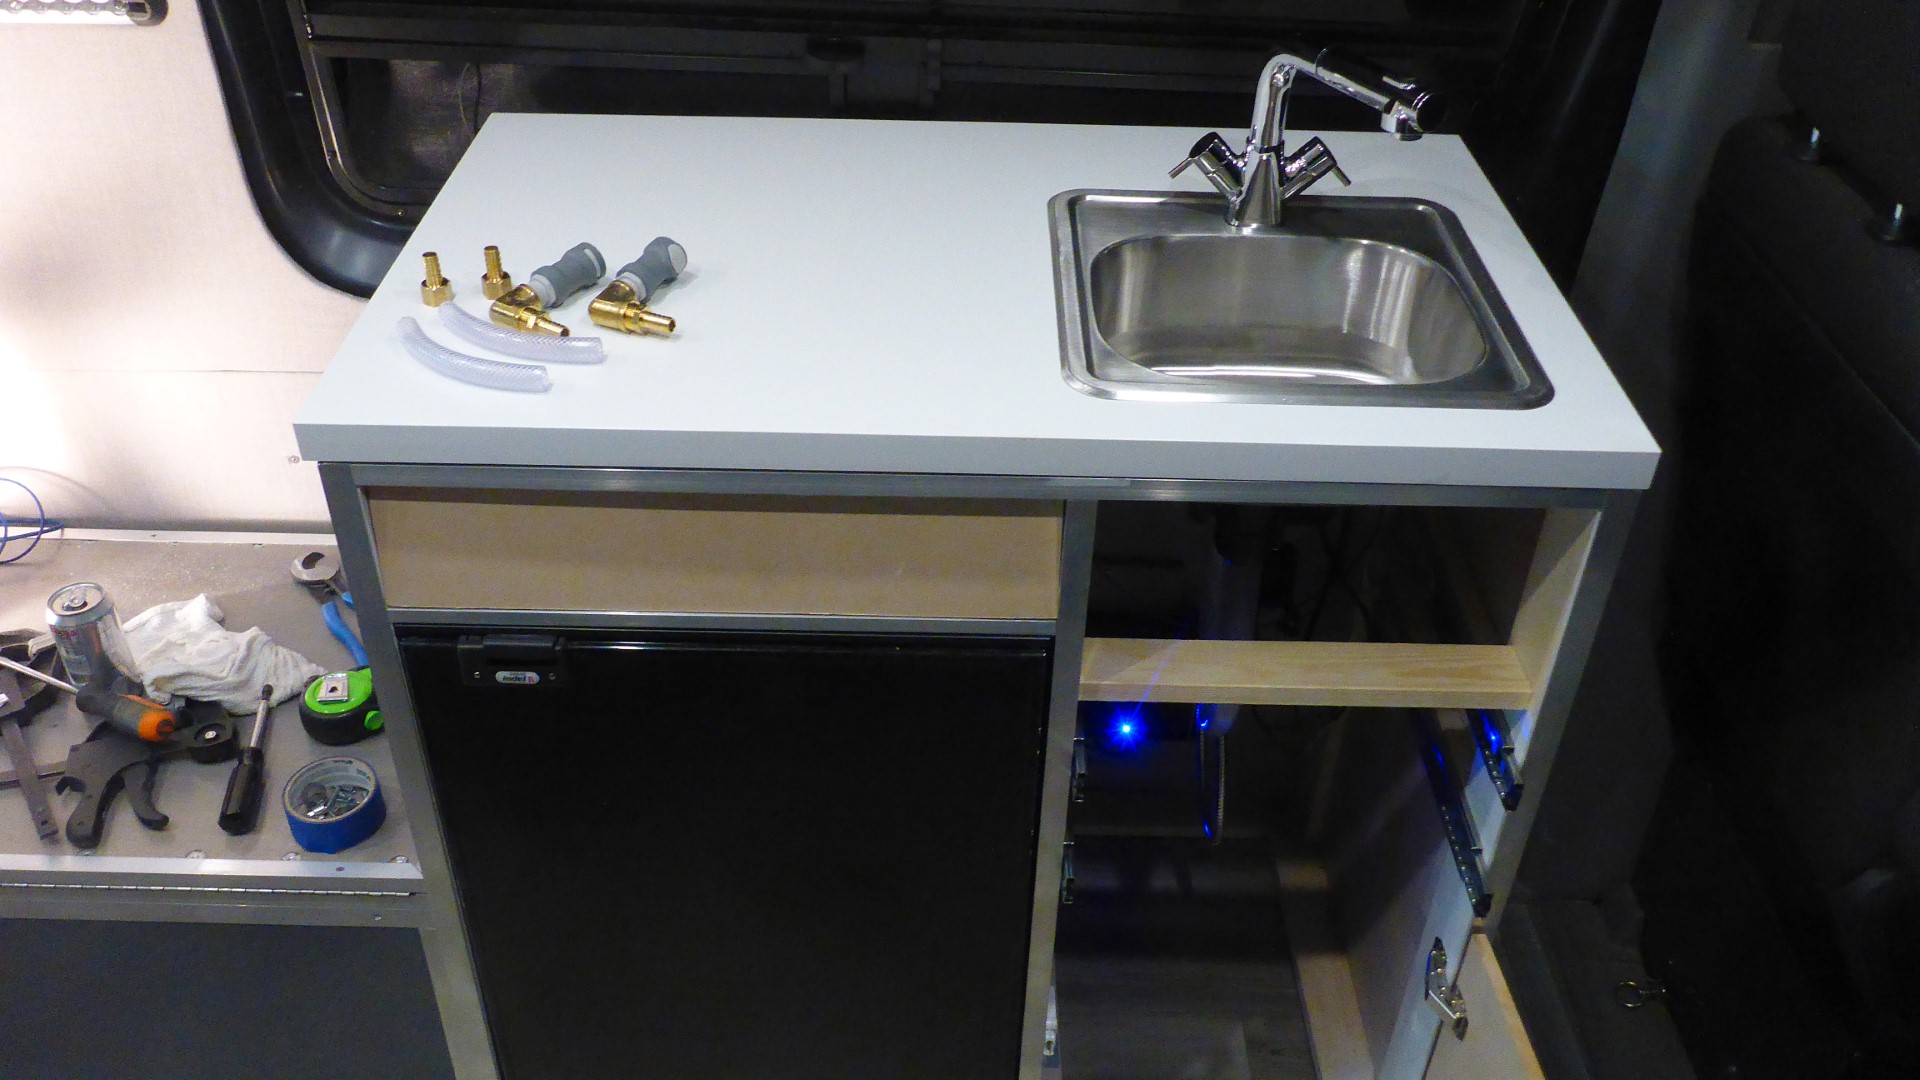
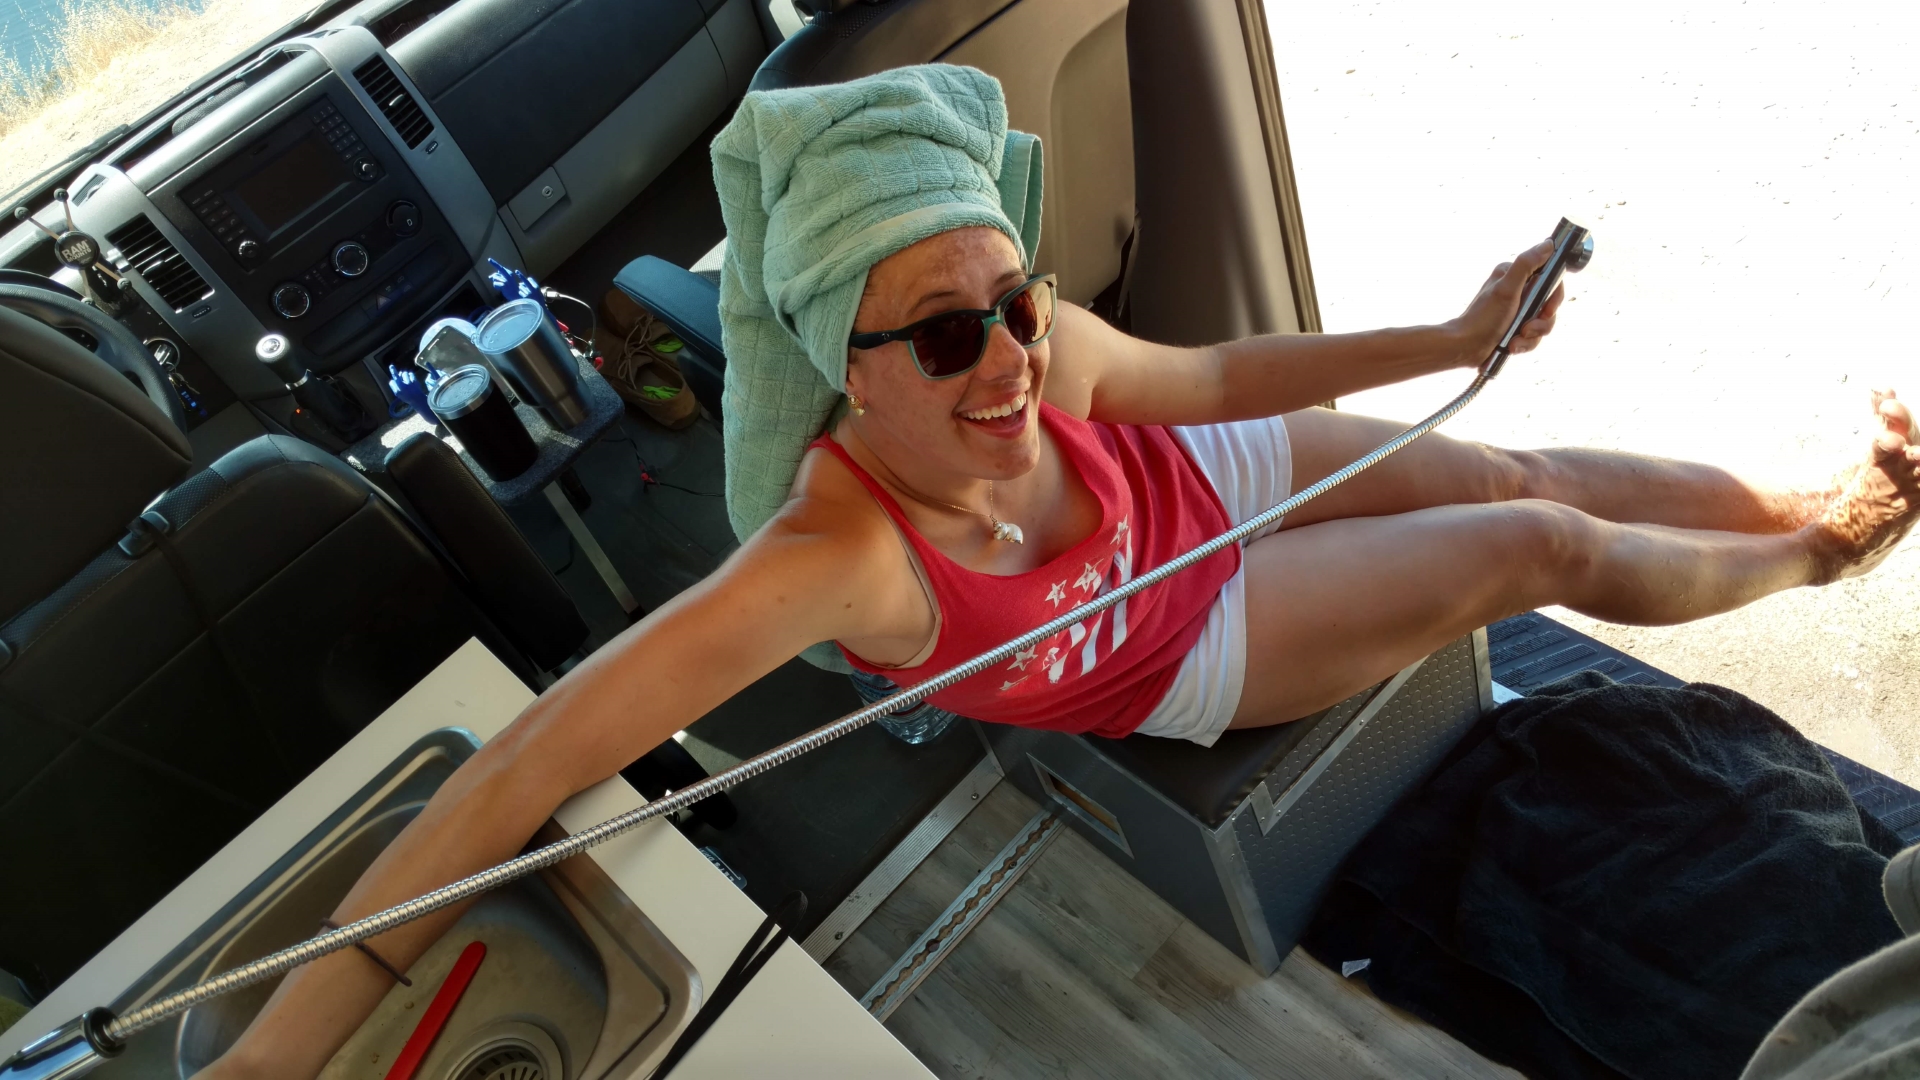
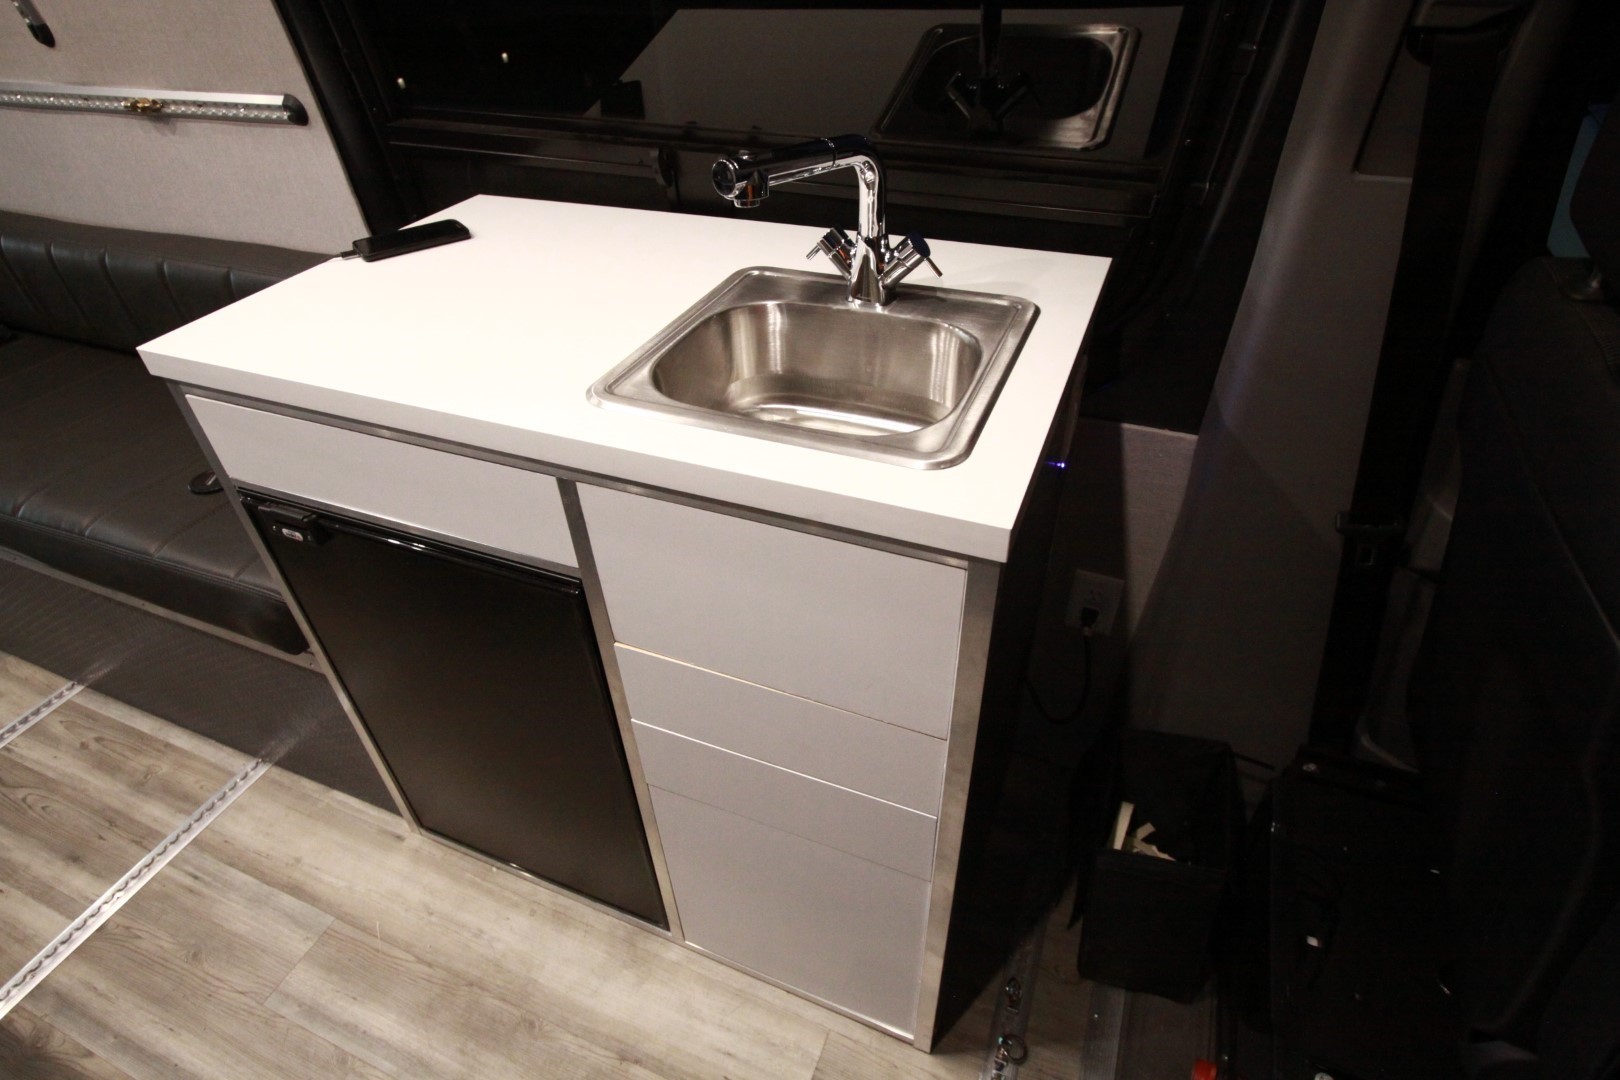
The countertop was screwed to the cabinet and Ambassador sink faucet was plumbed in using quick connect ½” male fittings, some brass fittings from Lowes and ½” clear hose. Originally the galley was going to be modular, but I don’t think it will ever need to come out. The great thing about this faucet is it doubles as our indoor shower head because it pulls out about 6 feet.
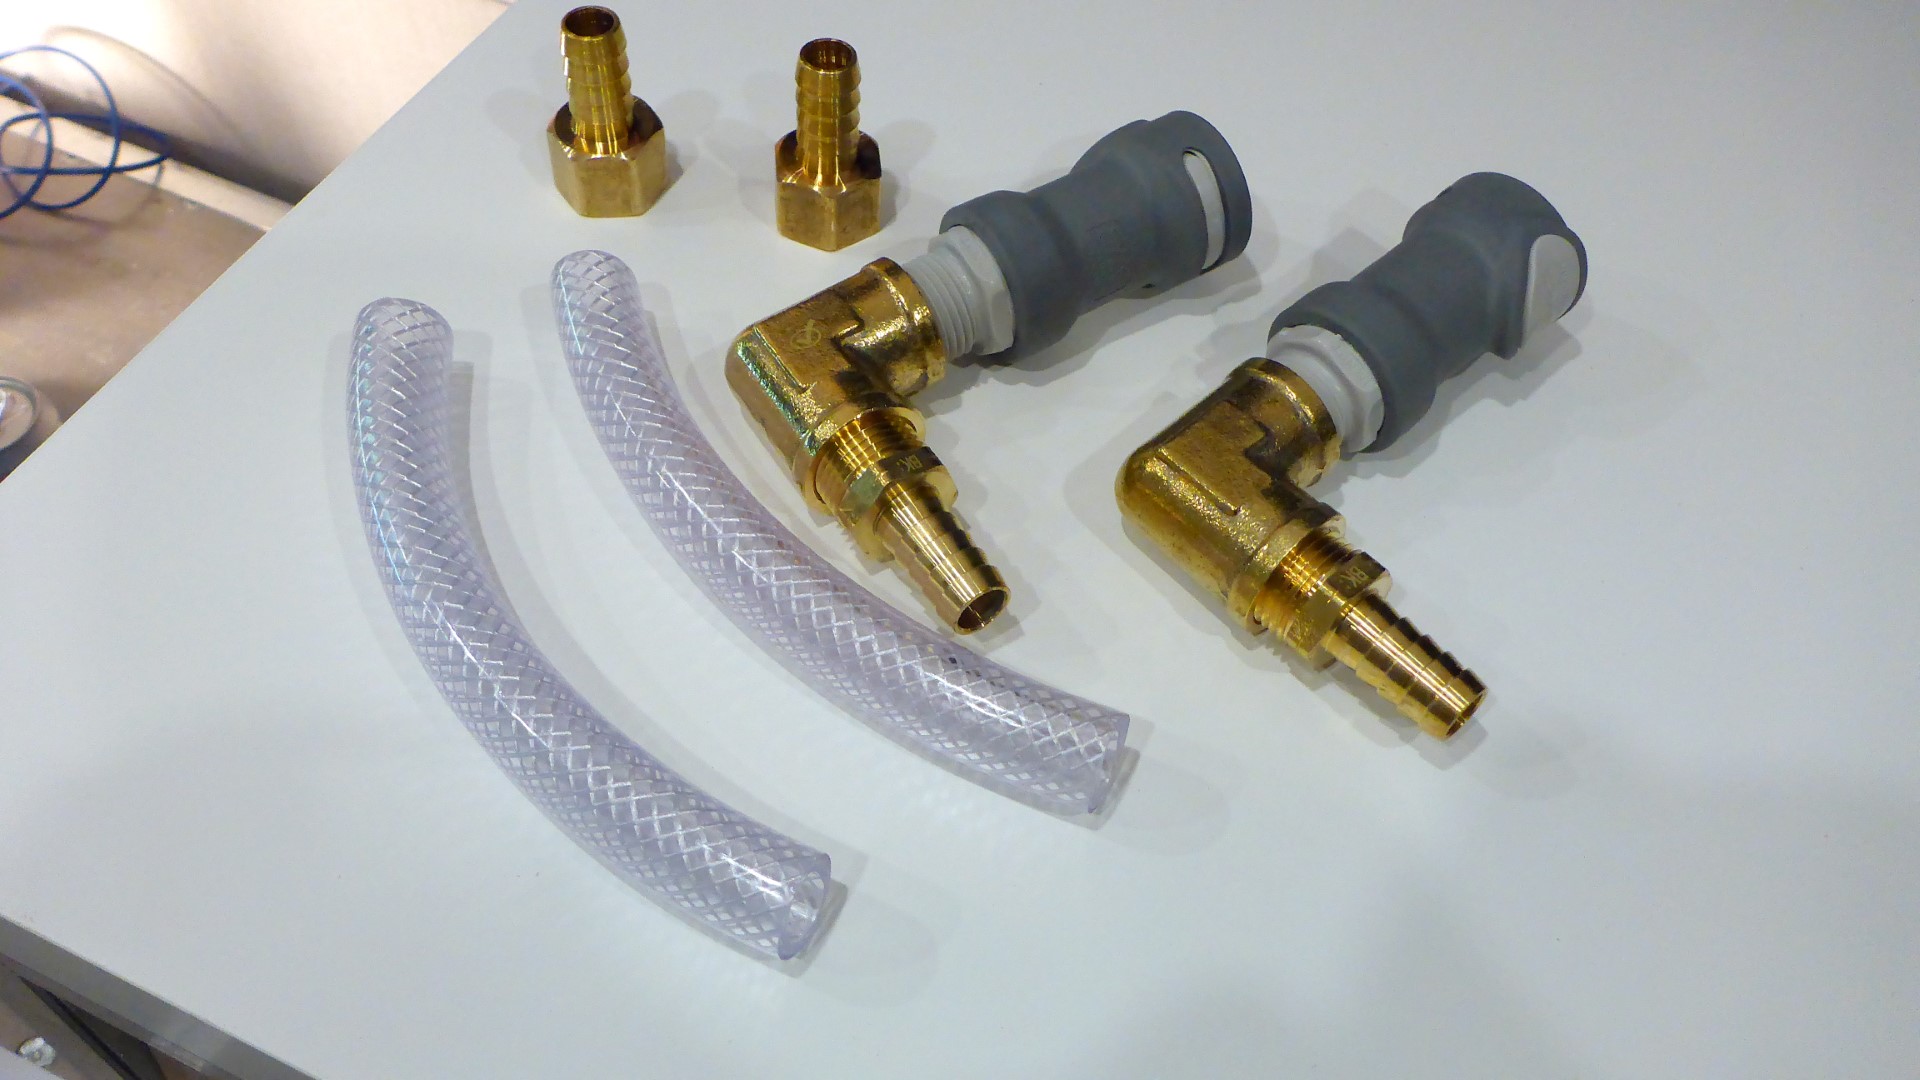
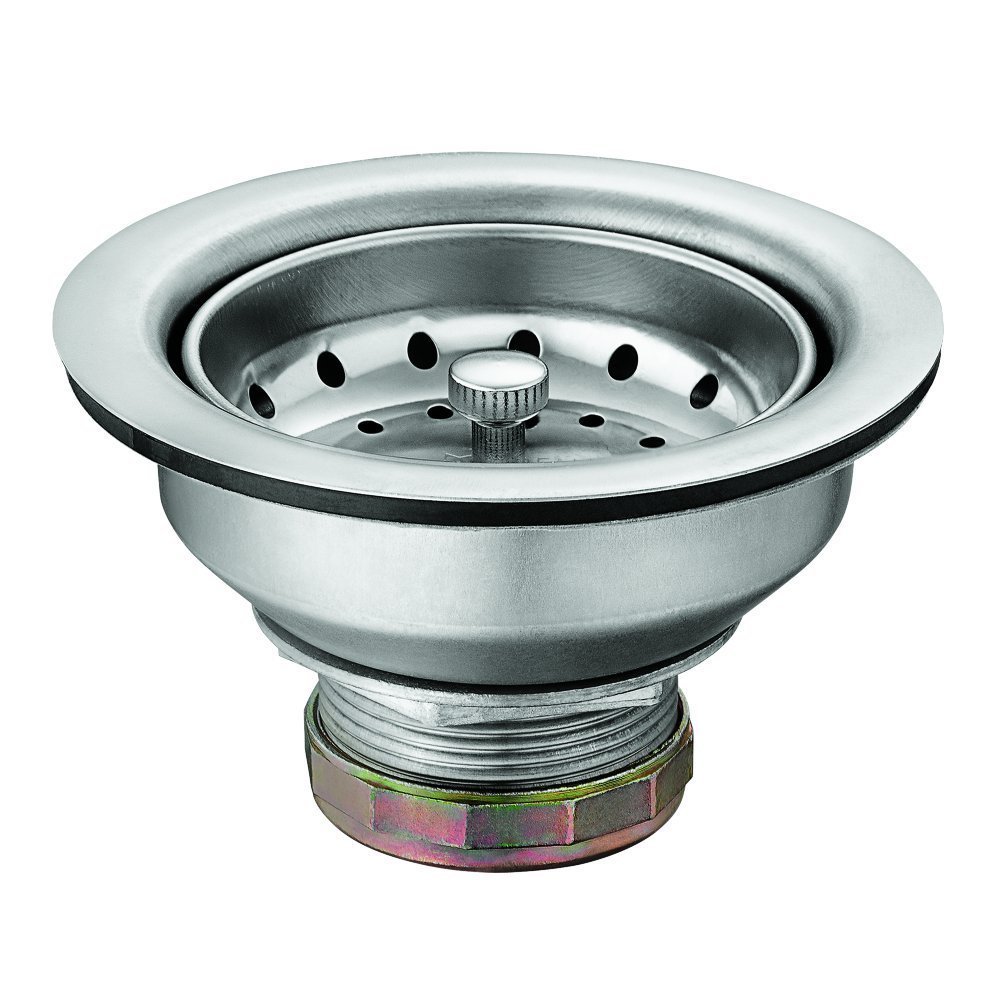
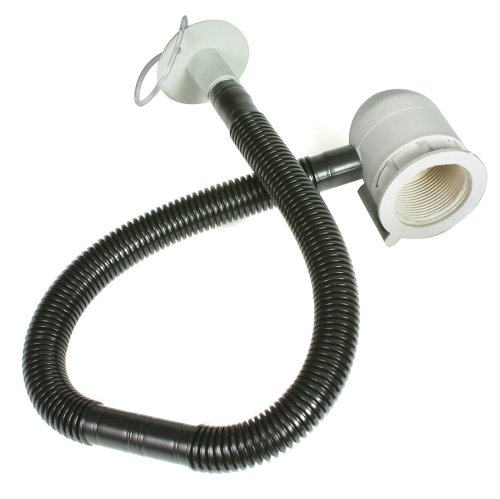
The drain that came with our sink was not as low profile as I would have liked, so I just bought a regular kitchen sink drain and screwed on a Camco RV drain adapter to get a 90° bend. The black, plastic hose that came with the drain adapter was not used. I pulled it off and used clear, braided hose instead.
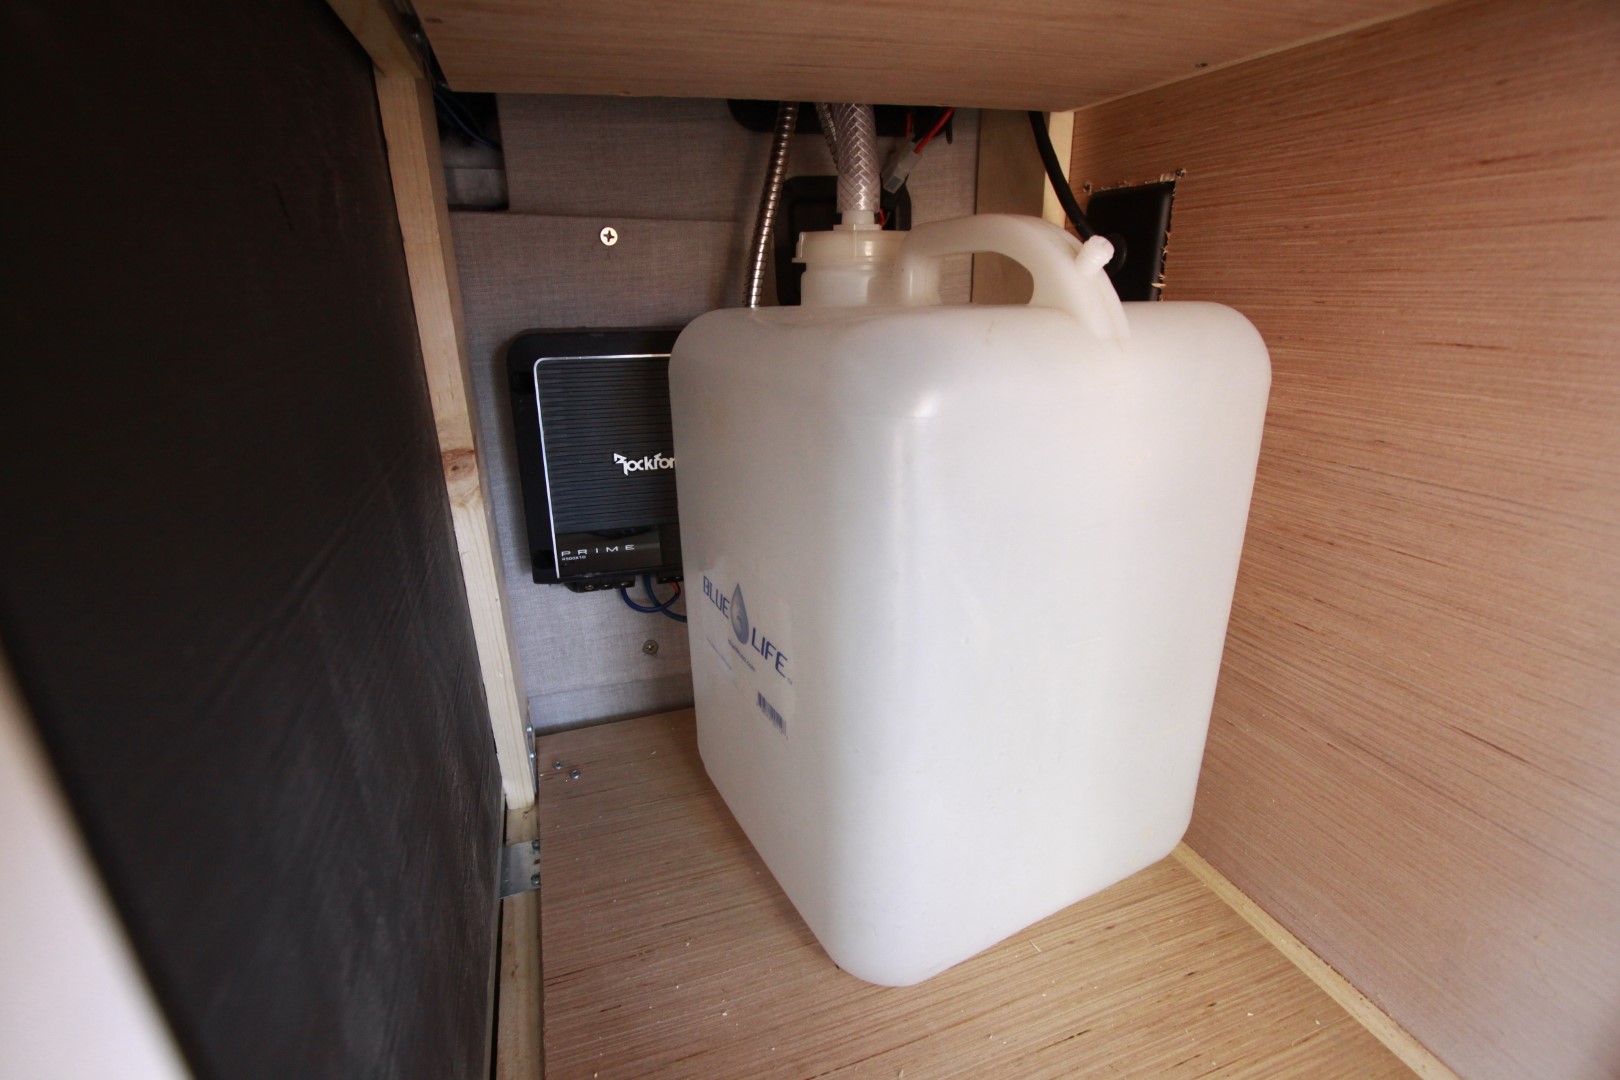
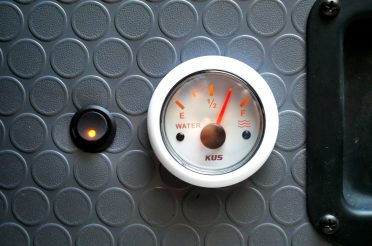
The sink drains into a 5 gallon, clear jug via 1″ clear braided hose. We may add a level indicator alarm or a second small bottle, but 5 gallons is usually plenty of capacity for a few days if conservative. We didn’t want a gray water tank under the van for a couple of reasons. It would only add more weight, cost, and work. Using Dr. Bonner’s Castille soap allows us to dump our gray water just about anywhere and still be Earth-friendly.
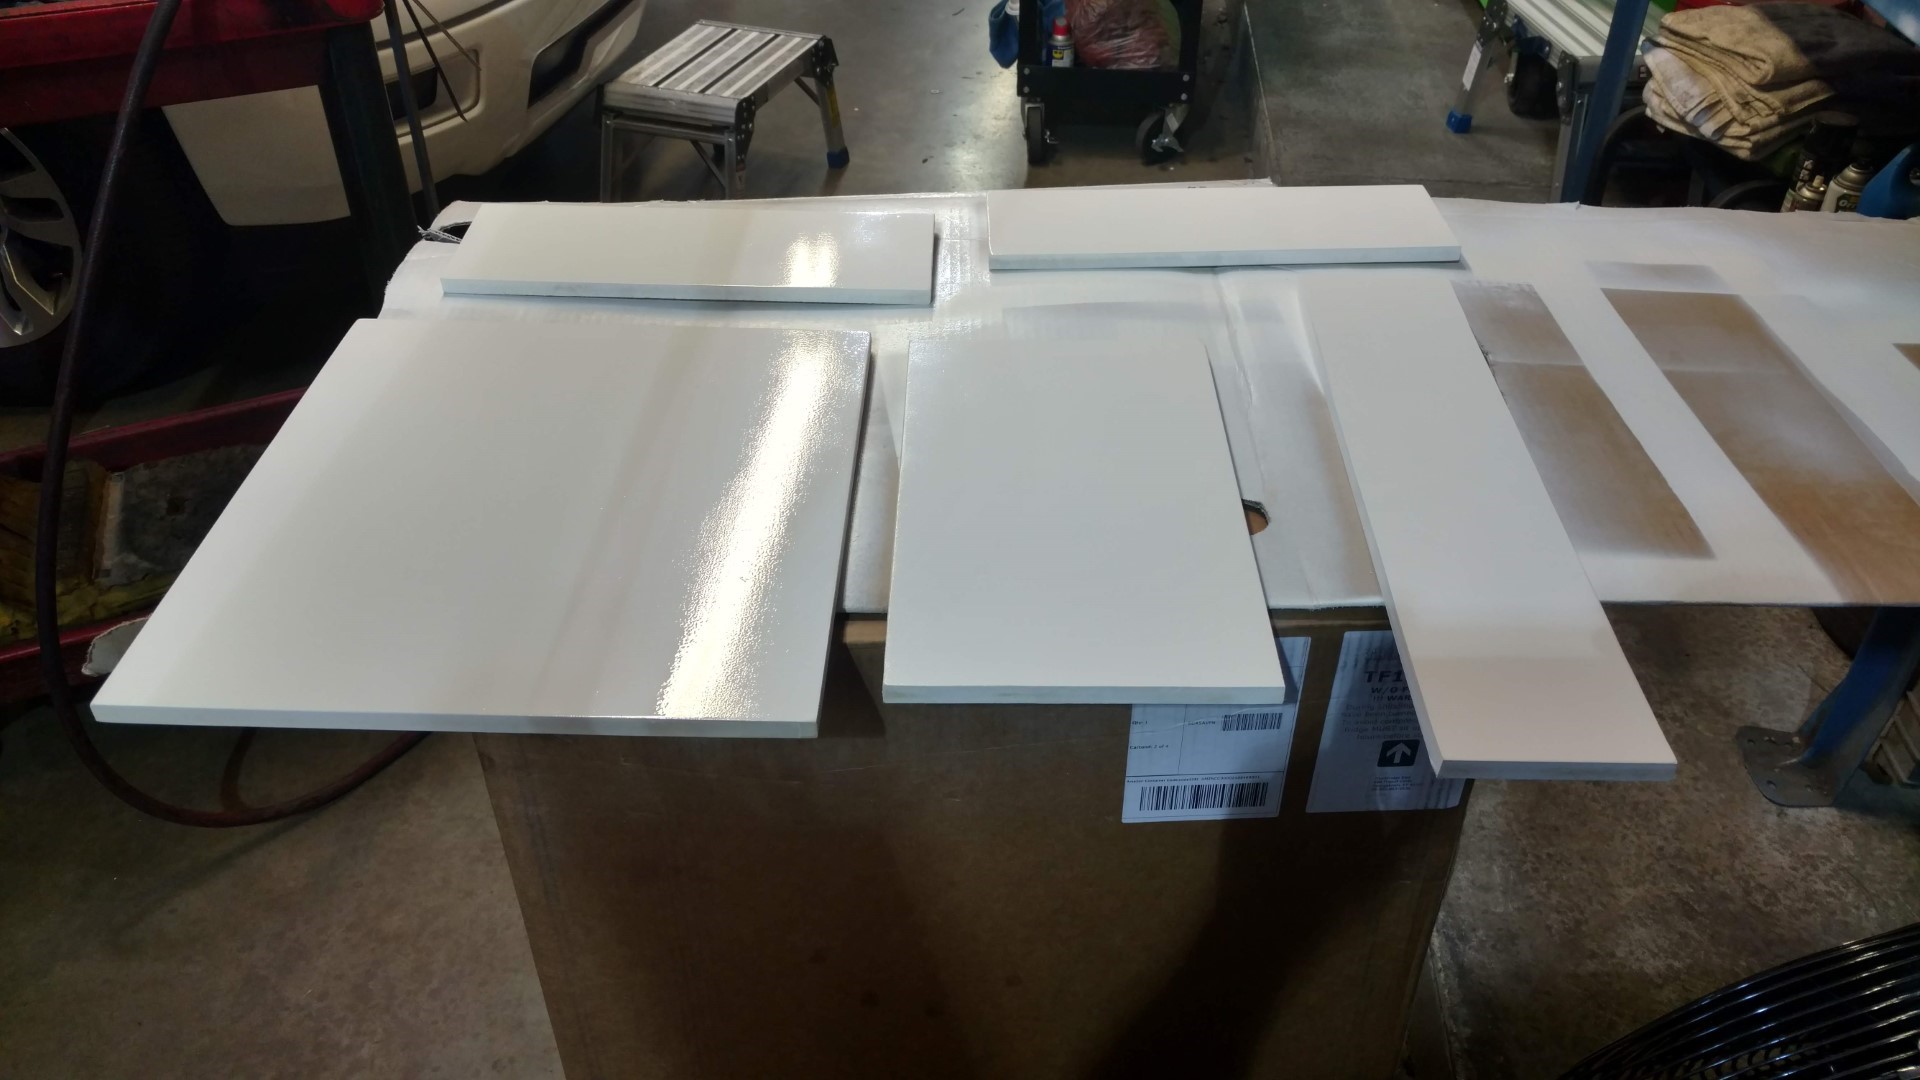
Drawer fronts were cut out of MDF board, sanded, and painted using furniture spray paint.
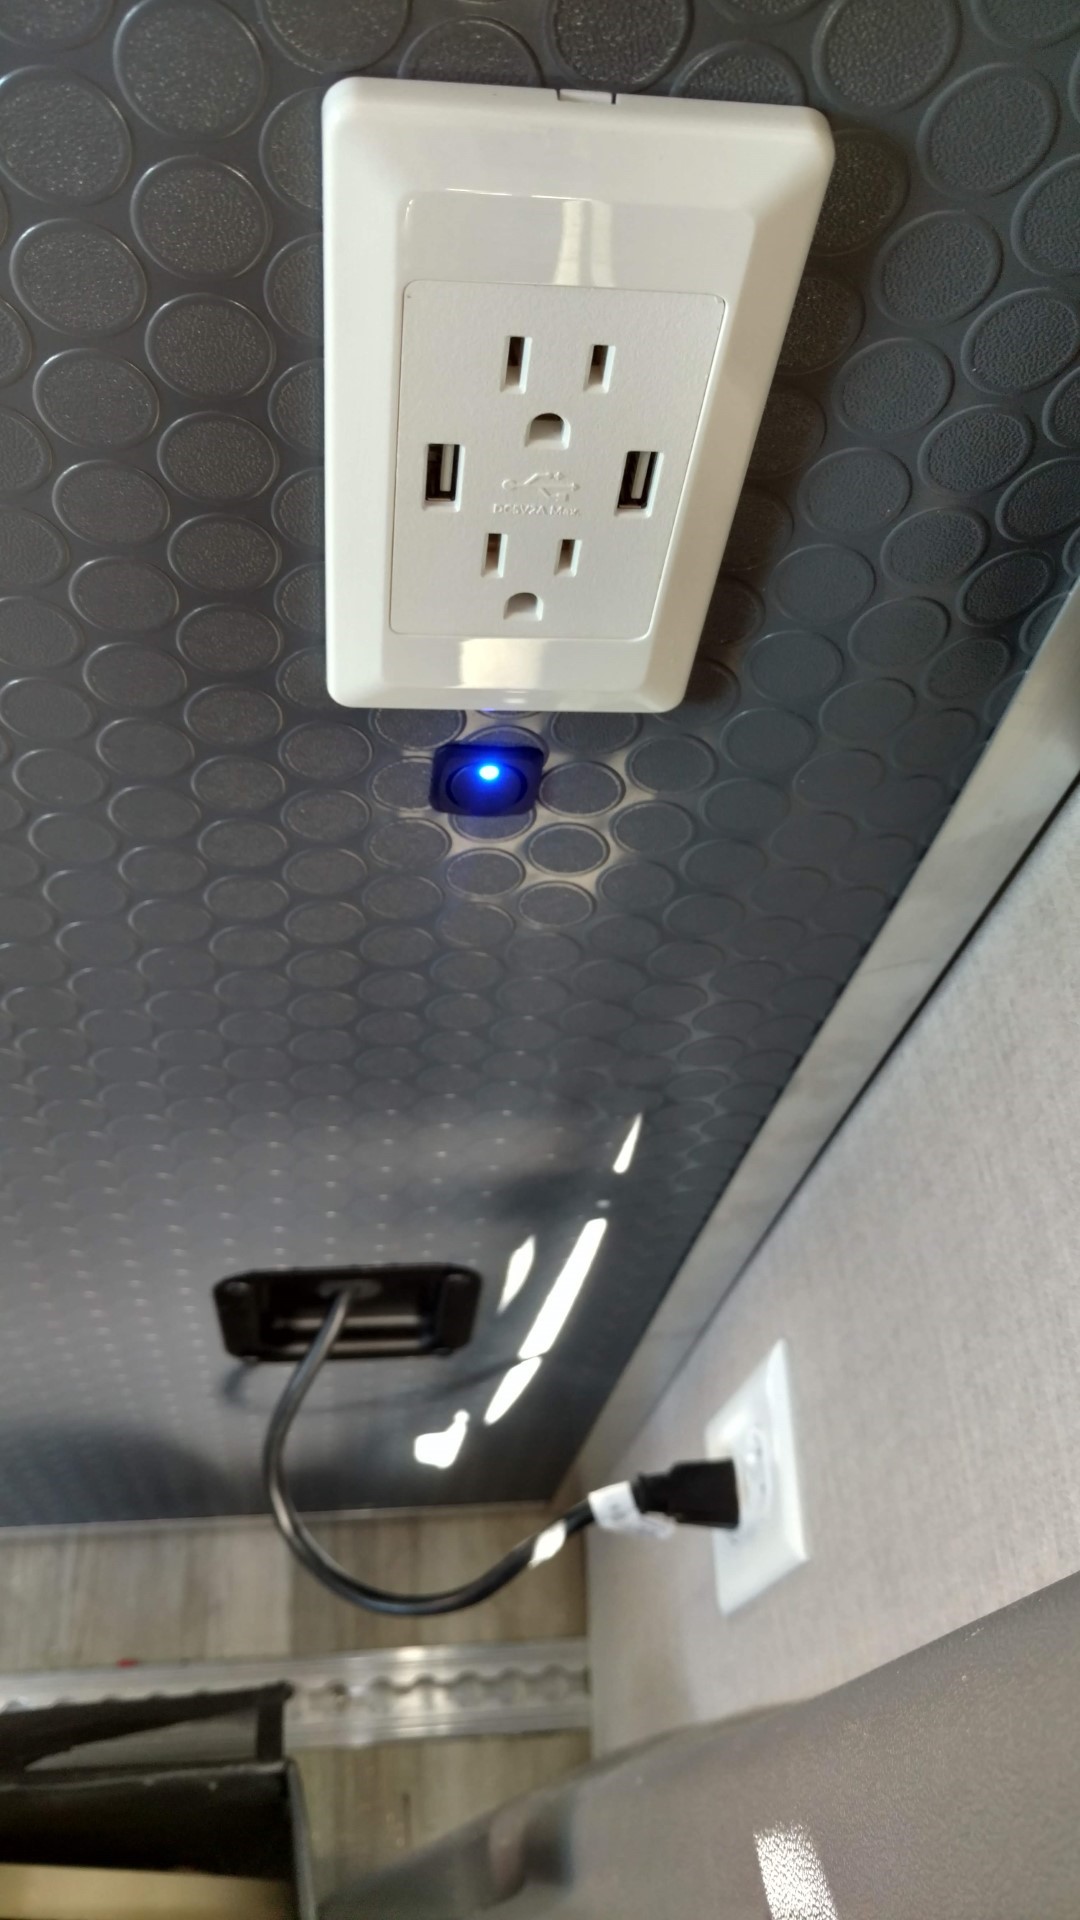
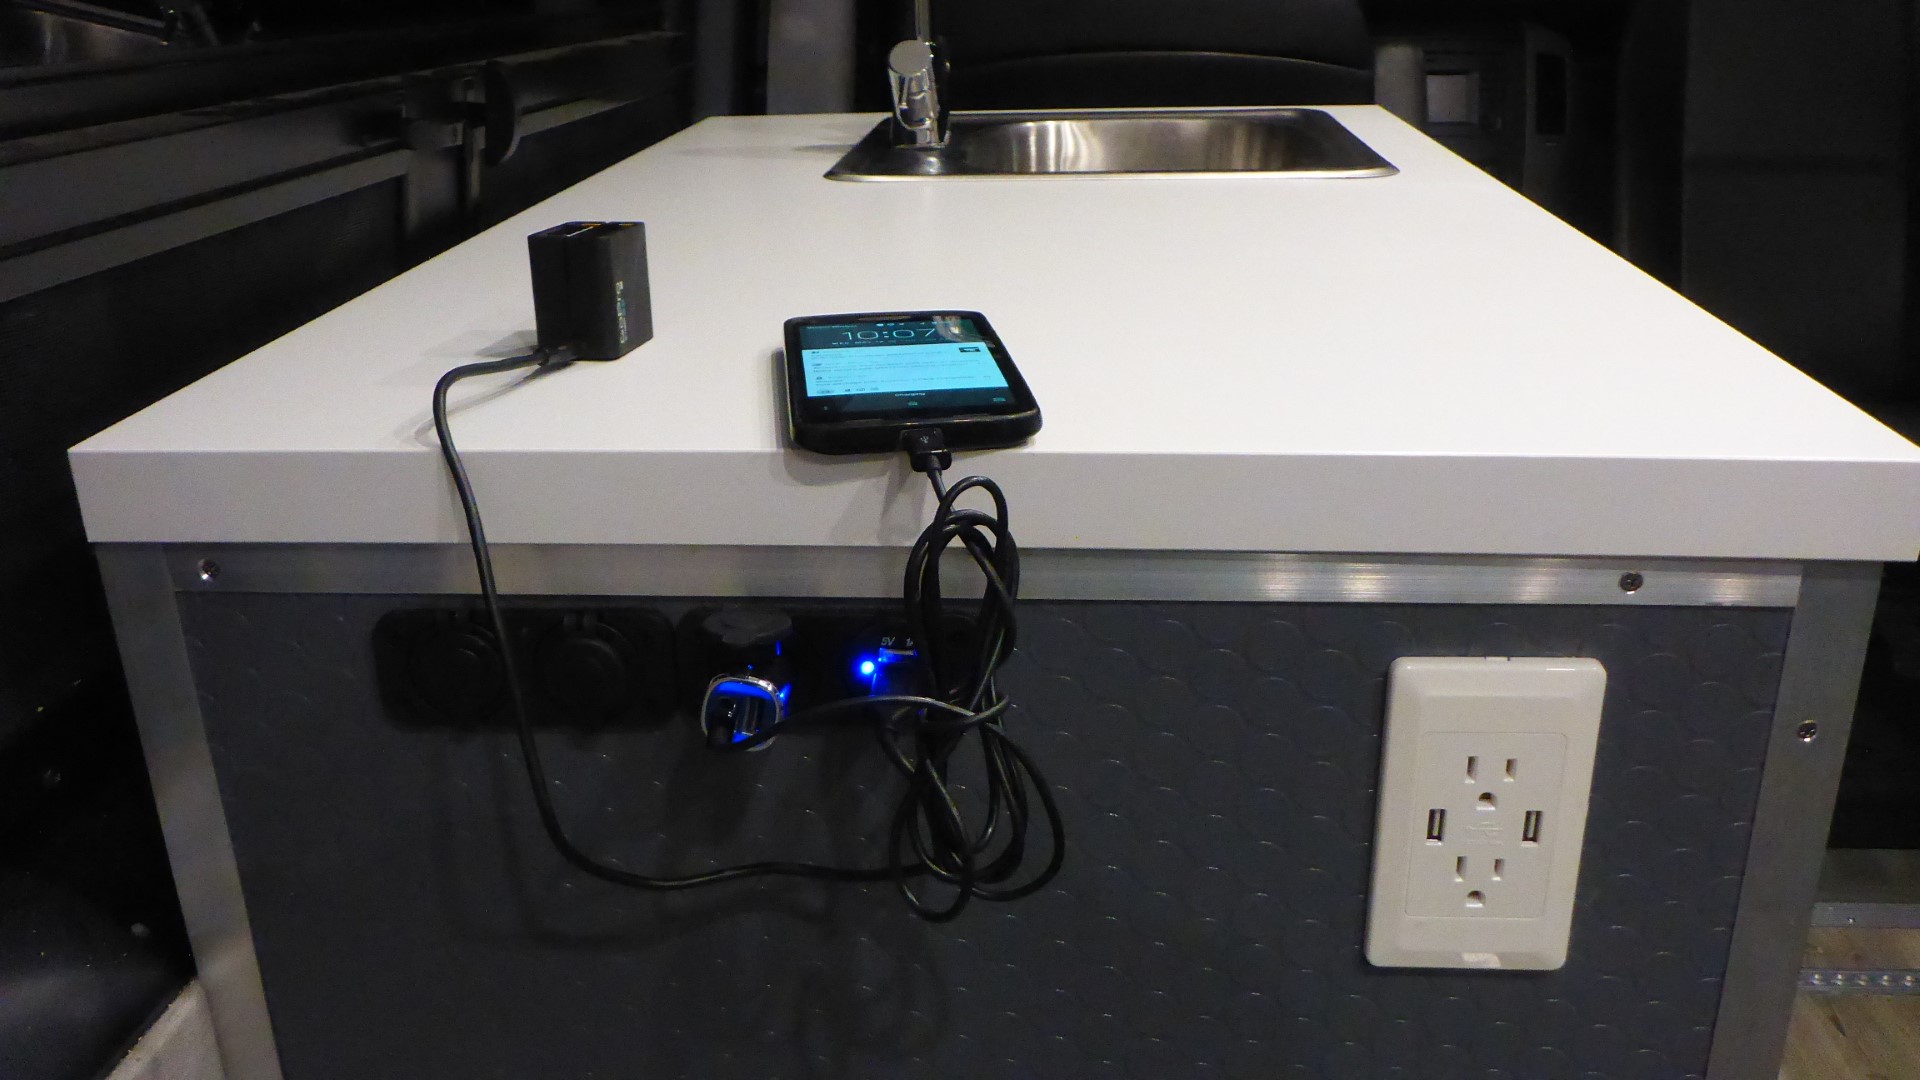
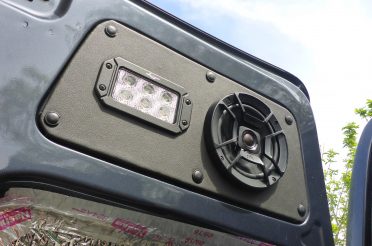
110V power outlets with USB and a refrigerator switch were installed in the right side of the galley. The power cord you see below powers up the 110V outlets in the galley.
The drawer fronts were installed, the fridge was turned on and the water was flowing!

The fridge is awesome! It is plenty big and even has a little freezer and crisper. 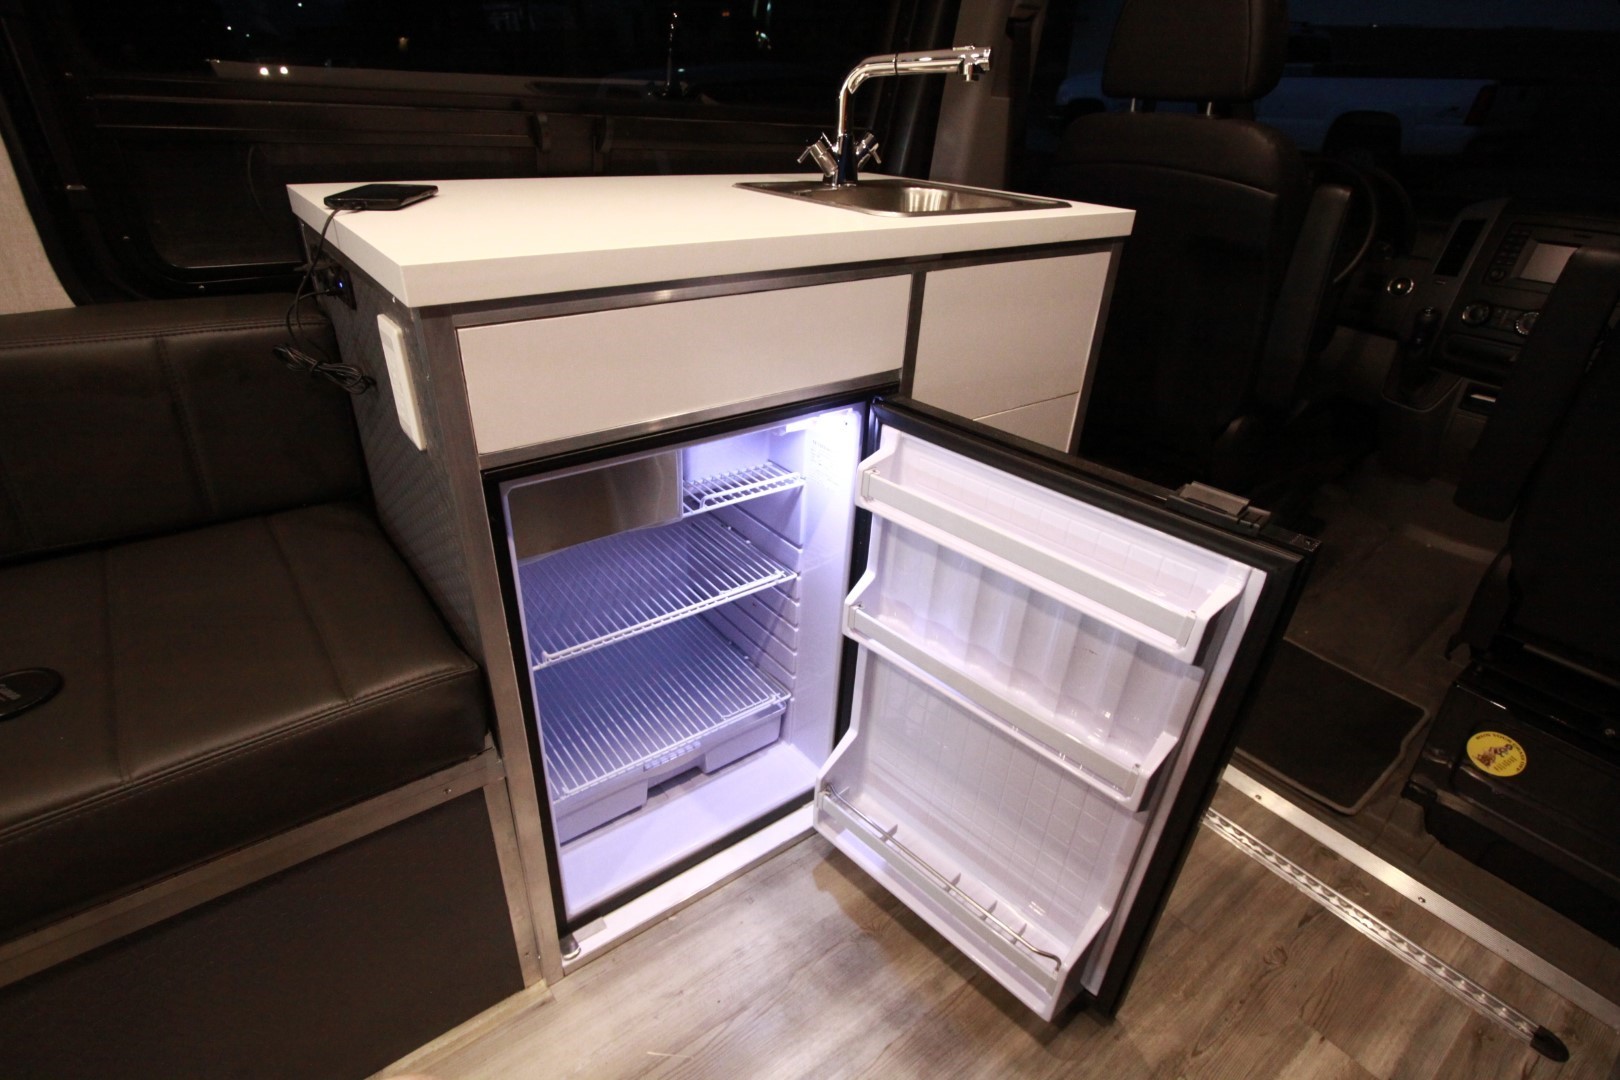
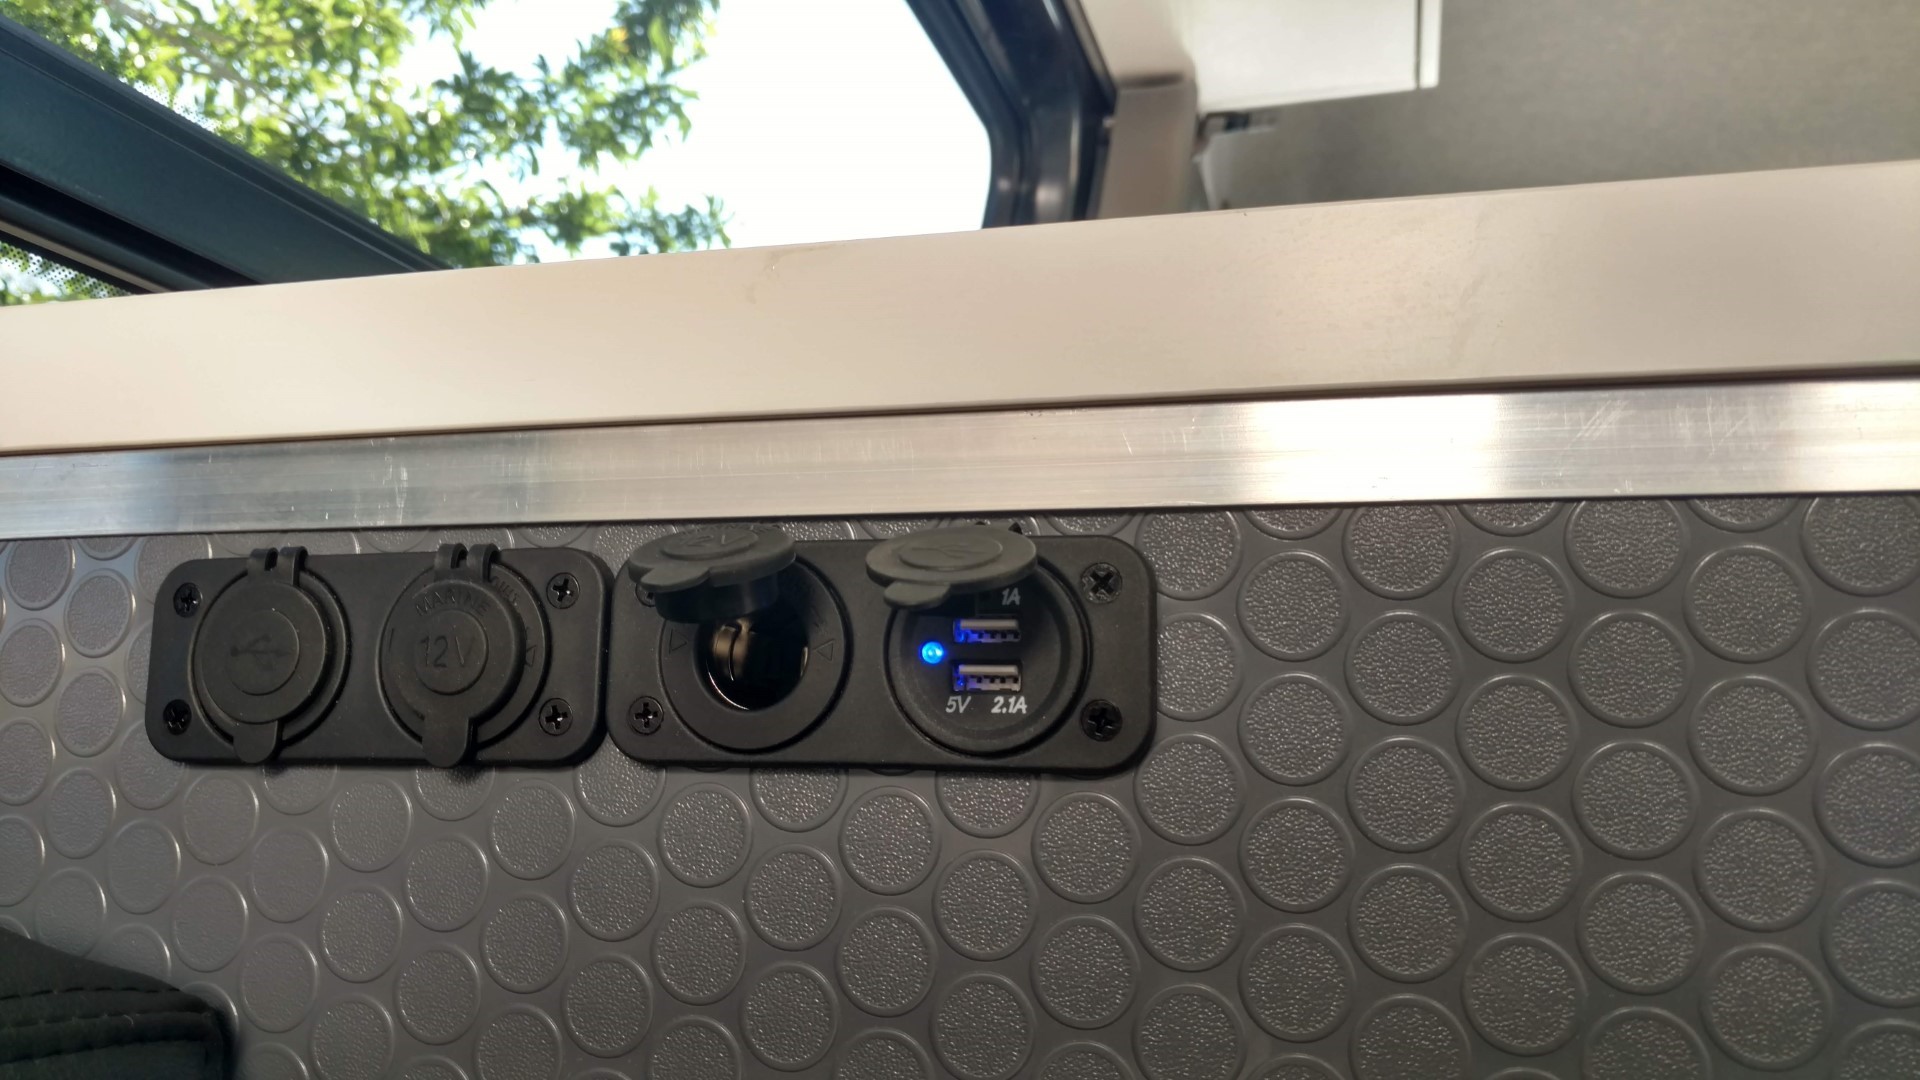
There are plenty of 12V and USB outlets in the galley to charge devices.
We added a bottle opener along with some flush drawer pull hardware. We didn’t want them sticking out and catching on anything.

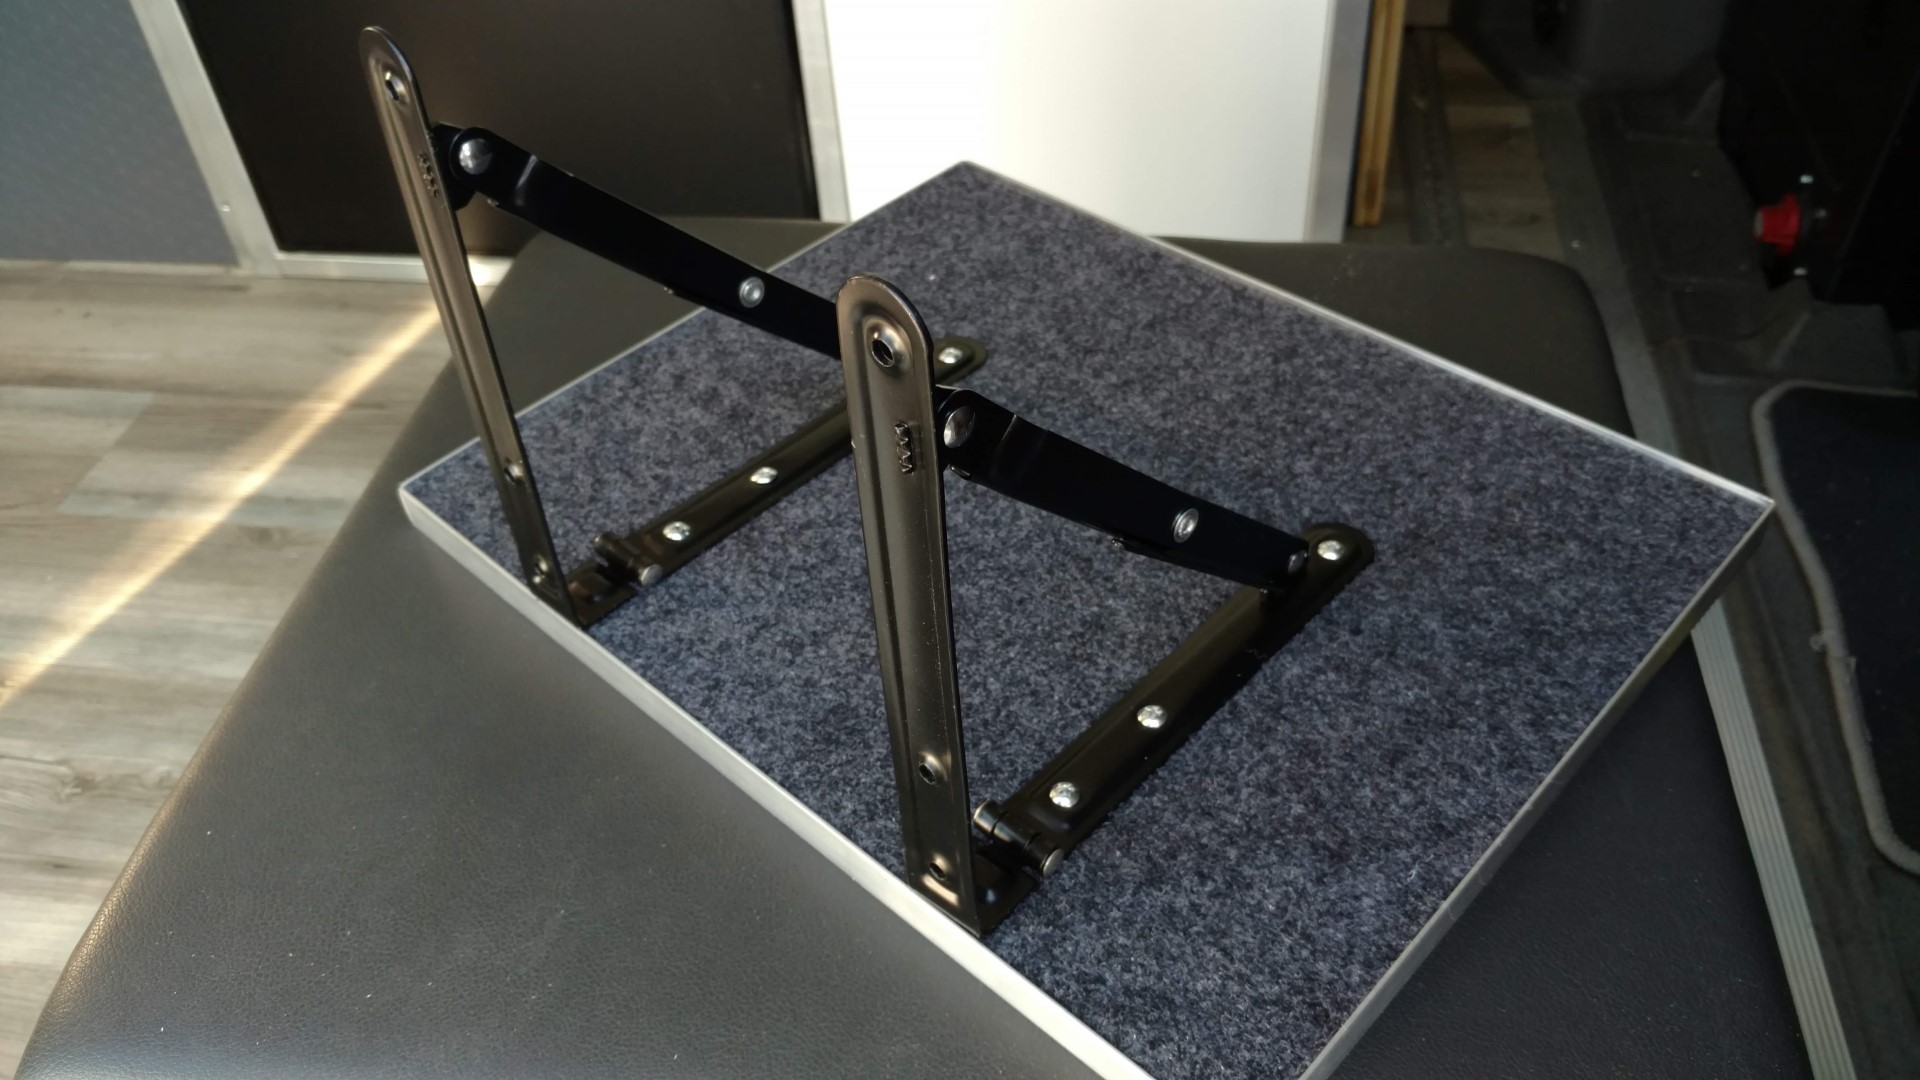
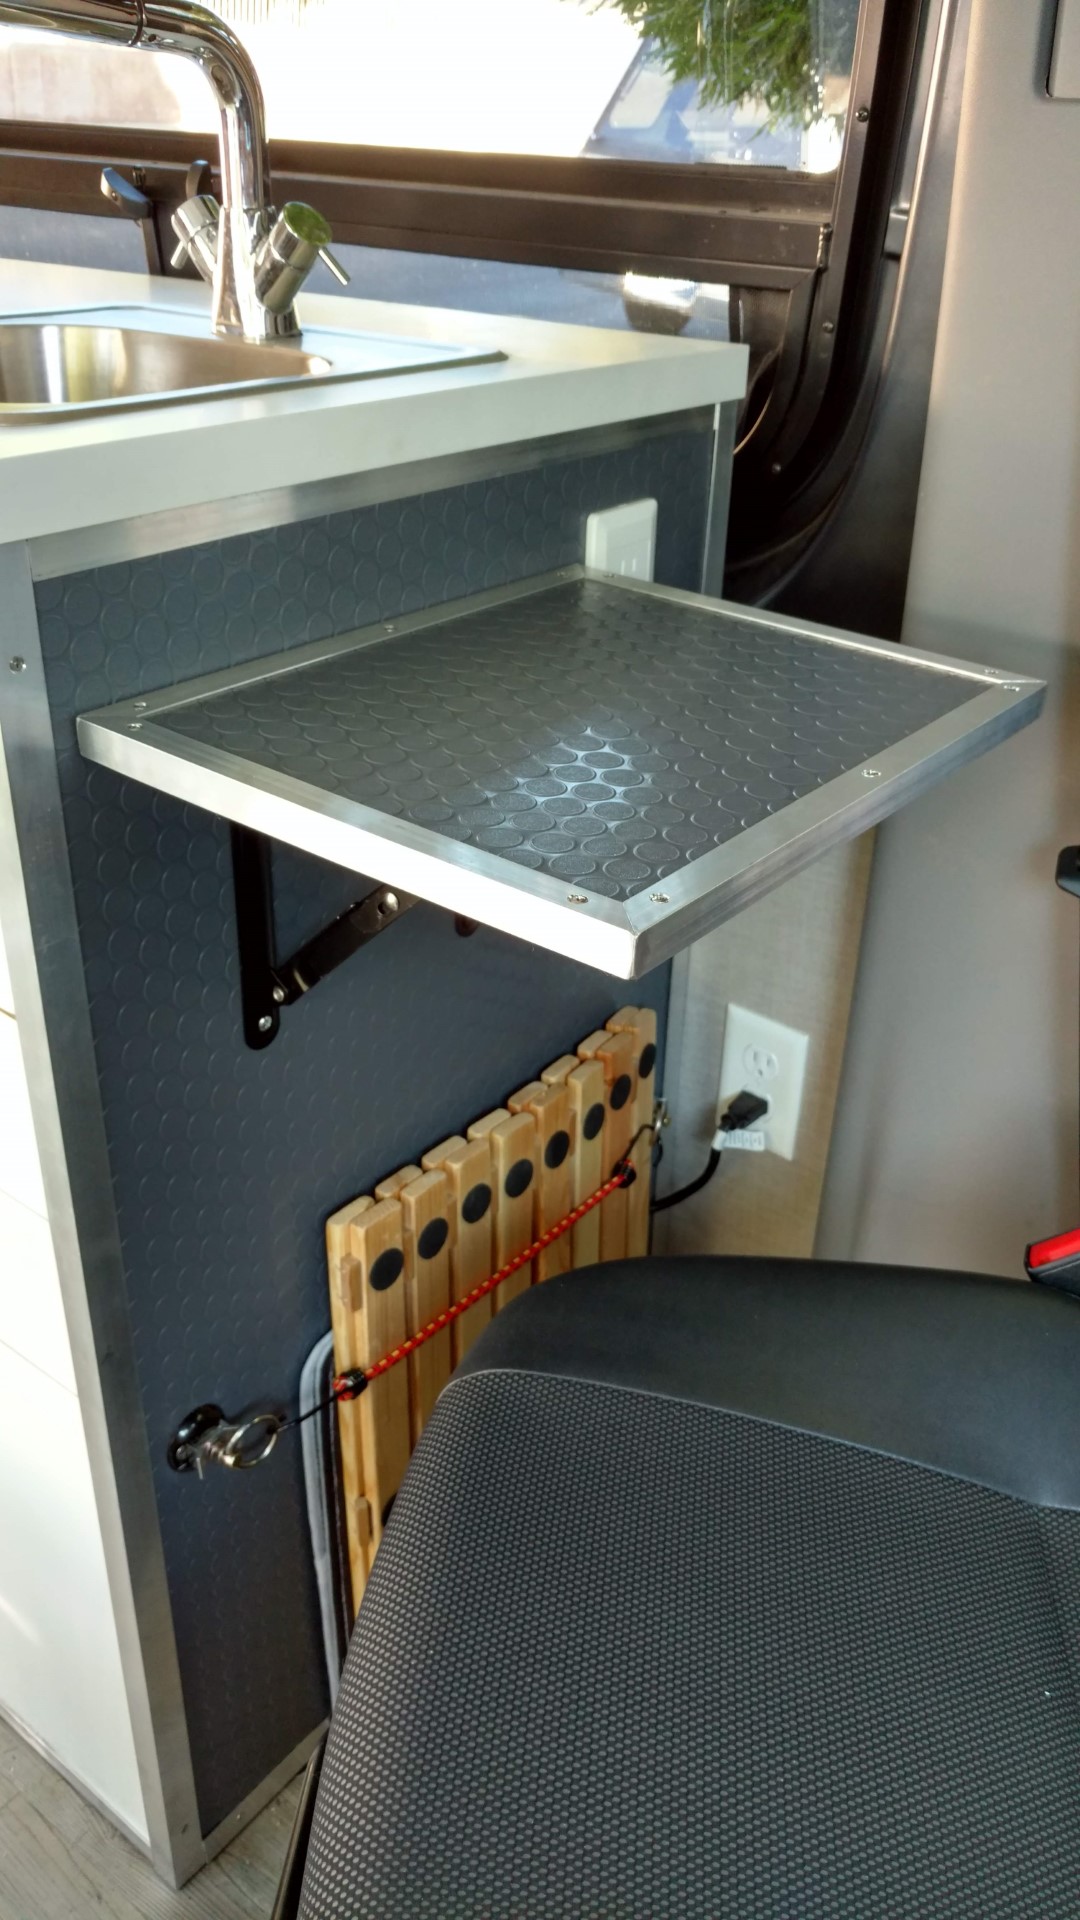
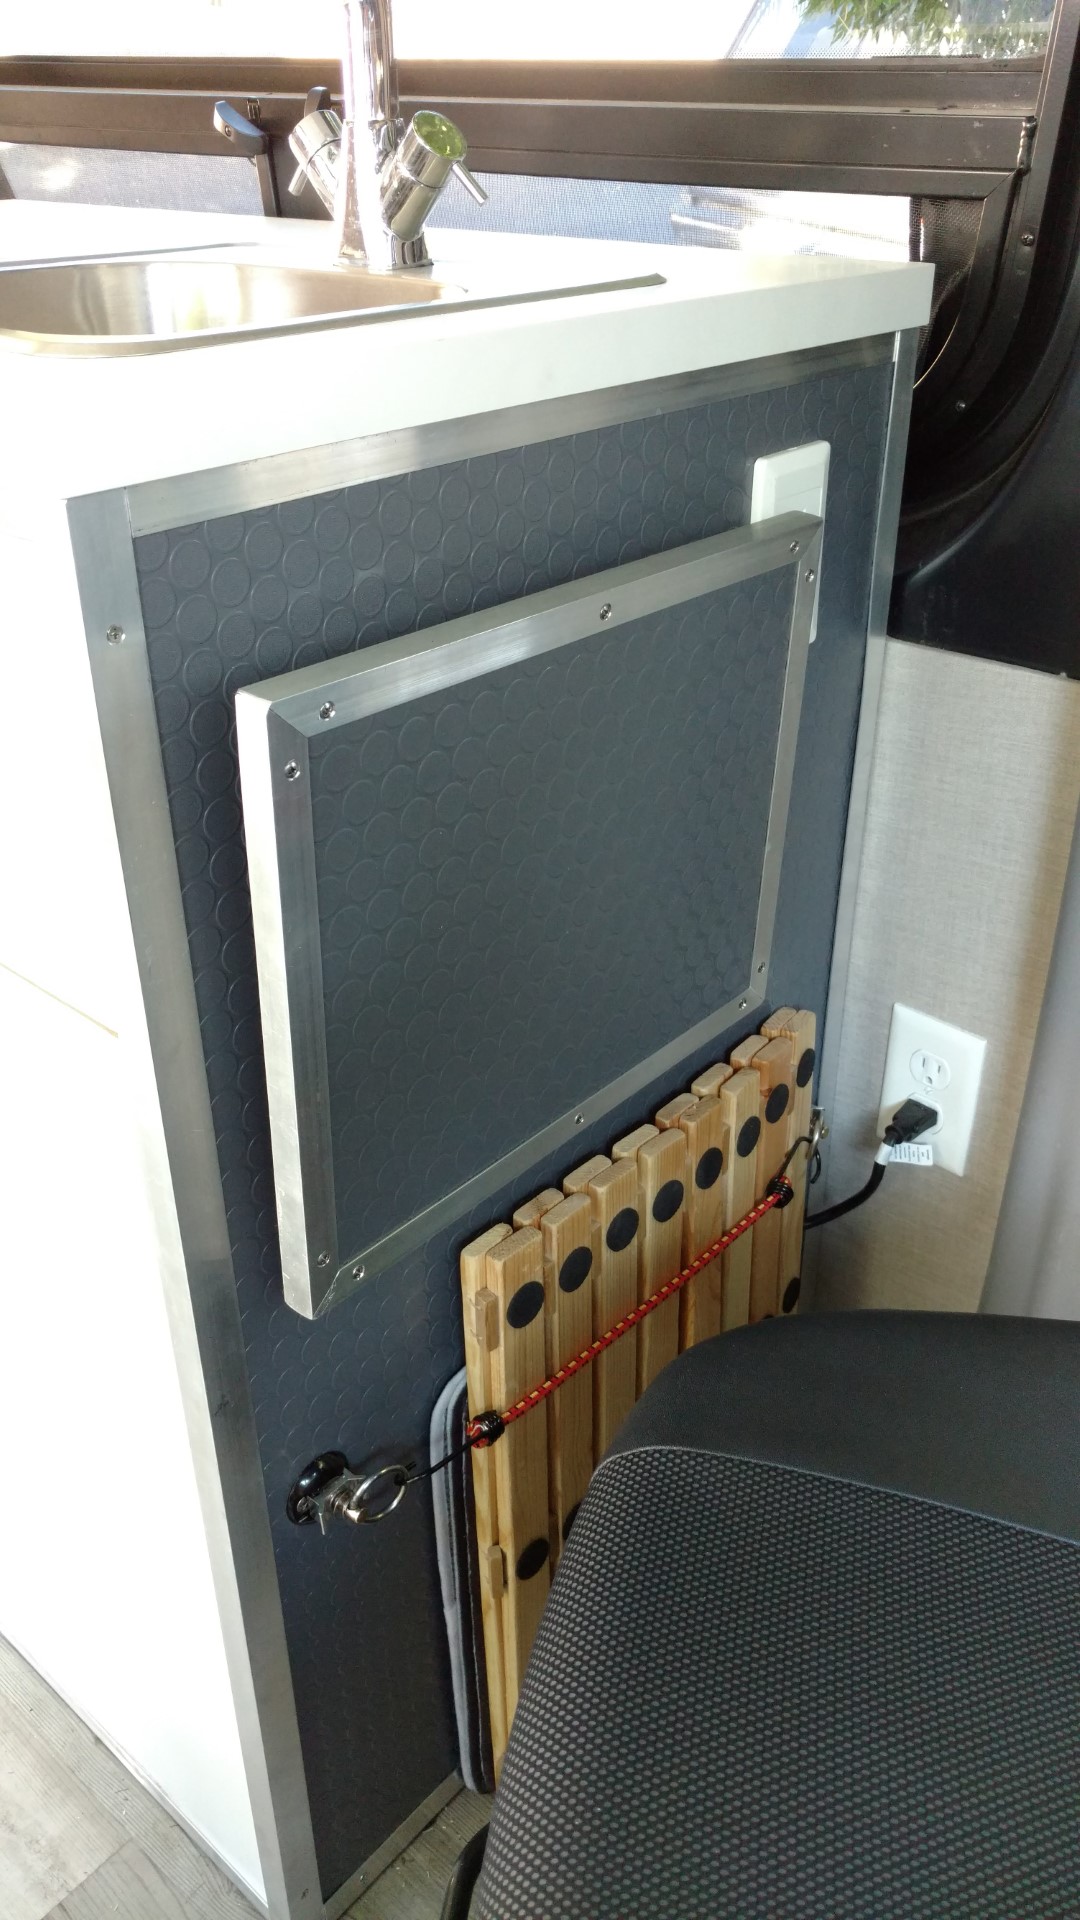
A side shelf was added to the cabinet to expand our counter space and also to be used as a table. The folding brackets allow the shelf to be folded down and out of the way.
And there’s our kitchen! Simple, yet very functional. 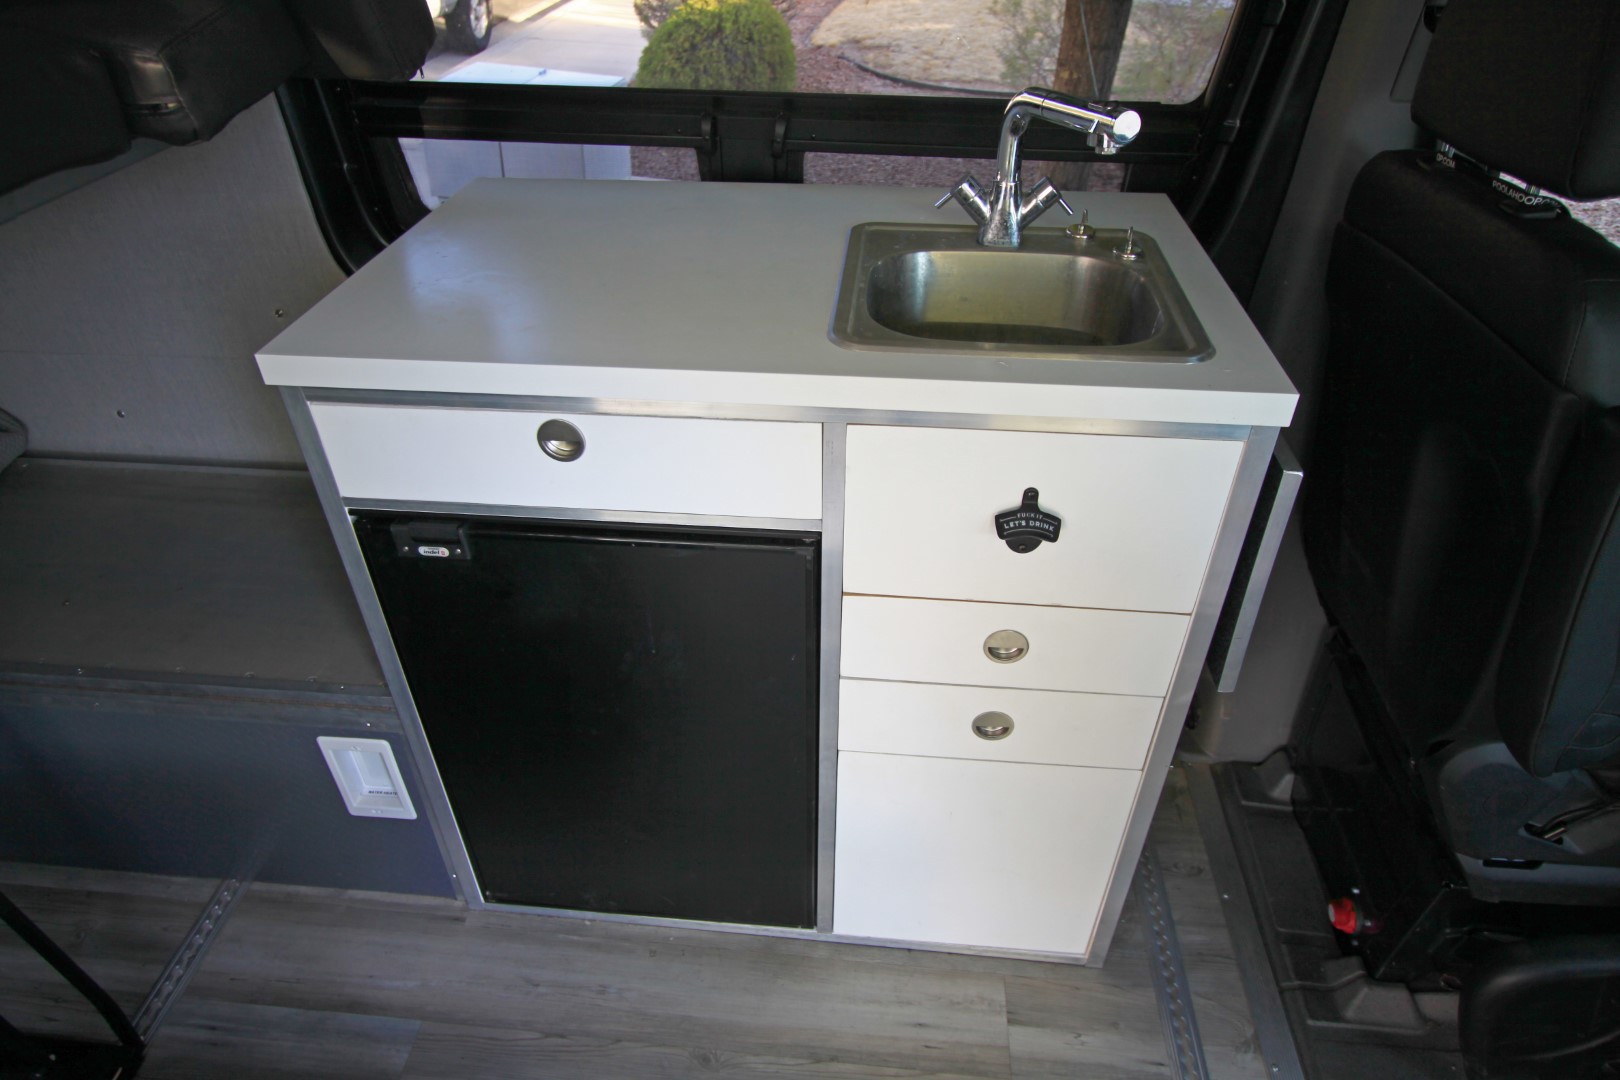
Galley Dimensions

width: 39.5 inches
height: 38.0 inches
depth: 23.5 inches
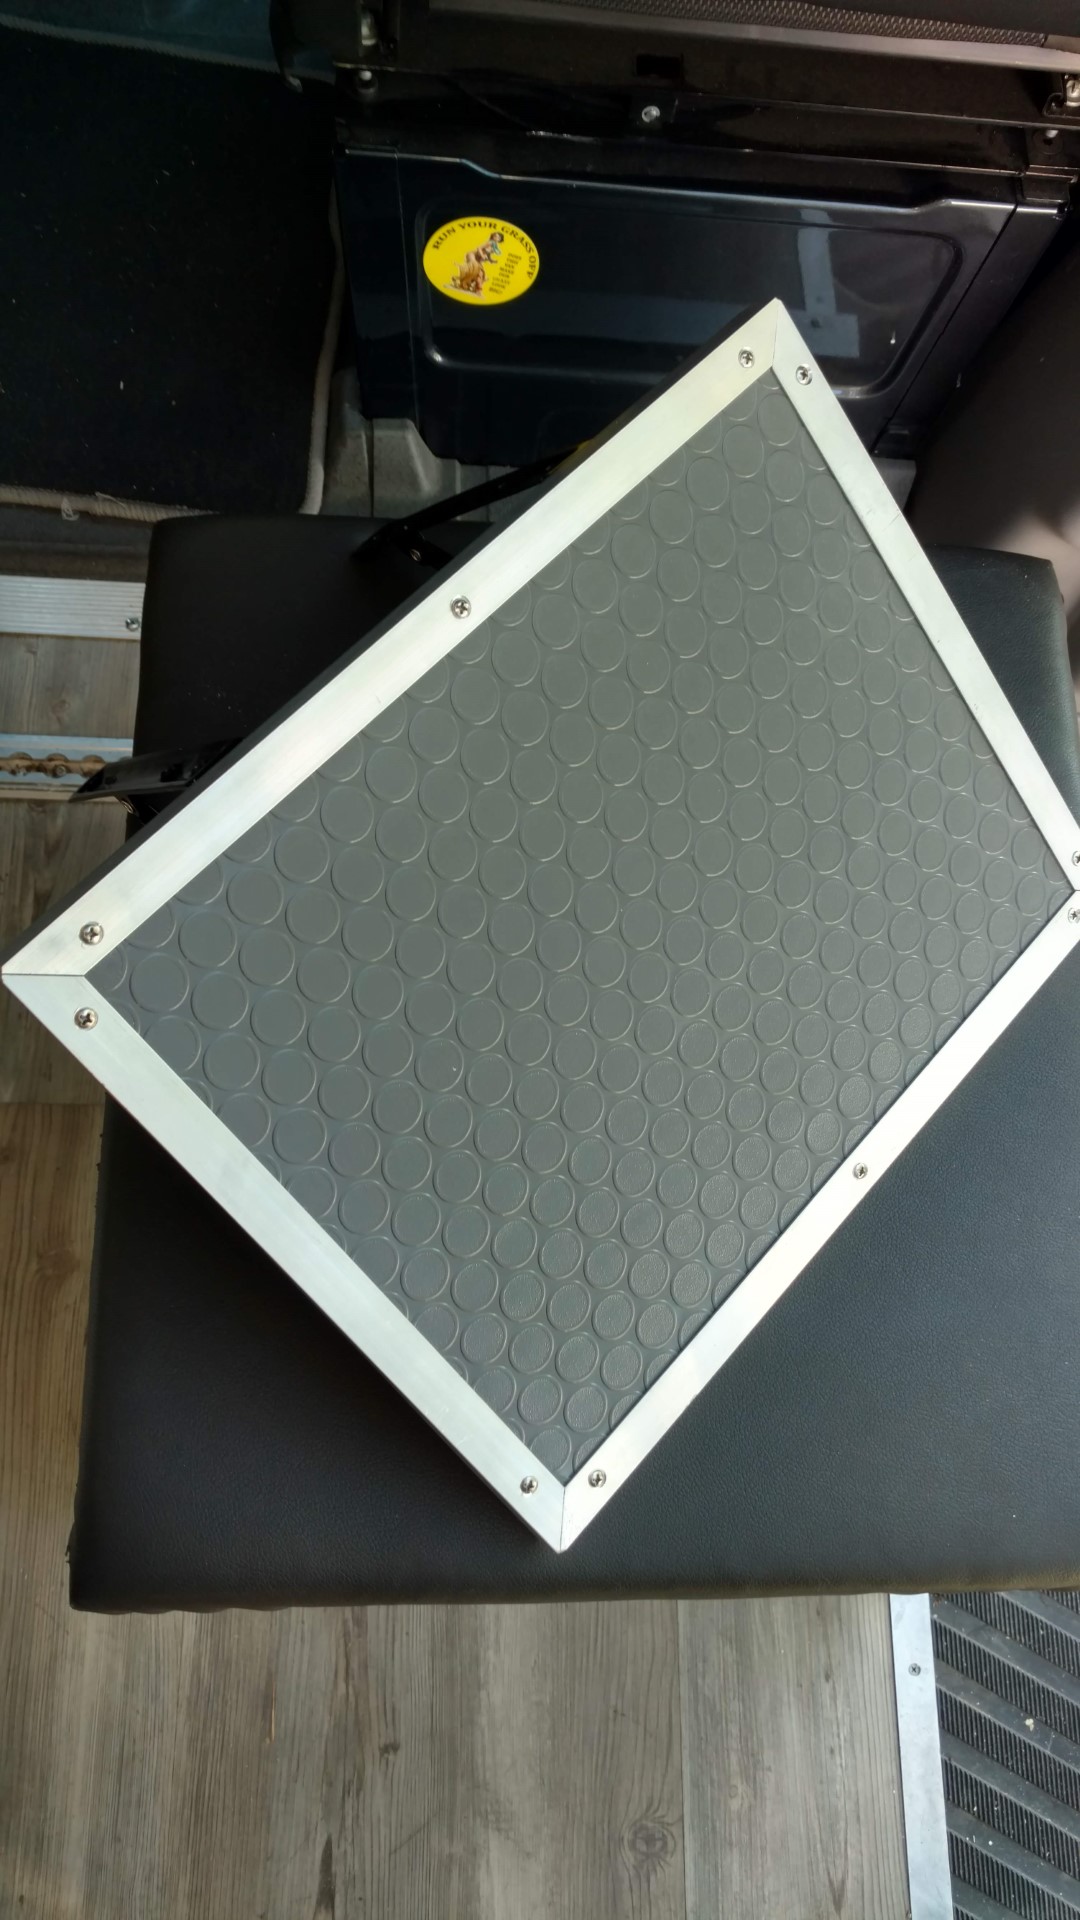
Countertop Update!
Here’s how our Ikea tabletop worked out and what we did to make it MUCH more durable and look a whole lot better.

Parts List
- TF130 Truckfridge (not always available on Amazon, but they always have the best price when in stock. Also, buy the added protection for $17! Cheap piece of mind) If not available on Amazon, check directly with Truckfridge.
- Soft touch latch
- Countertop (tabletop) from Ikea
- stainless sink
- 3M 80 Rubber and Vinyl adhesive
- 110V/ USB power outlets
- 12V and USB power outlets
- Rubber coin grip matting
- Colder quick connect, panel-mount water fittings
- Colder quick connect, ½” male fitting
- Metal mounting plate
- ¼-20 rivnuts to secure cabinet to wall
- kitchen sink drain/ strainer
- Camco RV drain adapter
- 5-gallon clear jug (gray tank)
- 1″ clear braided hose
- ½” clear hose
- ½” male barb
- ½” female elbow
- ½” barb to ½” female thread
- Bezeled 12V switch


13 Responses
Claude Desaulniers
I saw multiple of your post, nice! For your cabinet corner, you use angle metal from Lowes. Do you find them hard on the shin, compare to a “rounder” corner?
Pete
Thank you, Claude. No, we have never had an issue with it.
Scott Brown
Very nice. I really like the simple is more philosophy used here. If I may ask what is the height width and depth of the kitchen galley ?
Pete
Thanks, Scott! The galley dimensions are 39.5″ wide, 38″ tall, and 23.5″ deep. I updated the post so the information is on there for future reference. I appreciate the comment.
Stephen M Lucas
Super clean install, such a rad aesthetic. I’m building a similar cabinet for my TF130. But did you secure the fridge somehow? Or does it just sit in the cabinet without any additional fasteners required? While I don’t foresee it flying out of the cabinet, vibration over rough roads are my concern. Cheers!
Pete
Thanks a bunch, Stephen! The fridge is definitely secured to the galley cabinet. If you look at the photo of the galley/cabinet wooden frame, you notice the bottom has two wood supports that go across the bottom. I positioned them in a way that the feet of the fridge fit into this boxed area preventing it from sliding in or out of the cabinet. On the top, I removed the screws at the door hinge brackets. Then I used L brackets (found in the tie plate/ wood framing section of Lowes/ Home Depot) to secure the shelf above the fridge and ran the screws all the way through into the door hinge bracket holes. It was a little tricky lining it all up, but it worked out well. I don’t have many pics that explain what I’m talking about, but I might have some that show it a little better. Email me if you’d like them. 🙂
Seth
Hi Pete! In your experience, what as the amp draw been for the TF130? I want to make sure I fuse it correctly. Seeing some reporting a max of 6 amps, normal/standard operating at 1-2 amps, but others saying it needs to be fused at 15! Any help with your experience and use of it for a while now would be super helpful!
Pete
Hi Seth. Yeah, you have the correct info. I have never seen more than 5-6 amps but it is usually running about 3.5 amps. My circuit is fused at 15 amps.
Robyn
Hi Pete! You installed the same dual T-vent driver’s side window I am considering for my van. My build will also have a countertop height cabinet. Do you find that having that cabinet there restricts airflow through the van and to your fan? If you did it all over again would you use the same window or go for a smaller universal window? Thanks!
Pete
Hi Robyn. I imagine having the counter height that high does restrict airflow to some point, but I haven’t noticed any issue. We still get plenty of ventilation and wouldn’t change a thing.
Robyn
Thanks for the reply! I was debating a smaller universal window but the full window looks so much better on the exterior!
Great build log btw.
Travis Wilson
Hey Pete,
What materials did you use for the drawers and faces?
Pete
Hey Travis. The drawer boxes are poplar and the faces are MDF. The bottom of the drawers is 1/4″ ply.