
Over the many years of camping and exploring in our Sprinter van, I have found what works with our setup and what doesn’t. If you’ve been following this blog since the beginning of our van build, you probably remember my post about our Surco ladder installation. While that ladder was initially an inexpensive and very easy solution for a rear ladder, we found out that cheap and easy won’t always cut it in the long run. It was time to upgrade to a more solid and better-quality ladder. In this blog post, I will go over the reasons we decided to go with a different ladder, the installation, and my final thoughts on our upgrade.
Reasons For Ditching The Surco Ladder
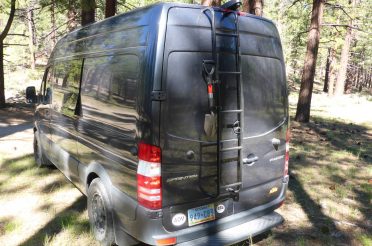
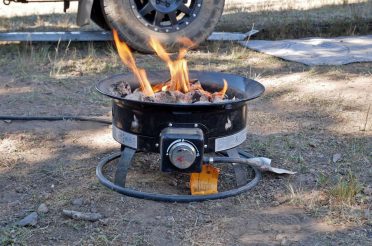
I am going to be completely honest by saying that the simple design of the Surco ladder suited our needs up until recently, but after years of use, it became rather janky. The design of that ladder is simply to hang off the top of the rear door and then bolt onto the bottom part of the door skin with two 1/4-20 bolts. Well, after many dirt roads and bouncing around, the top of the ladder became loose and started scratching into the paint. Maybe it was partially my fault for mounting some items to it such as the bag that holds the propane tank for our firepit. The thin piece of foam on the upper ladder mount, which is meant to protect the door, eventually degraded and fell off creating a loose and poor fit. The nail in the coffin for the Surco ladder was an oops moment we had when backing up the van in our driveway. (Totally our fault) Our van wanted to give our house a kiss and the Surco ladder was right there to stop it. Probably a good thing! Although it held up “ok”, the ladder became bent at the top and no longer stayed on the van without the help of a rather ghetto-looking ratchet strap.
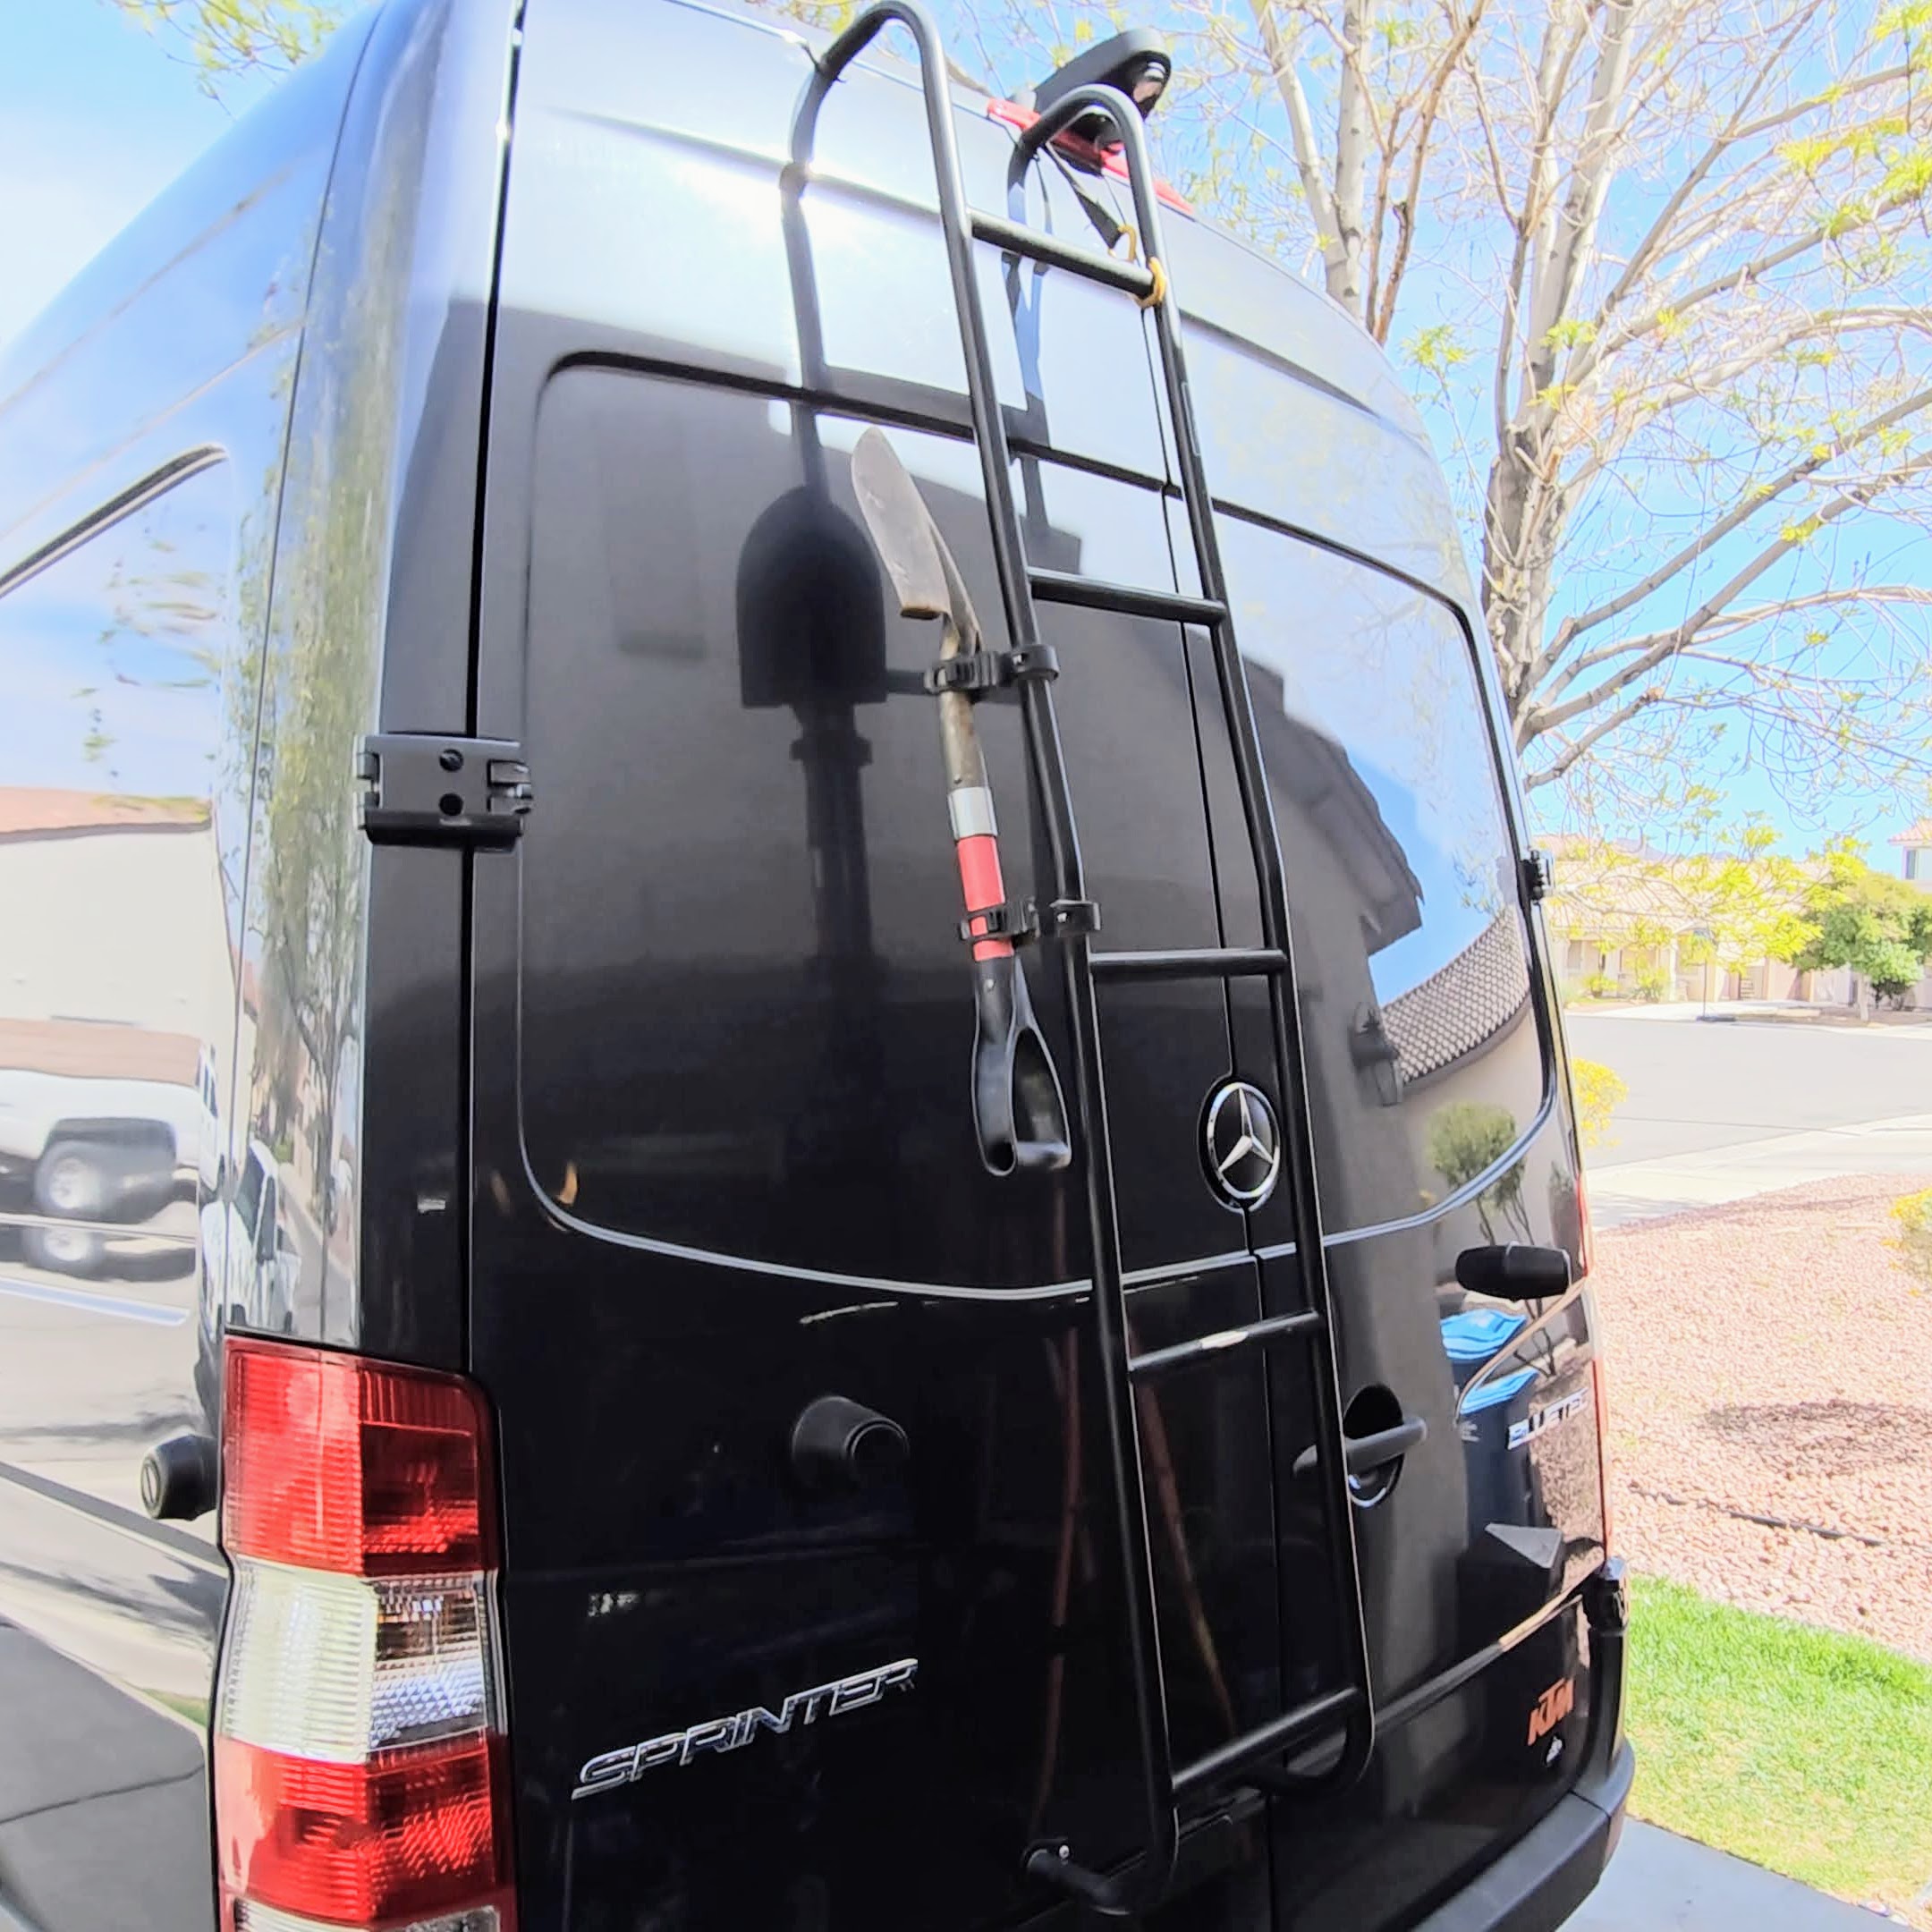
RIP Surco ladder
The Upgrade
It was time for a much-needed upgrade. I was contacted by Flatline Van Co and they were immediately able to help me put one of their solid products to use, their Sprinter Van Rear Ladder. If you aren’t familiar with FVC, they are a company out of Oregon that produces quality van products for DIY guys like myself as well as pro van builders. They make ladders, roof racks, bumpers, cabinets, bed systems….all sorts of really cool stuff!

FVC Rear Sprinter Ladder Install
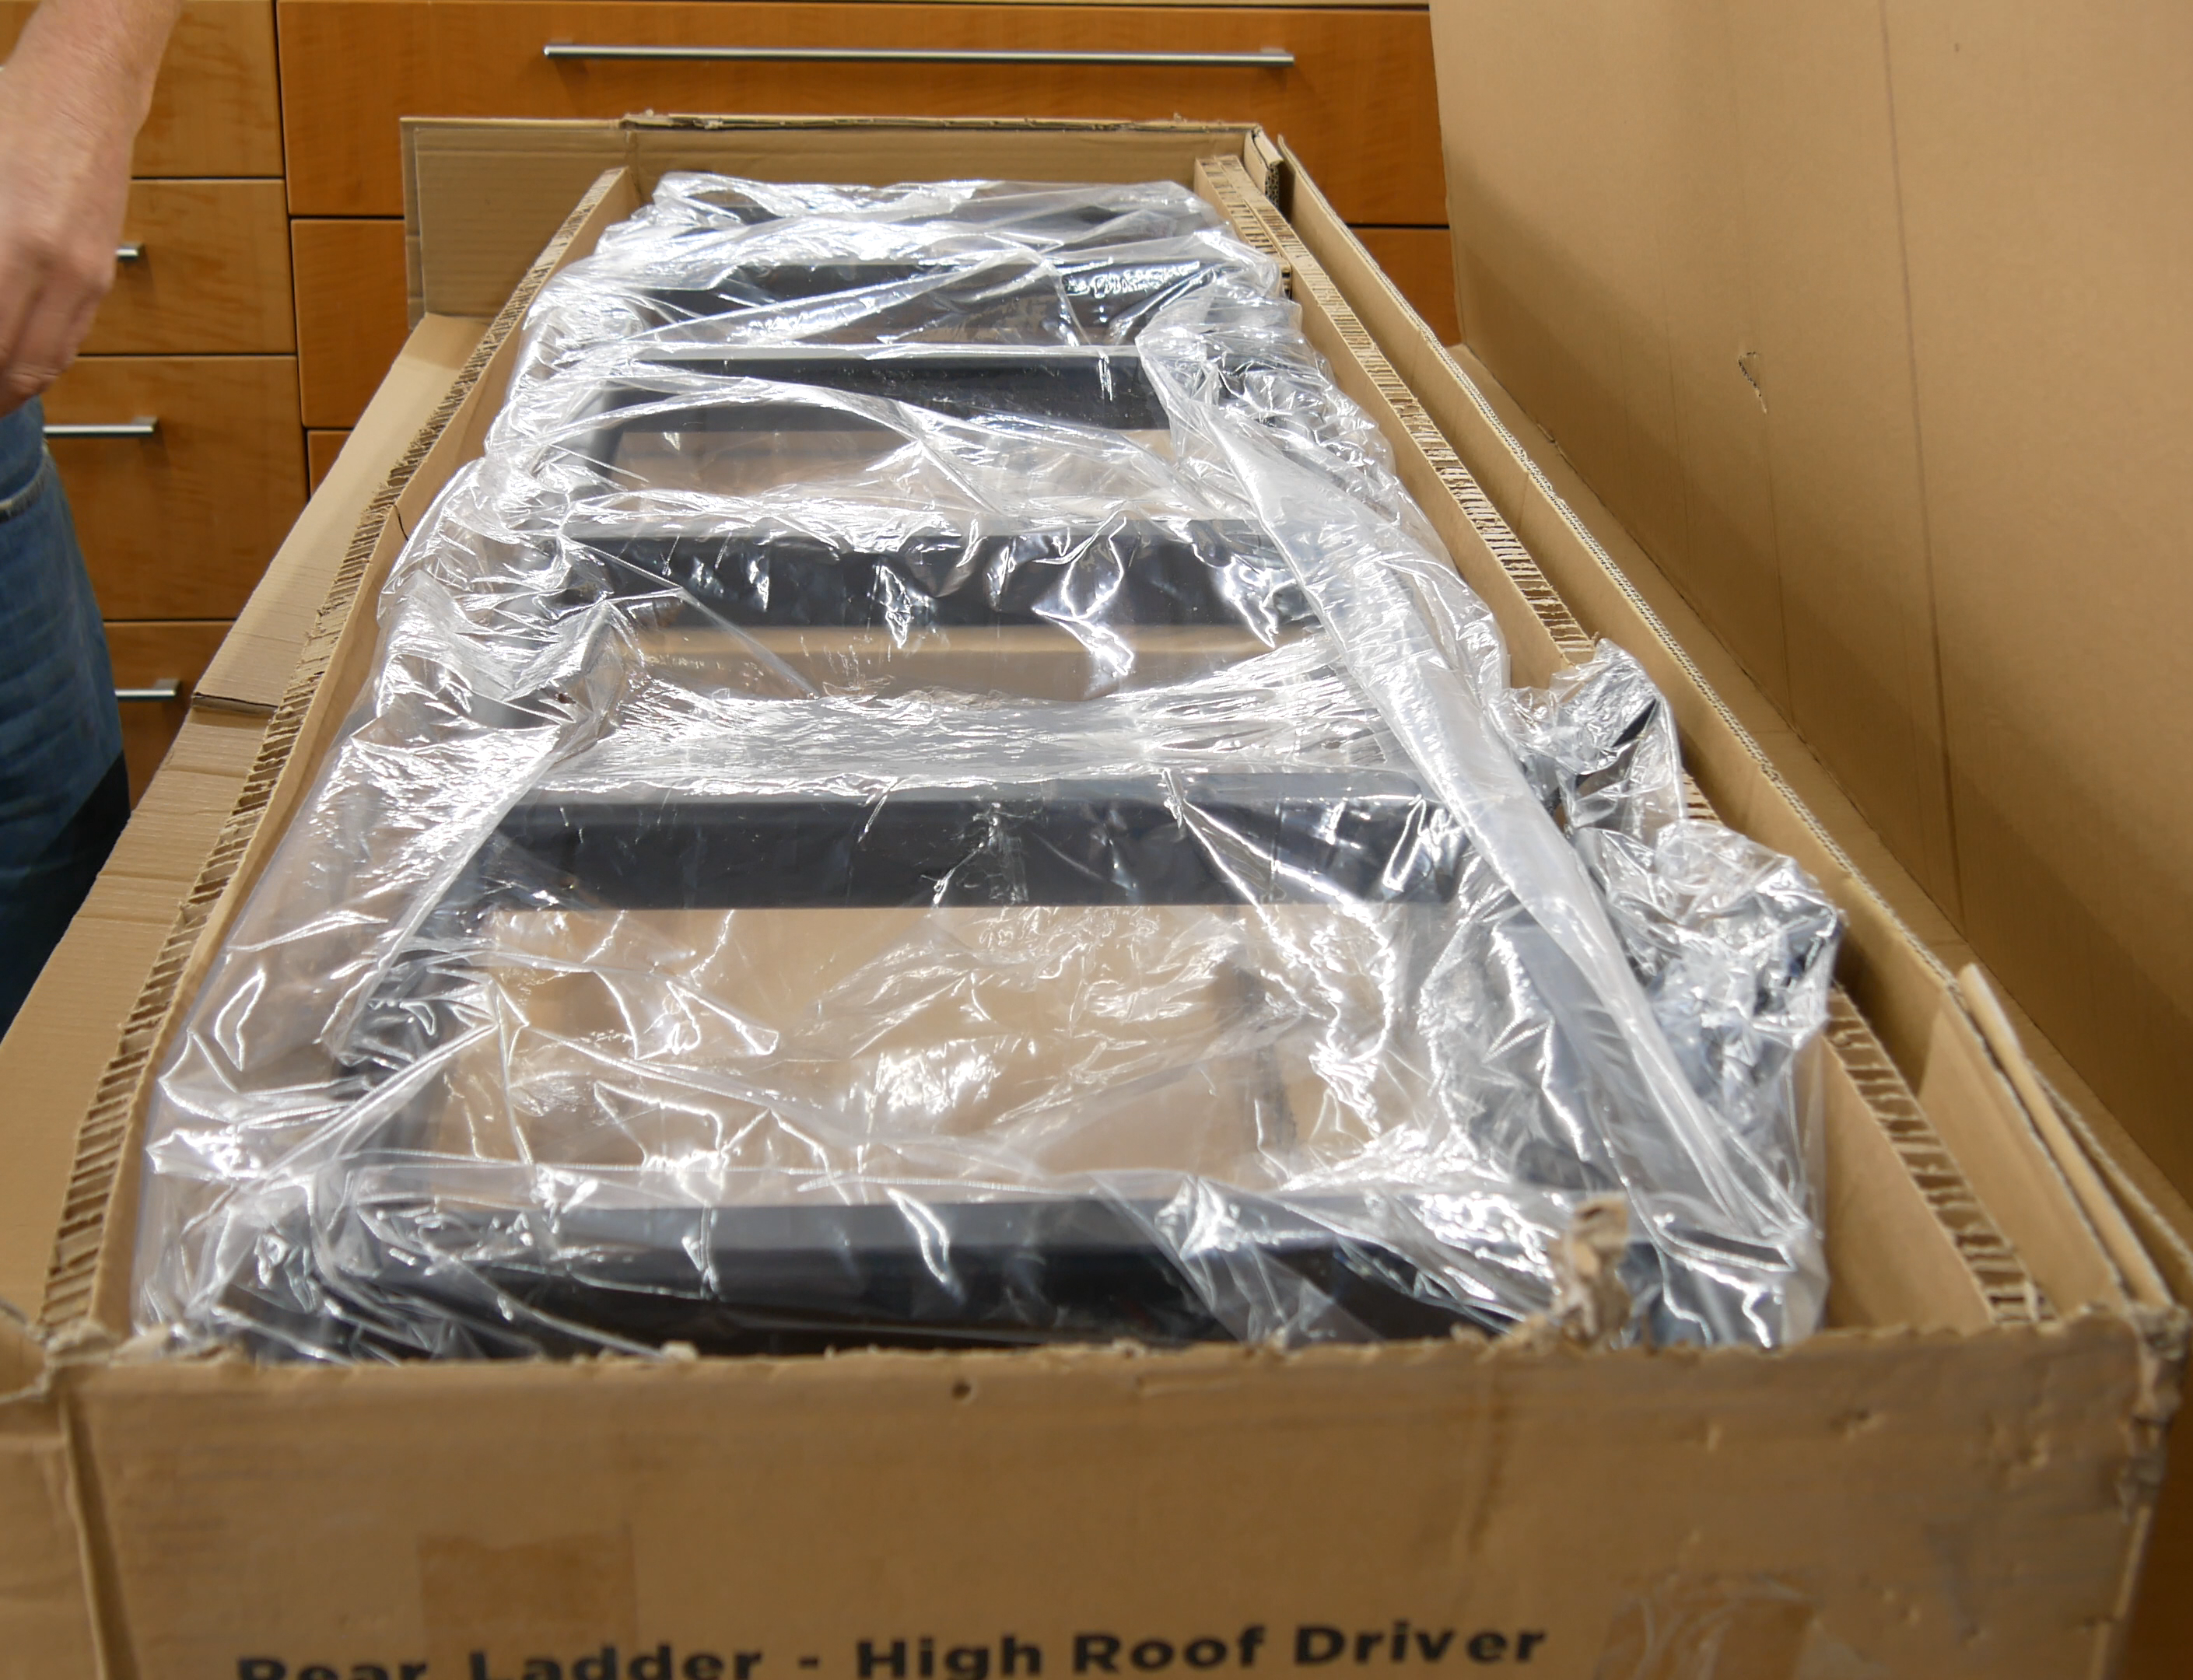
When I opened the box for my new FVC Sprinter ladder, I immediately noticed the packaging. FVC put more thought into the packaging of their product than Surco put into their product itself!
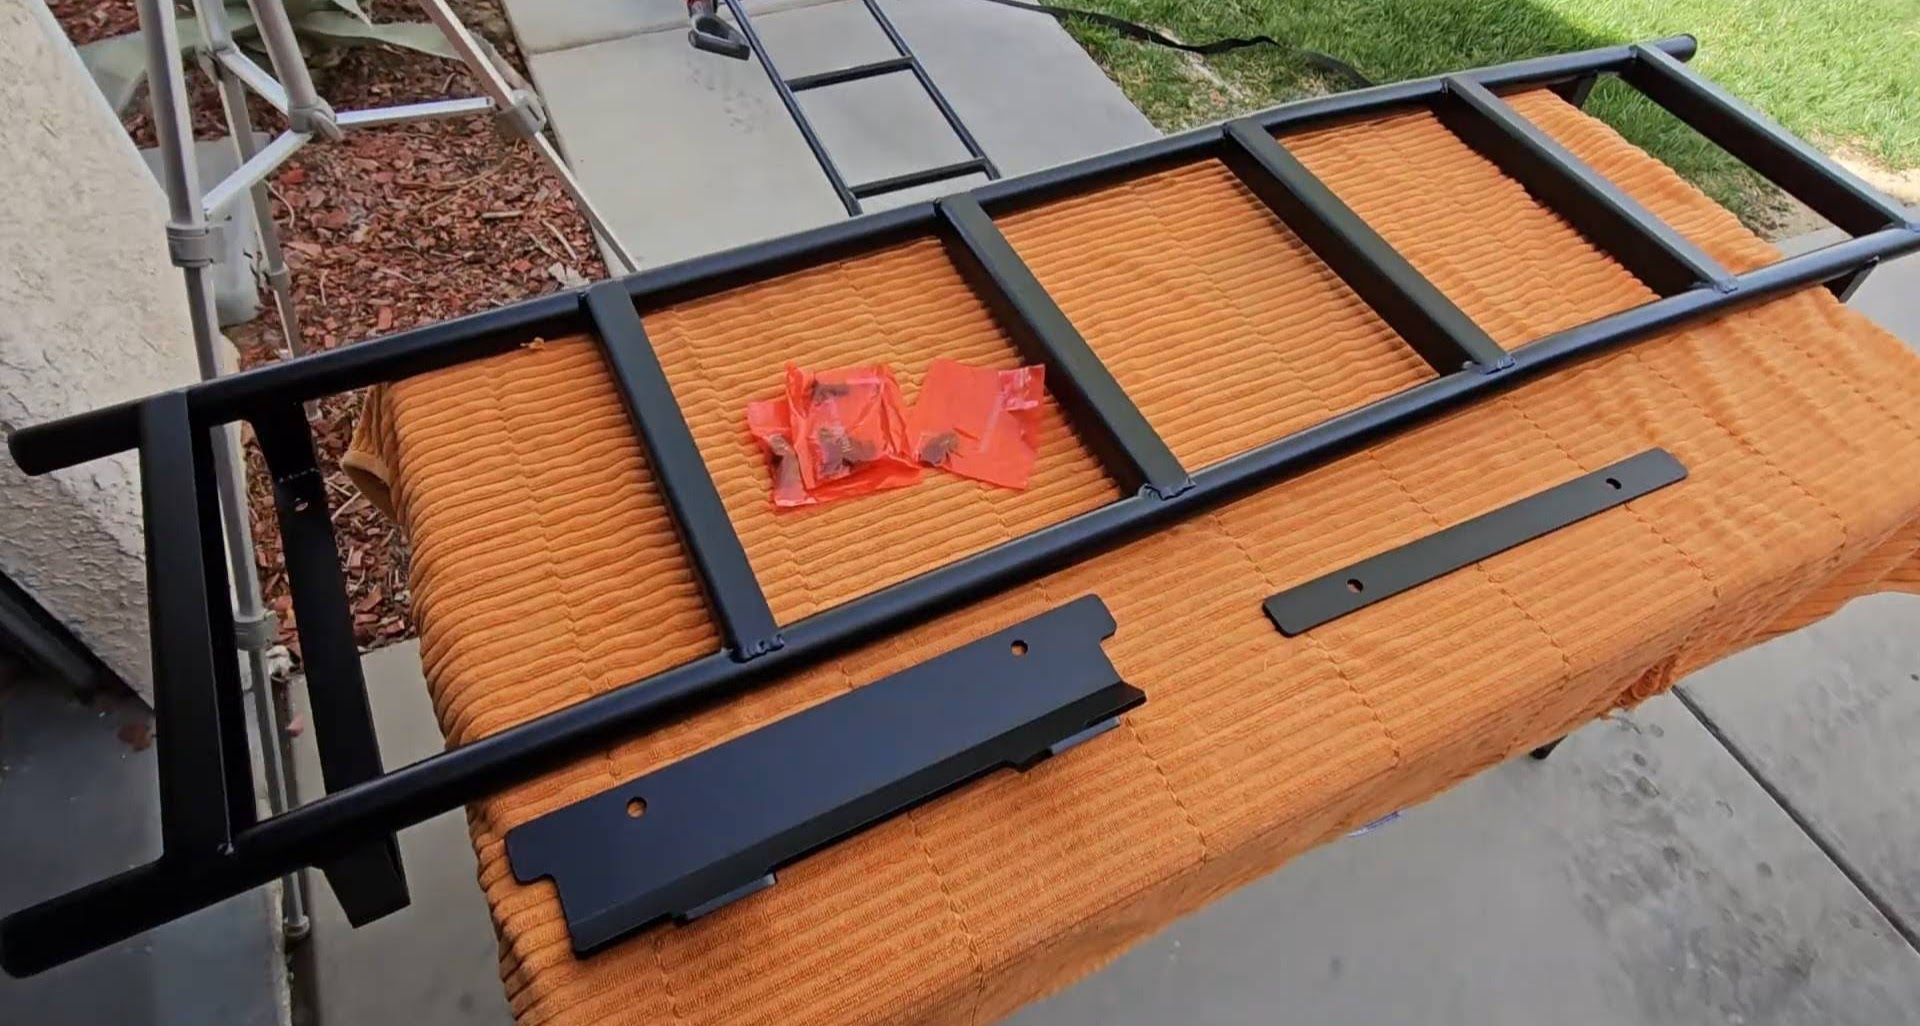
Included with the ladder are two braces that mount inside the door with 4 black allen bolts, lock washers, and nuts.
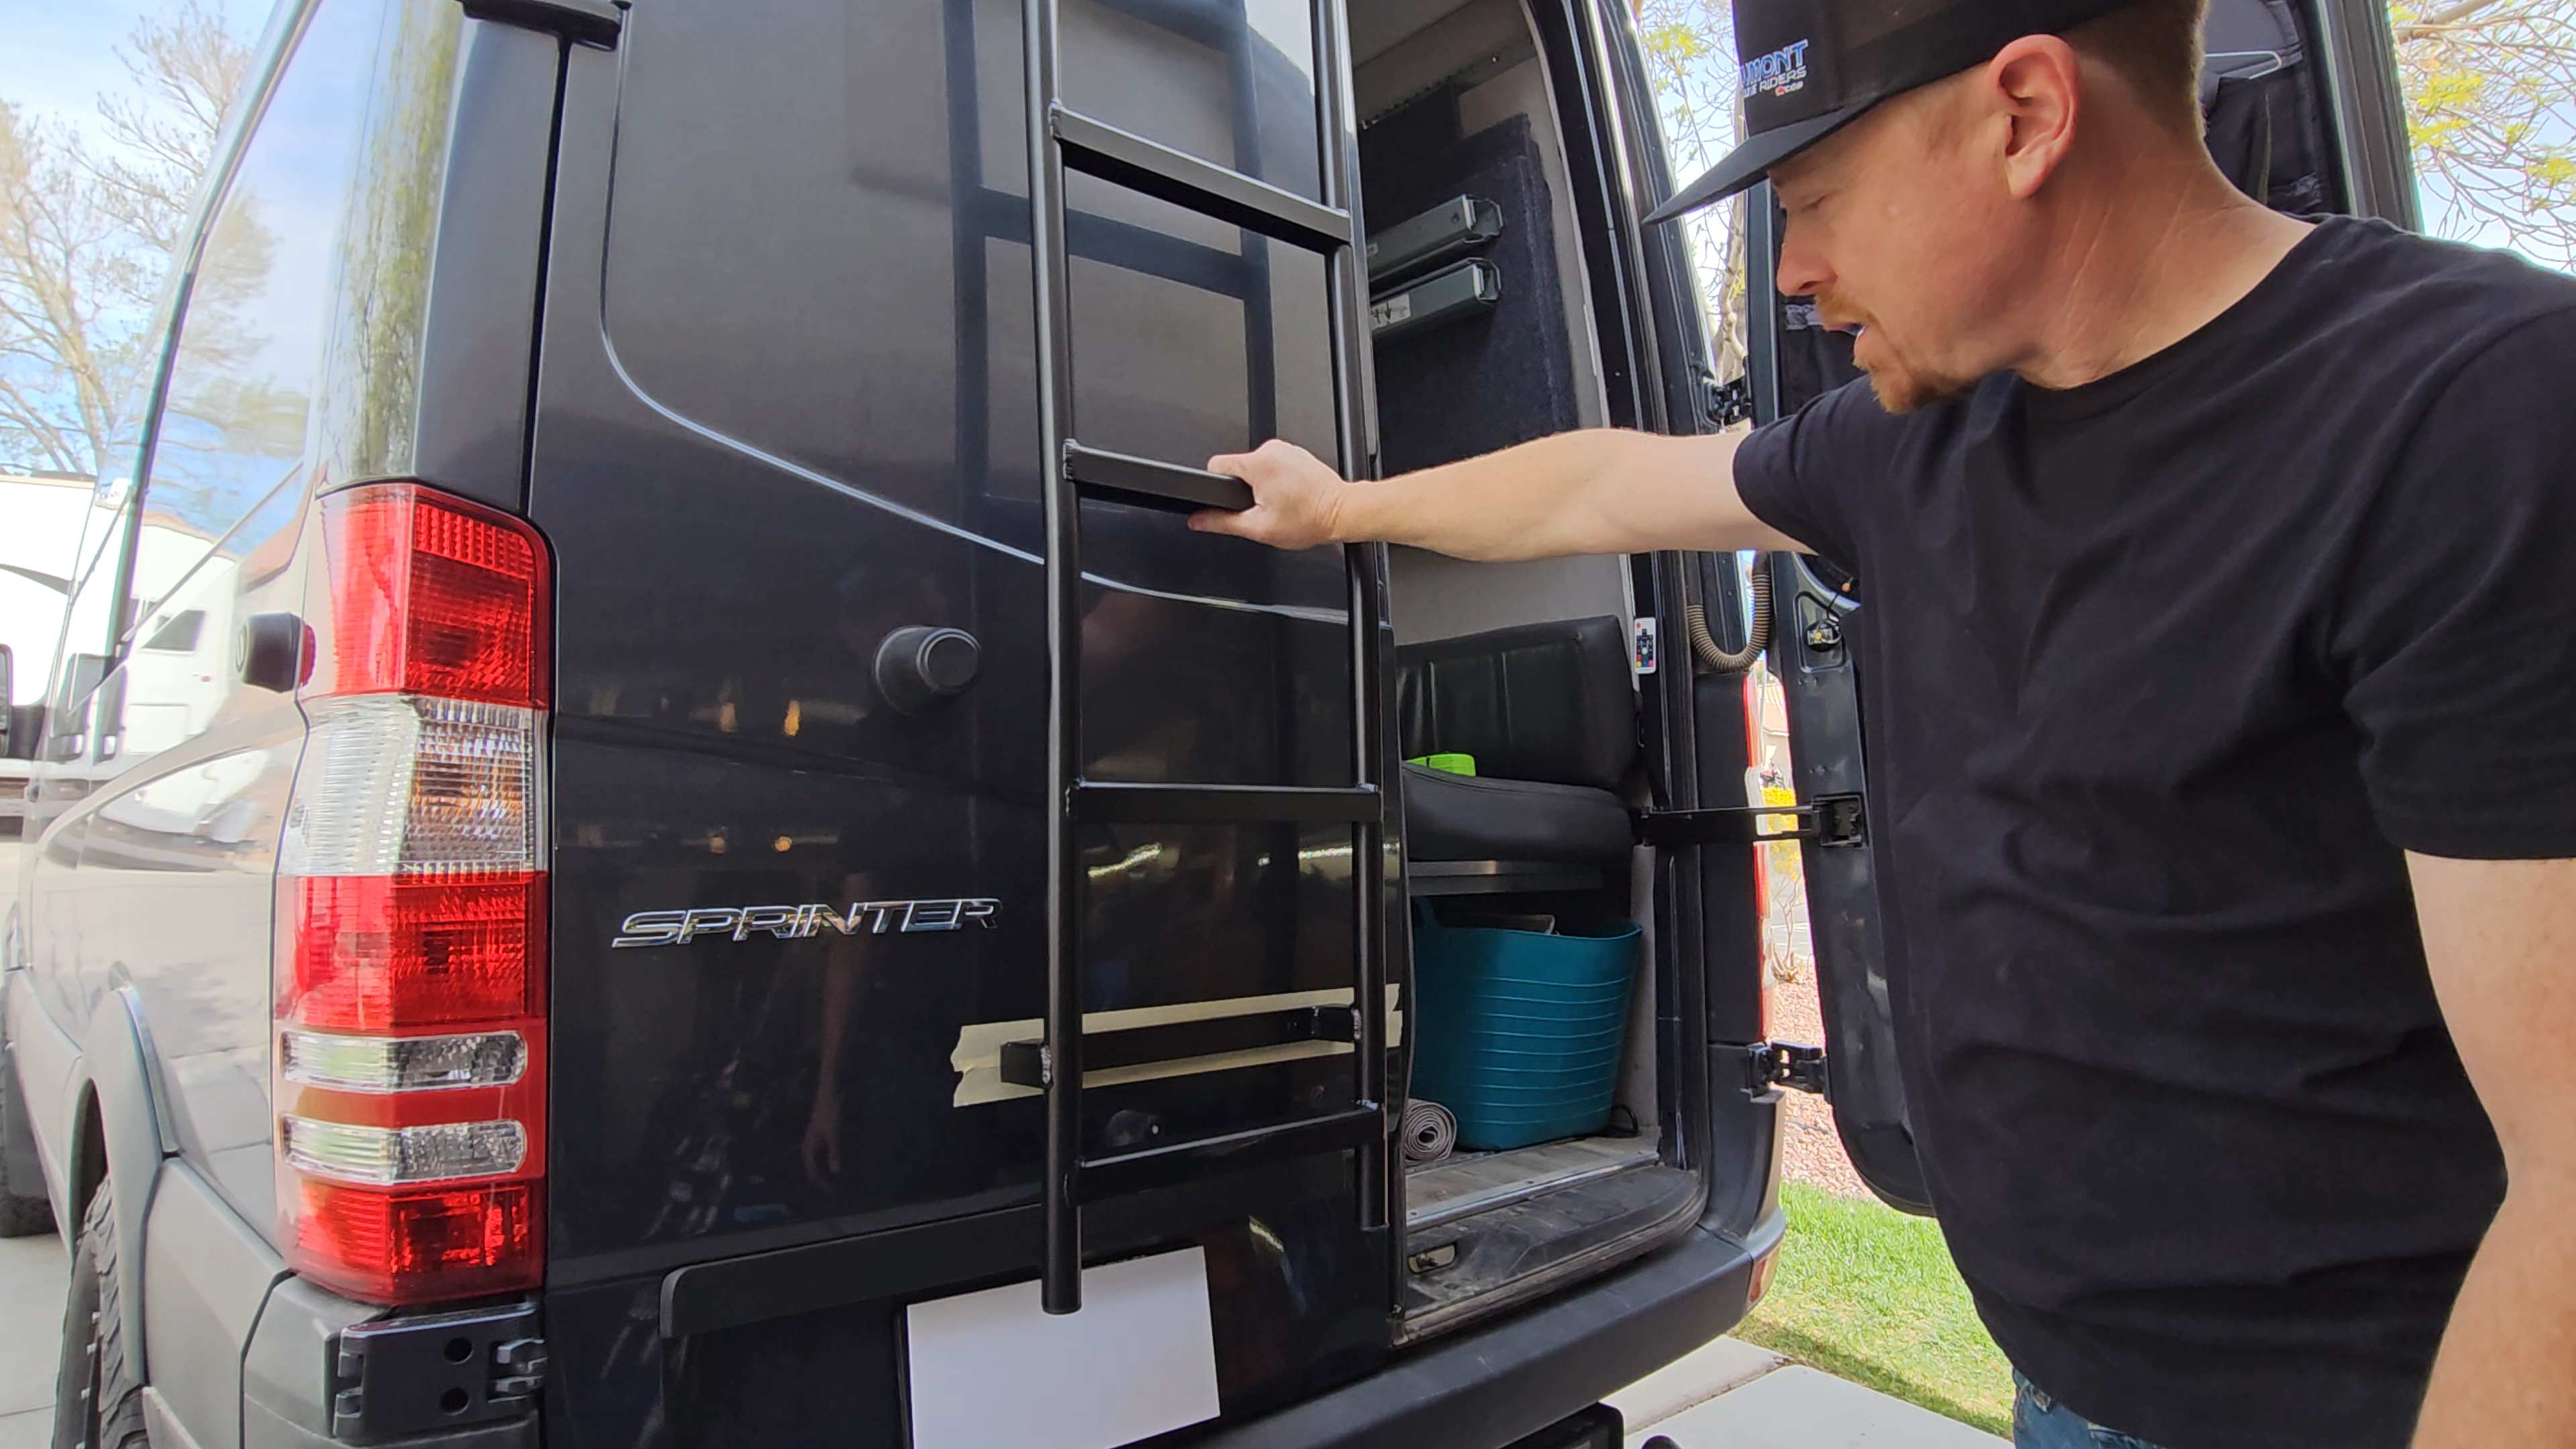
Our original ladder was installed on the left rear door of our van and that will be the same location for our new ladder. The first step was to get our old ladder removed from the van. This meant I needed to remove the upper and lower door panels in order to access the ladder bolts.

Once the old ladder was removed, I lined up the new FVC ladder and decided where I wanted it to be positioned. I wanted to be able to fully open our door without the ladder contacting the side of the van, therefore I decided to mount it just to the right of the door bumper. The measurement of the first hole (lower right) ended up being 15″ from the bottom of the door and 6.5″ from the center door jam)
Once the first hole was drilled and the ladder was straight, I installed the first bolt through the ladder and hole and then drilled the remaining 3 holes in the door.
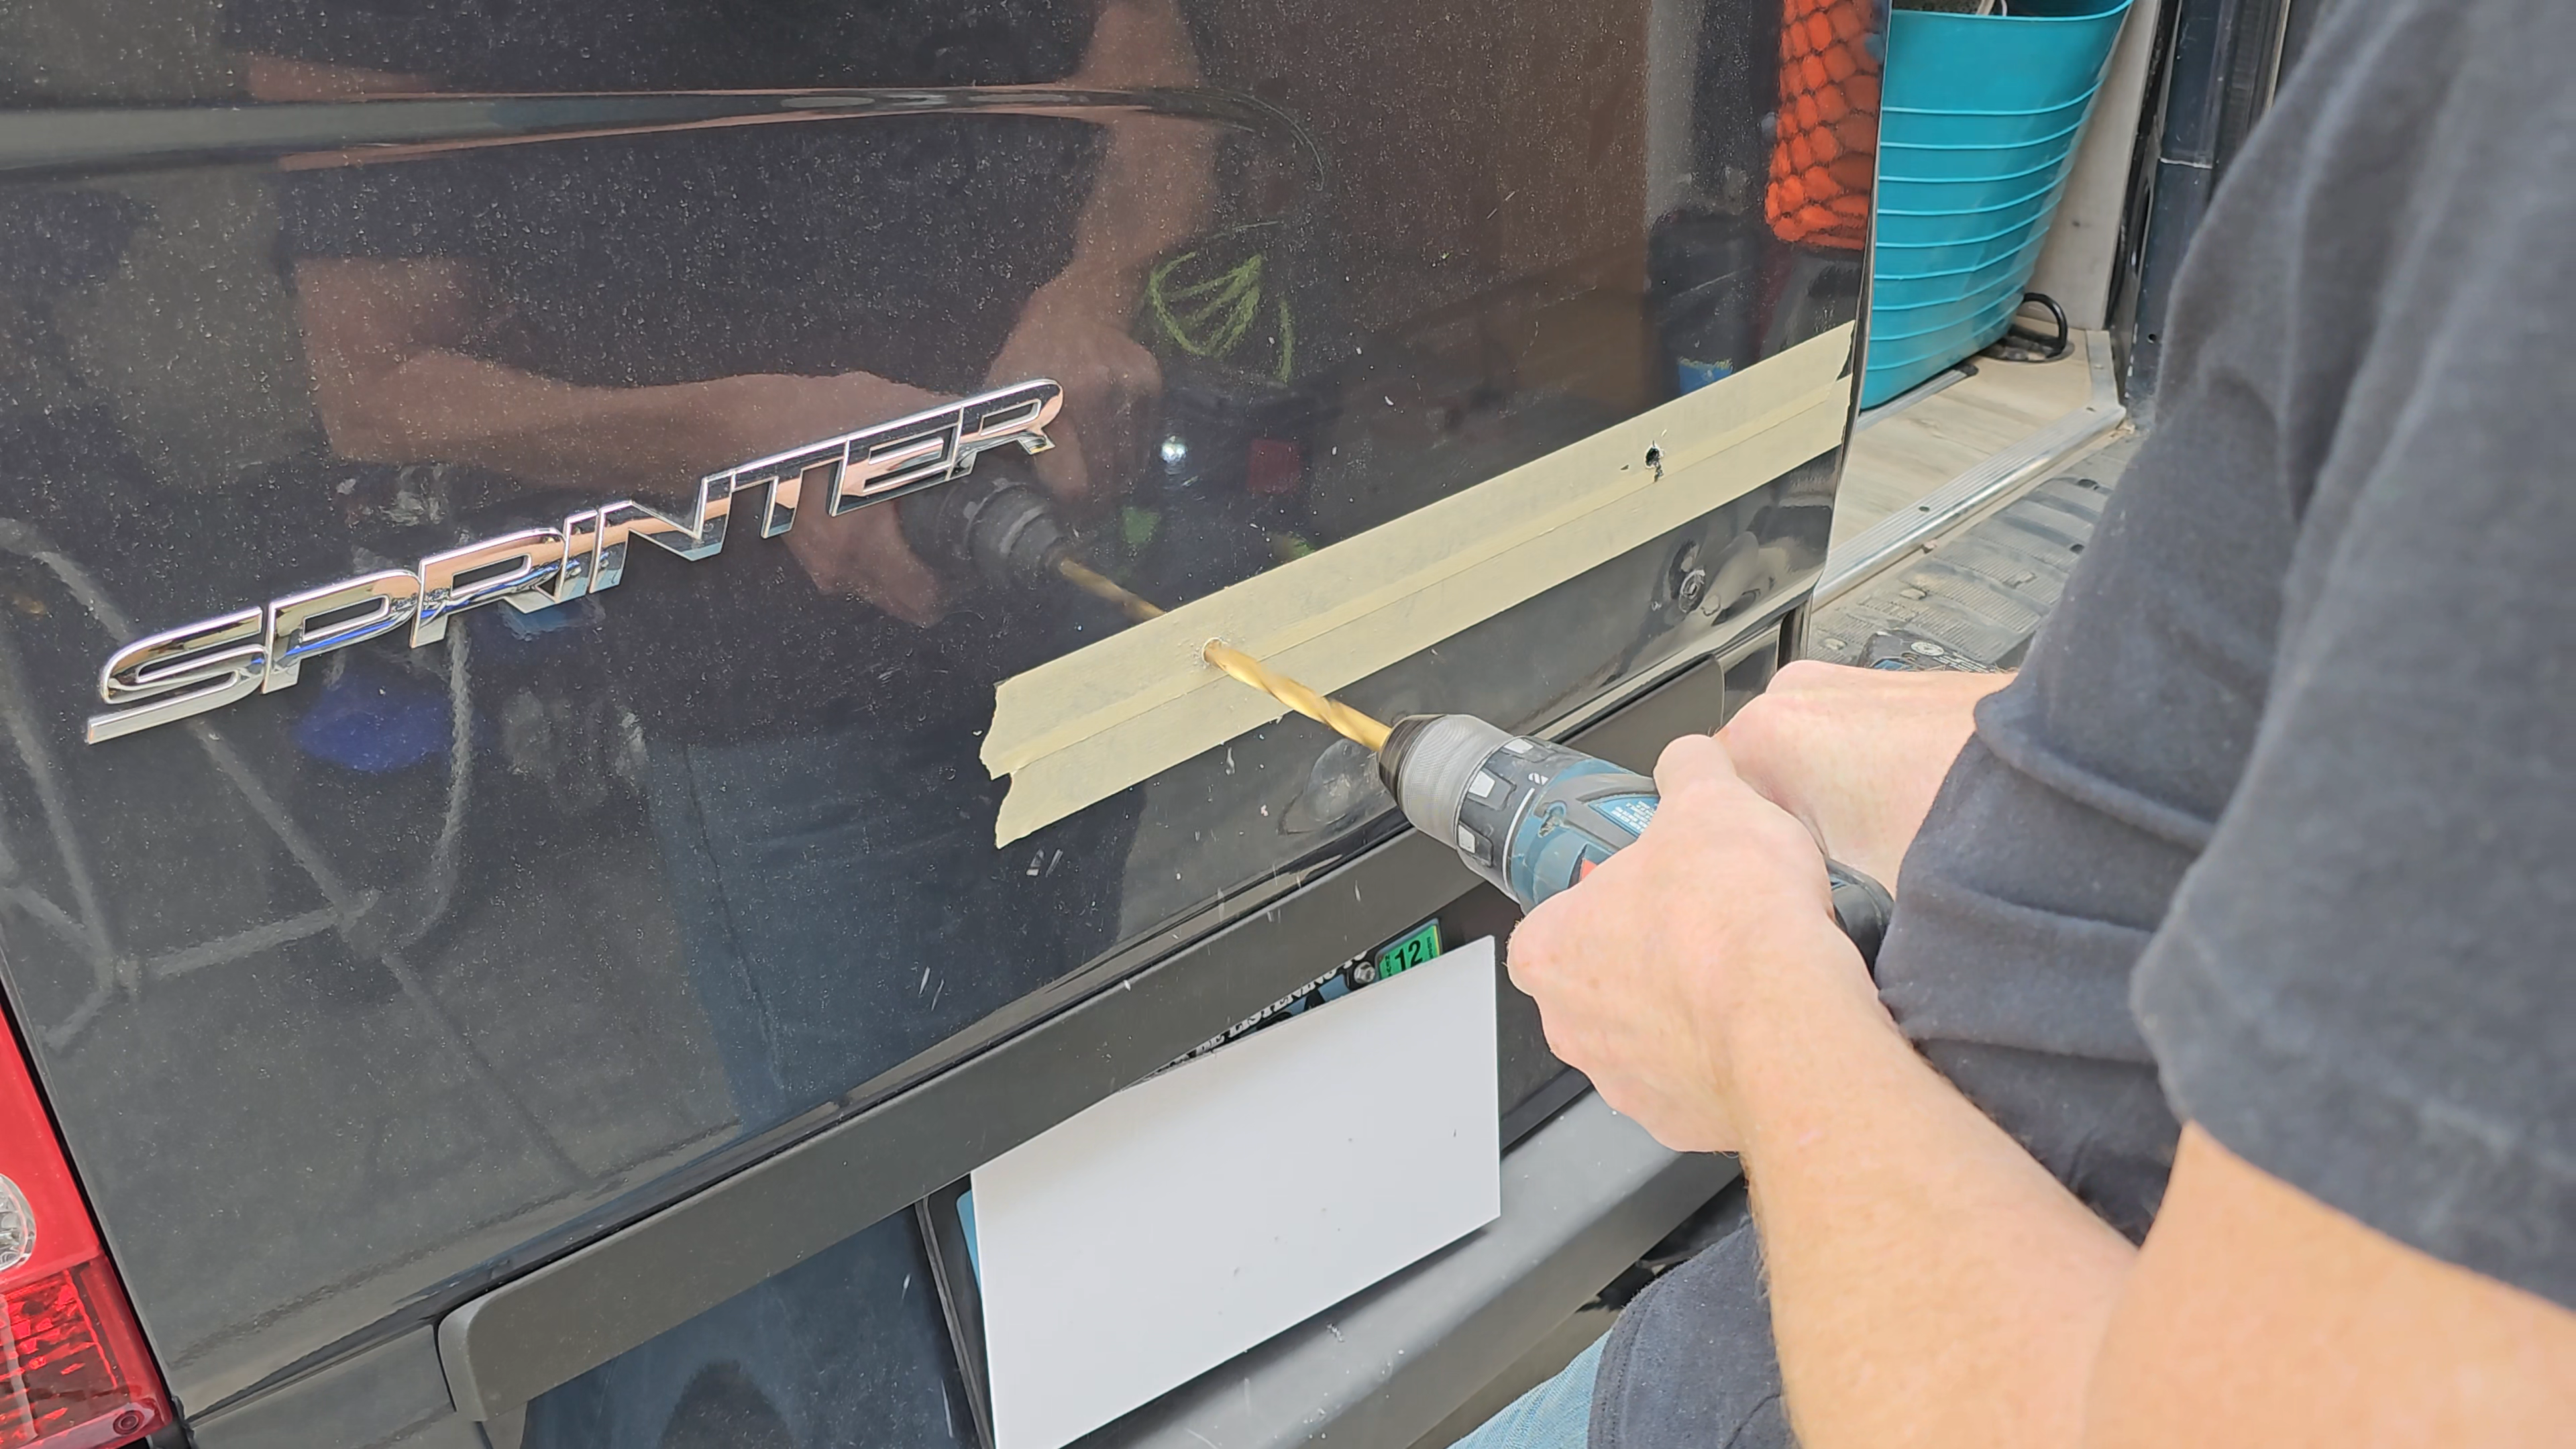
To prevent rust, I touched up the holes with some Rustoleum paint.

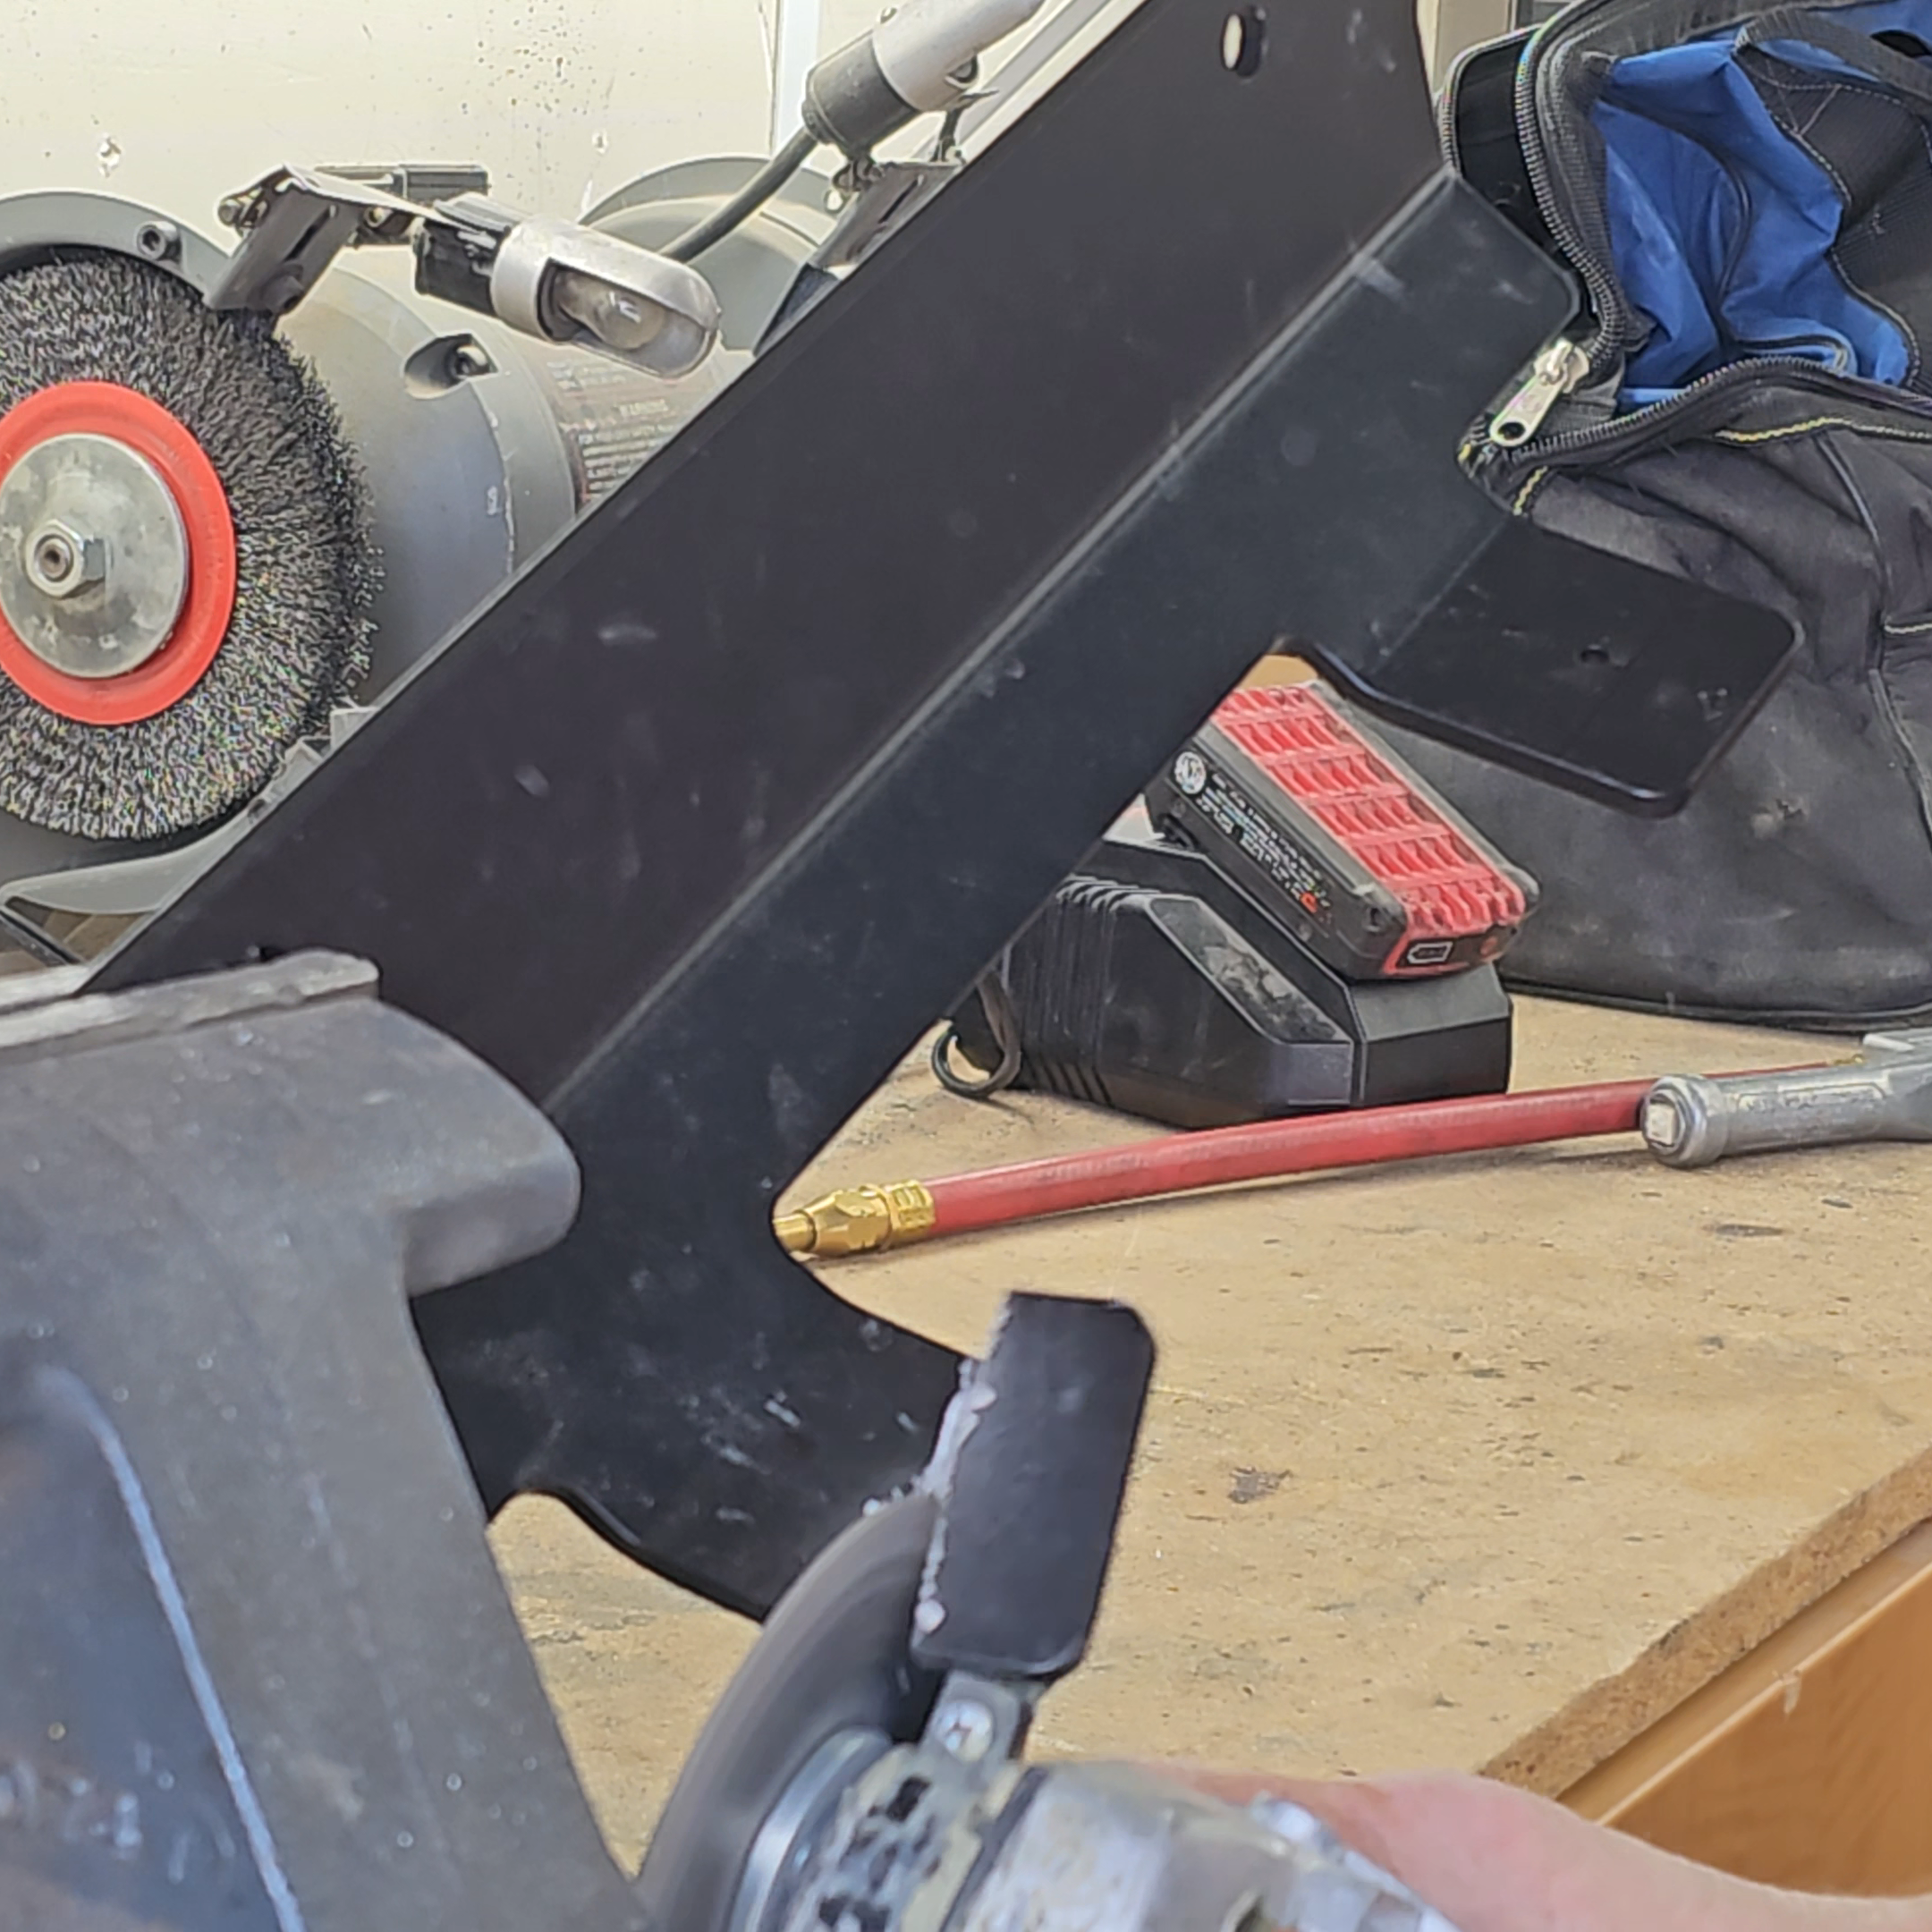
Before it was time for the final installation of the ladder, I had to trim the lower support bracket. This was necessary because my ladder location varied slightly from where the instructions indicated. I cut off a little bit of each tab and slightly notched the edge to clear the door.
Then I installed each support bracket inside the door and tightened all 4 bolts, lock washers, and nuts.

Final Thoughts
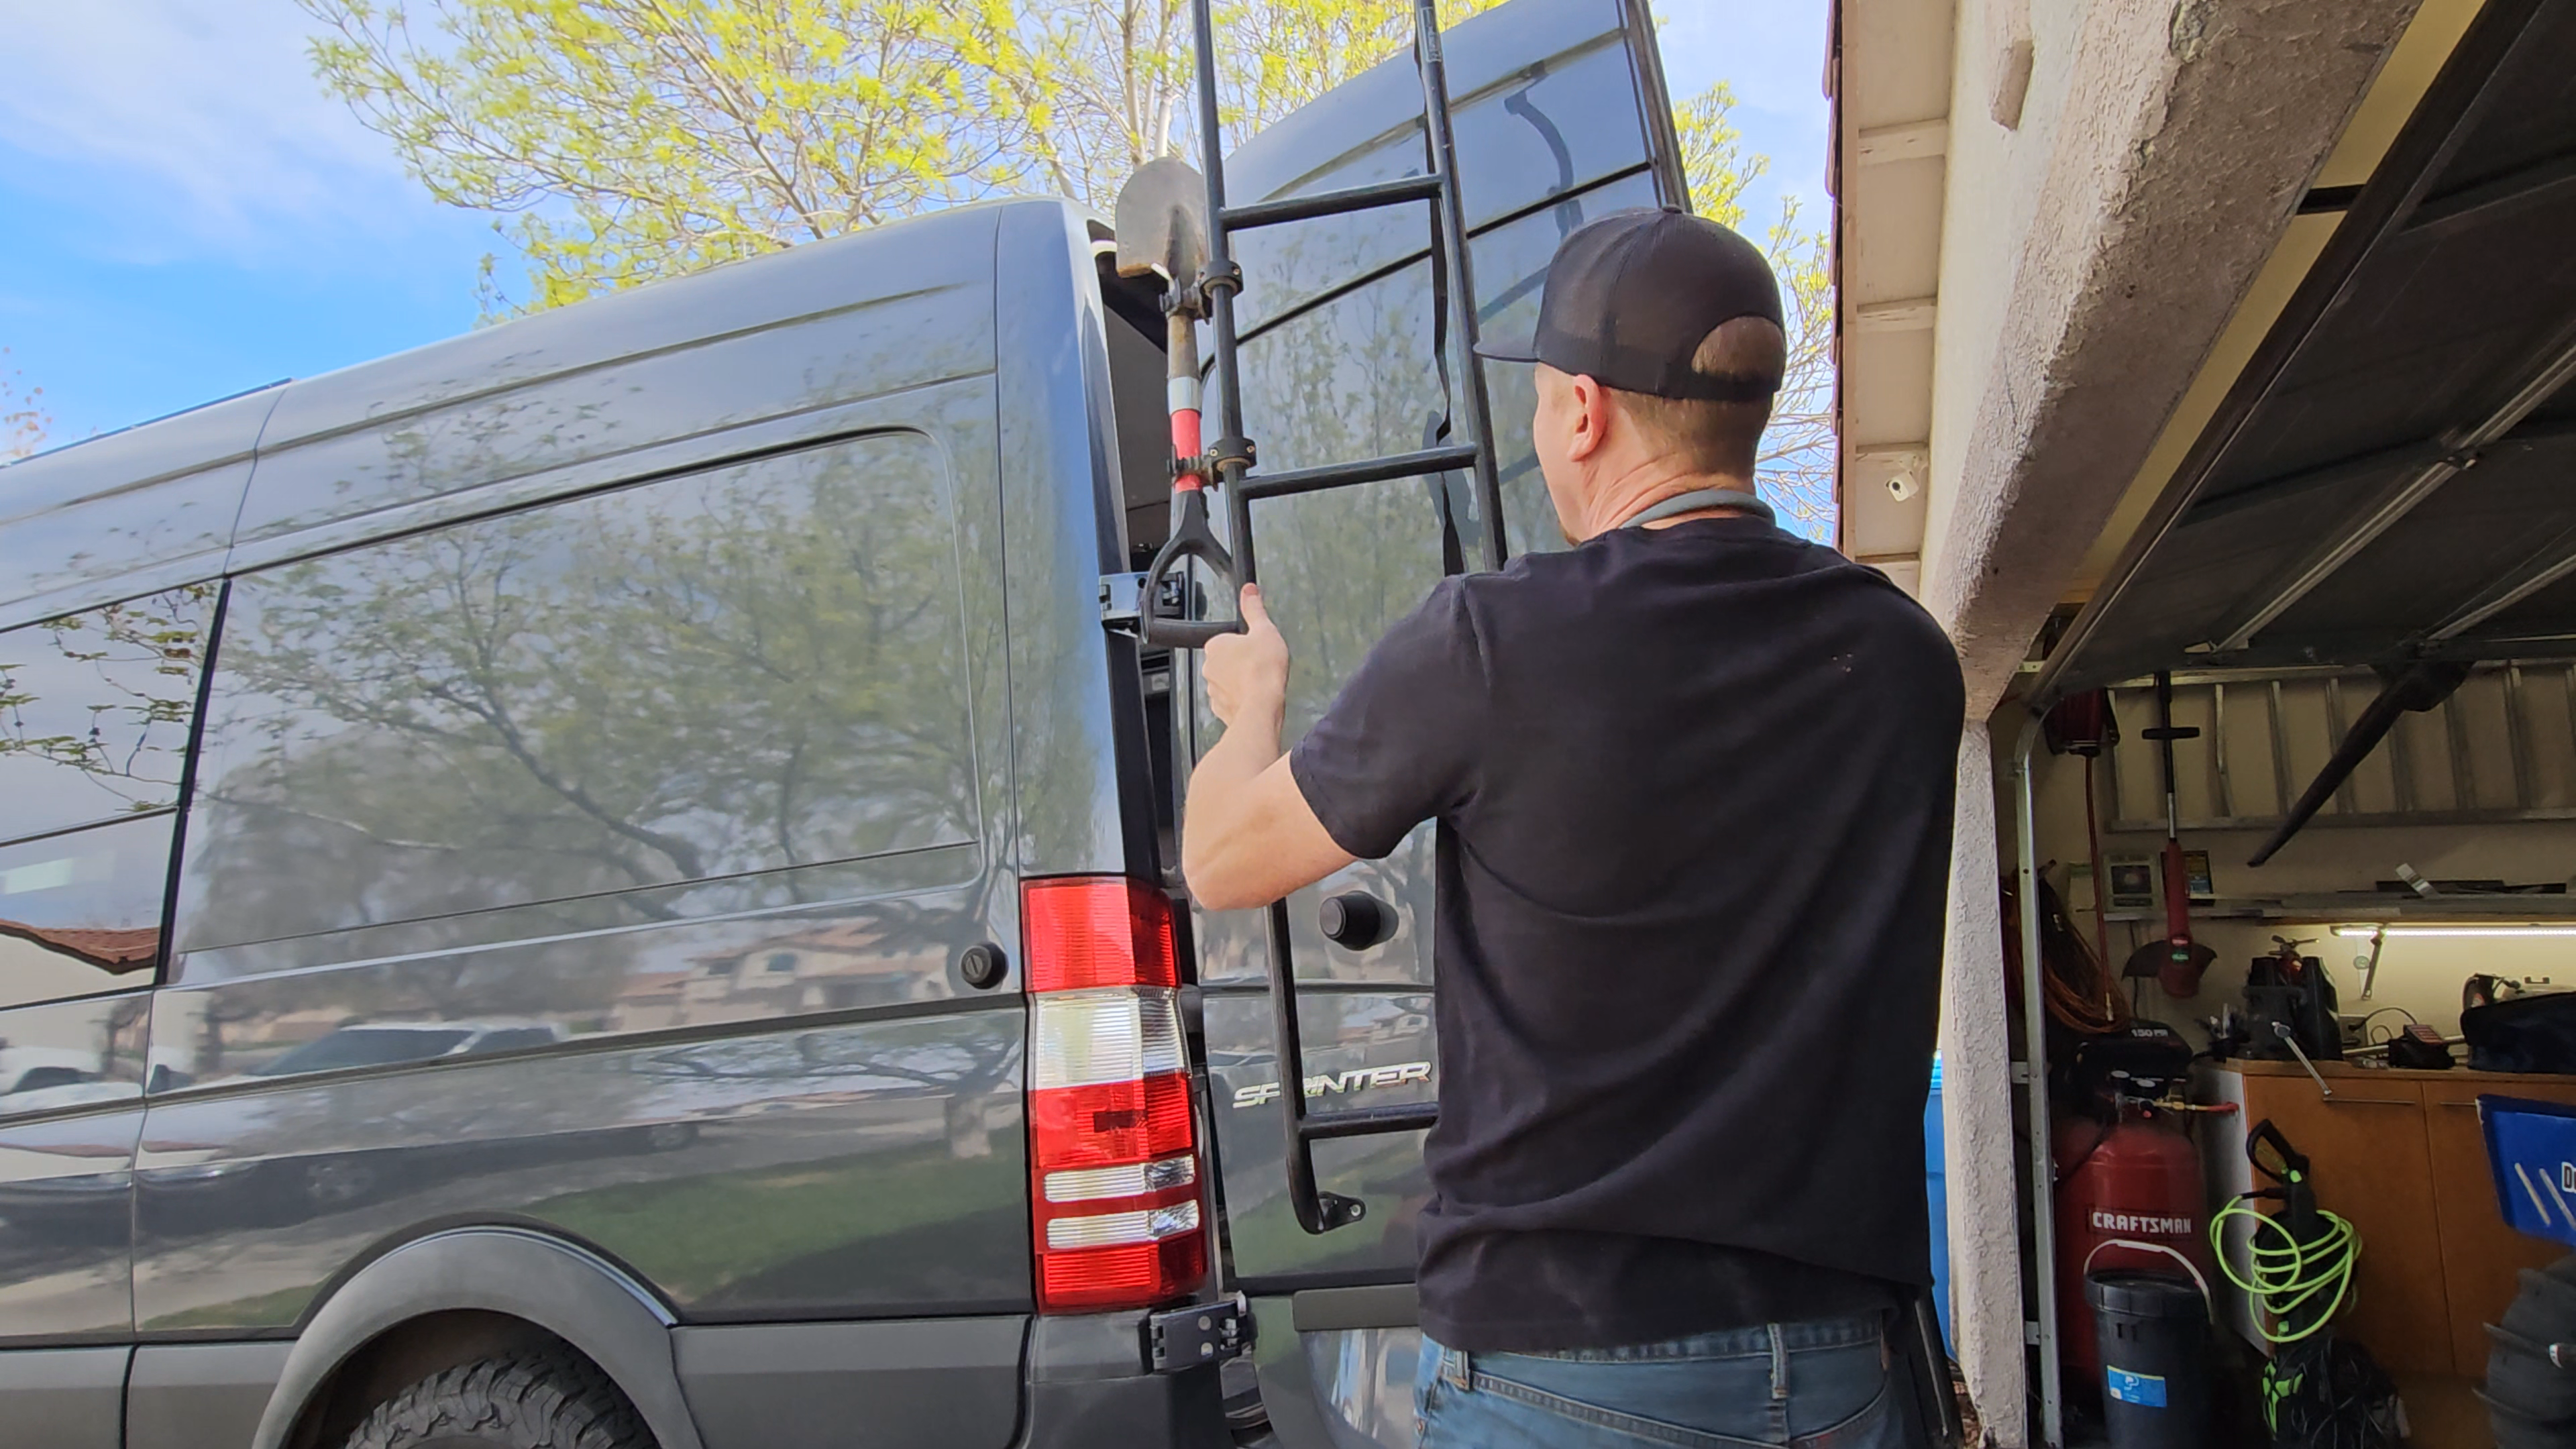
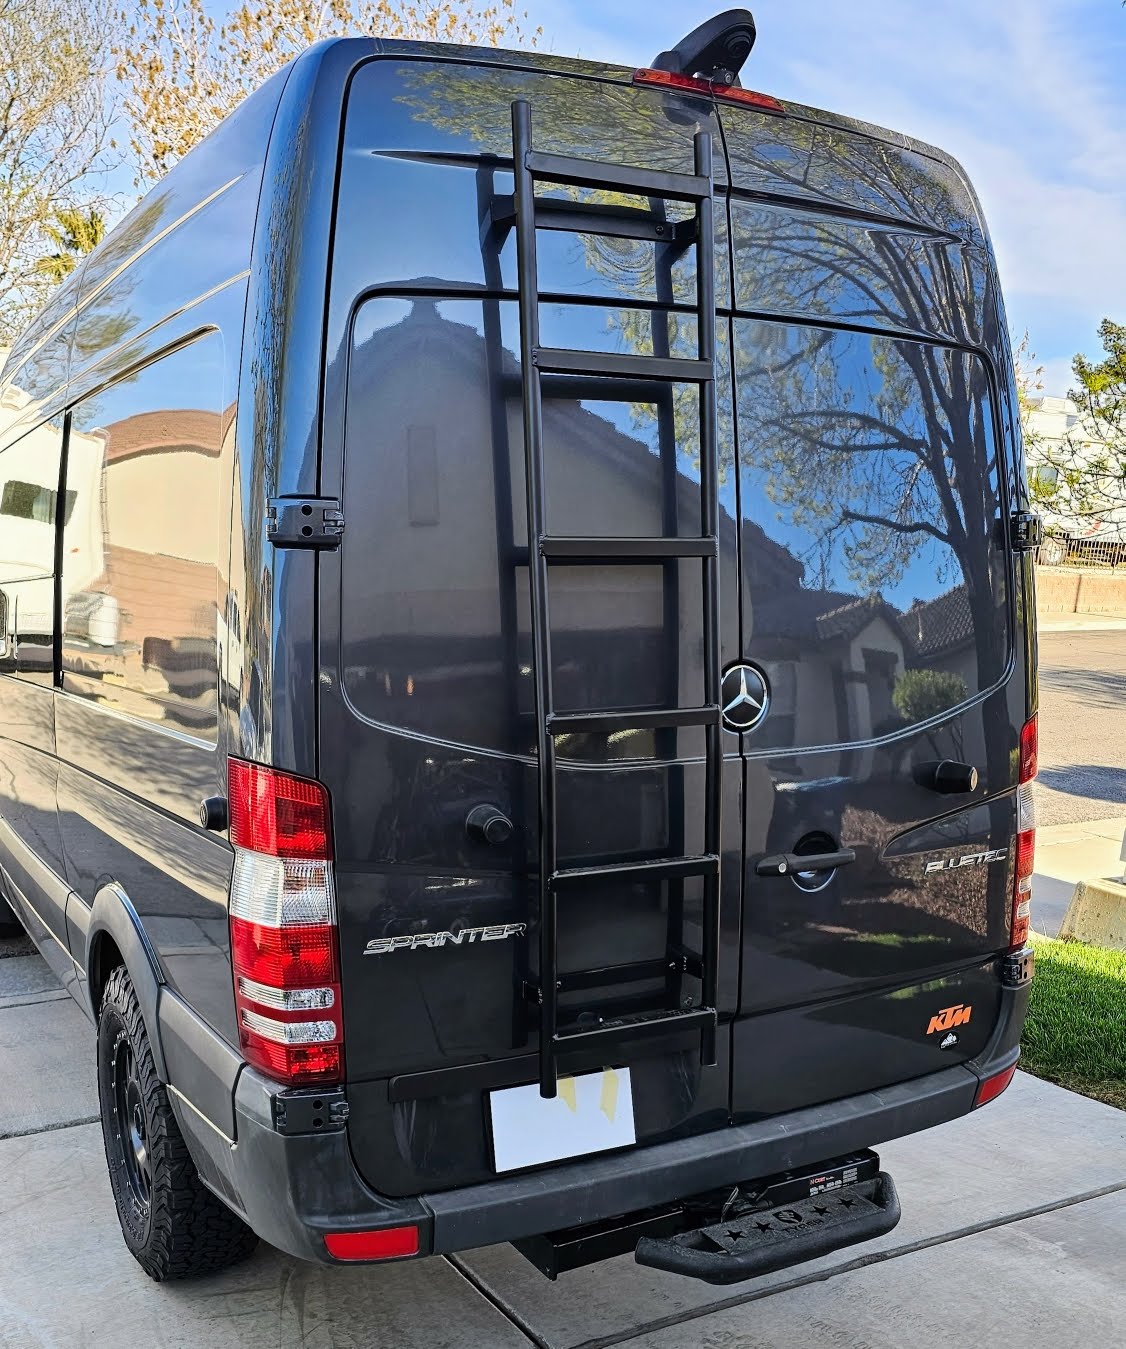
Low Profile
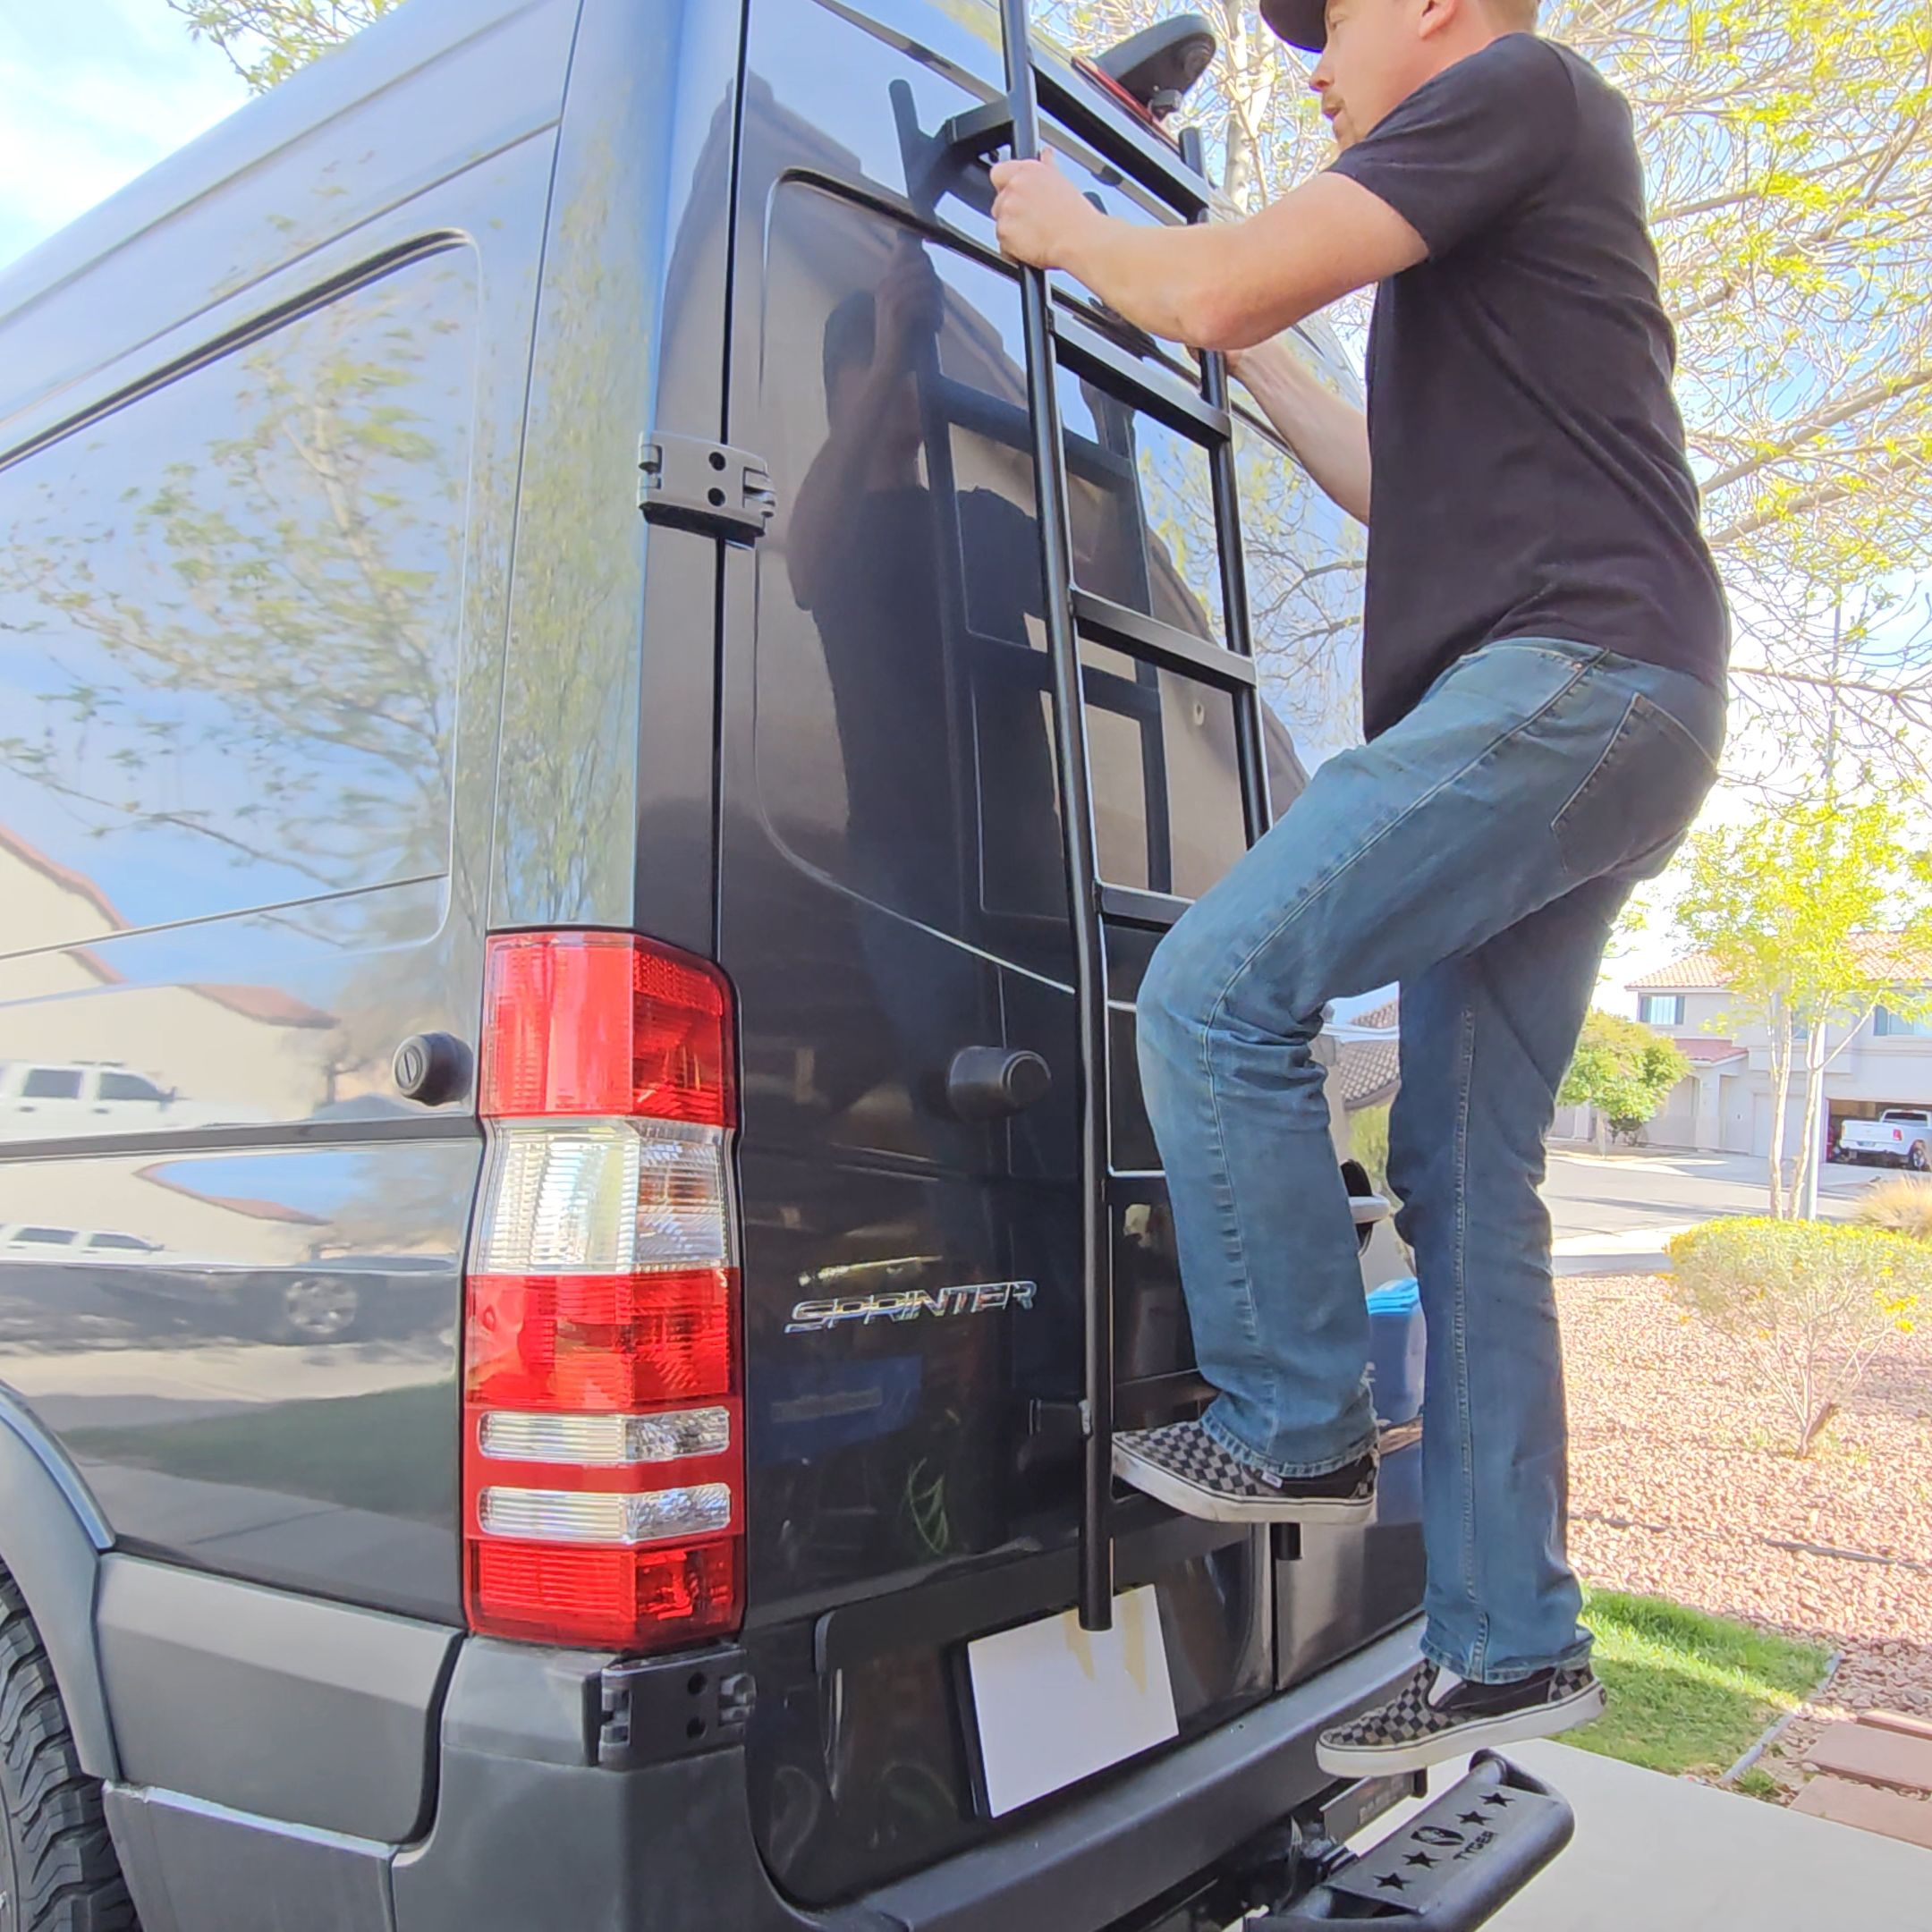
I like how this ladder, and all of FVC’s products, are slim and low profile. The whole reason we all love our adventure van is that it is minimal and simple. The last thing we want to bolt on our van is some big, bulky component. The ladder comes powder-coated matte black and has a very simple stealthy look that matches our Sprinter well. I’m also happy that the back door still fully opens with the ladder installed.


Lightweight Yet Strong
This ladder is made from 1.25″ round aluminum tubing and has formed aluminum sheet metal steps. It is lightweight, yet very strong. The steps, or ladder rings, are wider than our old ladder and make it much easier to get up and down. The fact that it has four mounting points with the inner door braces makes it very solid. I don’t have to be extra careful like with our old ladder. I now have full confidence in getting up and down this ladder.
Value
While the FVC ladder is almost double the price of our original Surco ladder, you can’t even compare the two. The quality of the FVC is unmatched and it feels like a part of the van rather than something that is just clamped on. I always kick myself for going the cheaper route with some things. Every time I do this I know deep down inside that I probably shouldn’t be so cheap. In the end, this van is an investment. It has to work properly and last us for many years to come. I am happy to have a quality ladder that I know will function and last as long as the van itself. Thank you Flatline Van Co!
Links
FVC Sprinter Rear Ladder Instructions (PDF)
If a rear ladder doesn’t work with your van build, FVC also makes side ladders and many other cool van components.
Check them out! I am very impressed with the fit, finish, and quality of the FVC ladder.


Leave a Reply