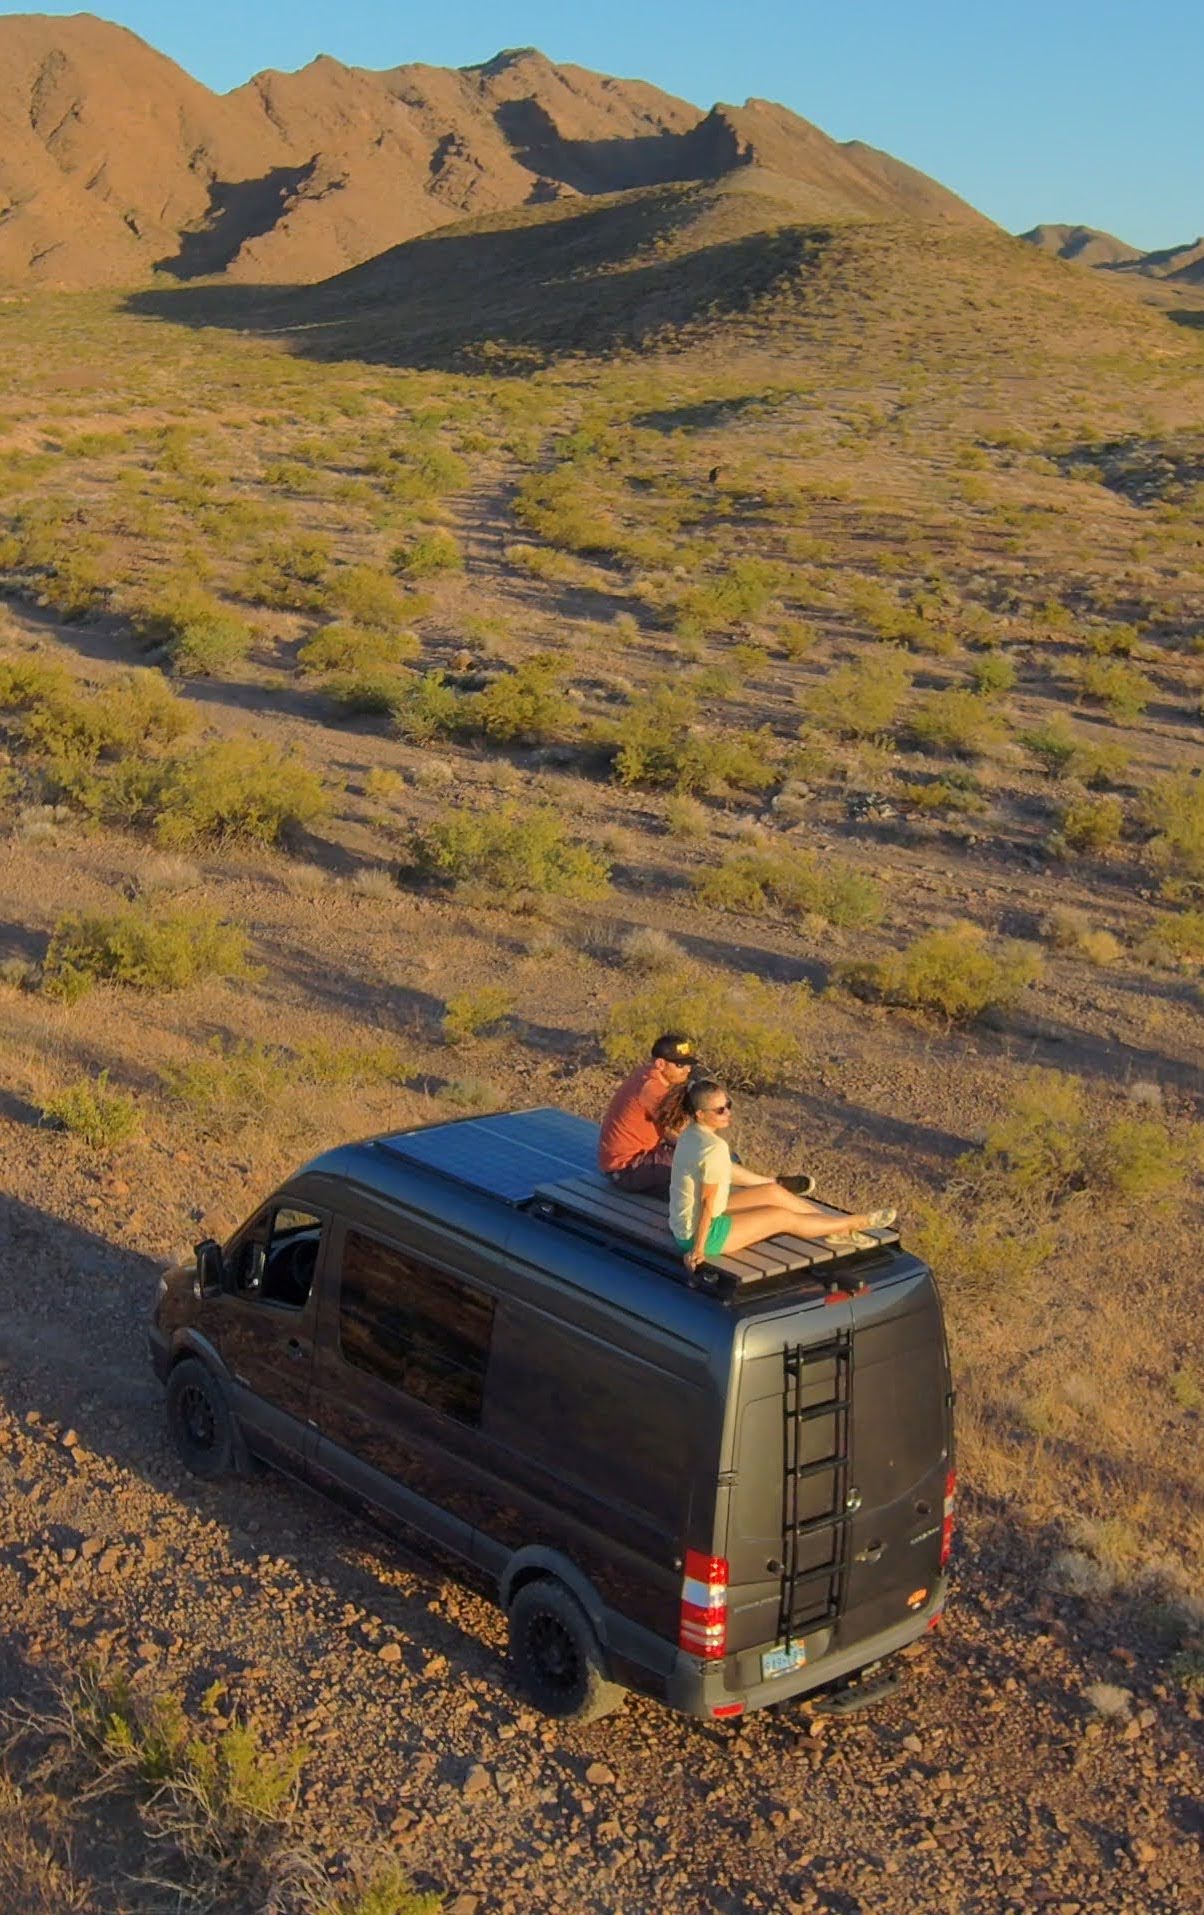
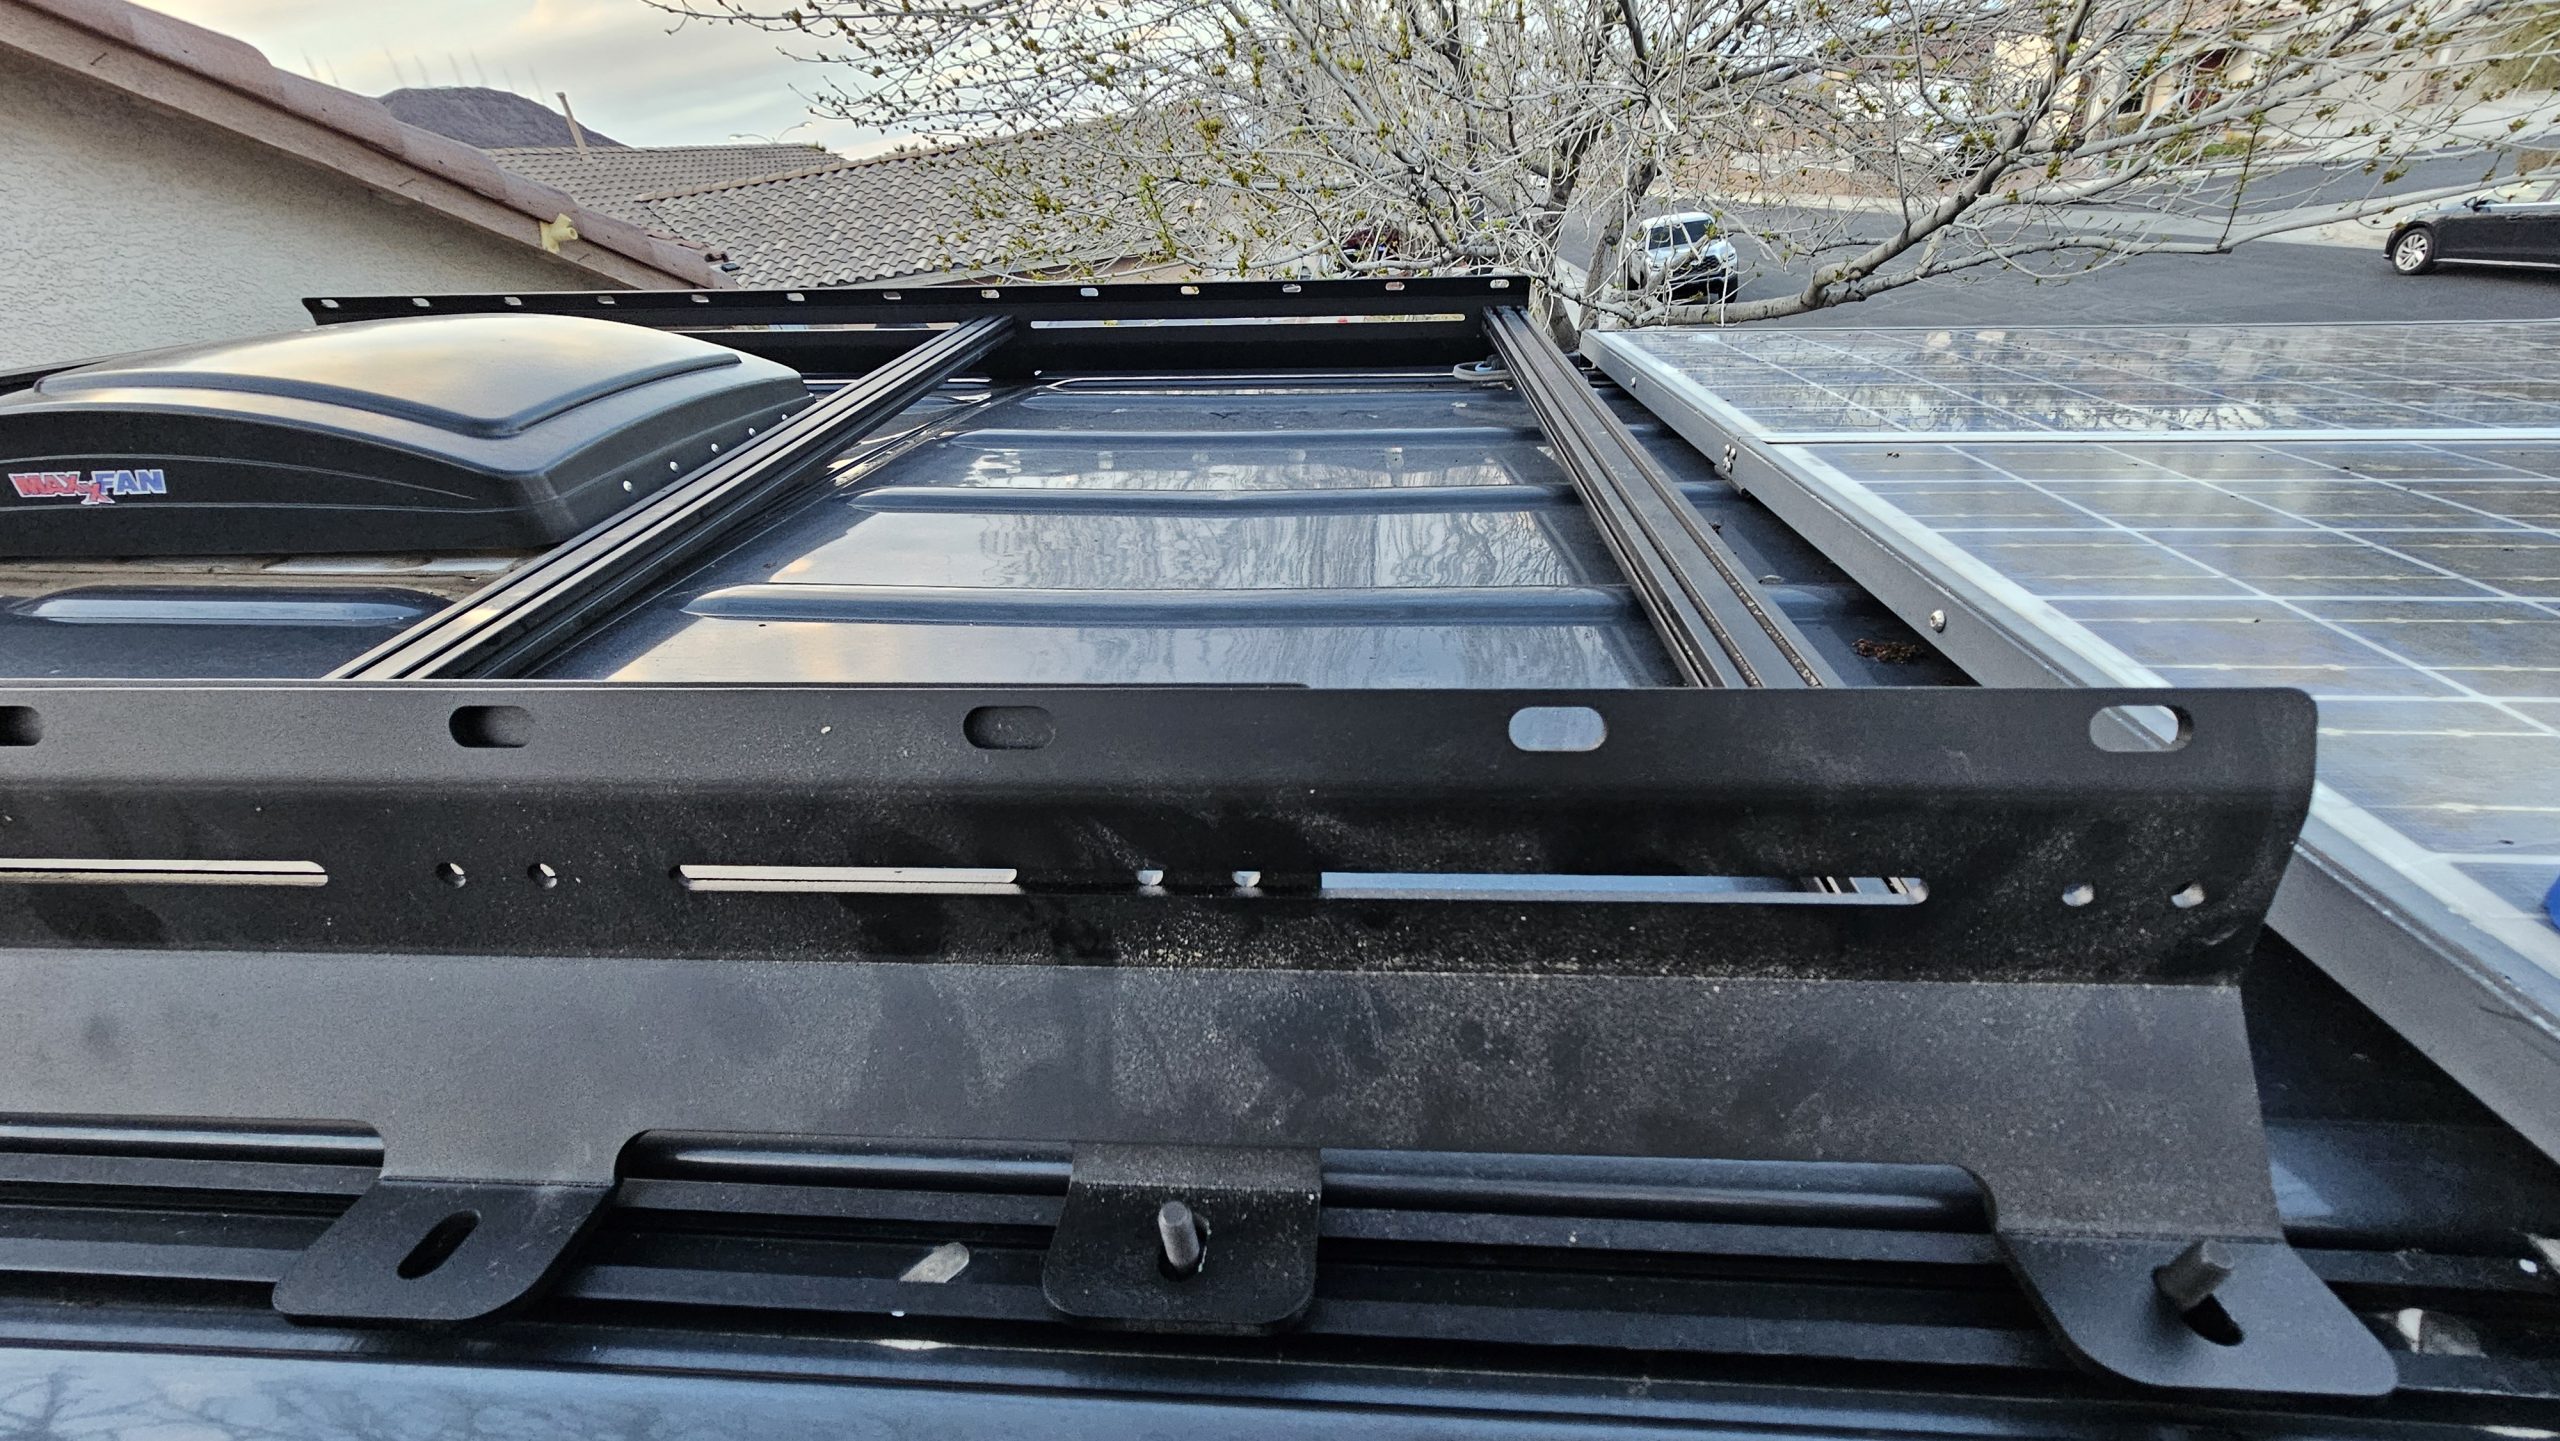
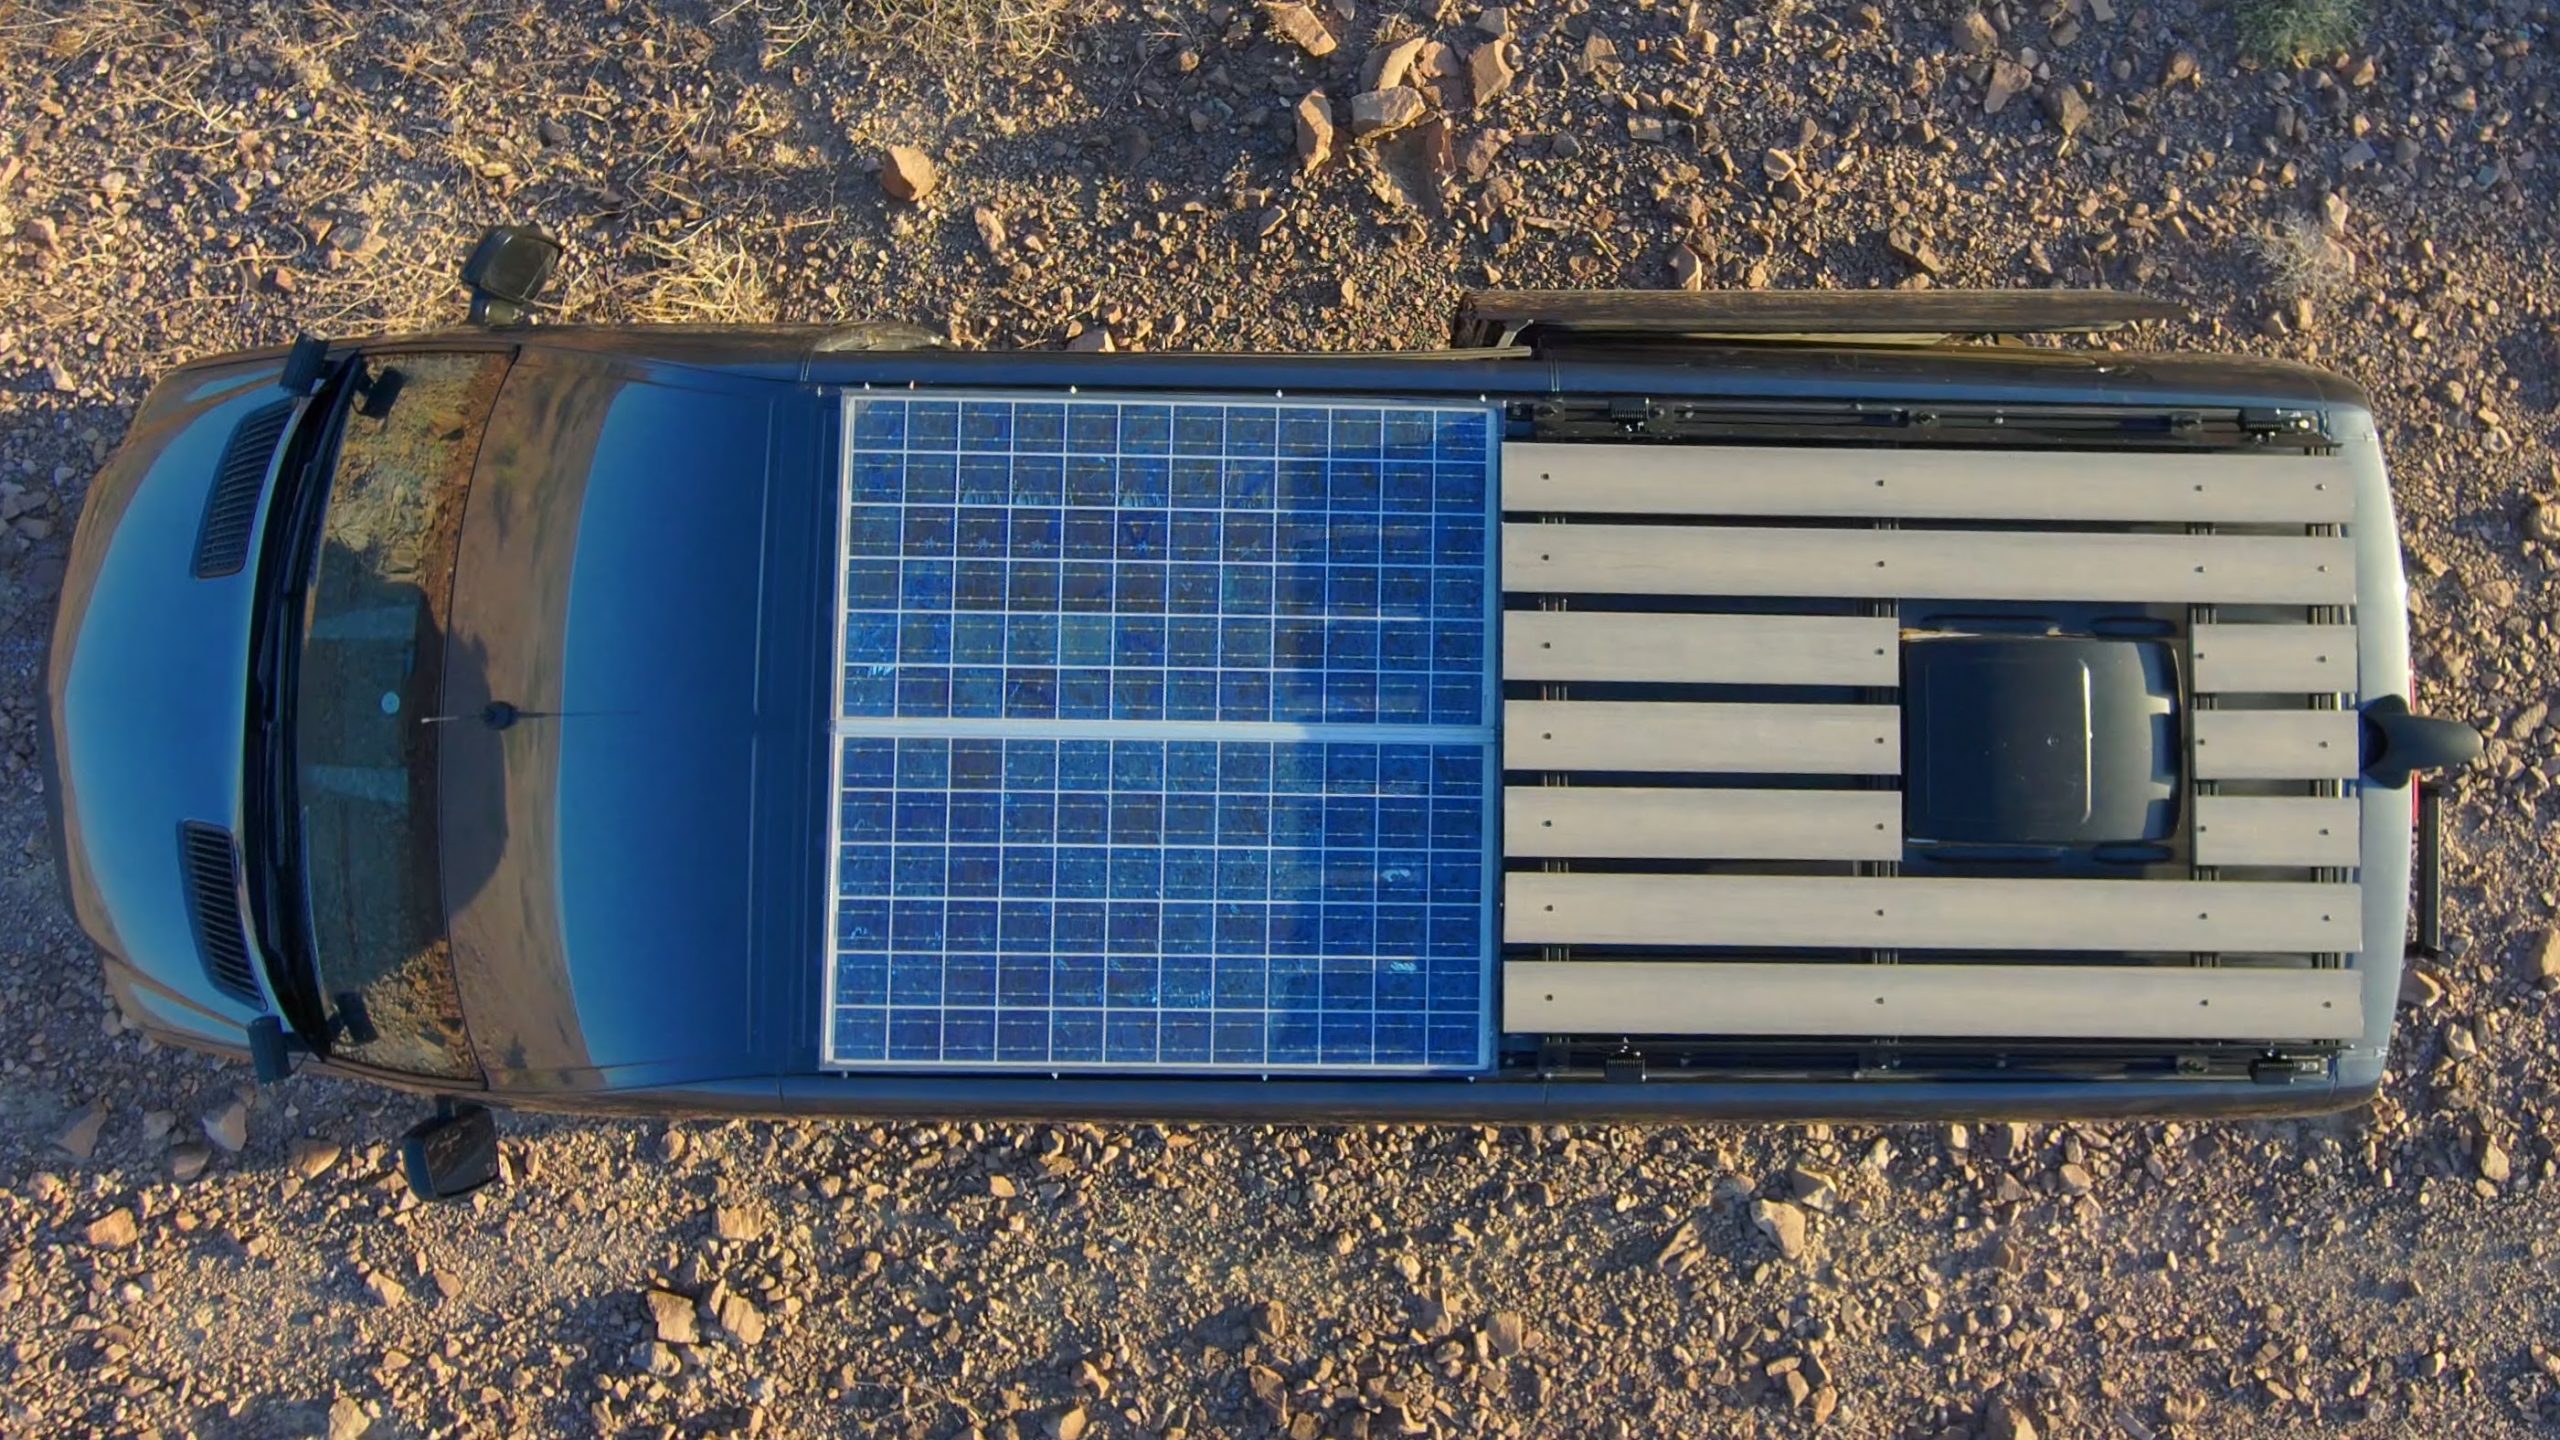
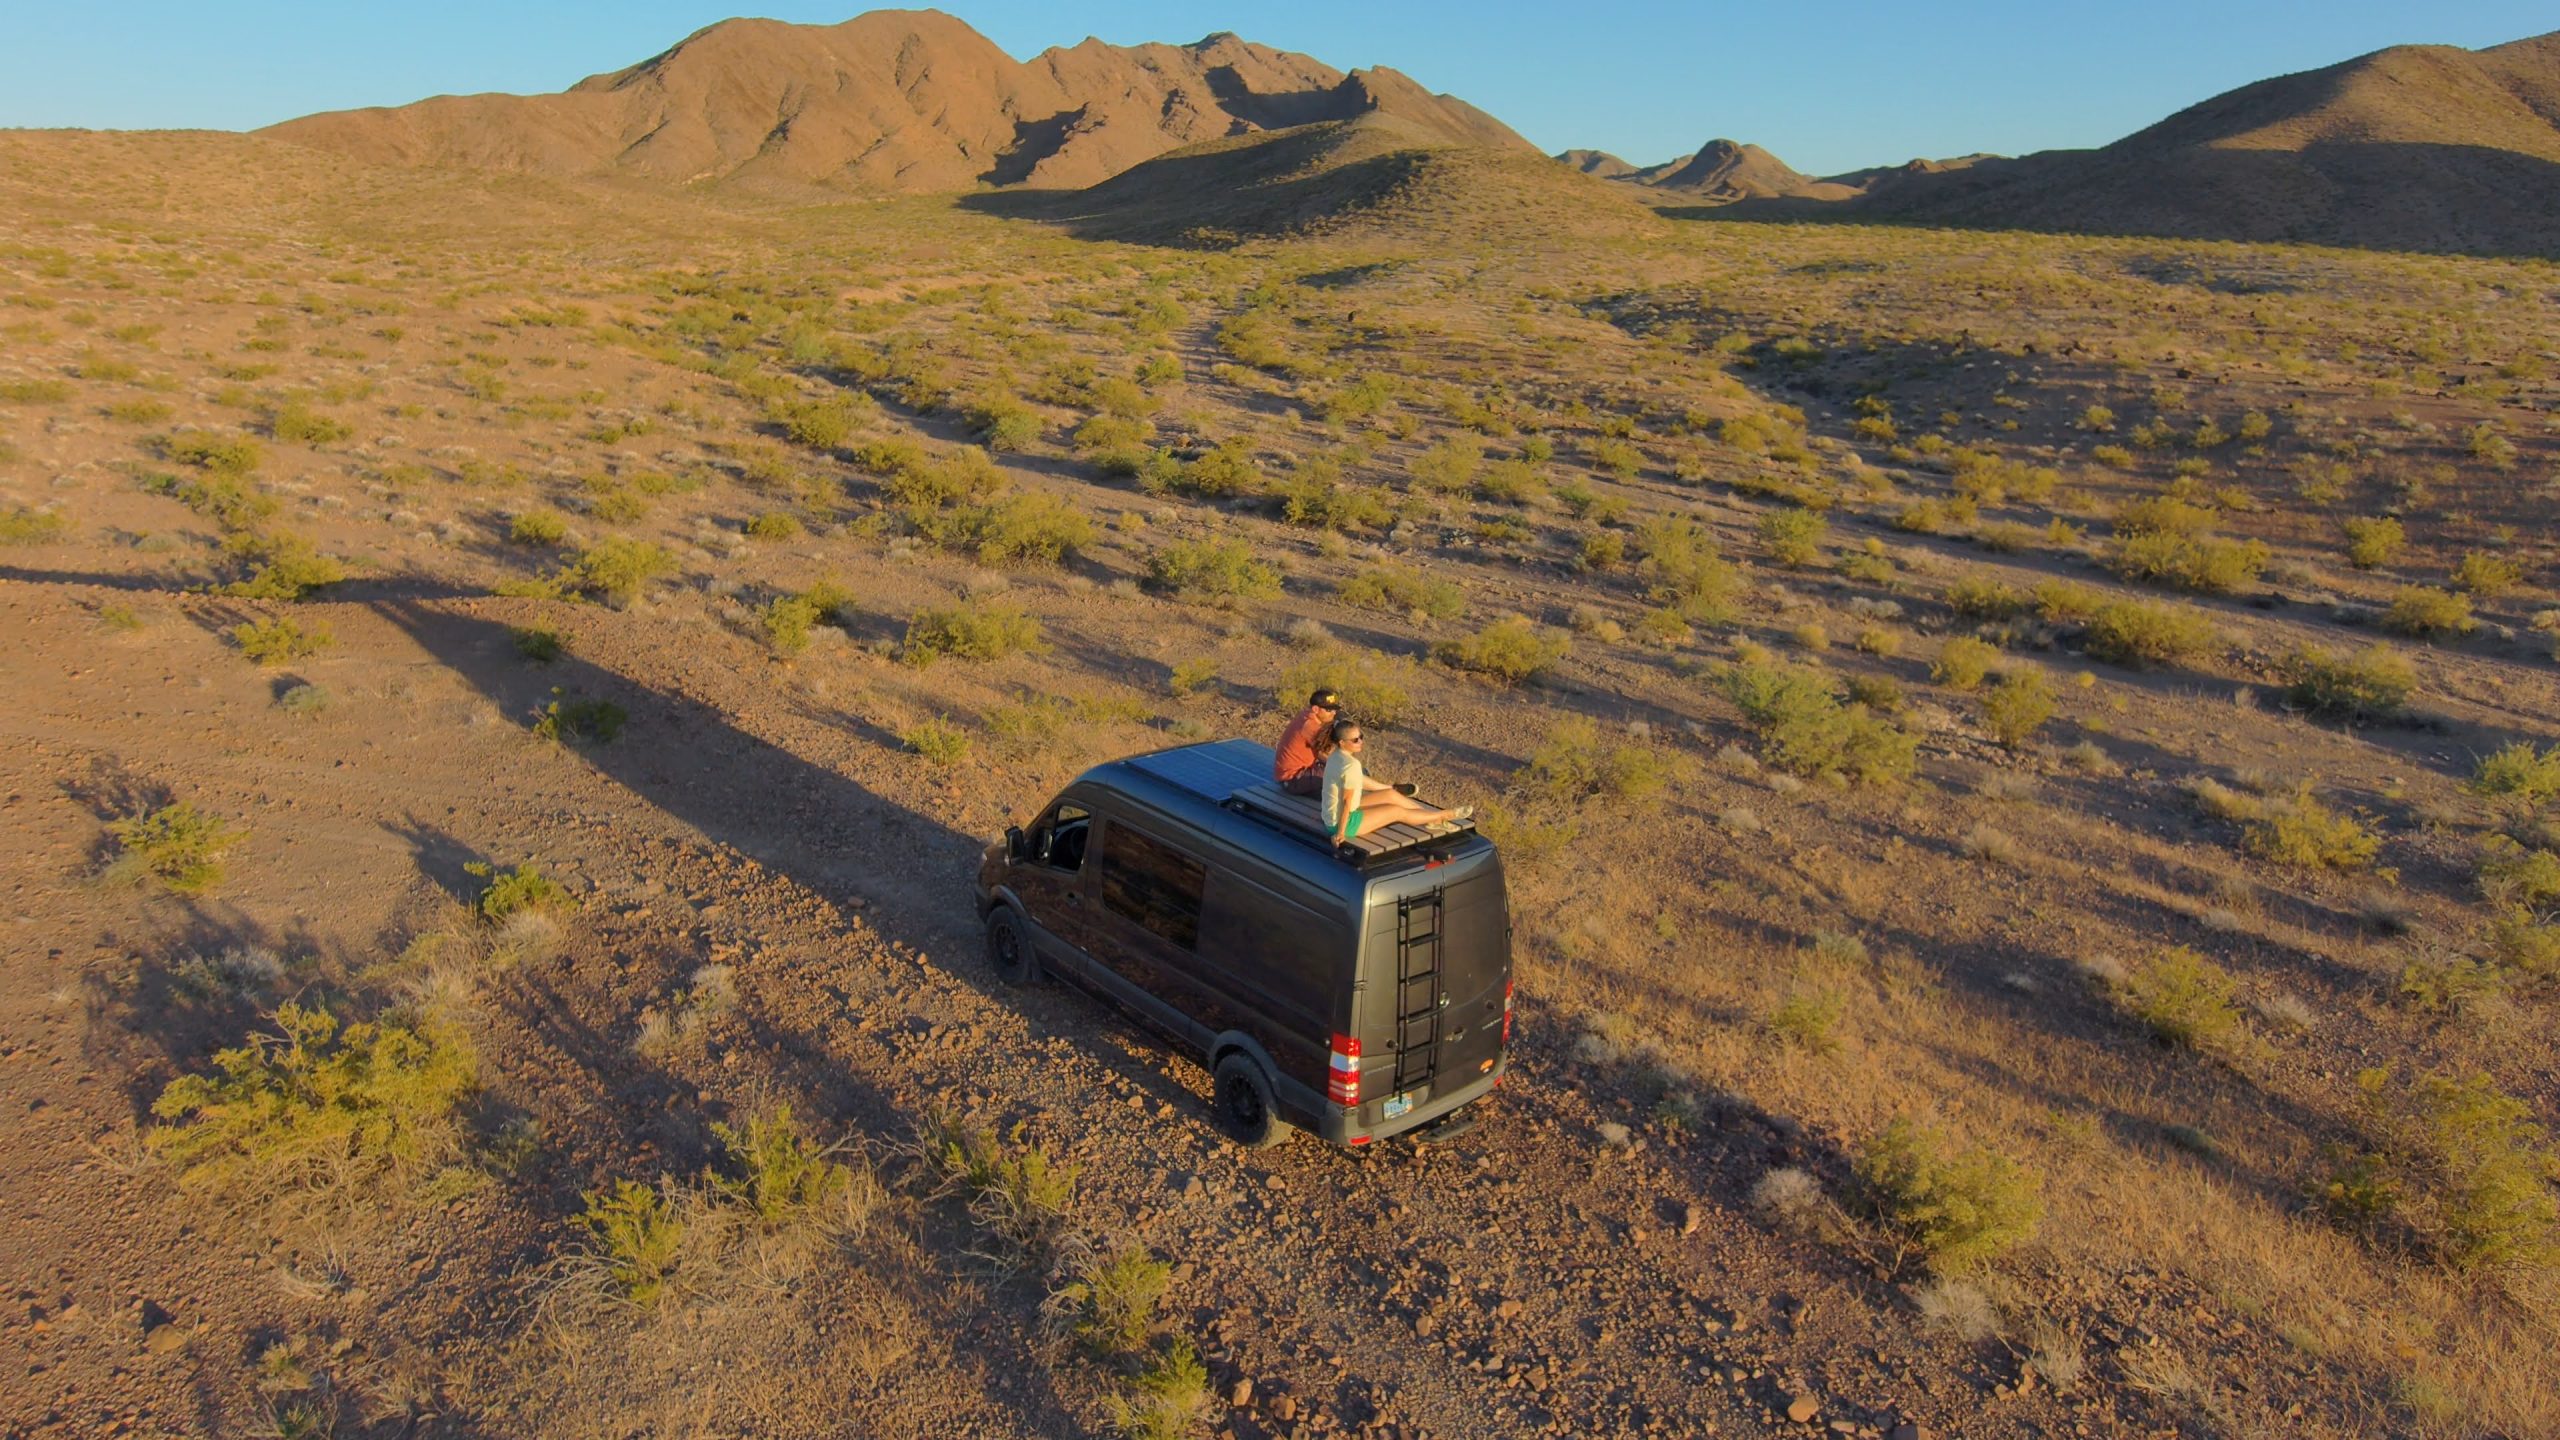
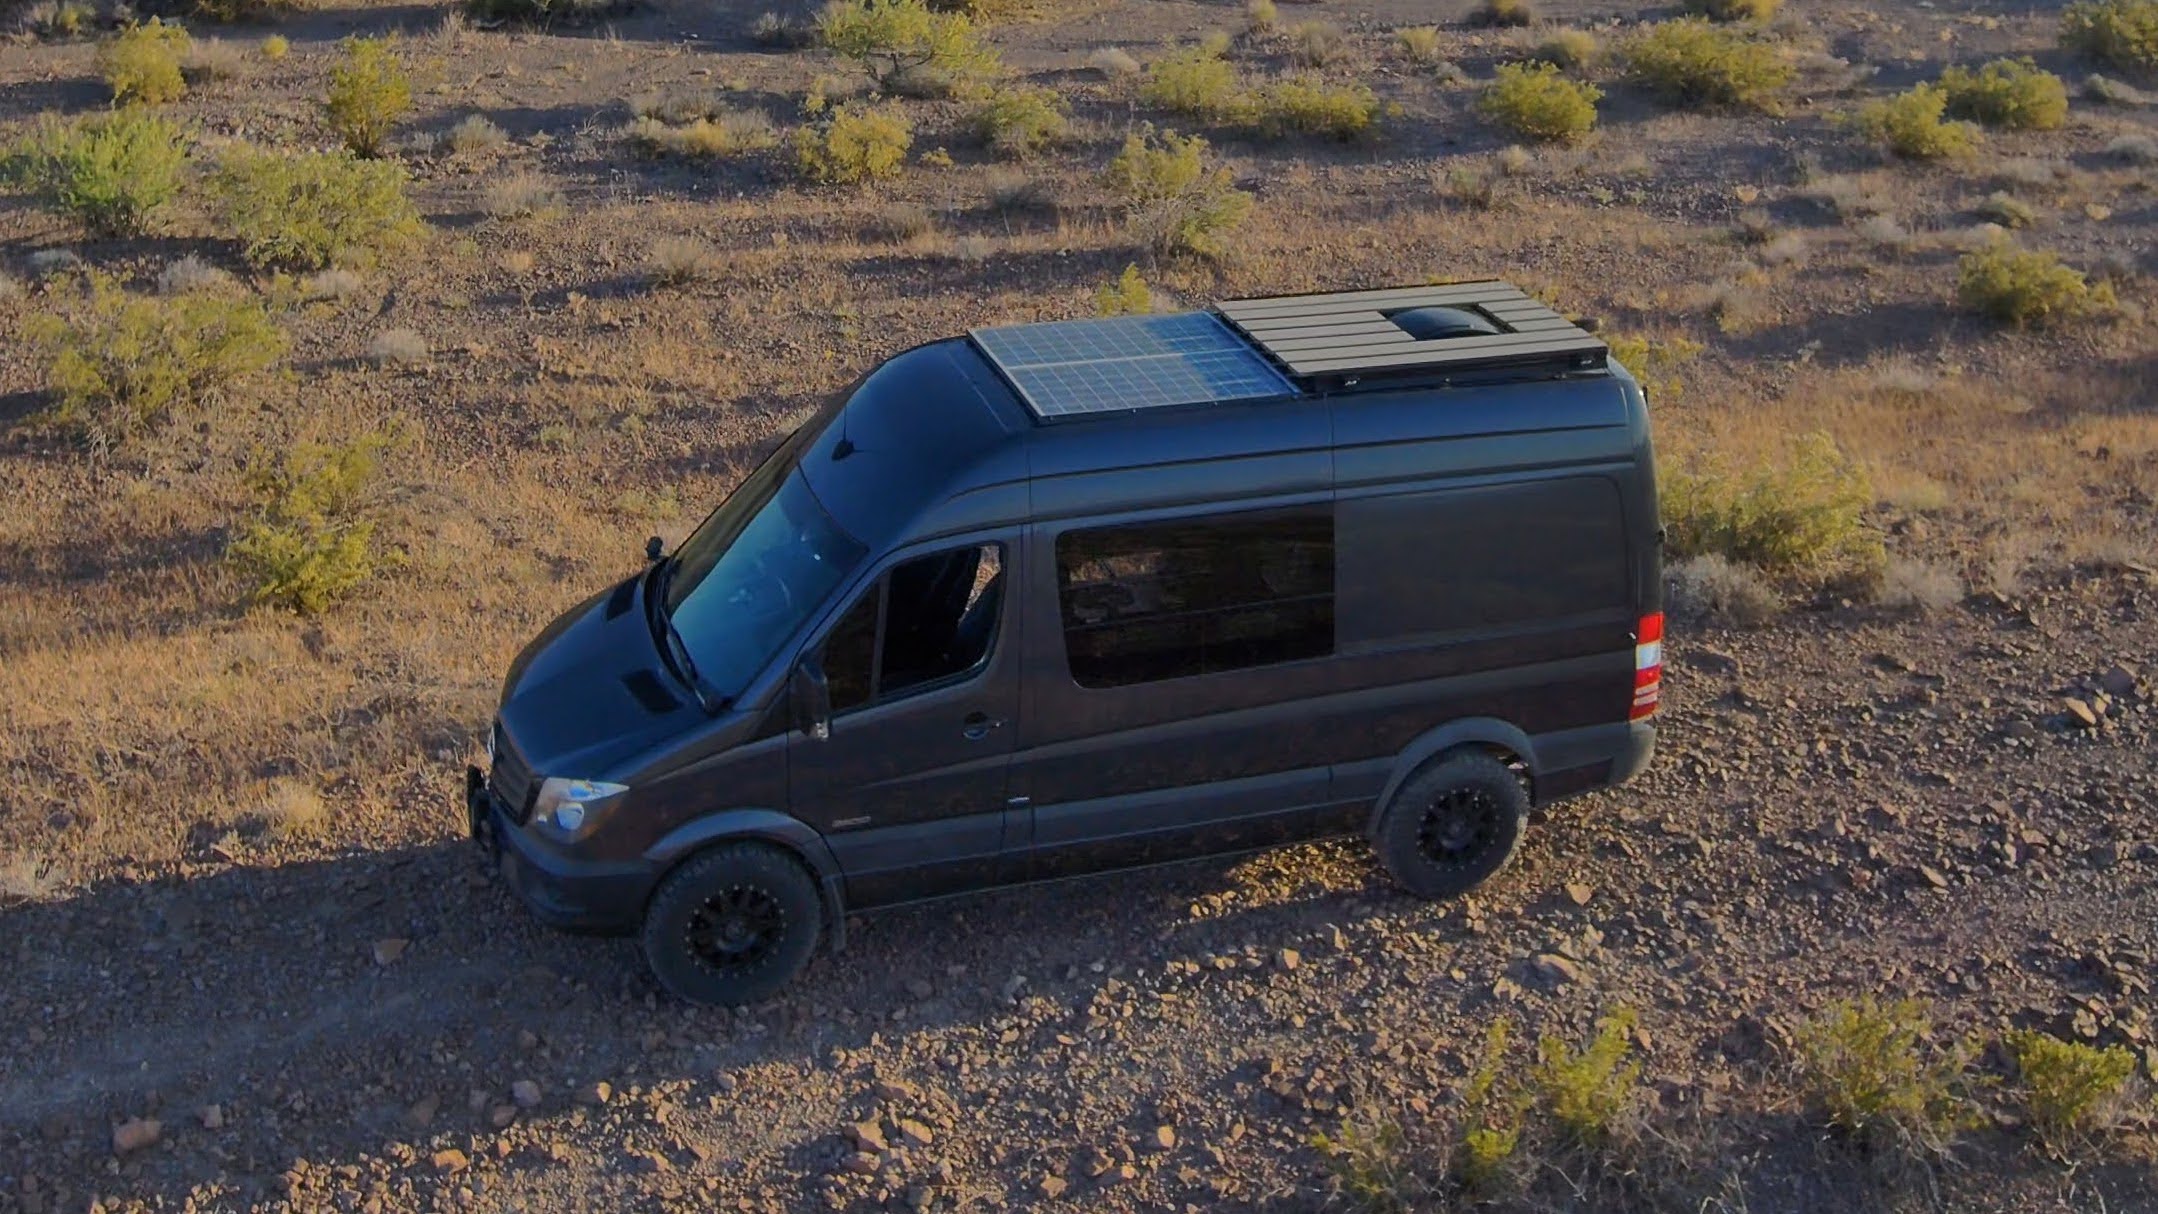
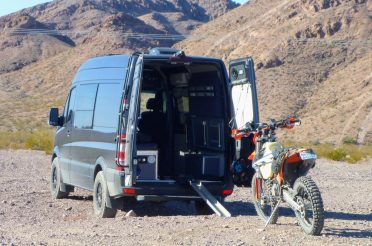
 A roof rack is a Sprinter Van project that has been on the back burner for years. The main reason we wanted a rack in the first place was so we could store items such as our camp chairs, kayak, or stand-up paddle board. In addition to the storage, we wanted to have a nice vantage point to watch the sunset or fireworks on special occasions. I suppose the biggest hold-up with us getting around to this is that nobody sells “half” roof racks that would specifically meet and fit our needs. Our solar panels are already mounted at the front portion of our roof and sit with a very low profile. I wasn’t about to remove them and start over just so I could mount them on top of a rack. So we needed a rack that was low profile, would fit the rear half of our roof, and would also work with our MaxxAir roof vent fan.
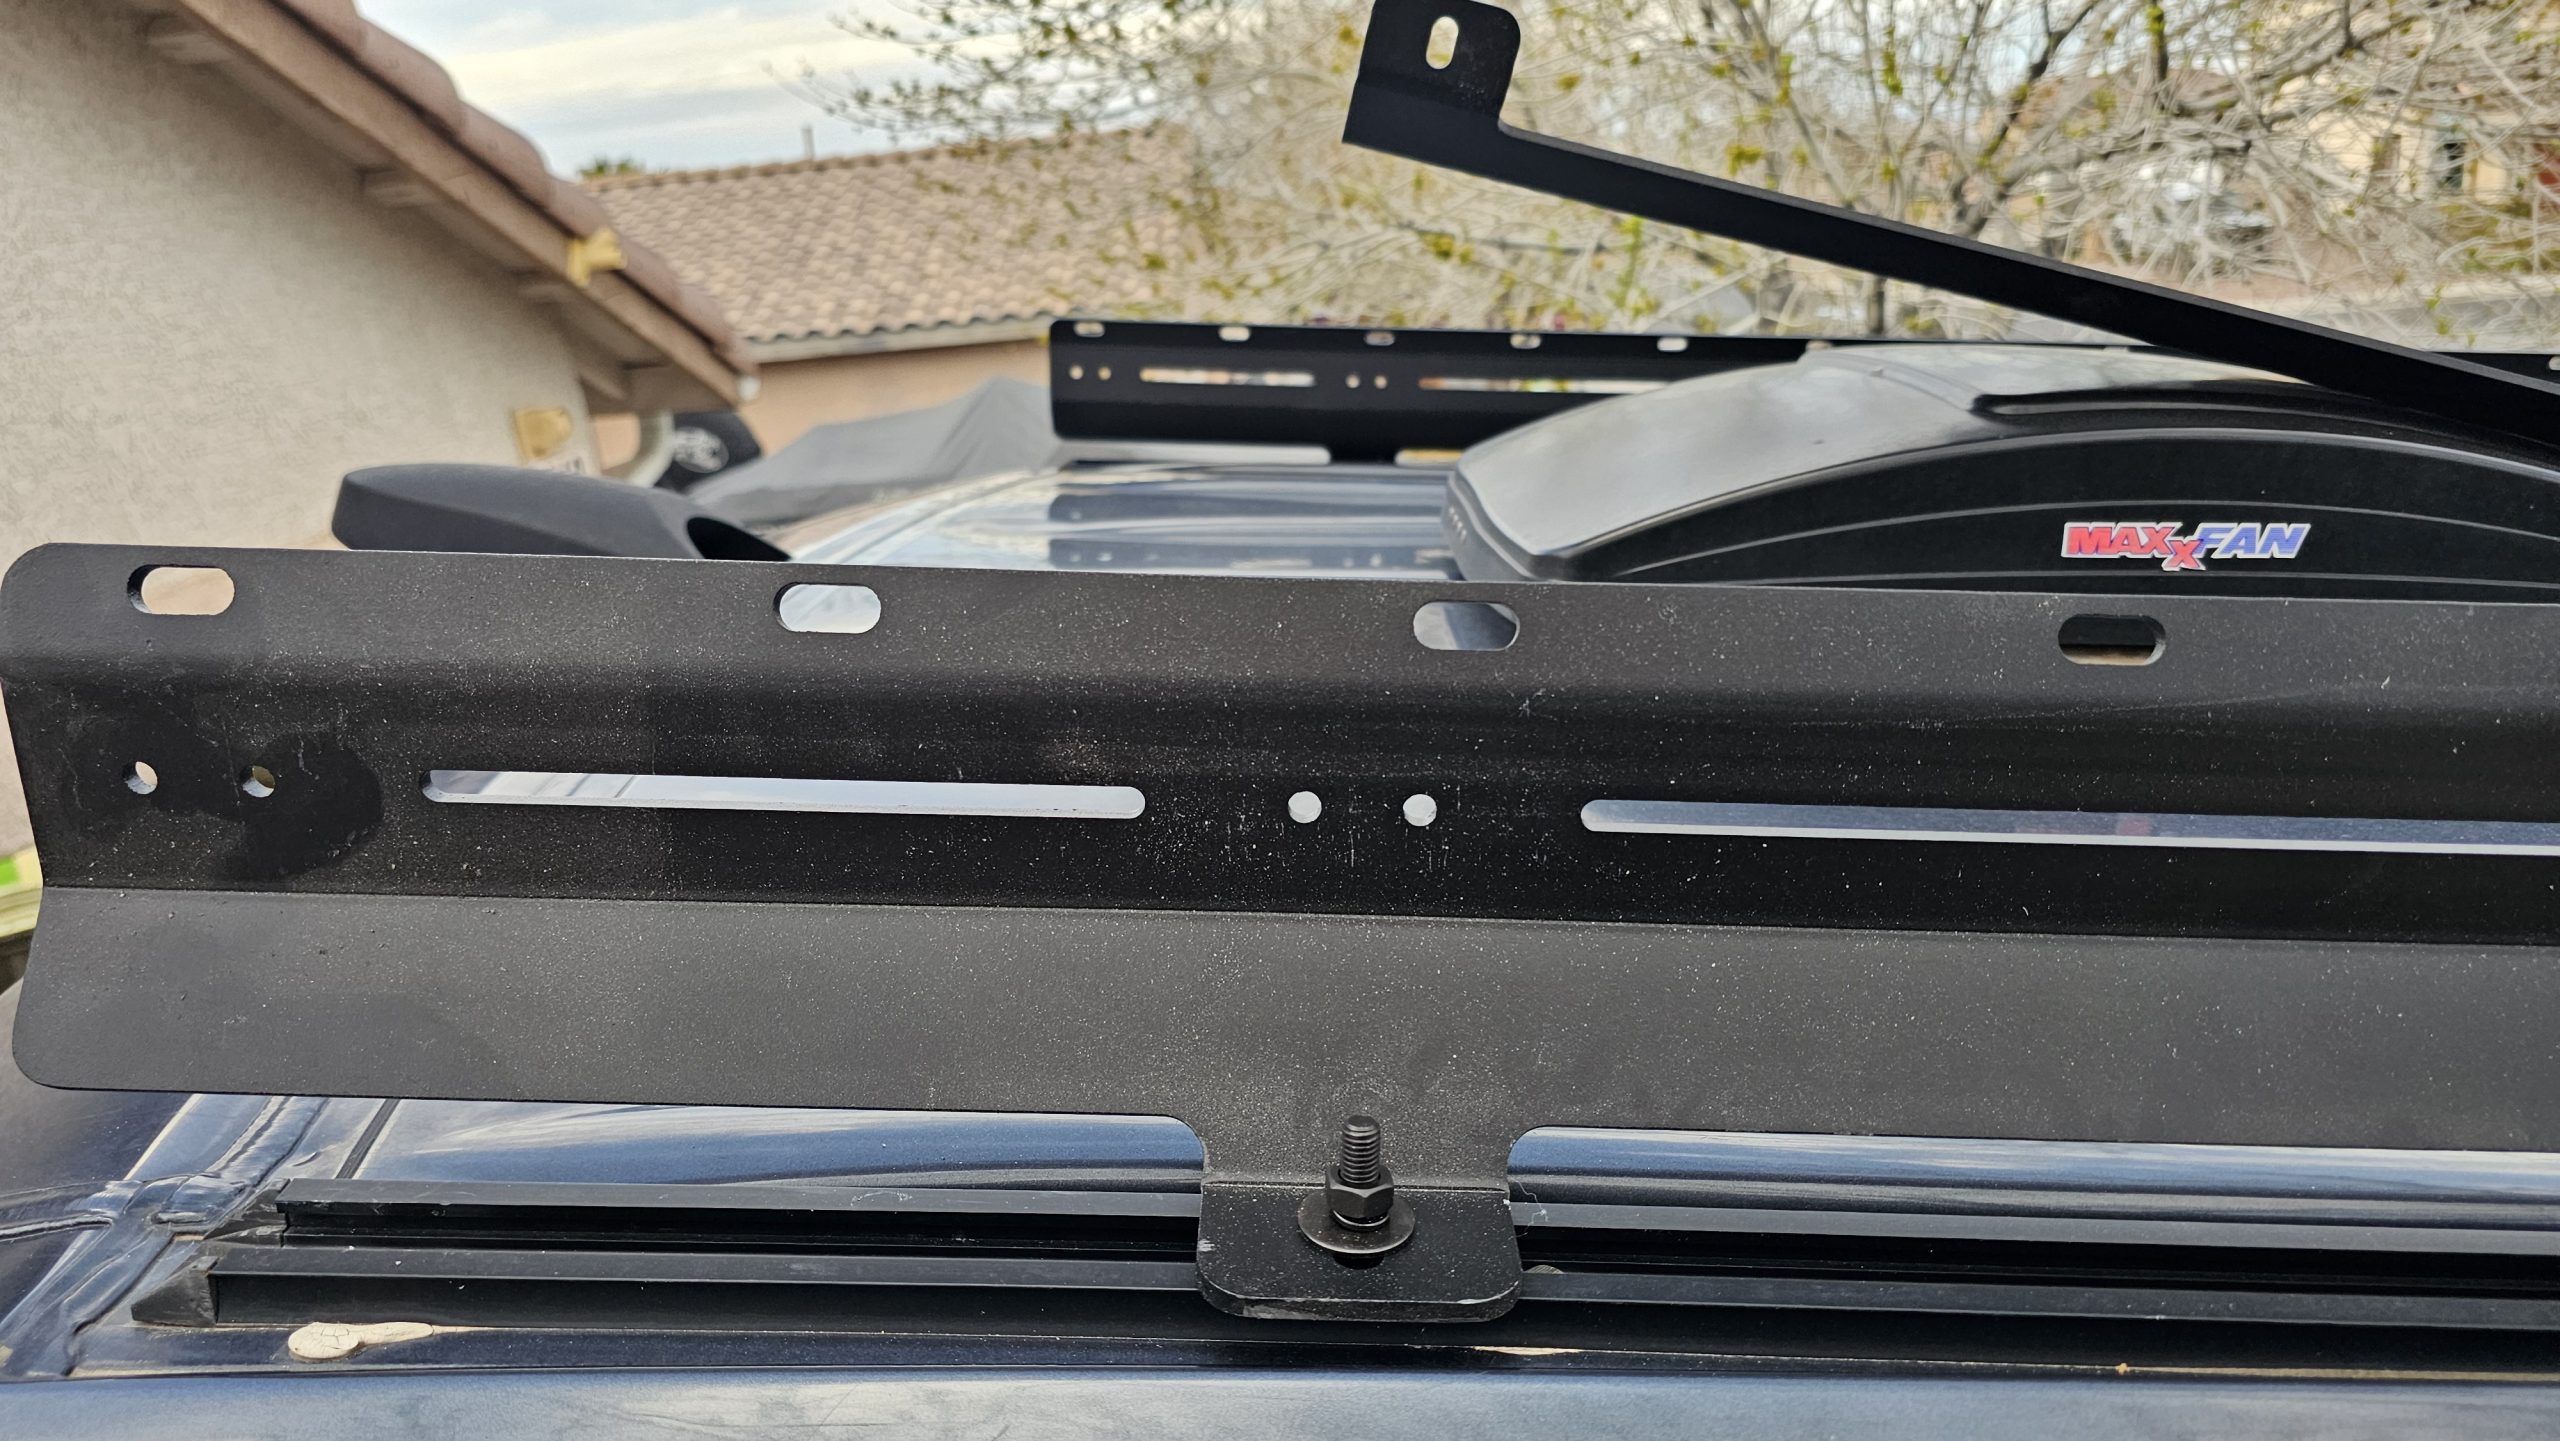
The main motivator for this project was the major upgrade to our rear ladder. I installed a Flatline Van Co. ladder and I was very impressed with the quality and fit of their product. Now that our roof was much easier to access, we had to have that roof rack that we always wanted. I considered building one strictly out of 80/20 extruded aluminum but in the end it would look very janky in my opinion. This is where FVC helped tremendously. They sent me some of their low-profile roof rack side rail components and crossbars to see if I could put something together like what I had envisioned all this time.
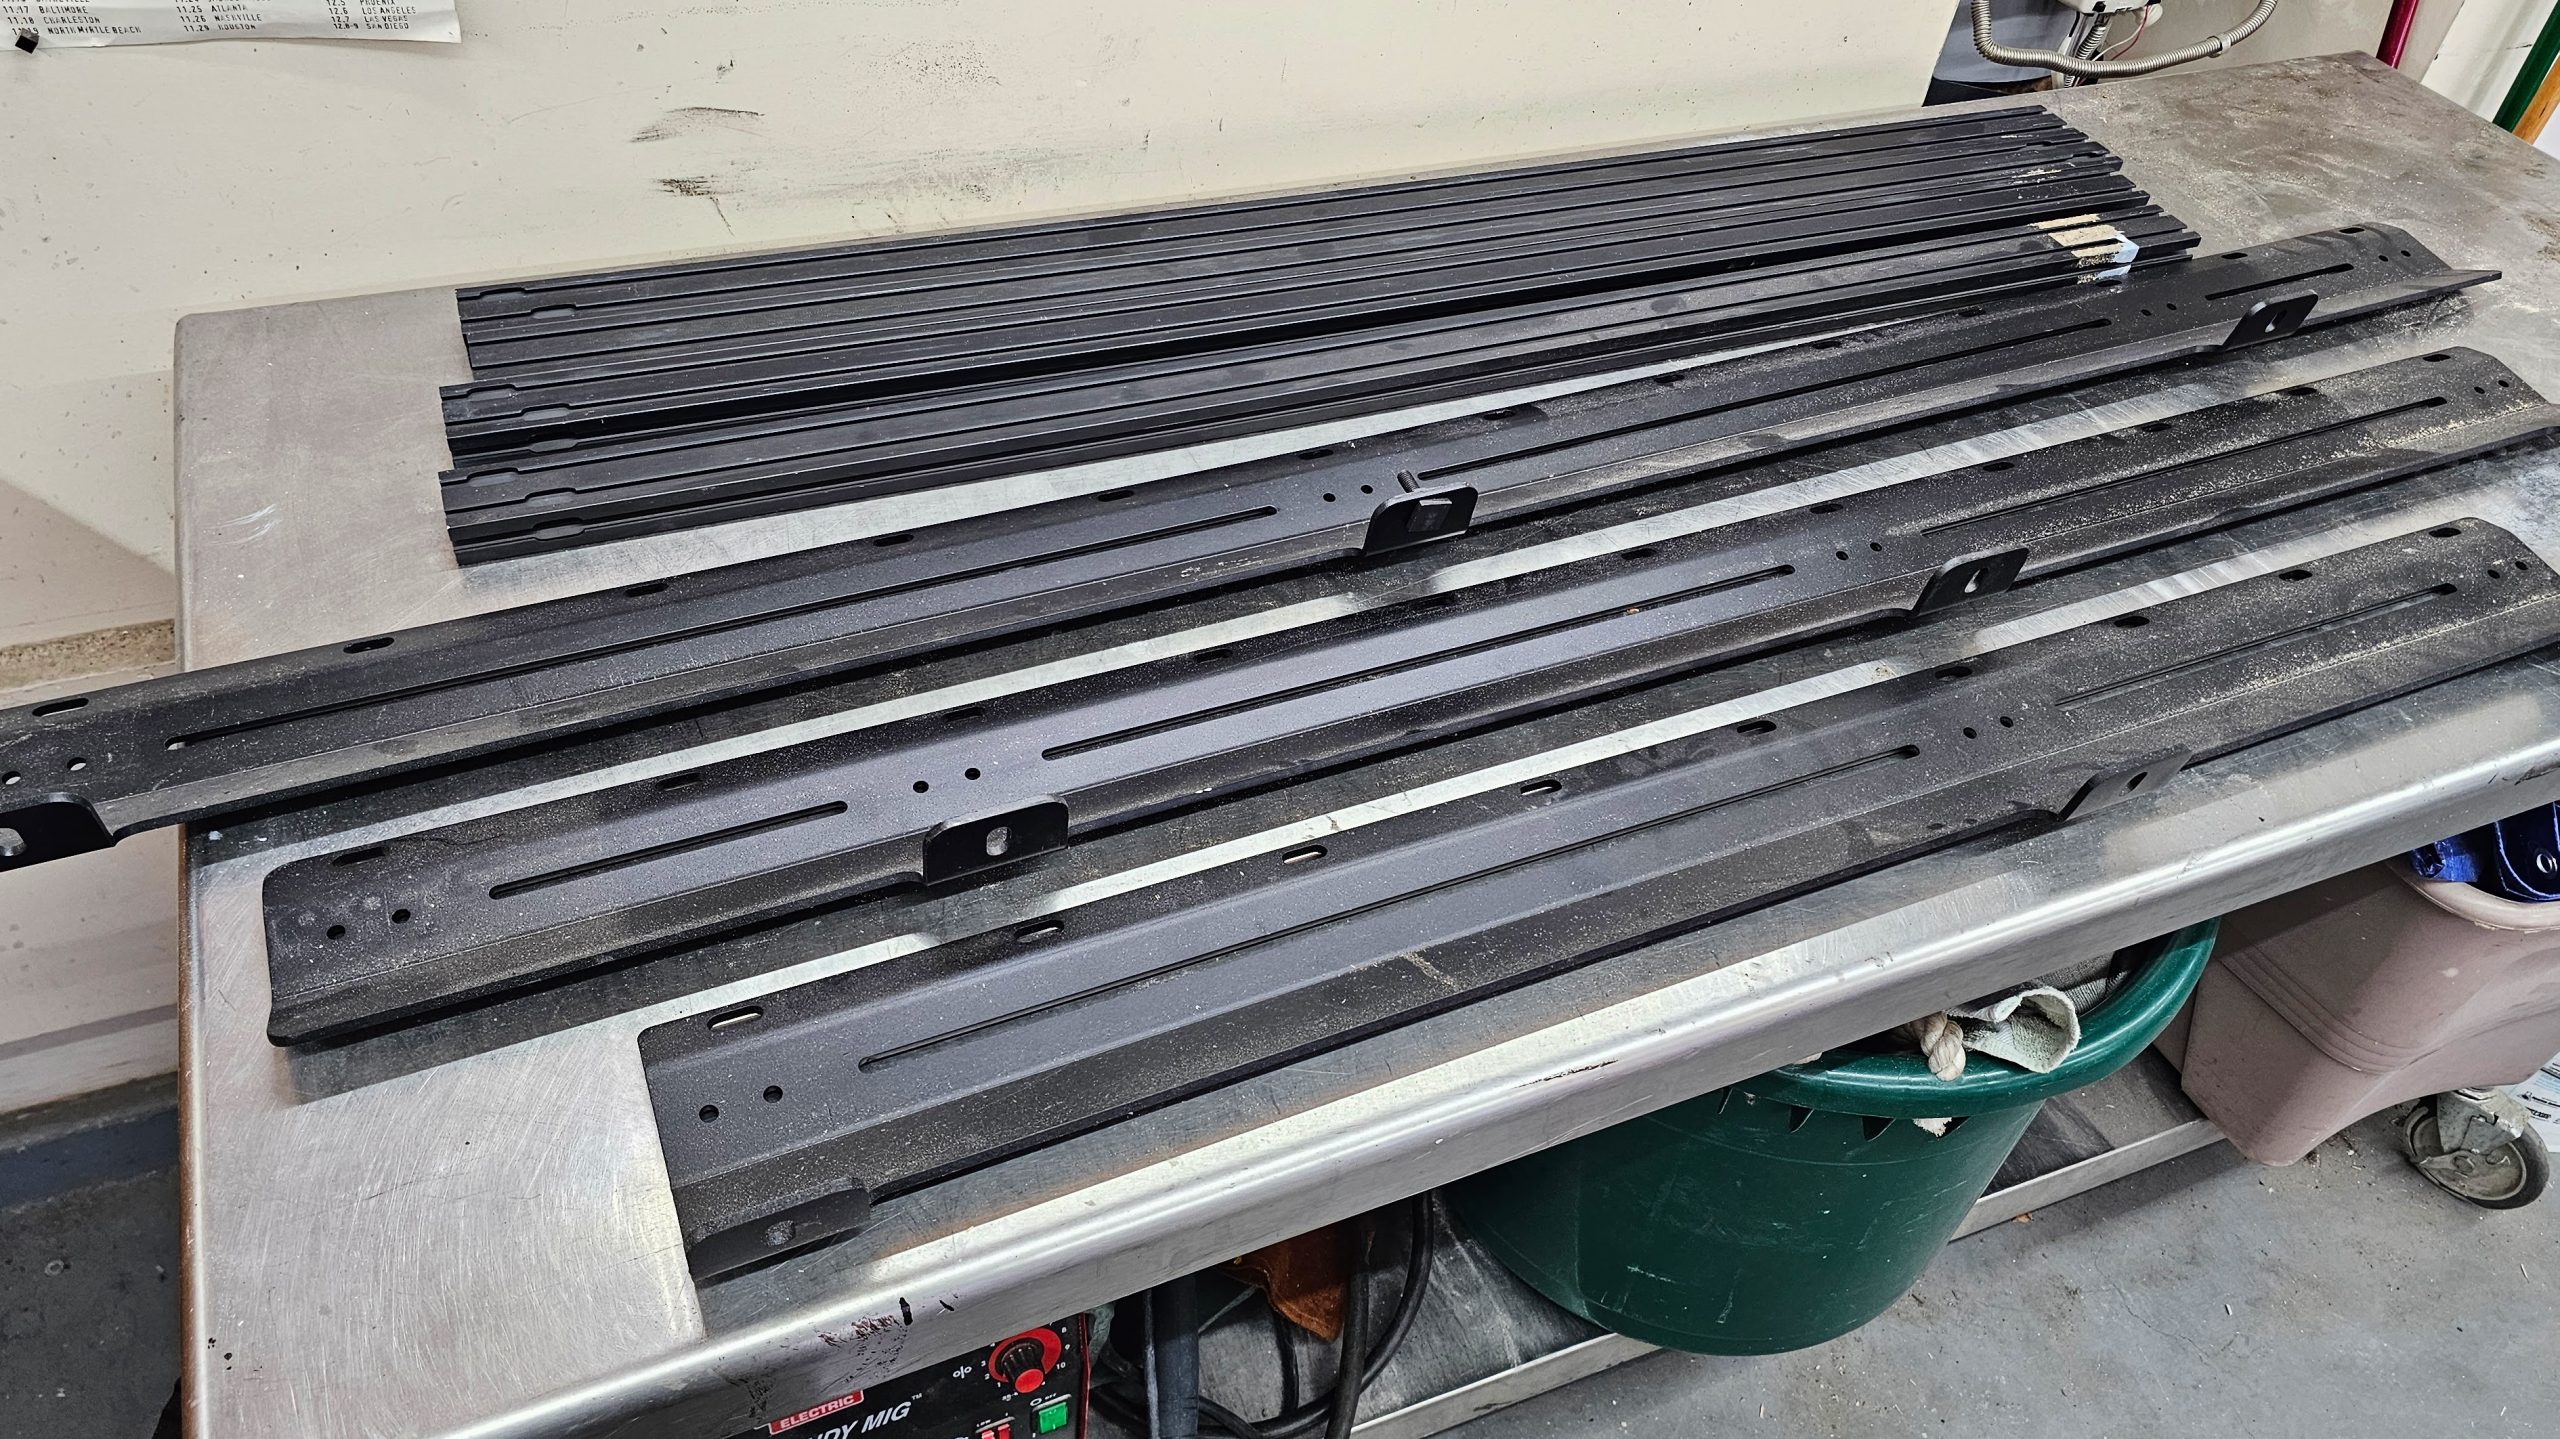
FVC Low Pro Roof Rack Components
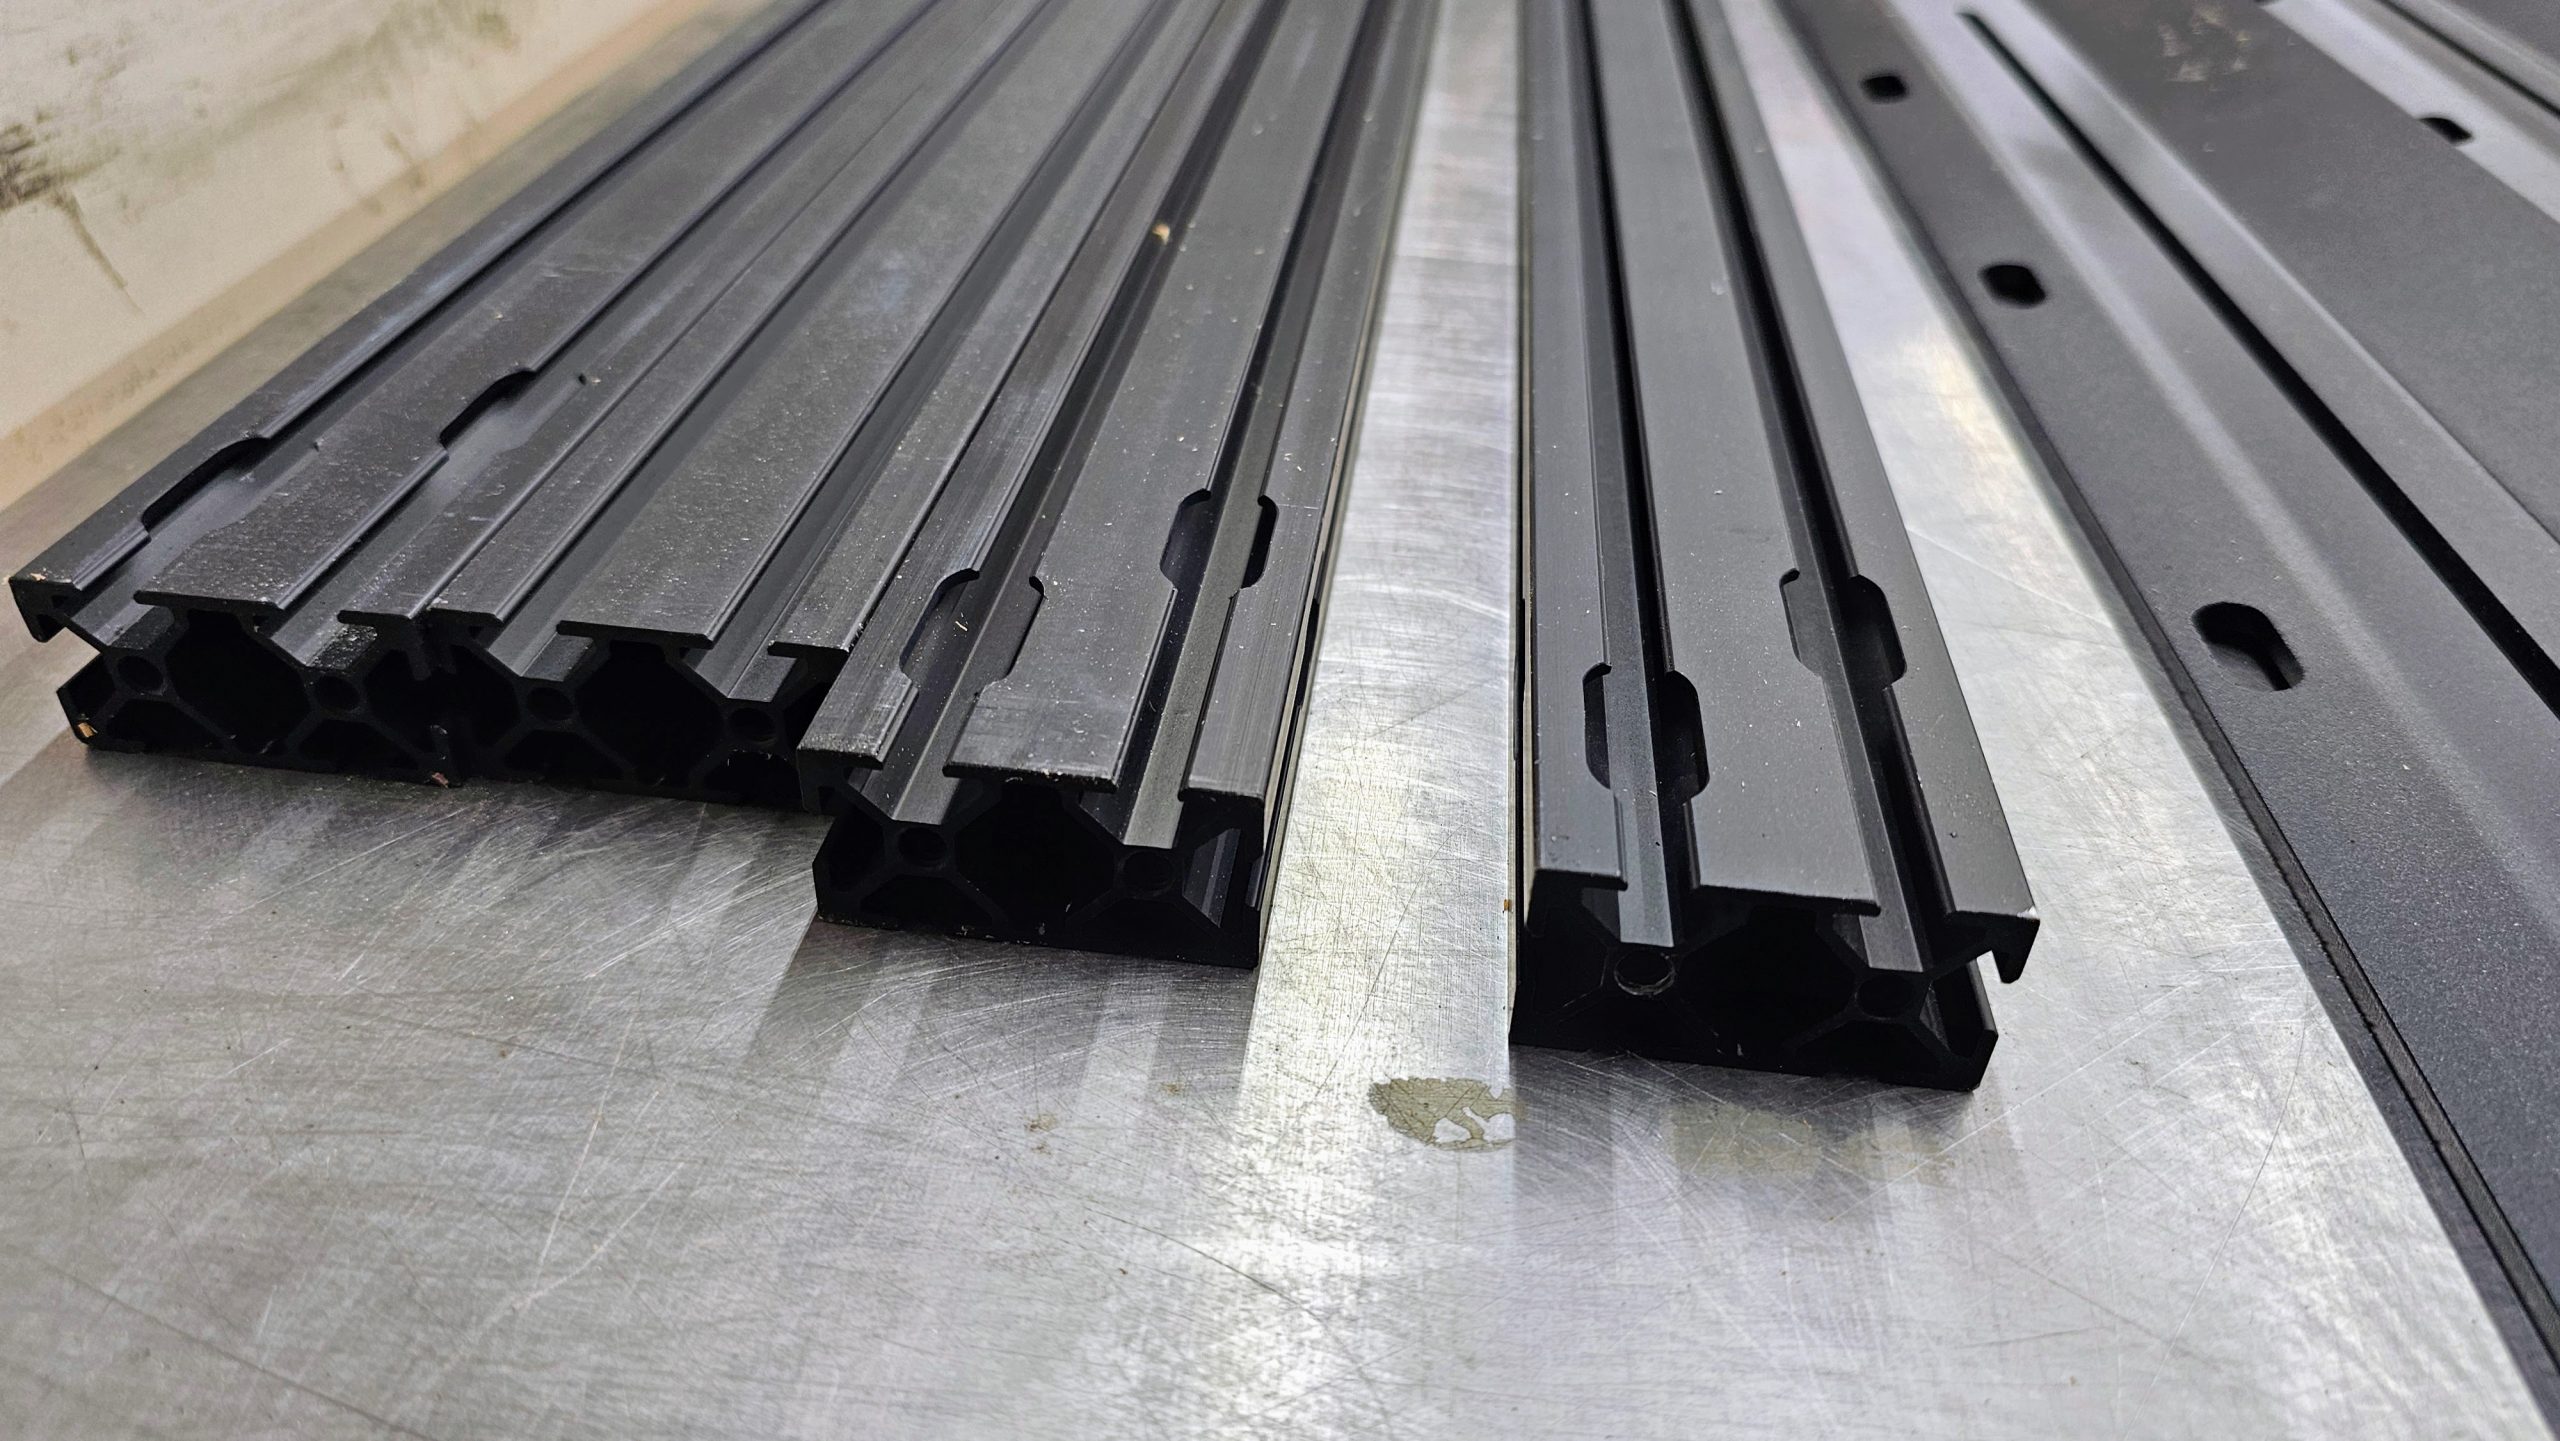
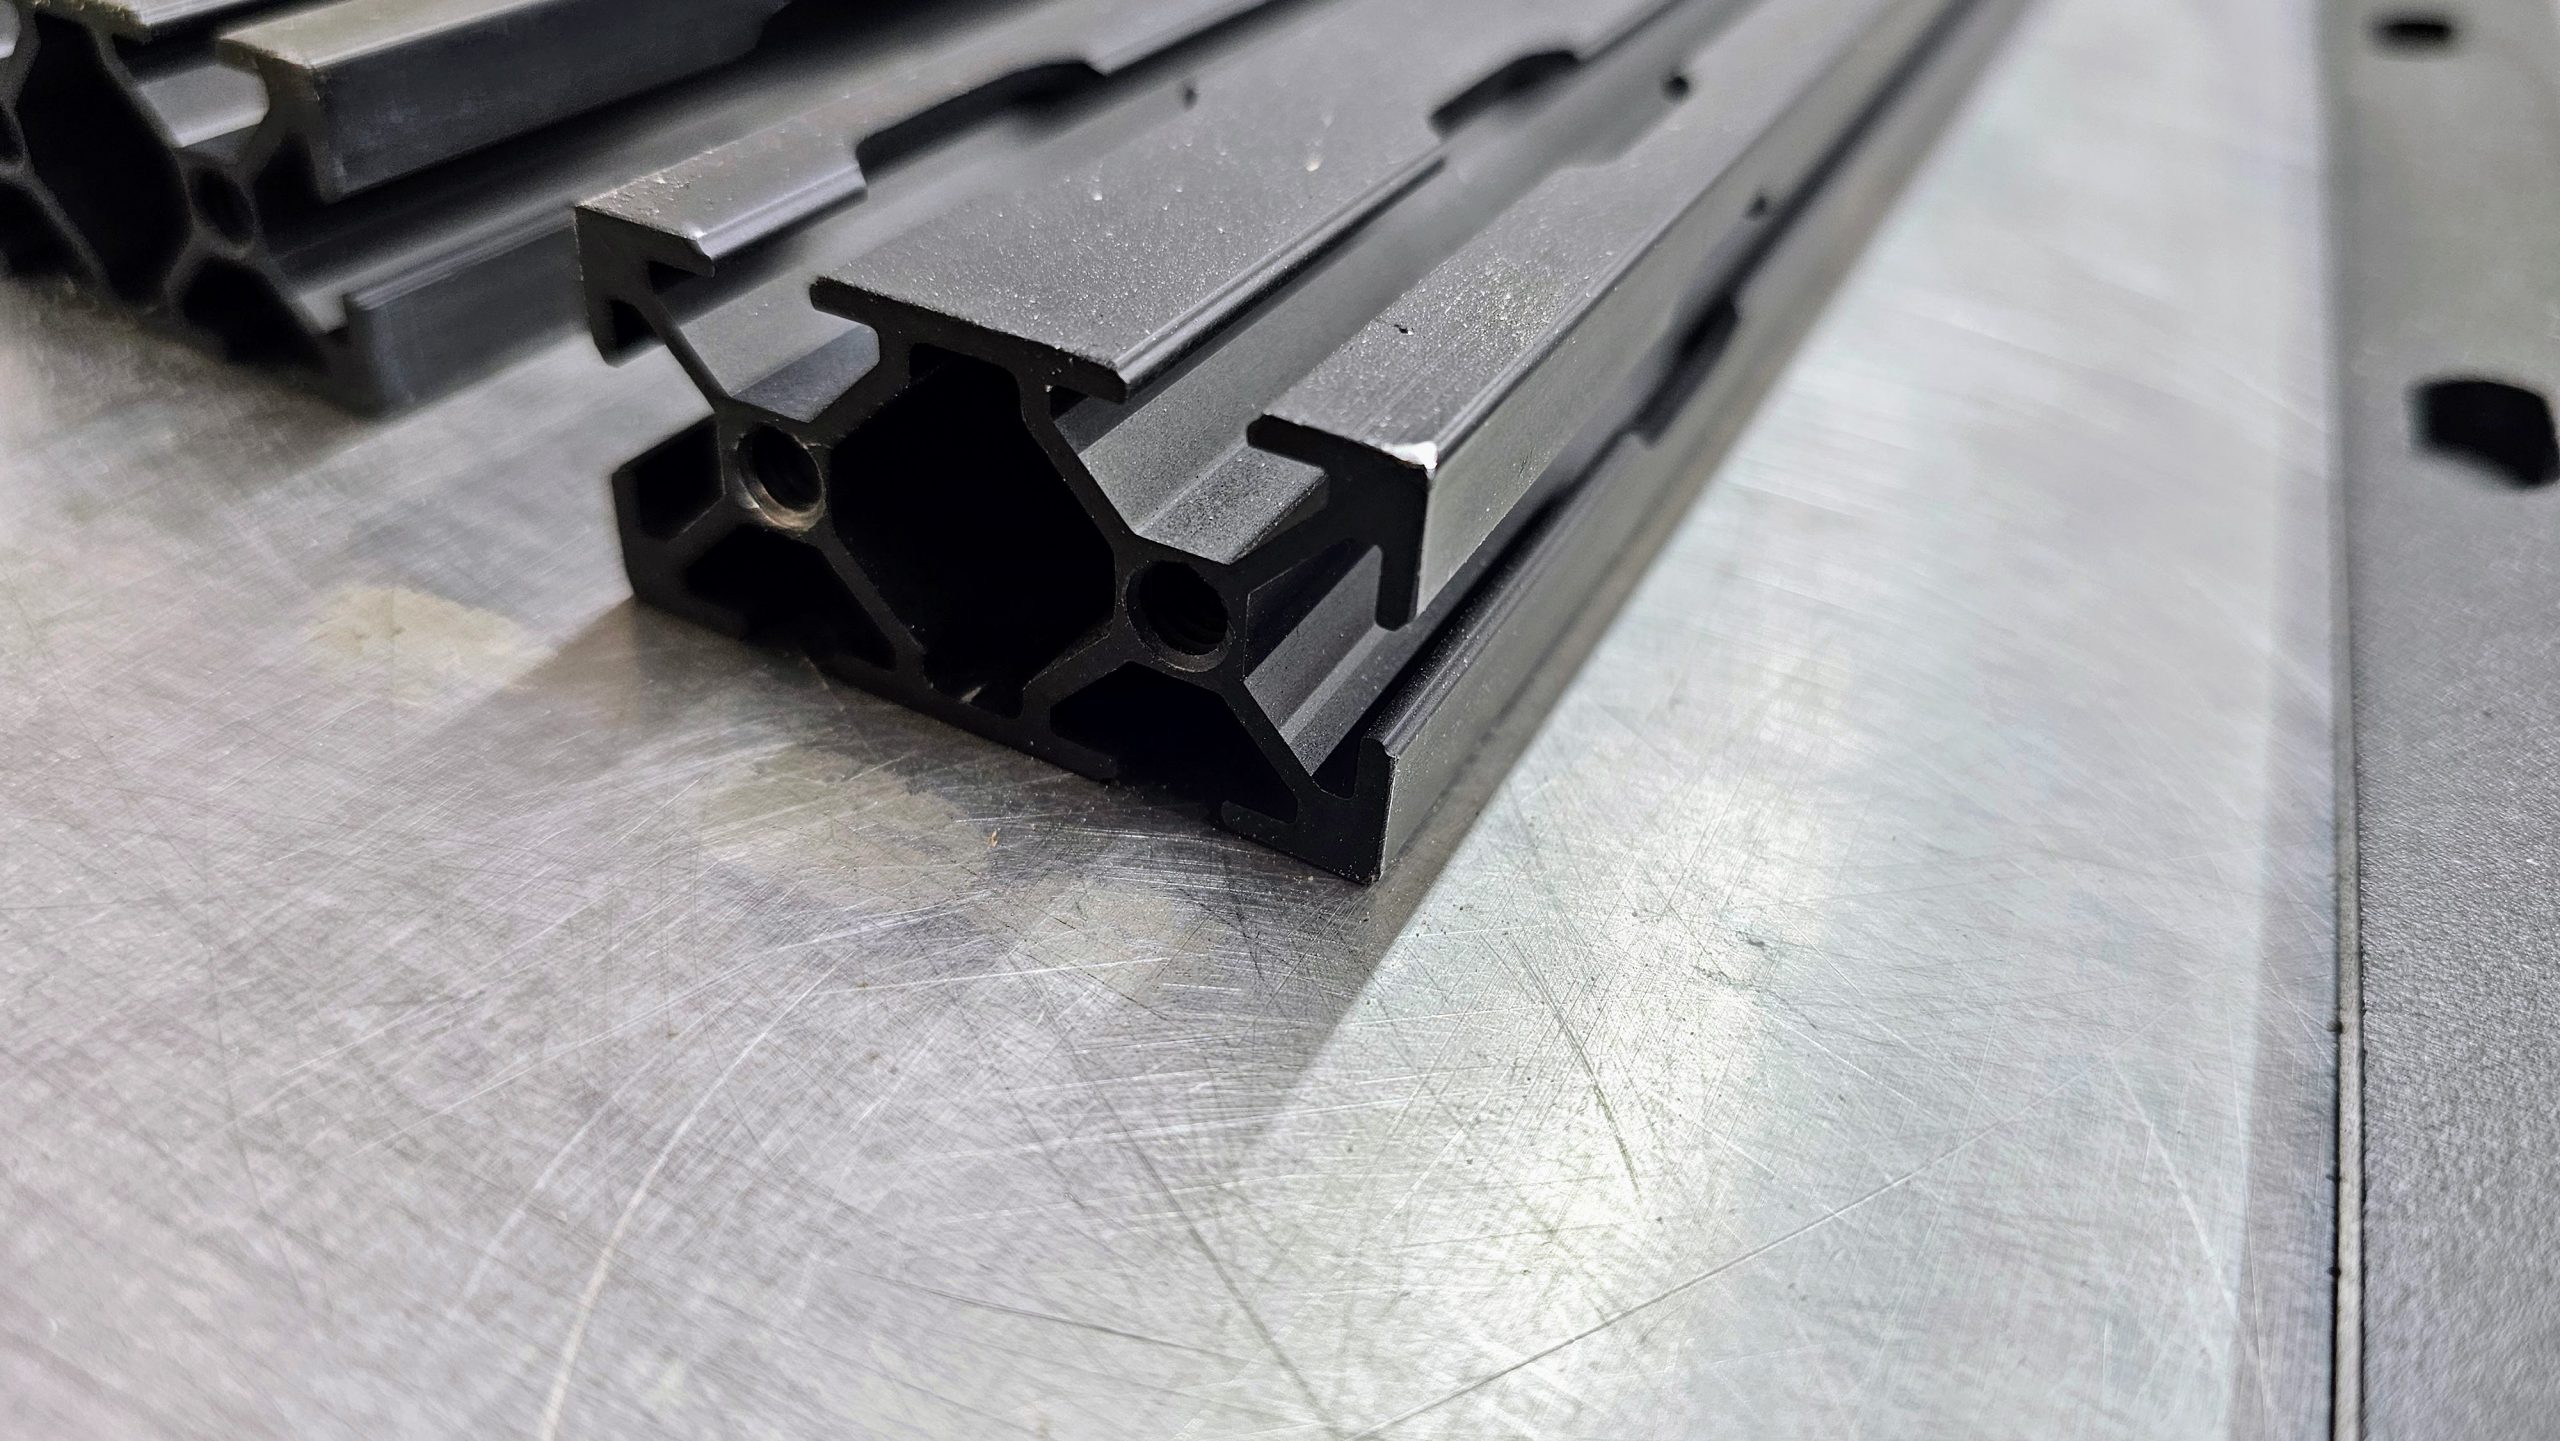
This is not necessarily a kit they sell on their website so keep that in mind. It’s basically half of their low pro roof rack. It is, however, a good display of how that rack is installed and how it can be used for a similar custom application. The side rails are laser-cut 3/16″ aluminum and then formed for maximum rigidity. The crossbars are 10 series (80/20) anodized aluminum. The nice thing about this rack is that there are multiple tie-down points and options to mount almost any kind of floor or accessory.
![]()
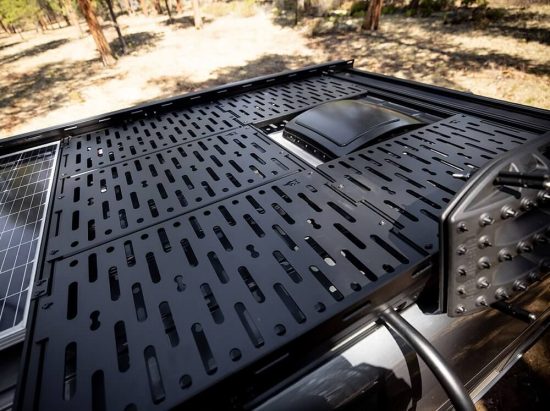
FVC SPRINTER VAN LOW PRO ROOF RACK | 144″ HIGH ROOF
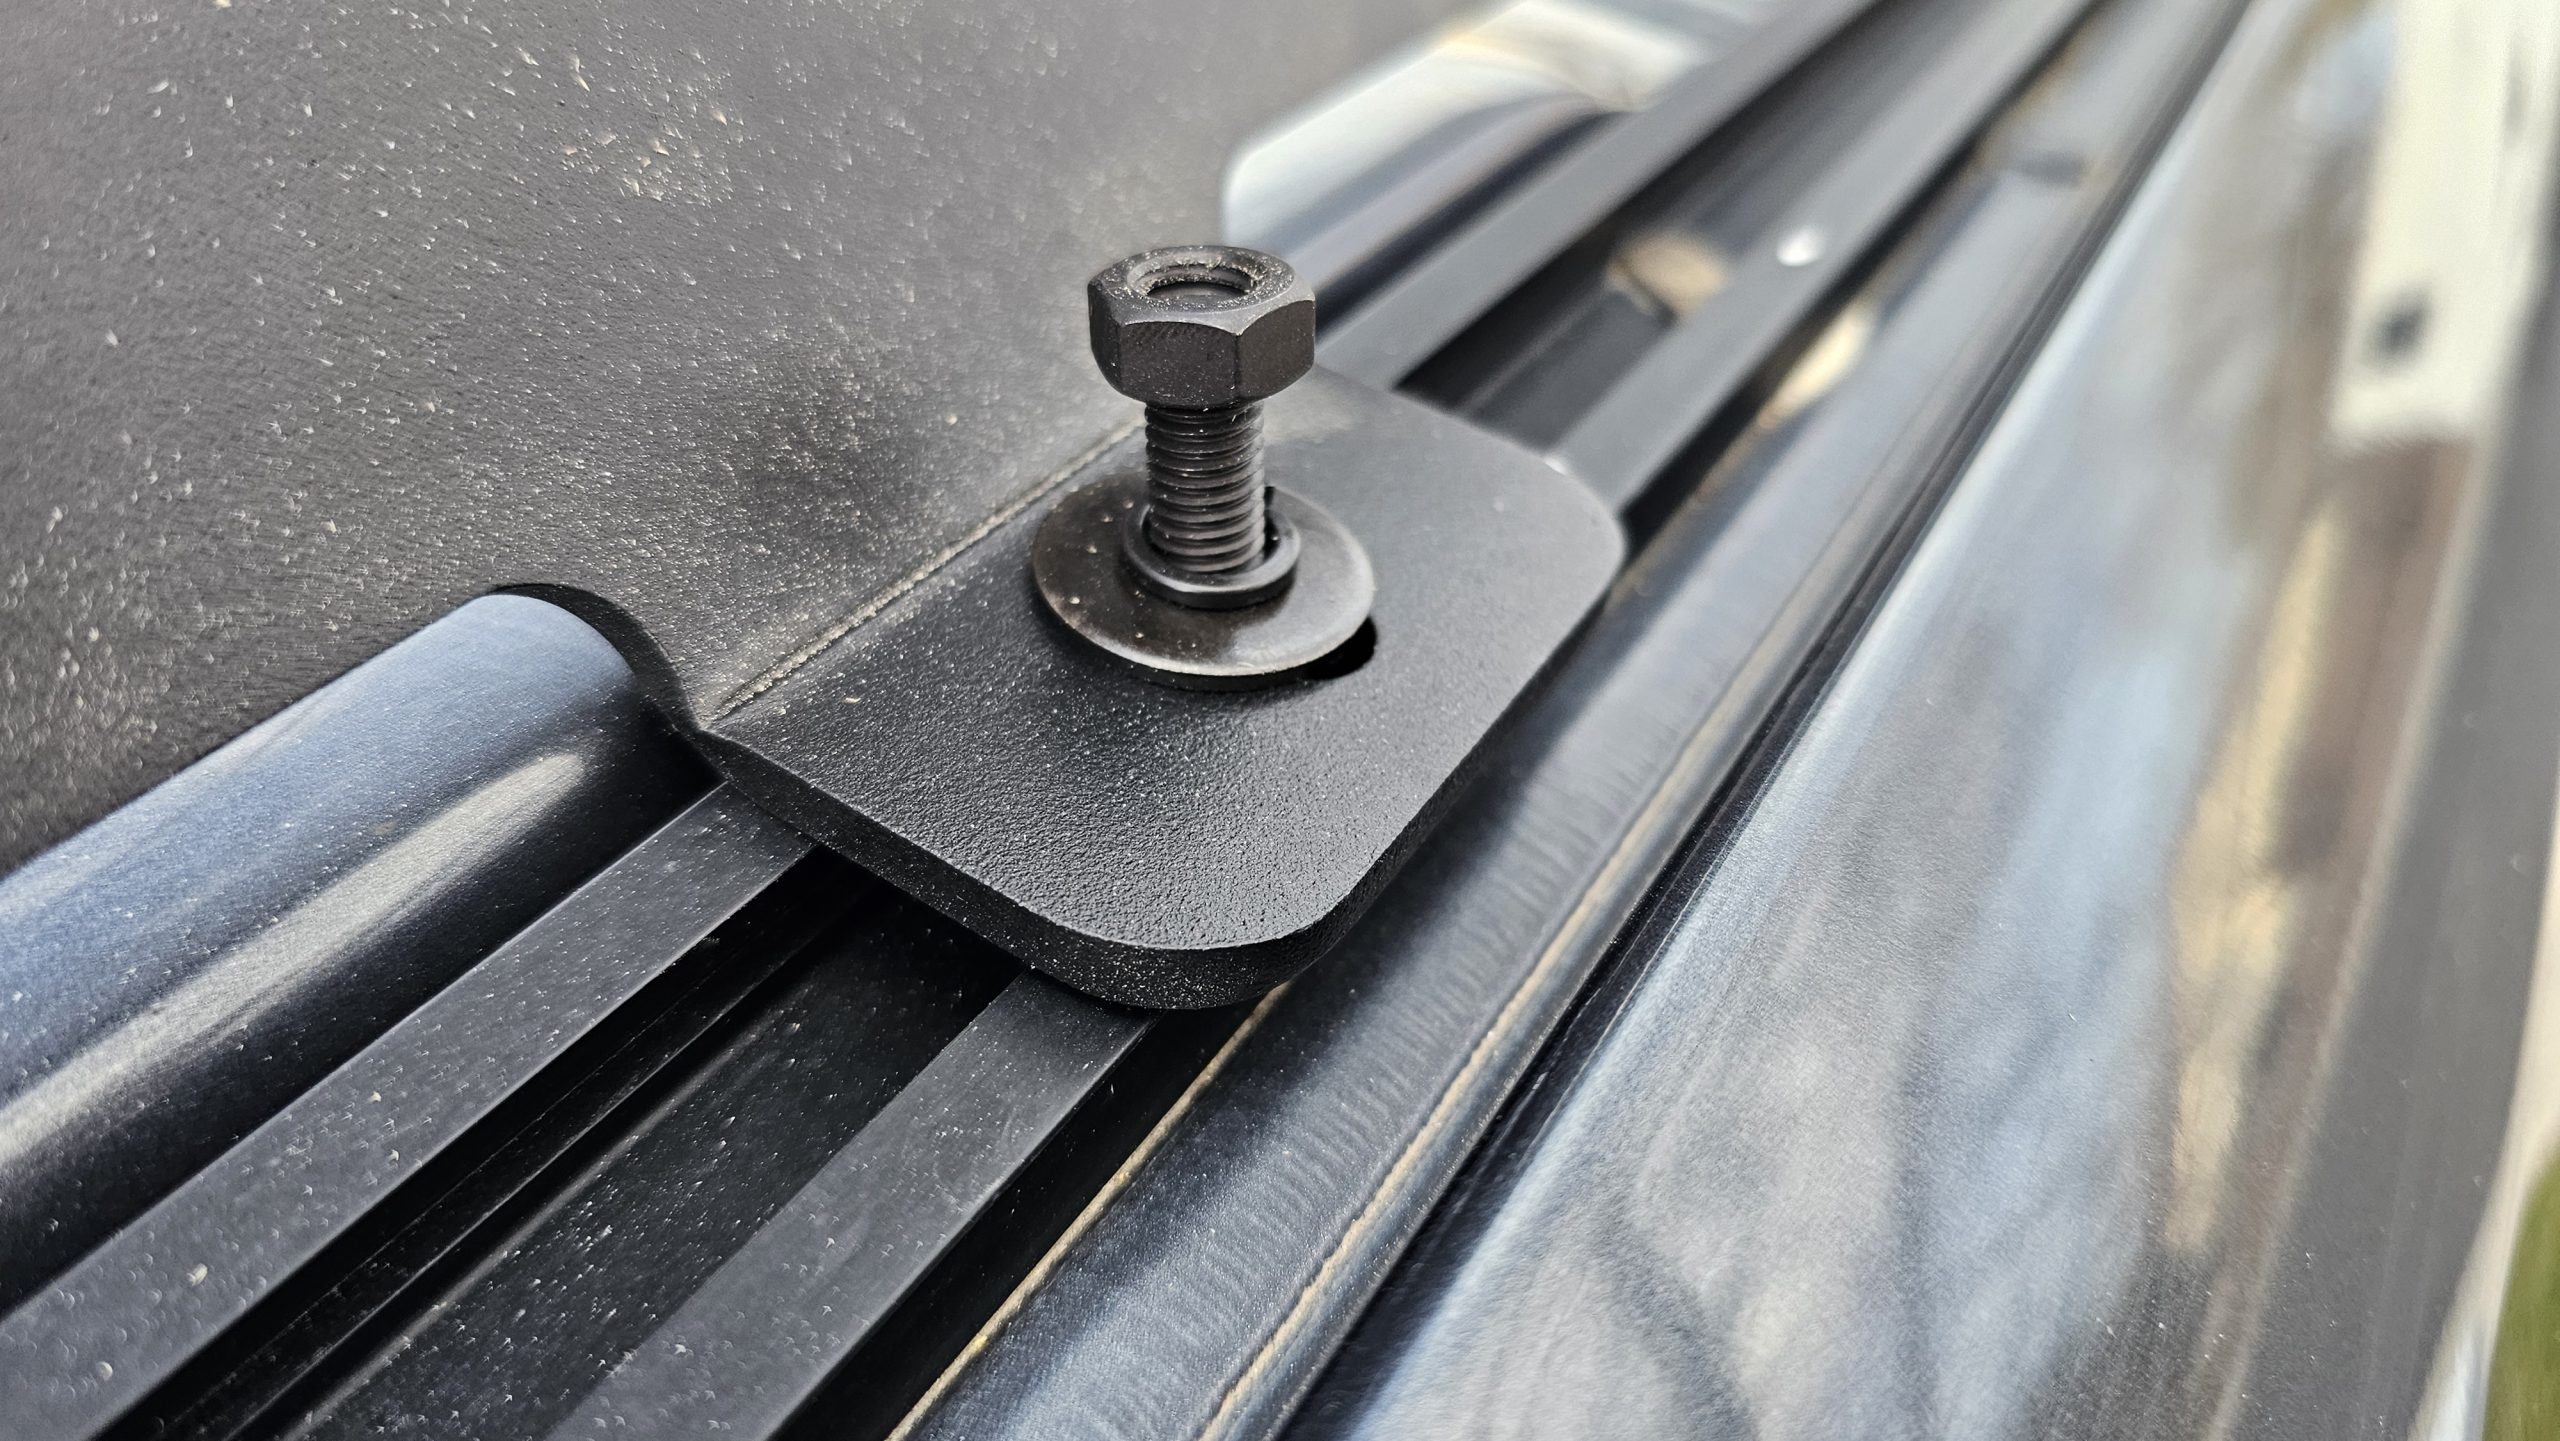
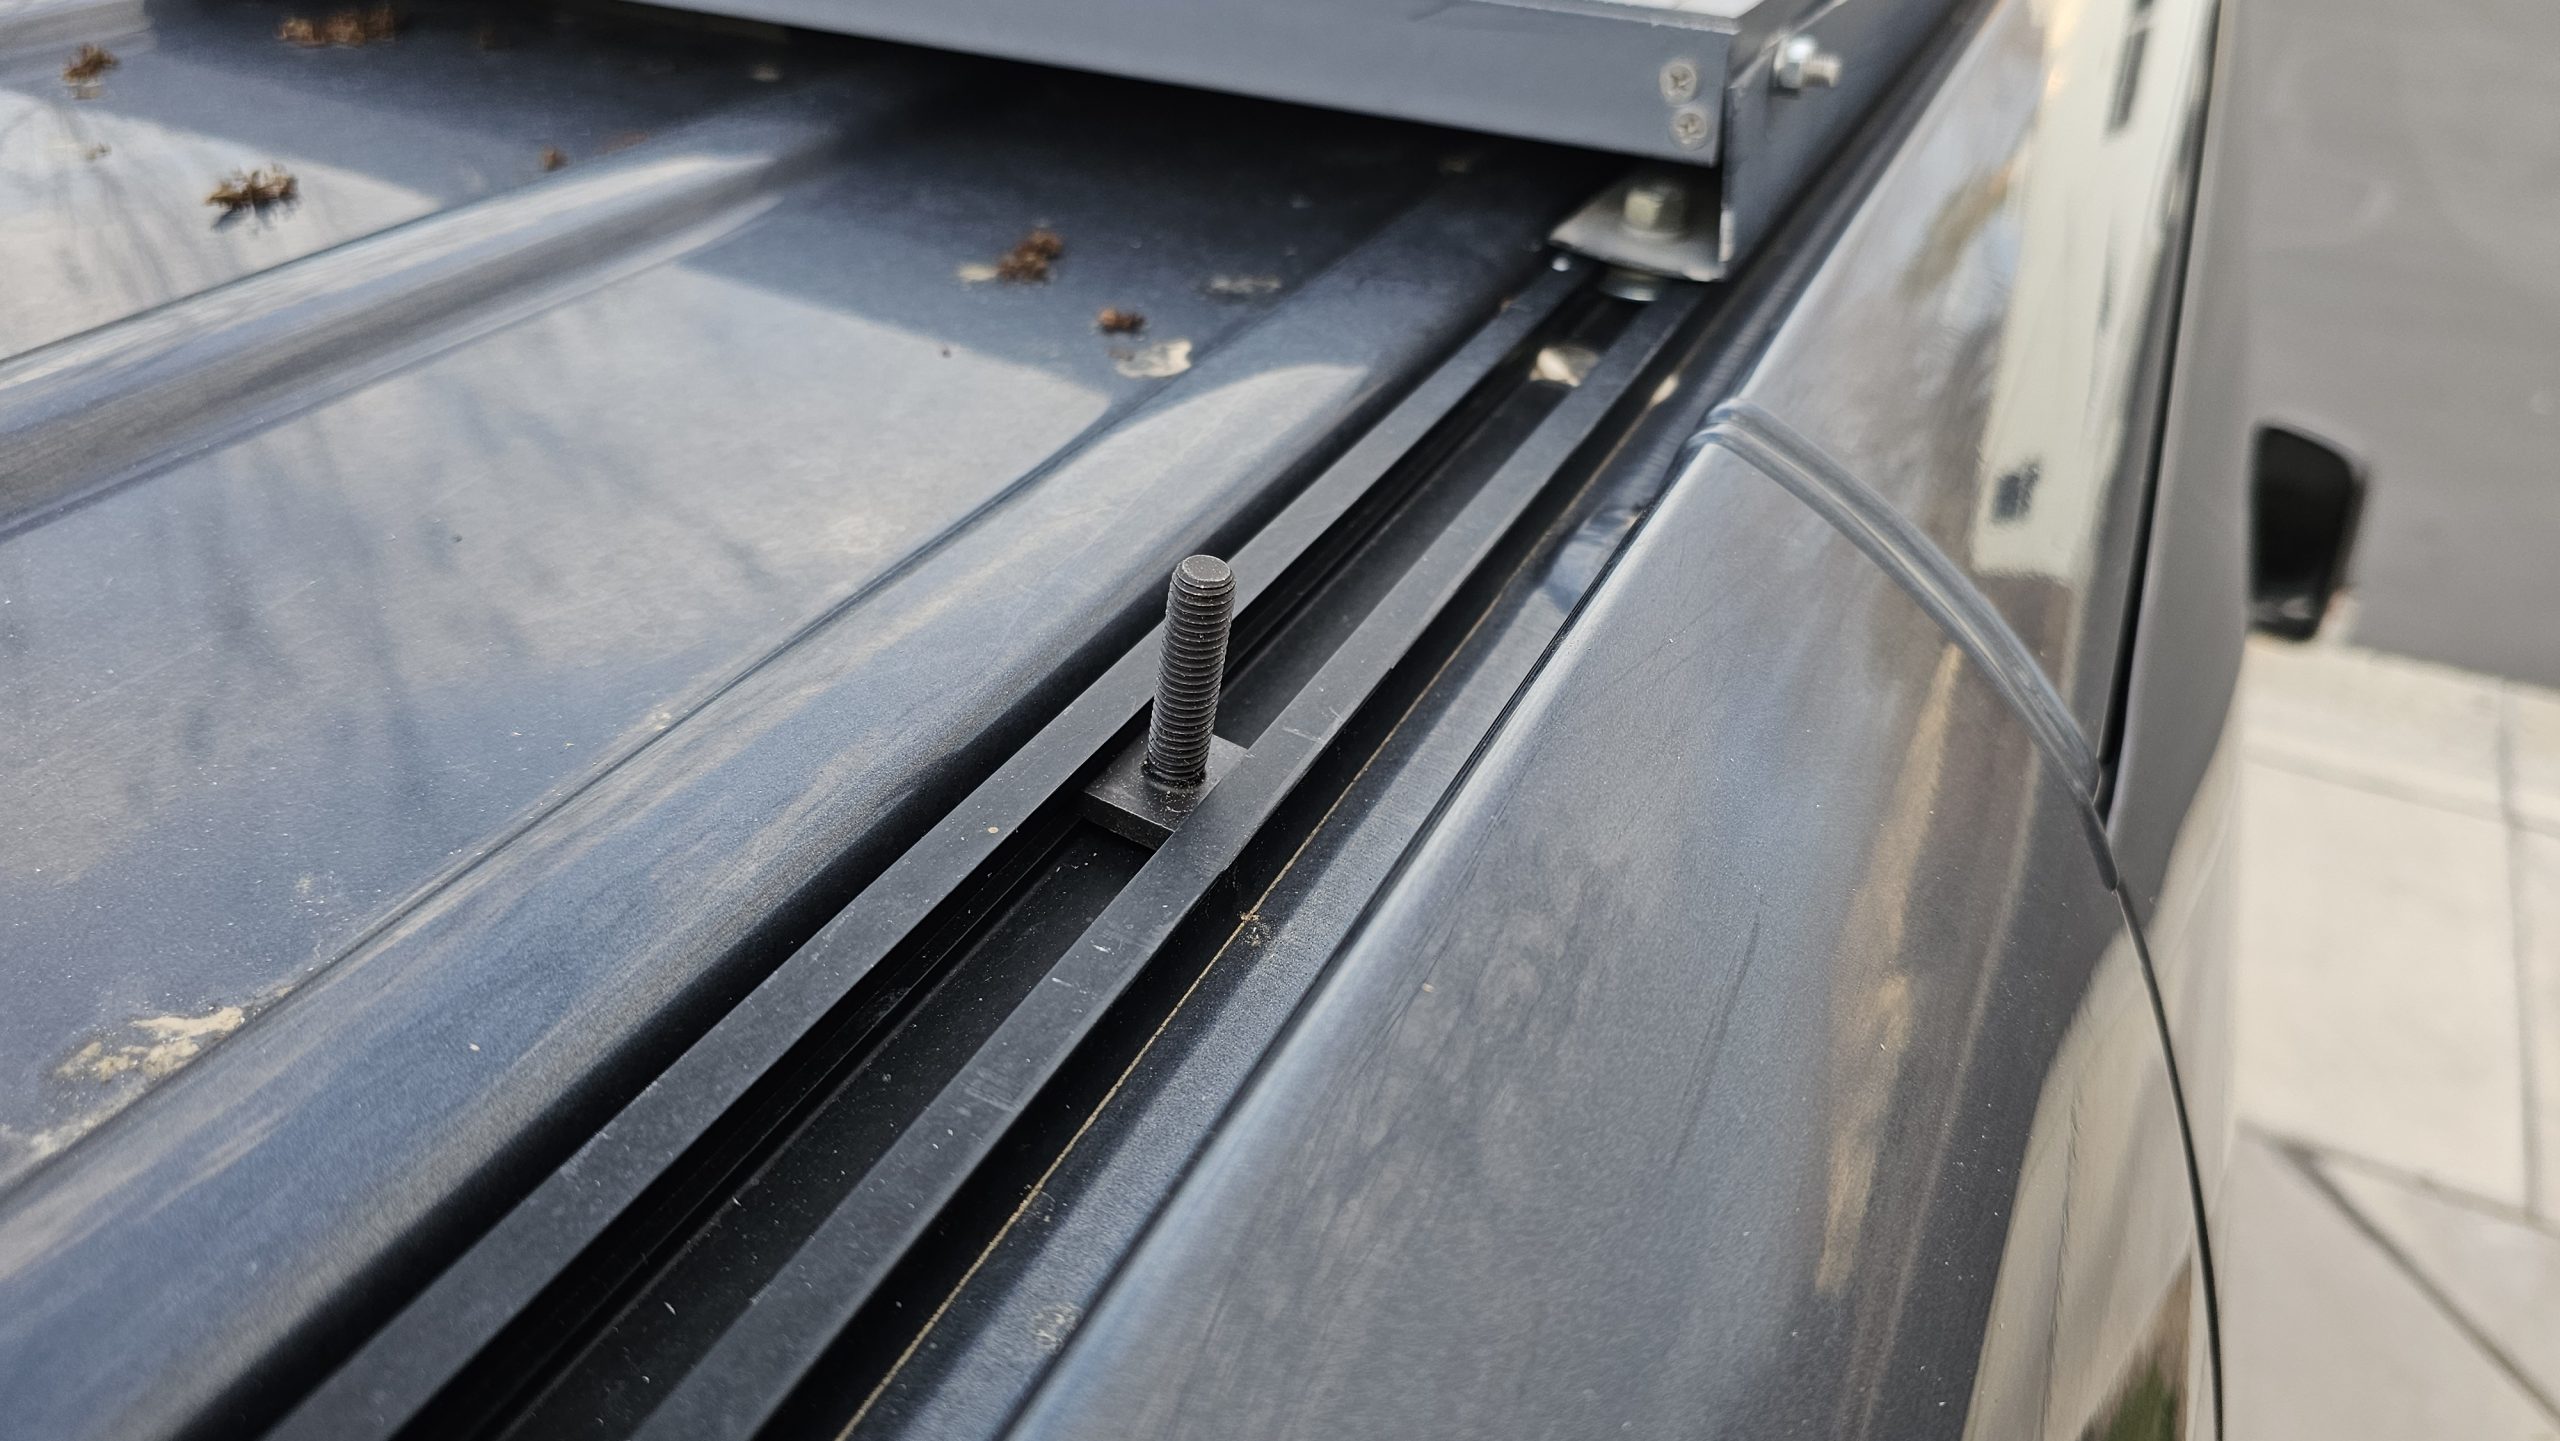
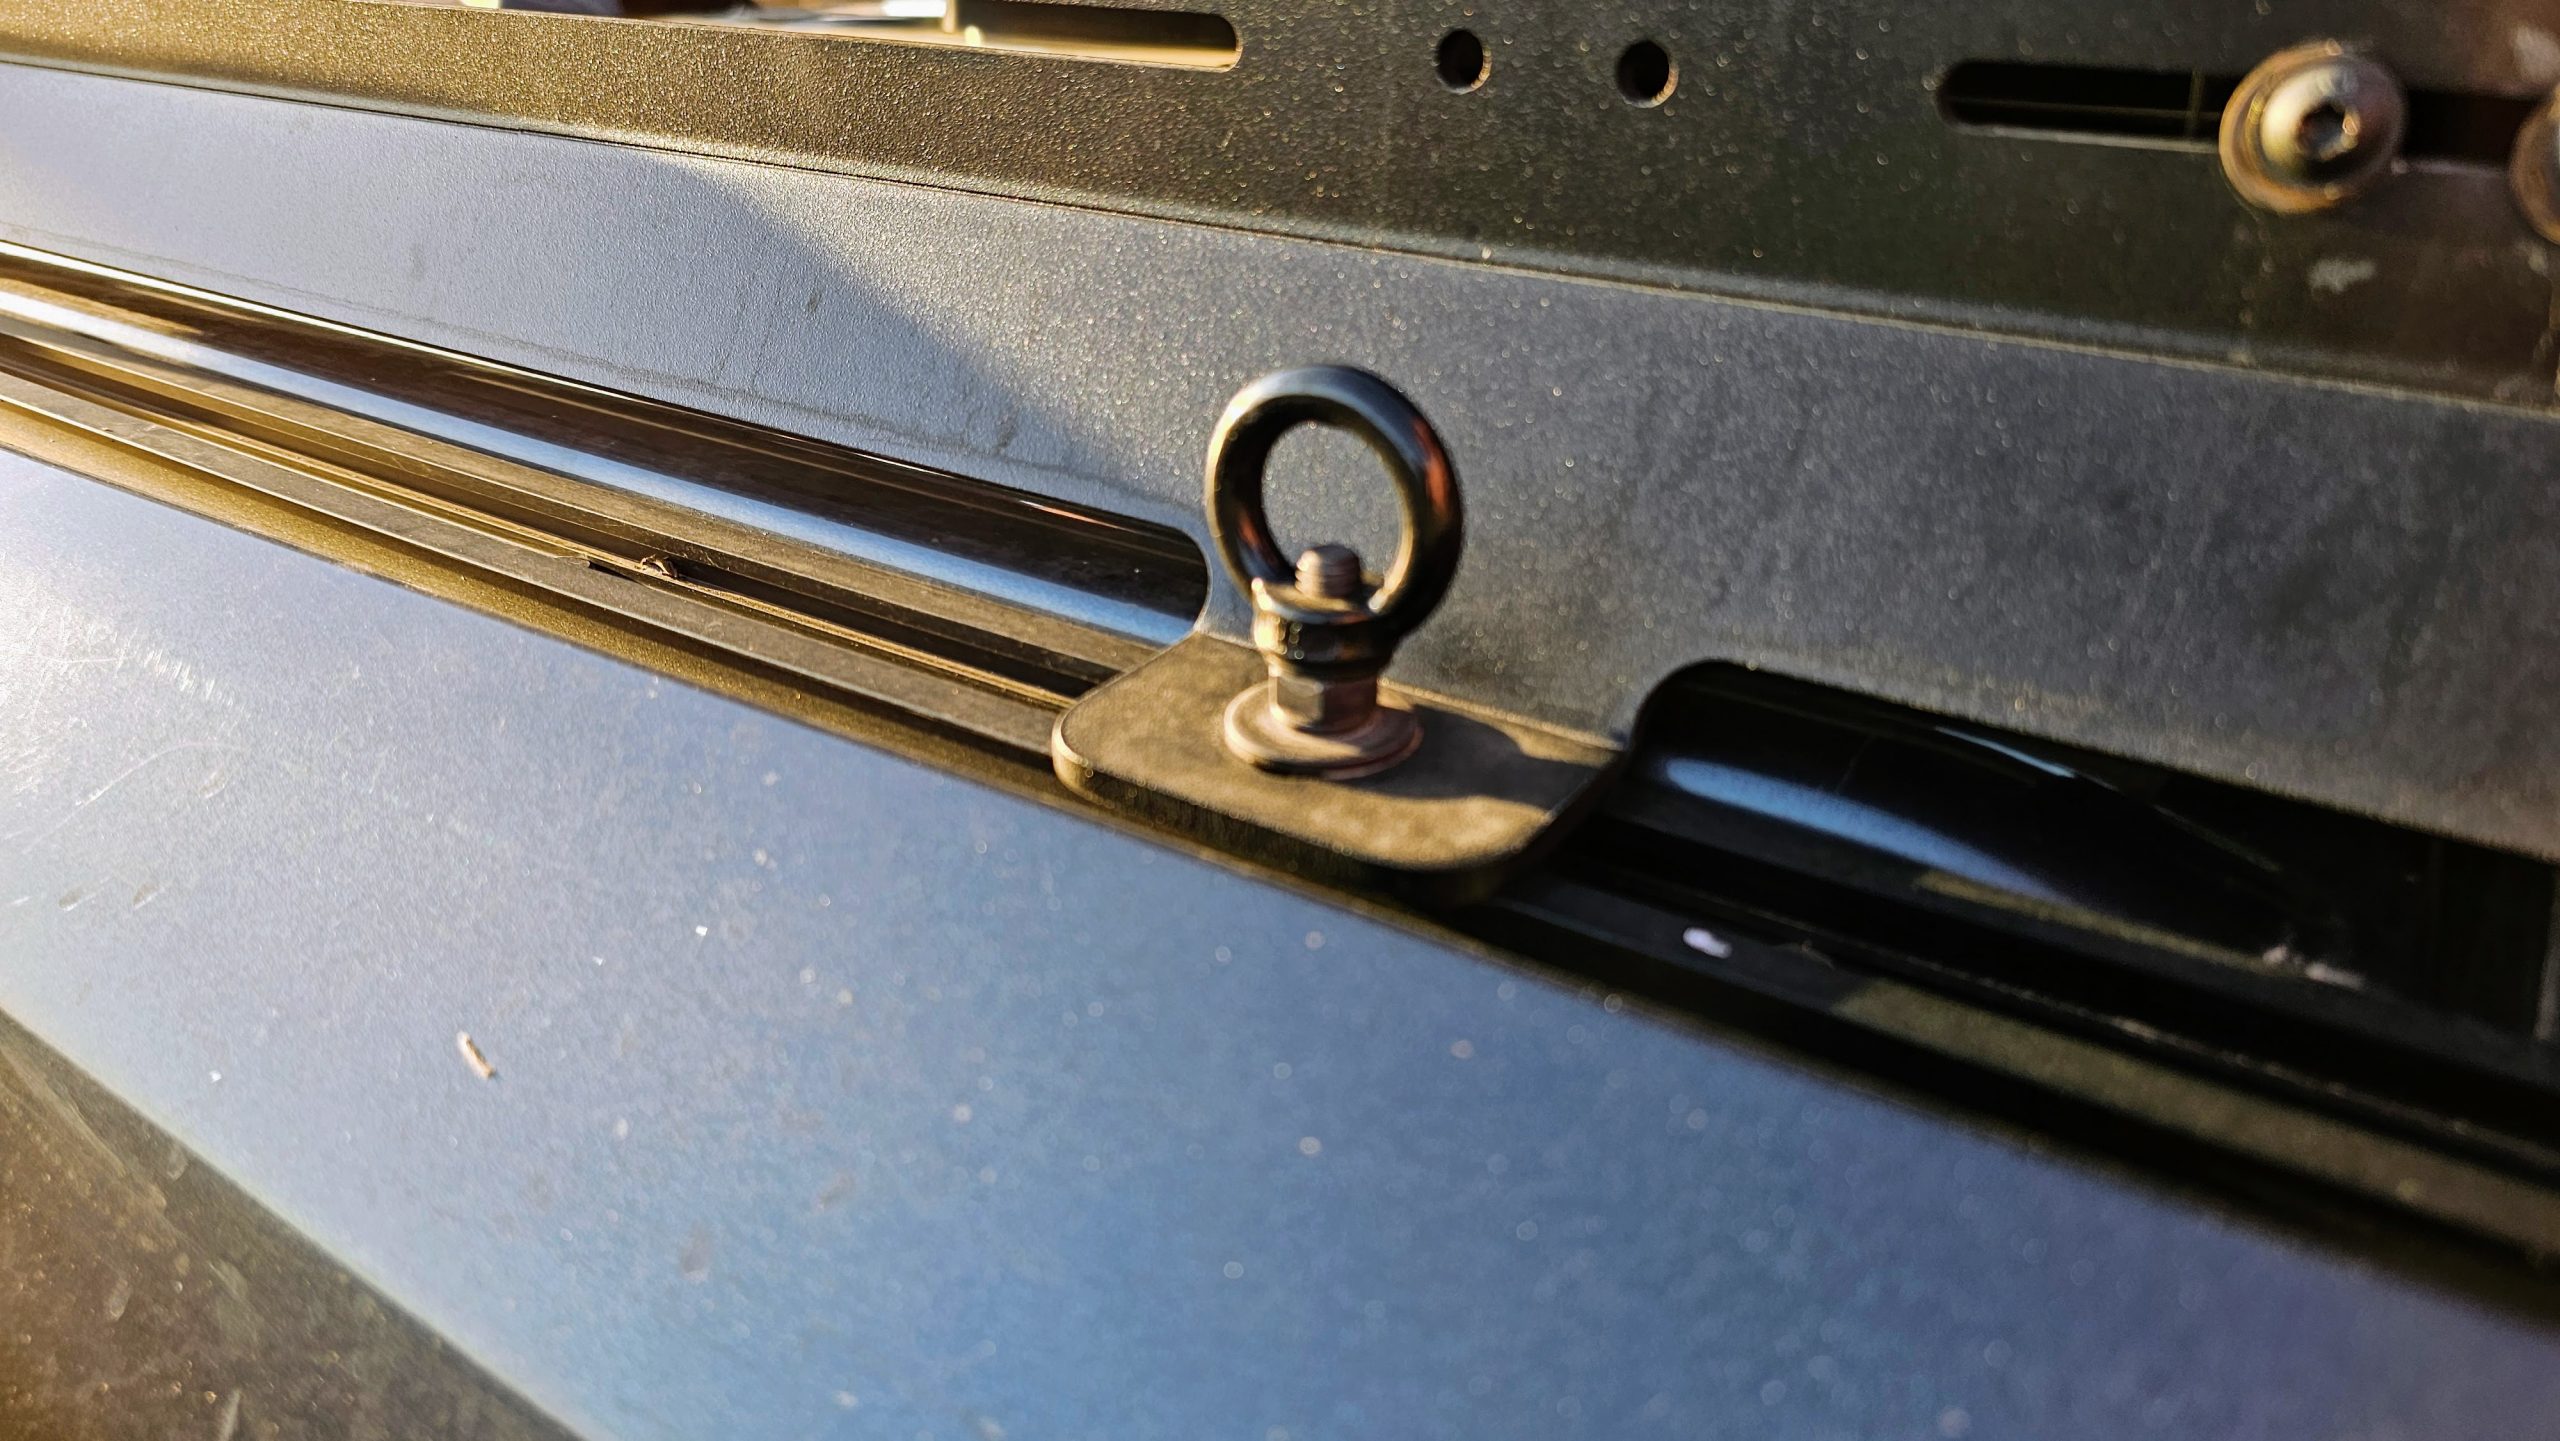
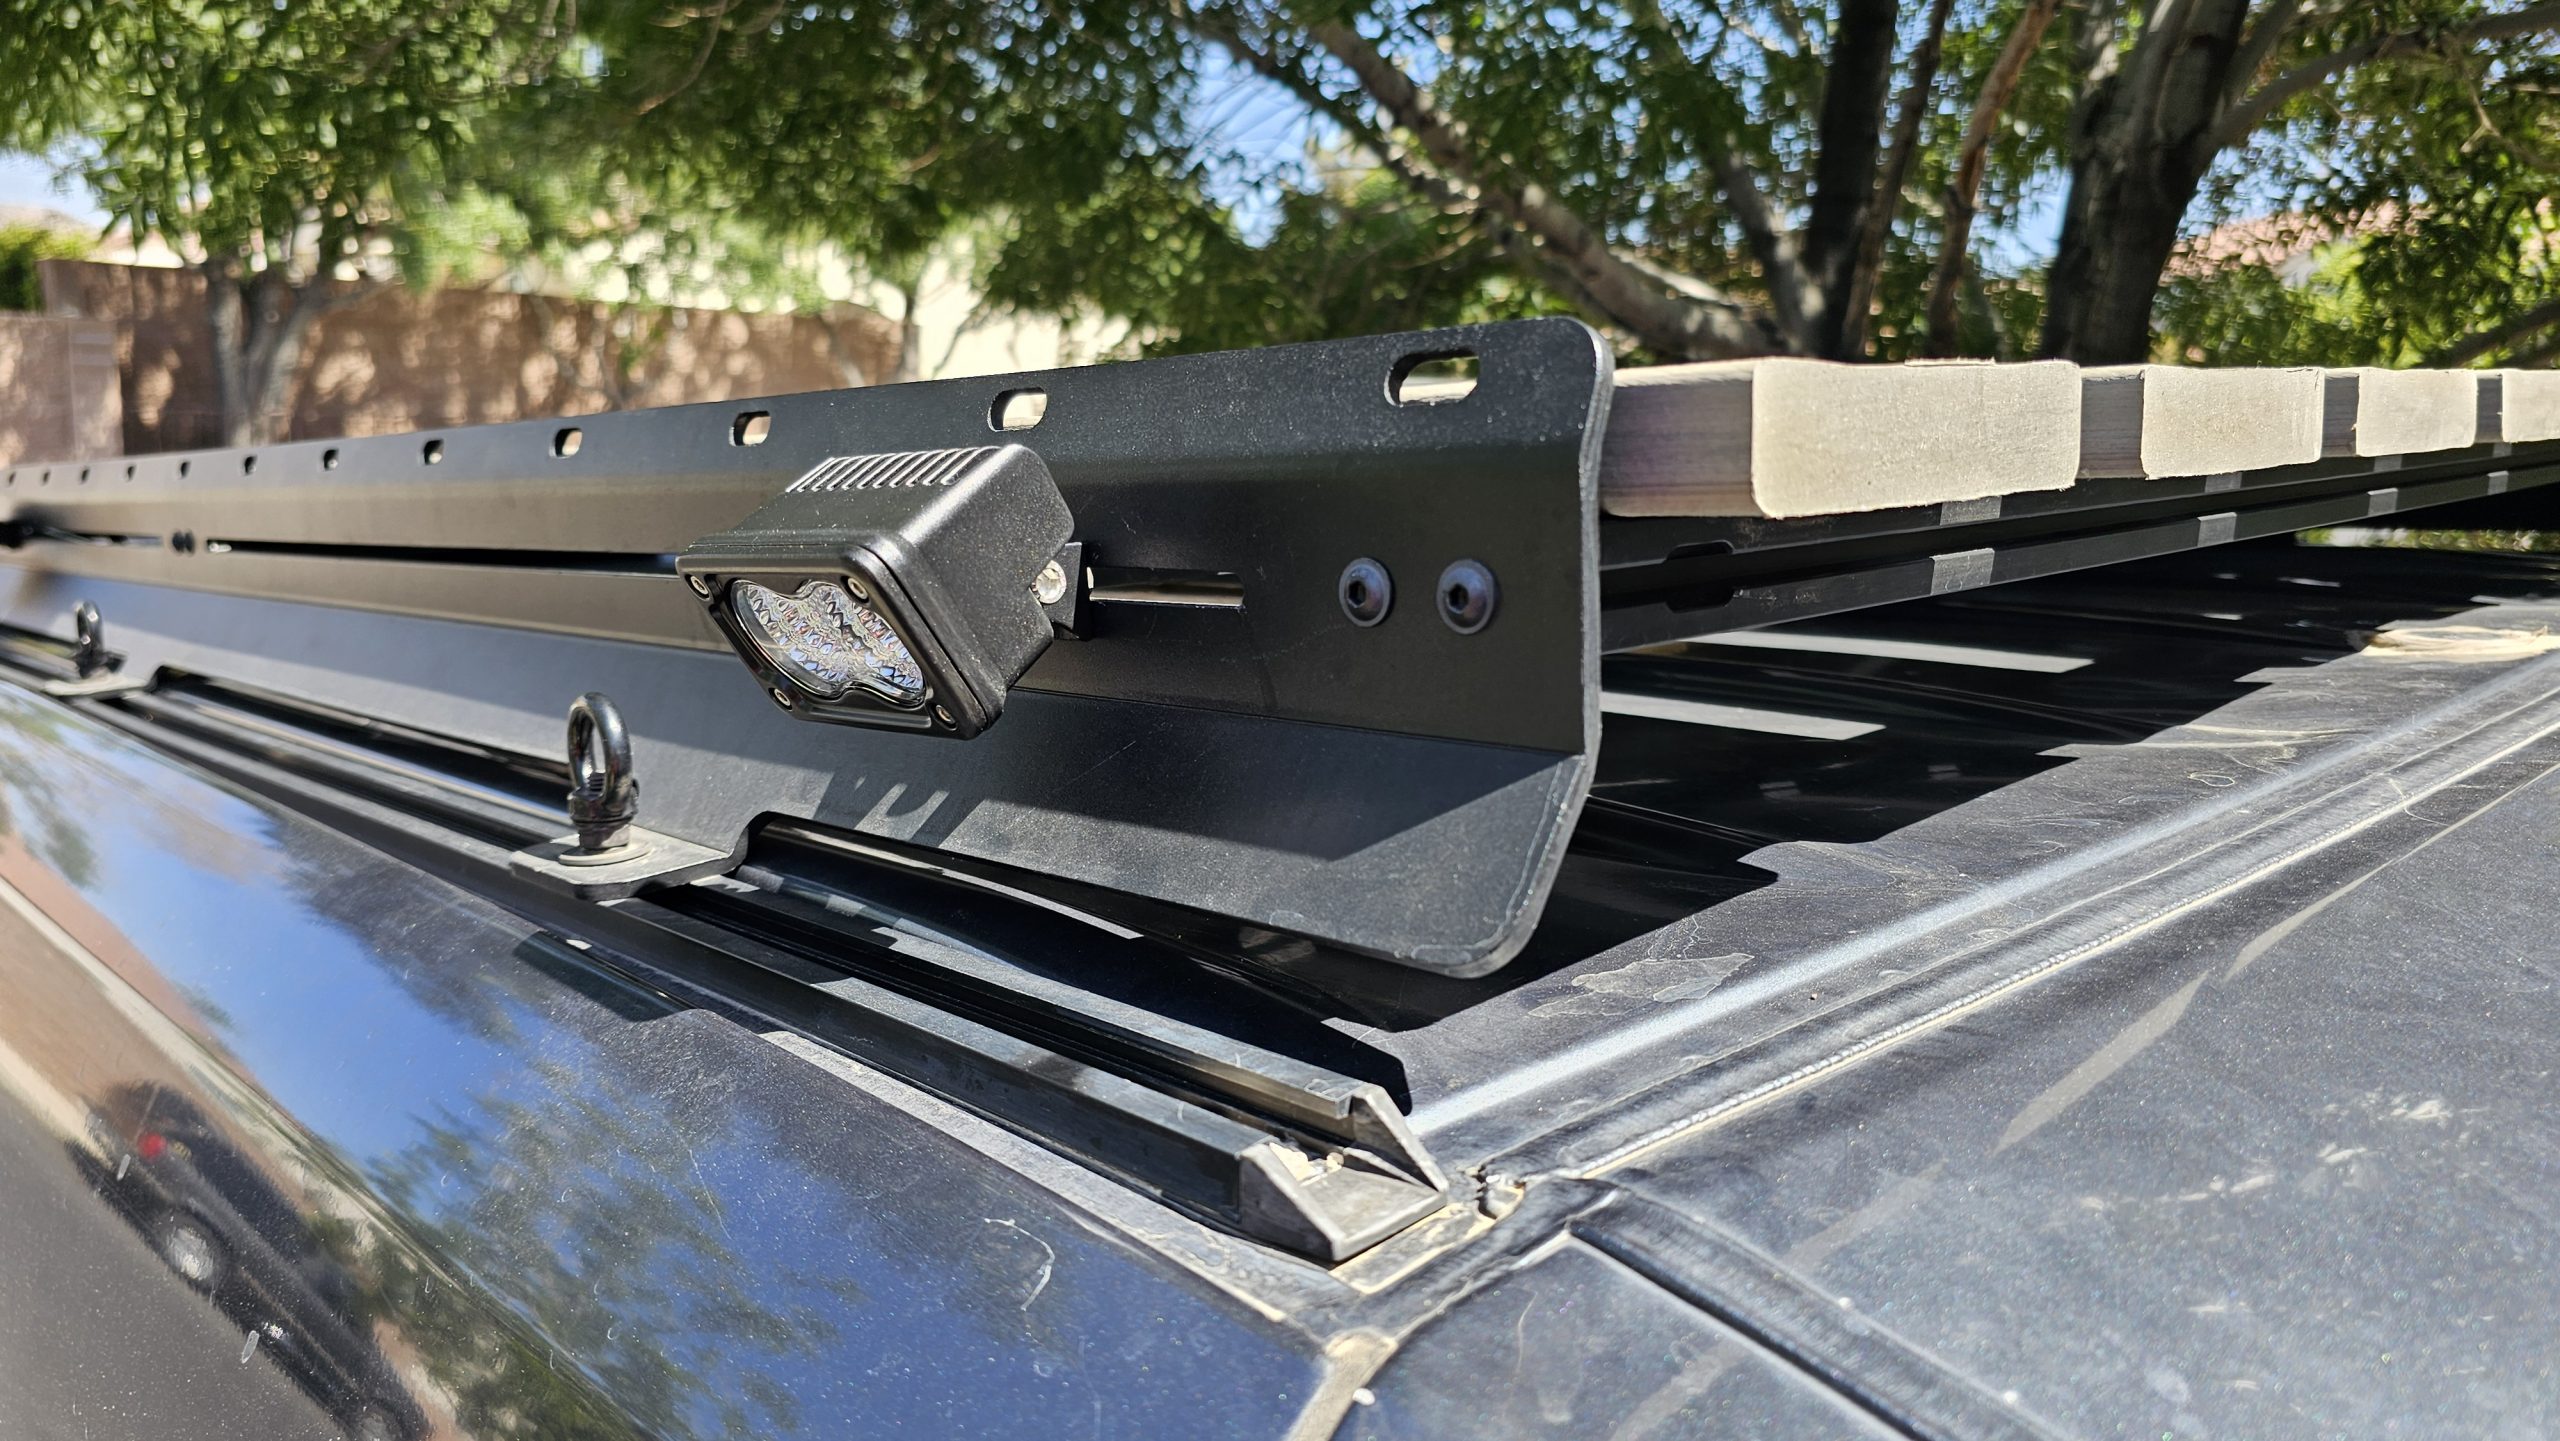
Once I found the correct hardware for my stupid discontinued and rare roof rails, bolting up the rack was a breeze. I found some tee slot bolts on Amazon which slide perfectly into the tracks and allow the side rails to bolt up. They are long enough to mount some eye nuts for additional tie-down points. I also sourced some black washers and nuts so everything matched.
Hardware For Side Rails
- T Slot Bolts for Thule, Yakima Roof Rack Cross Bars (8x30mm)- long for additional stud for mounting eye nuts.
- M8 Eye Nuts
- 8020, 3066, 10 Series, 1/4-20 x 0.75 Inch 3/4 Inch Flanged Button Head Socket Cap Screw
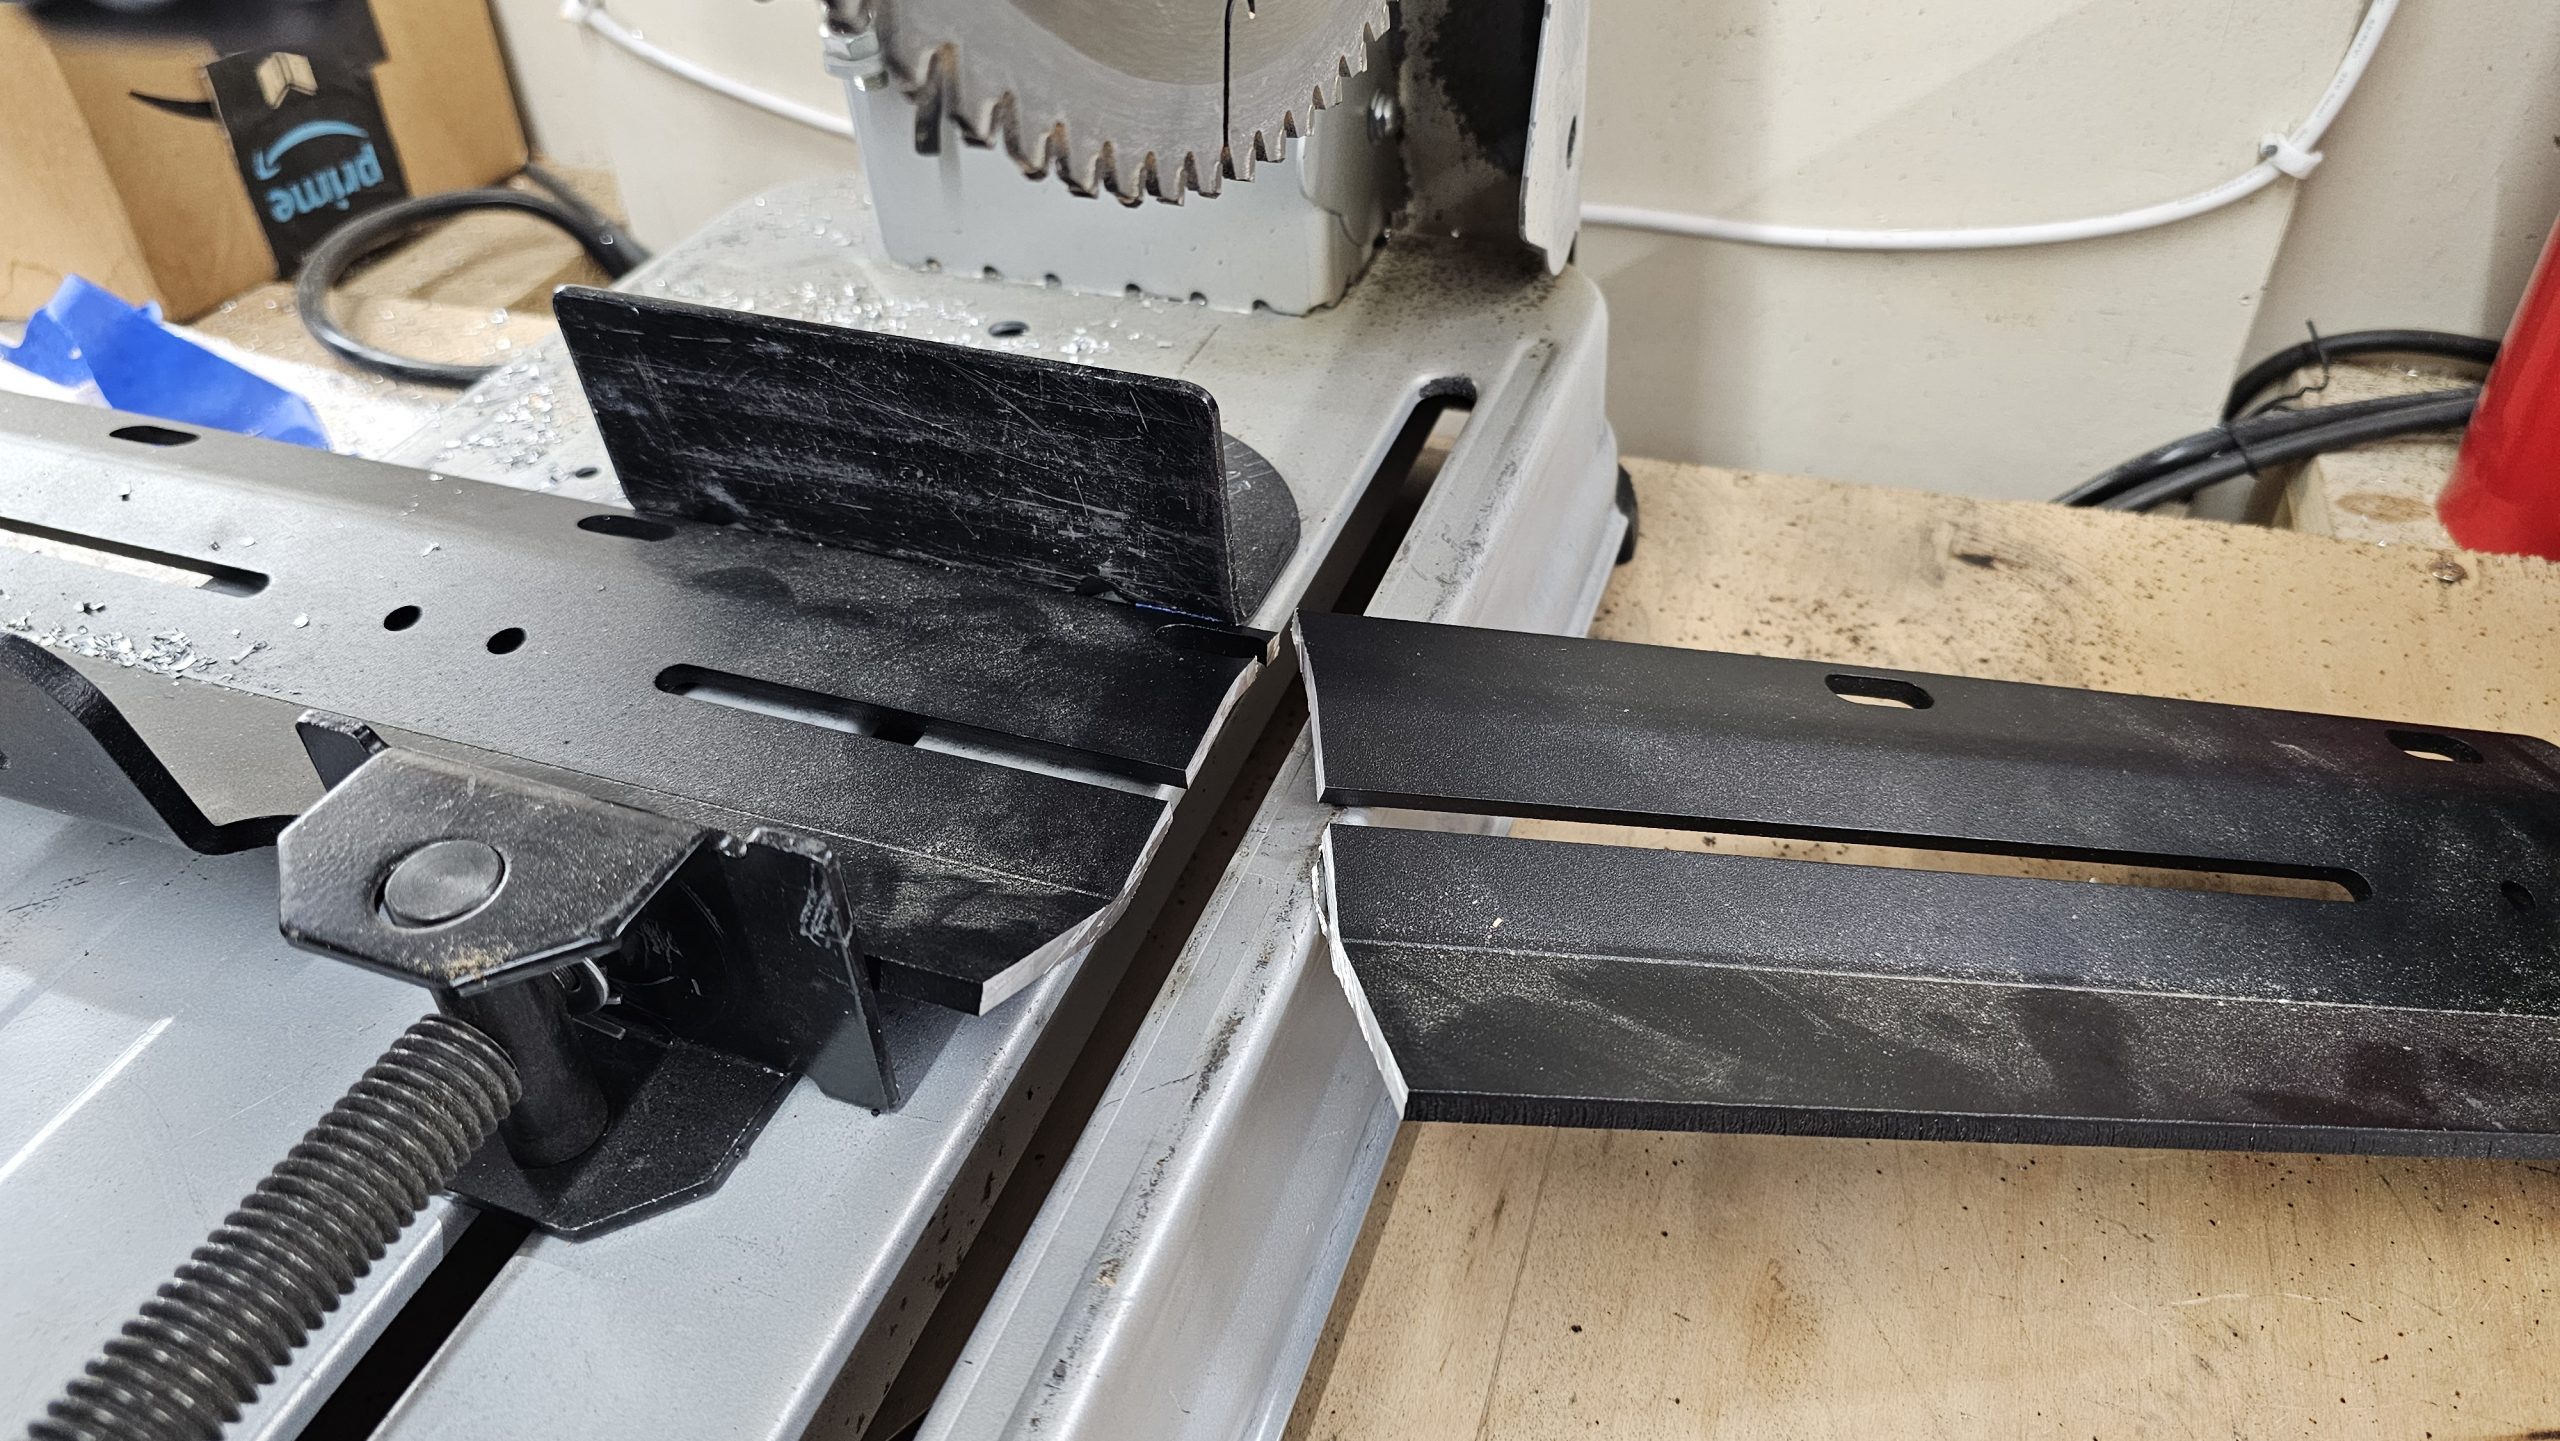
Since this rack was not specifically made for our exact configuration, the left side rail fit perfectly from front to rear while the right side was made up of two pieces. I just had to verify the sets of two holes lined up where we wanted our crossbars. The rear side rail fit perfectly with everything lining up but it wasn’t quite long enough. So I had another long side rail that overlapped and bolted to the rear section. This is not how a full rack would go together, but it worked well for our custom application. The 14-inch 80 Teeth TCT Non-Ferrous Metal Saw Blade made easy and clean work of trimming down that front side rail.
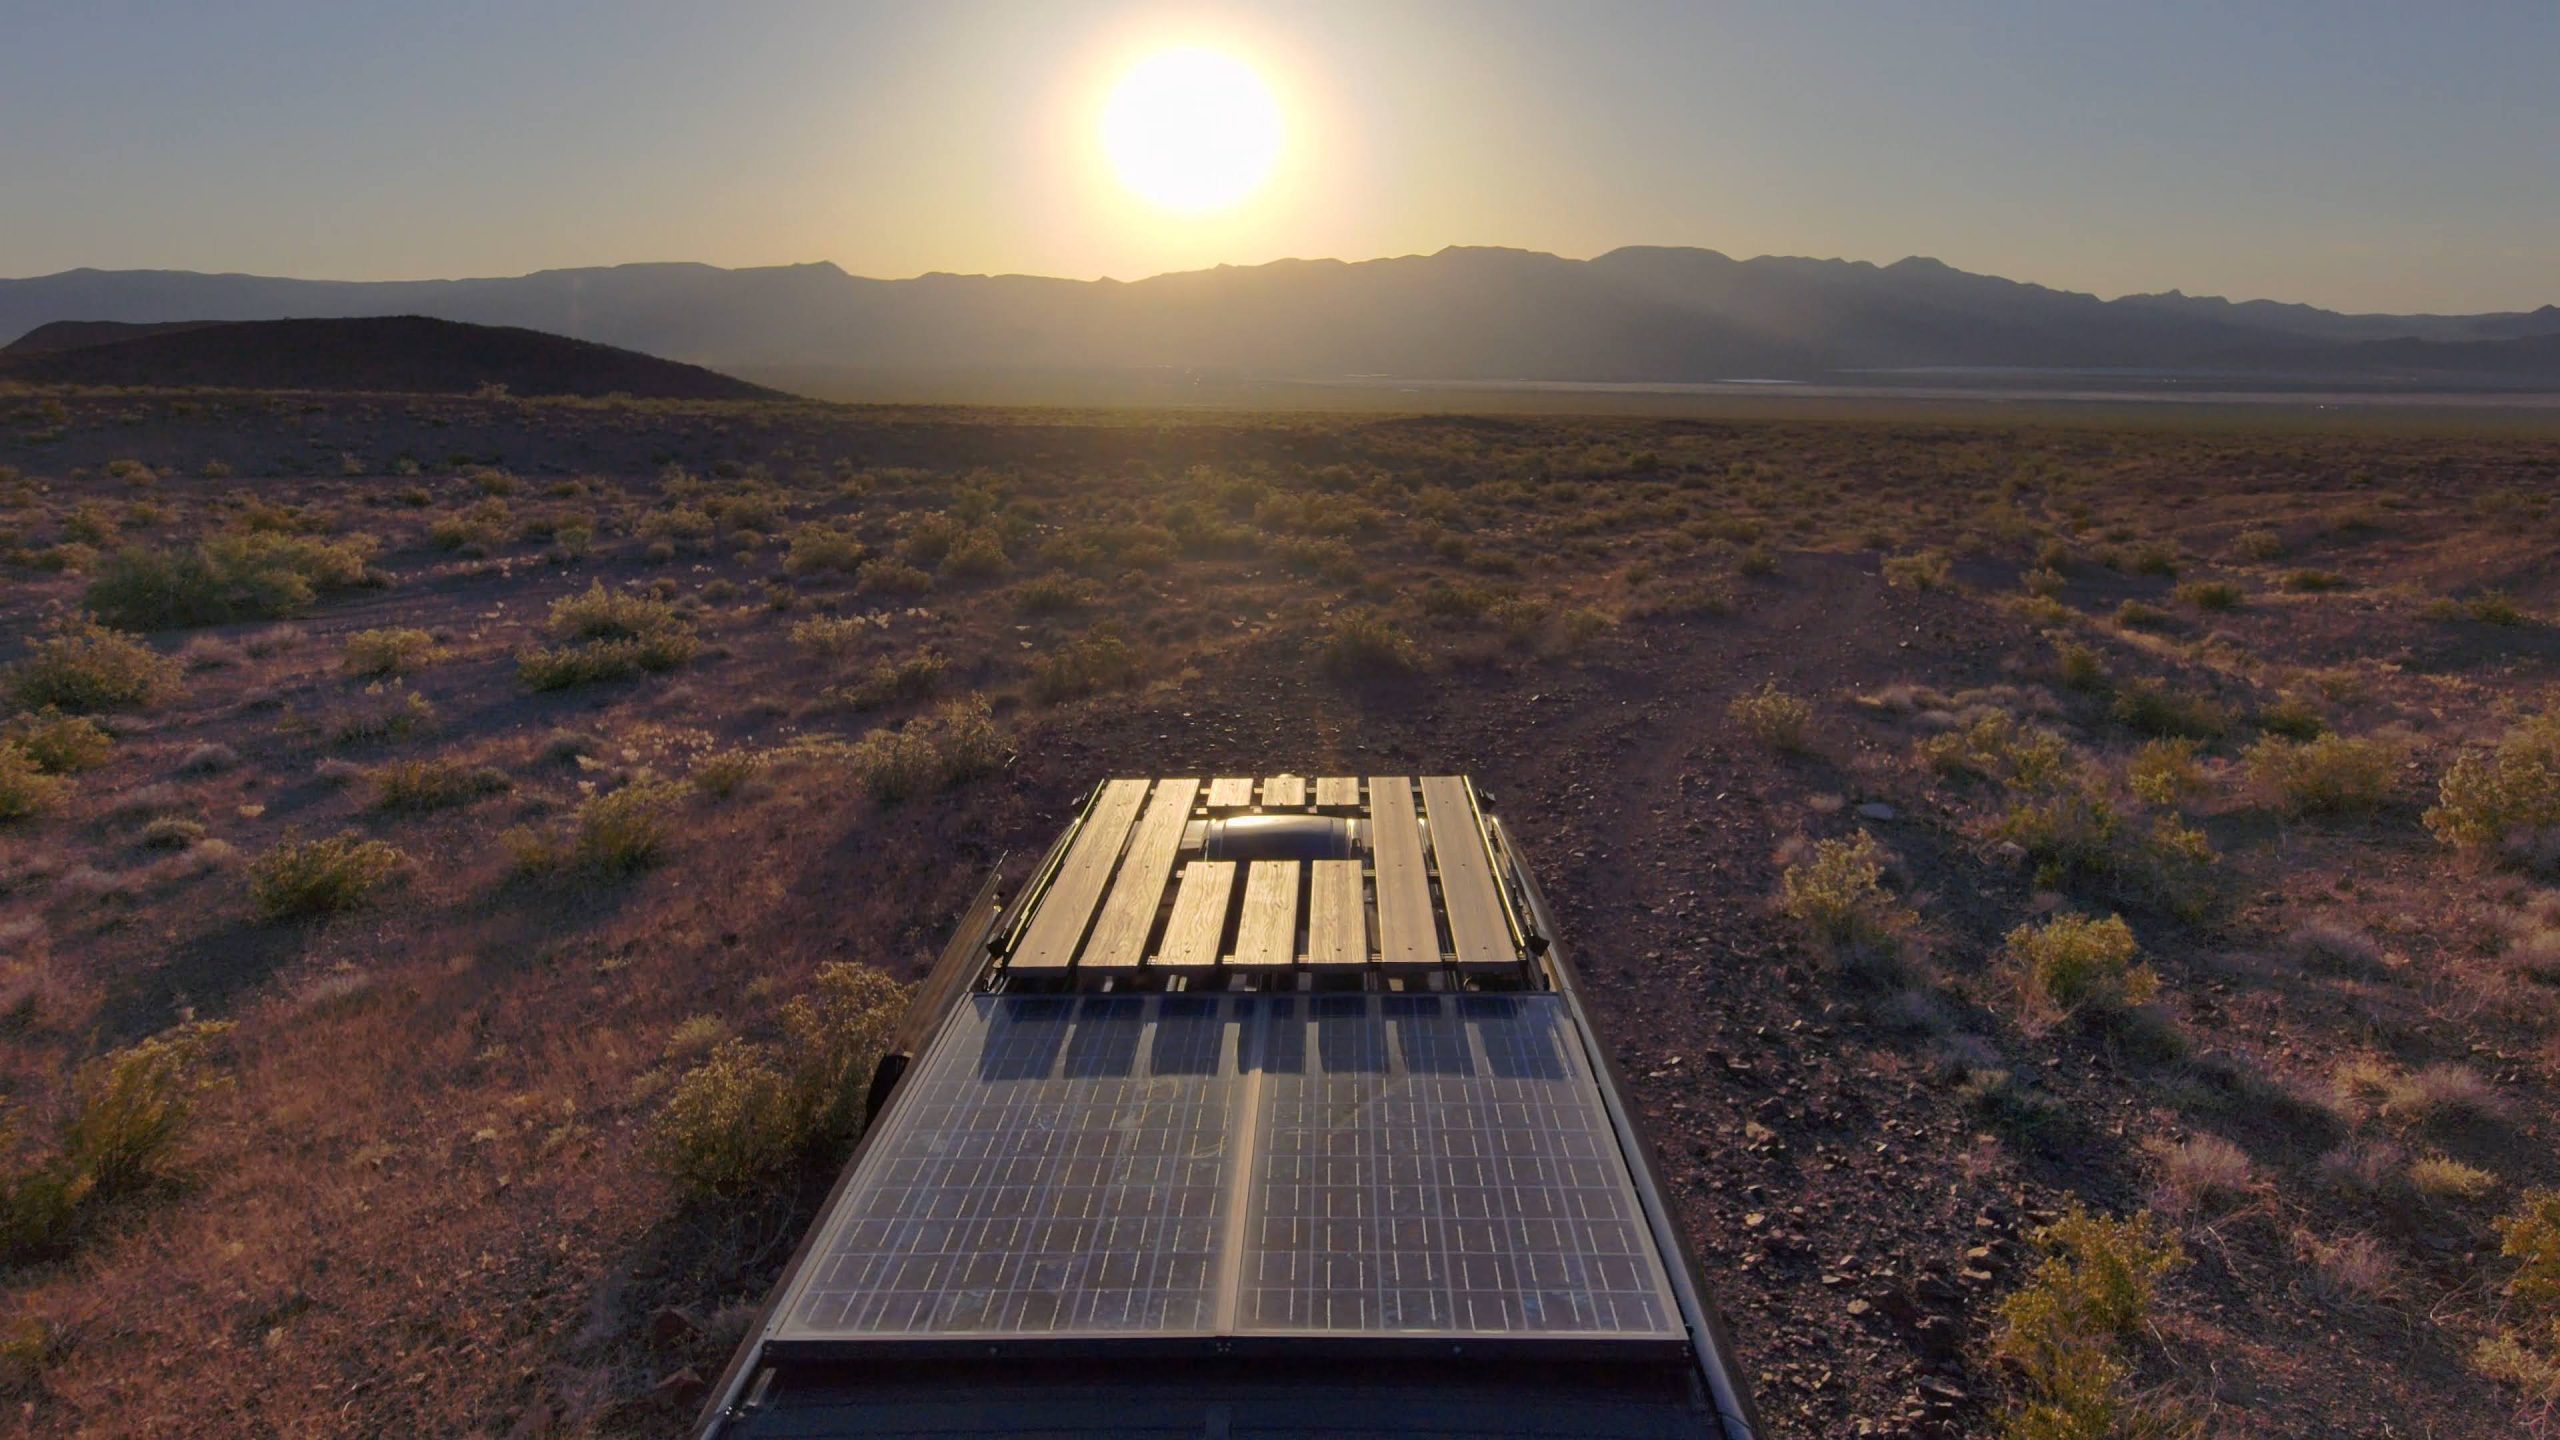
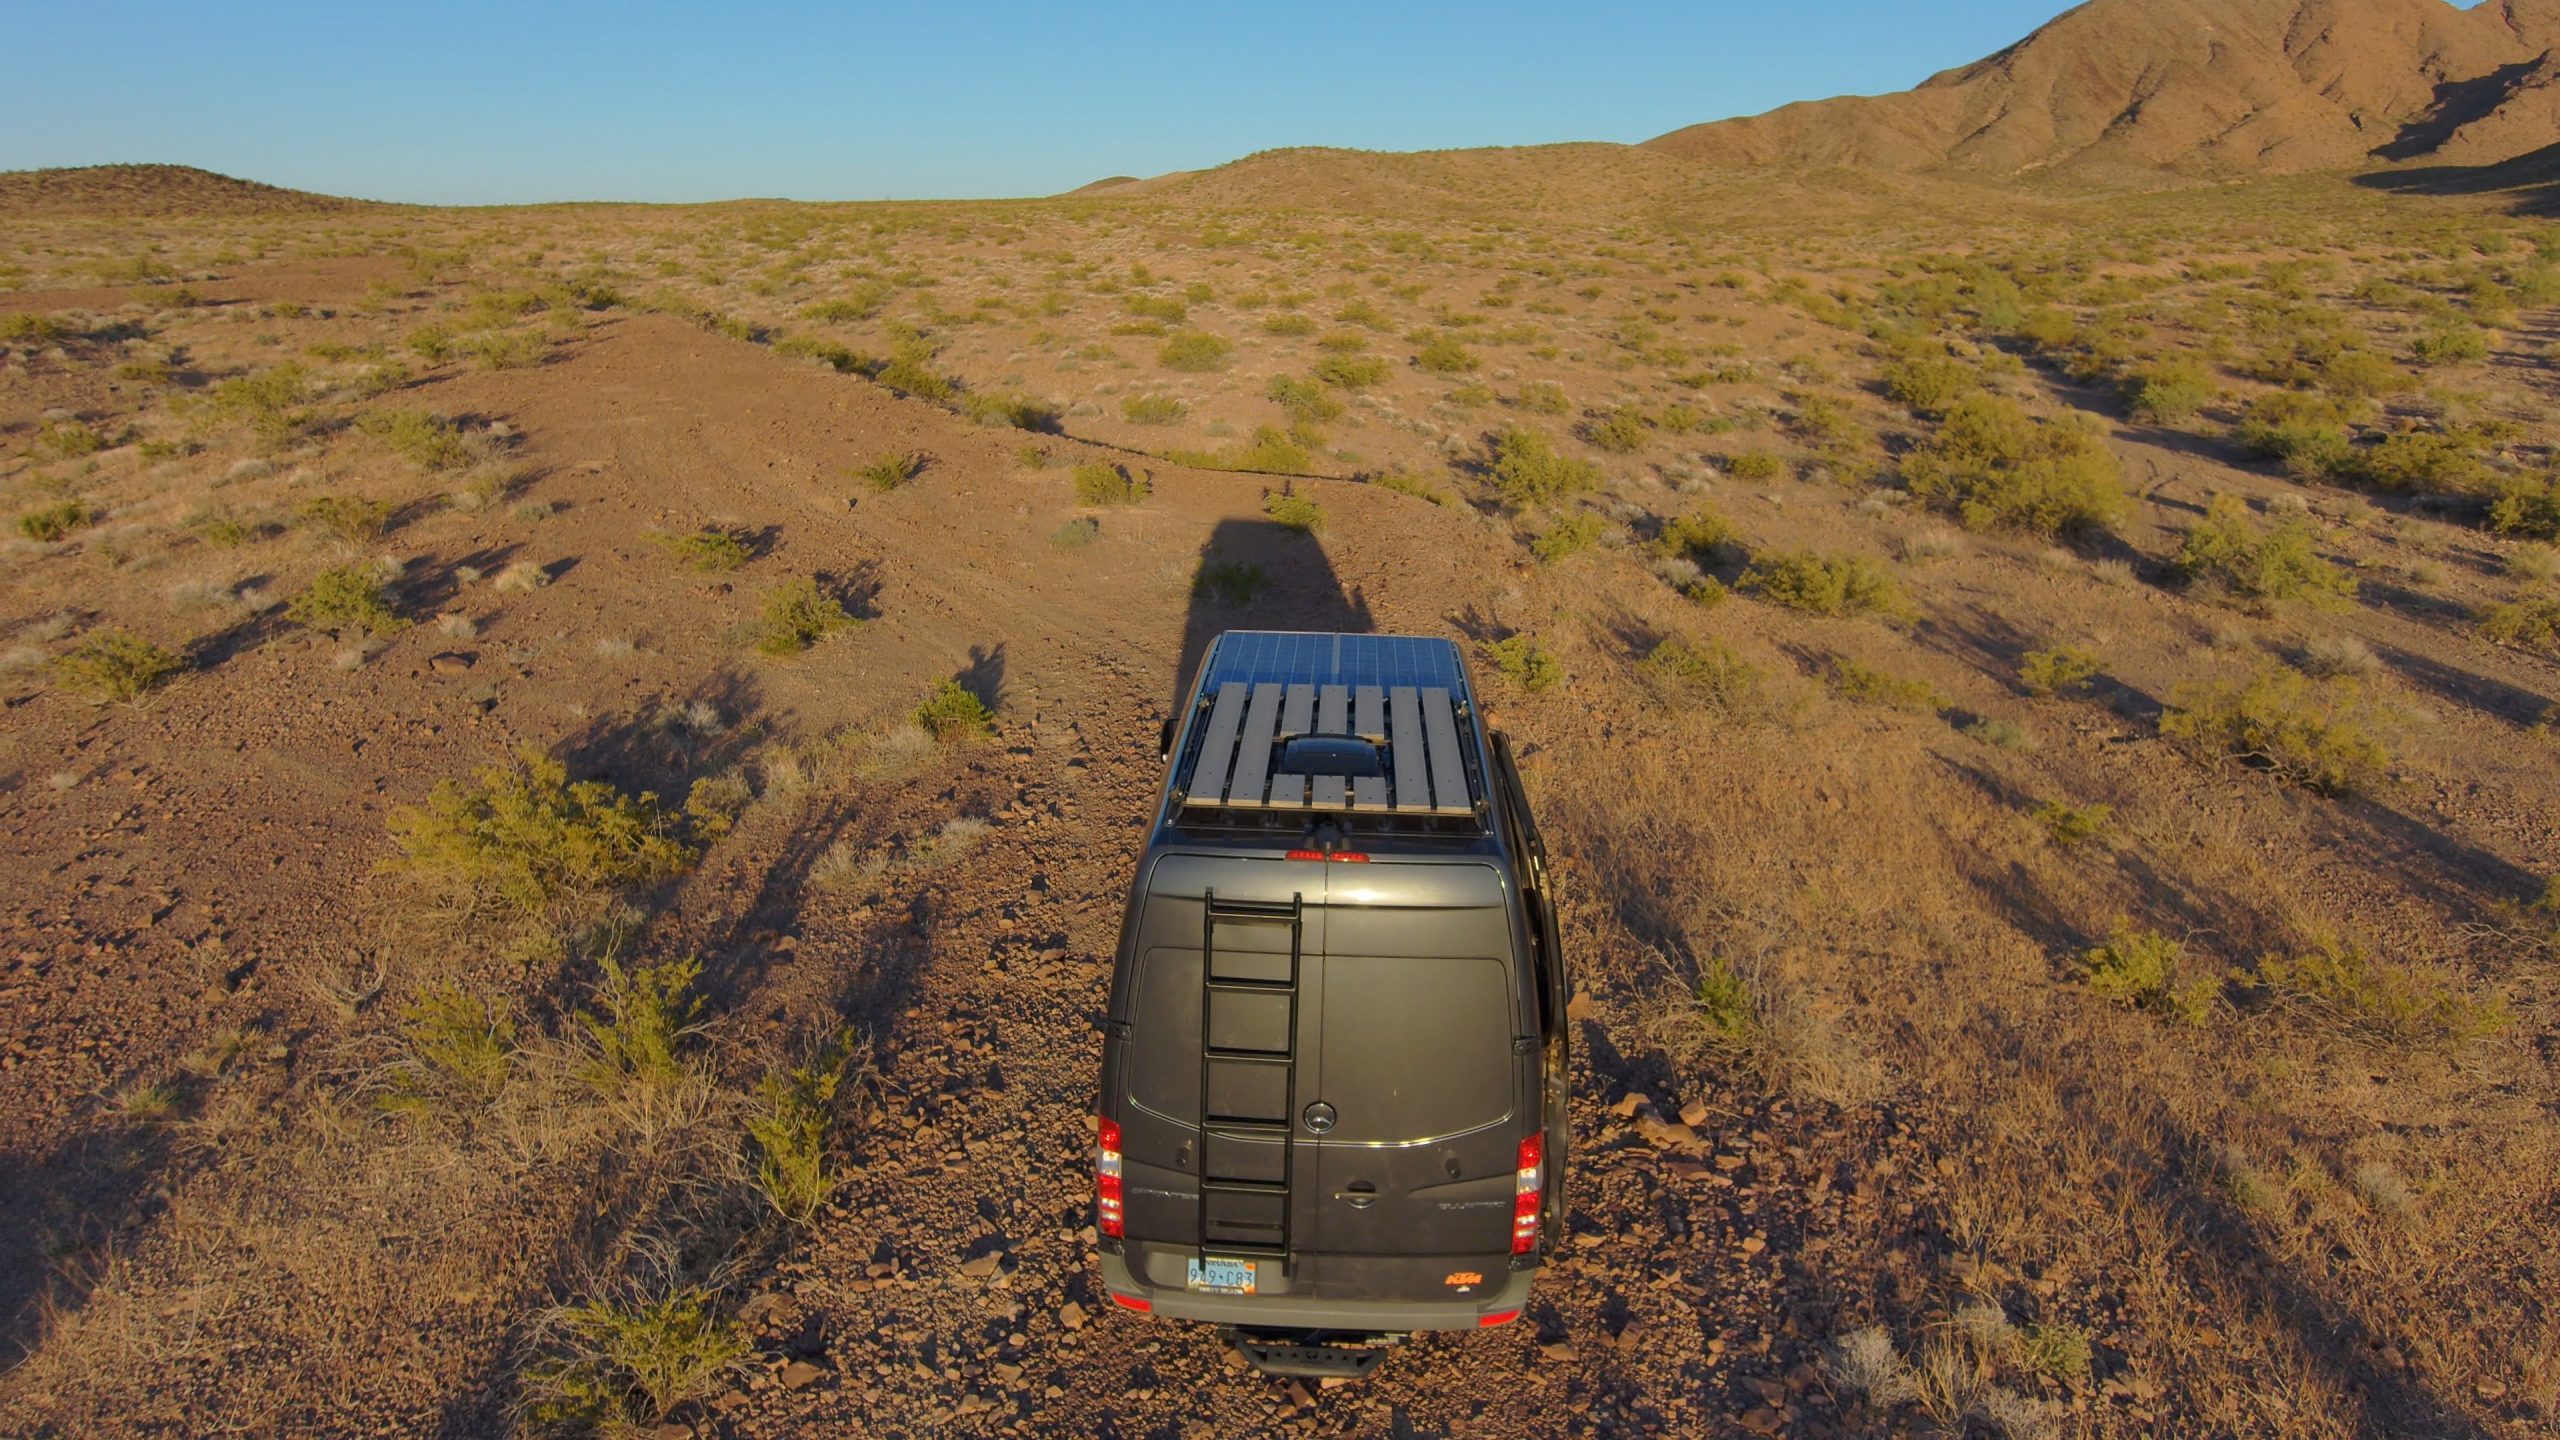
The Deck
This is something I spent a great deal of time thinking about. While Flatline makes some awesome aluminum deck panels specifically for use with their racks, our application and deck size would be a bit more custom so those would also have to be cut down. This is a great option though and something I probably would have gone with at the beginning of our van build had they been around back then.
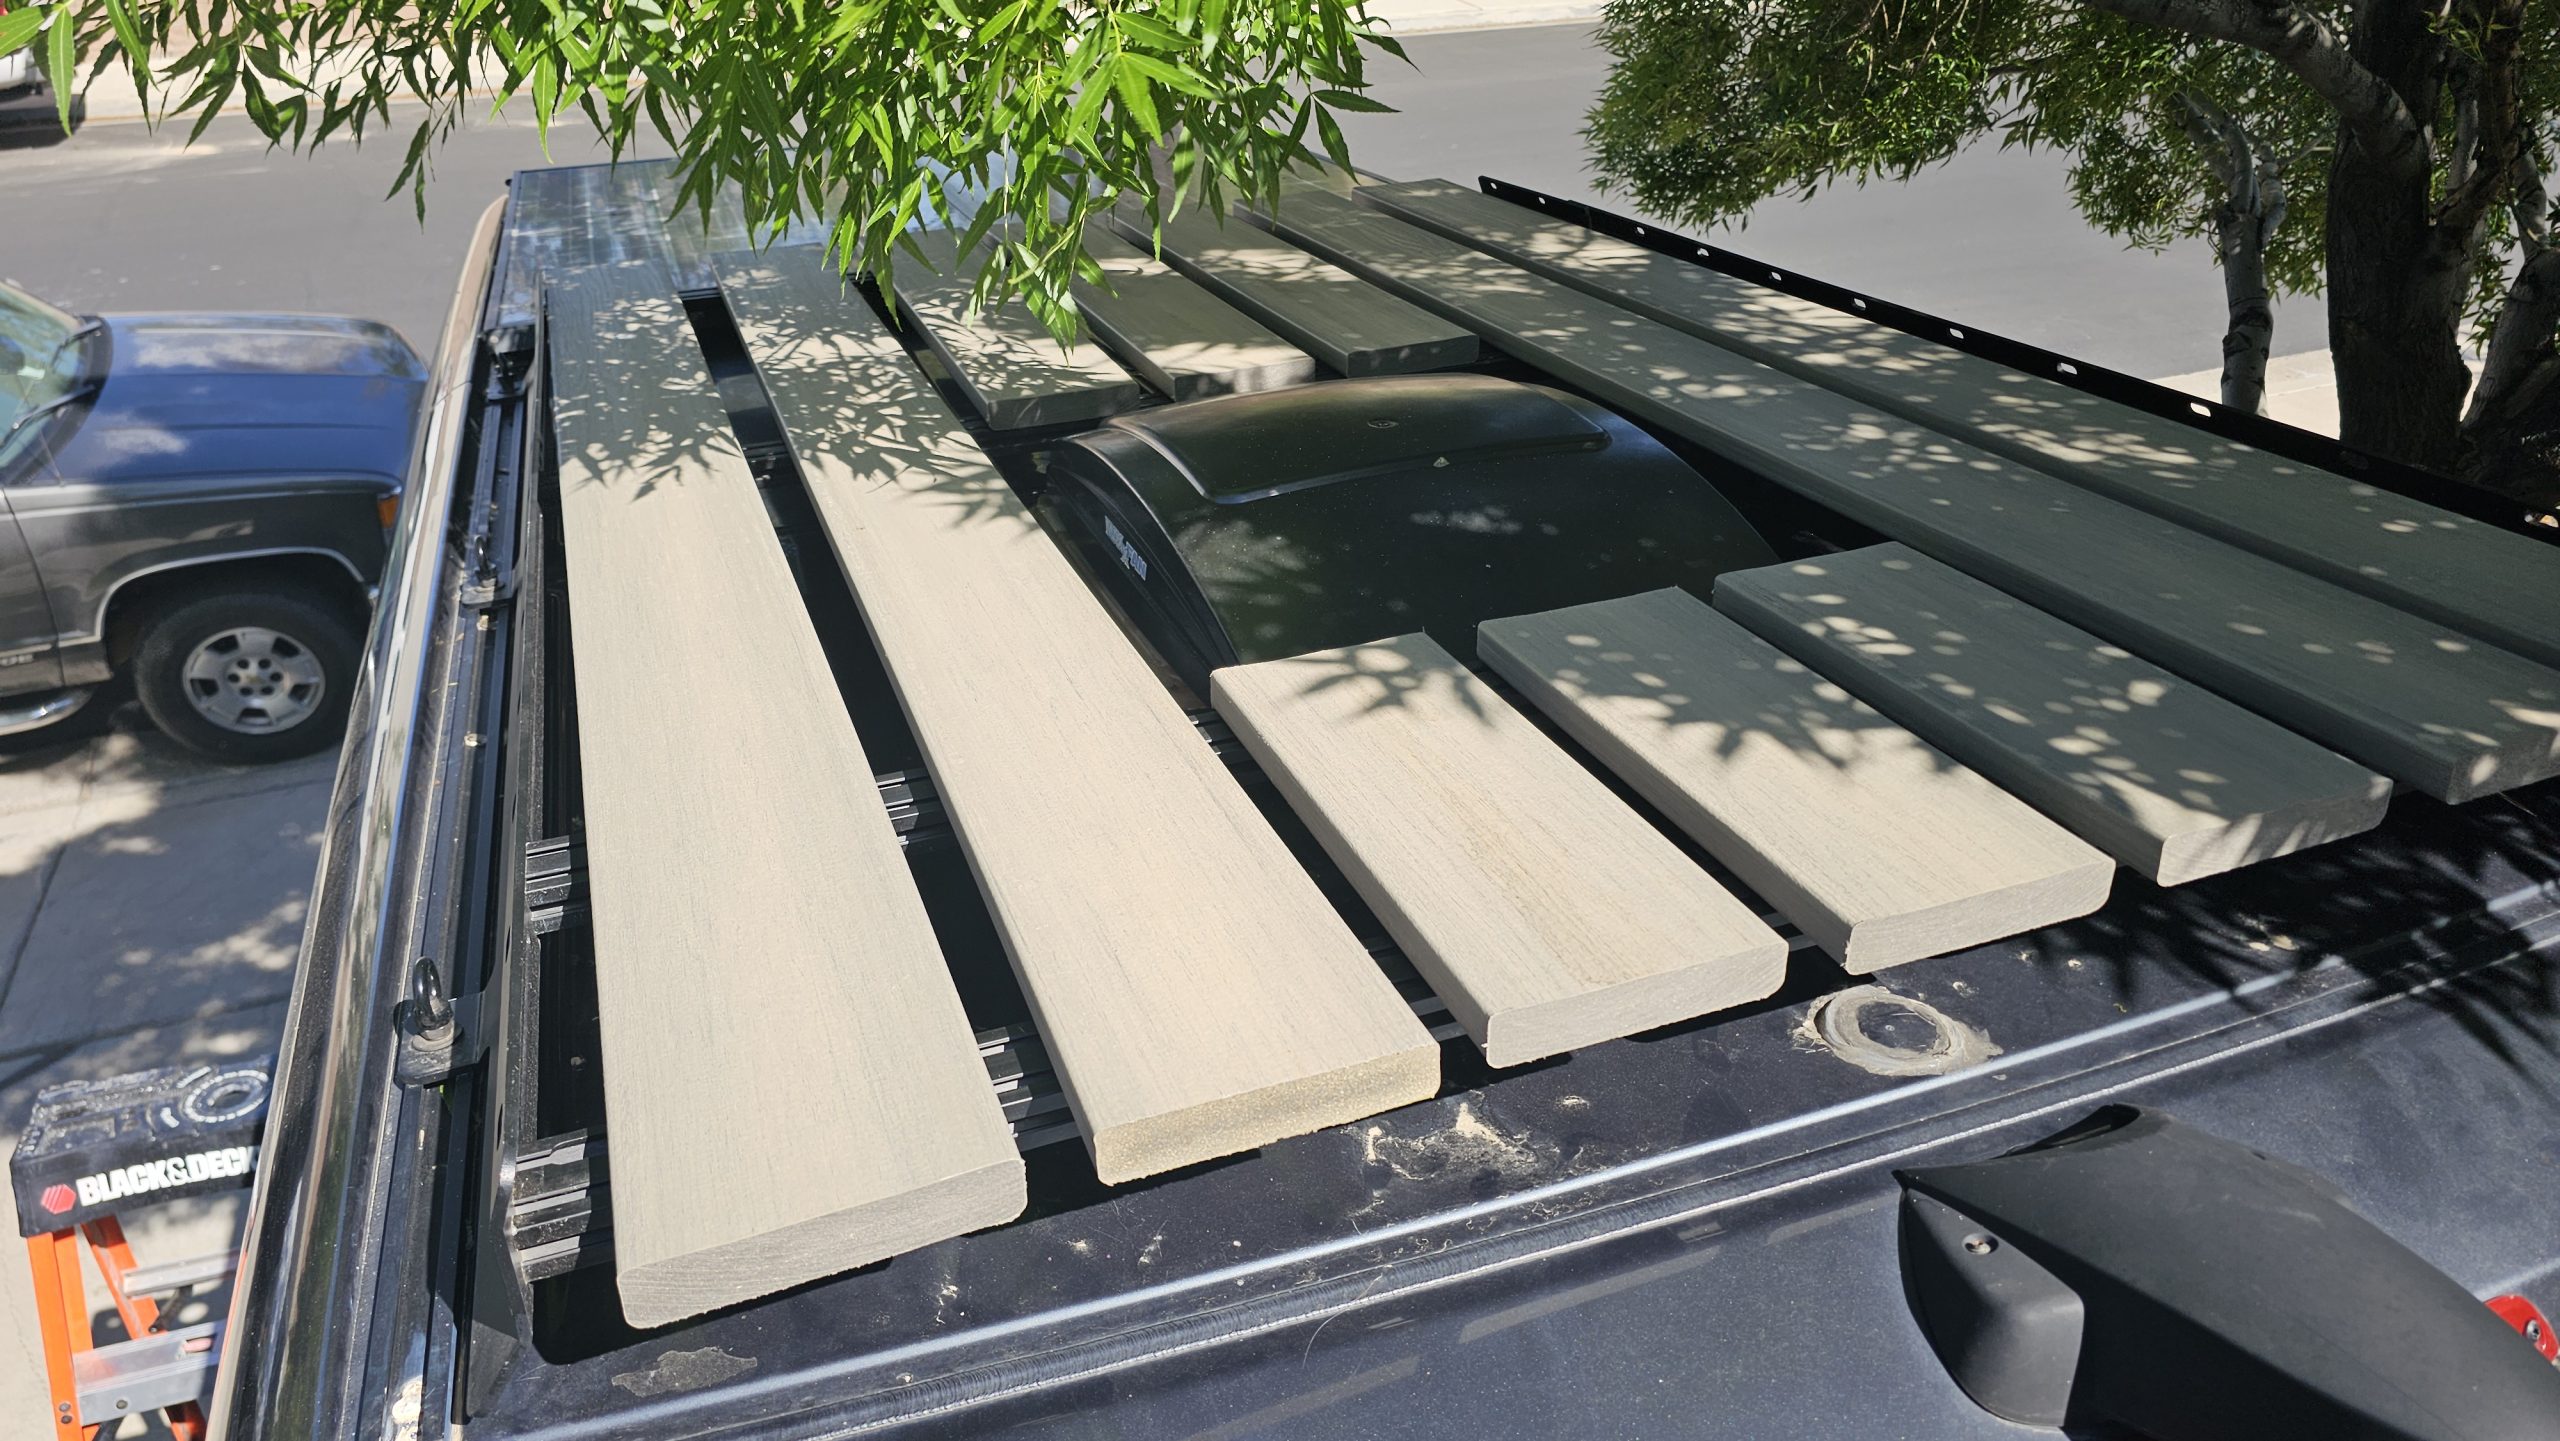
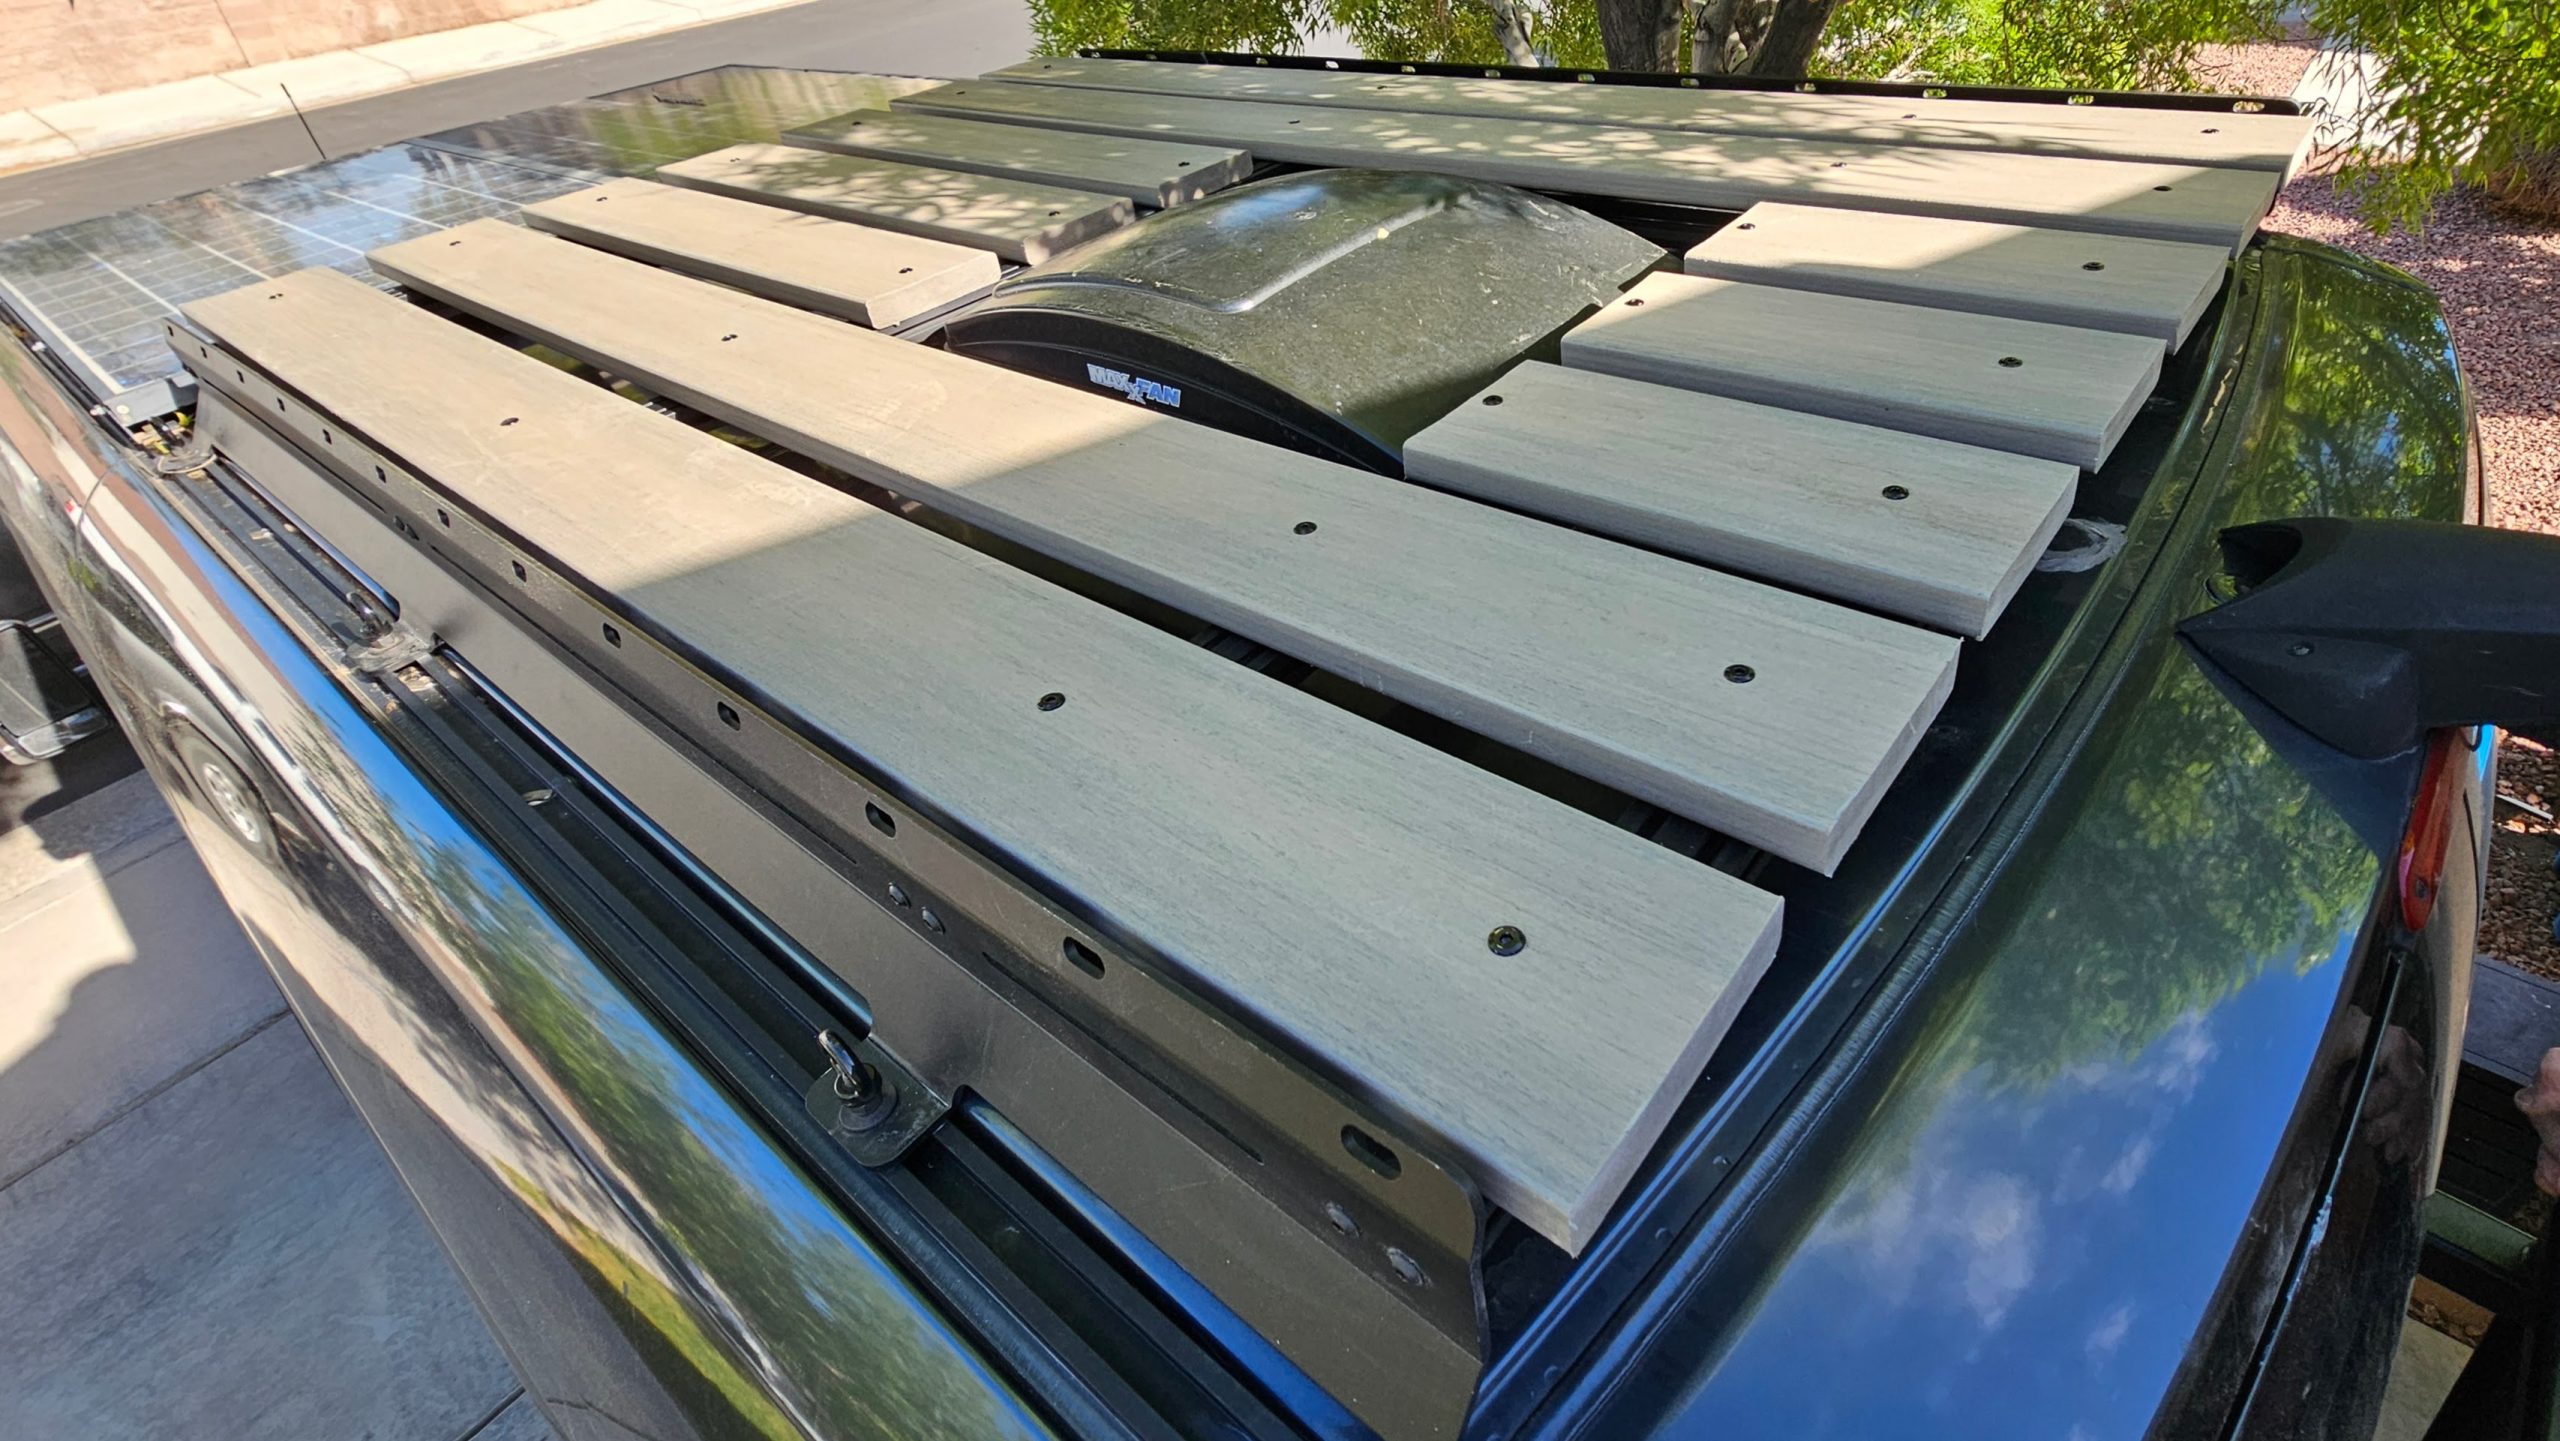
We wanted a wooden deck look and function for the roof. While slightly on the heavy side, we went with some 1″ x 6″ cool deck boards sourced from Lowes. They would hold up to the elements and the CoolDeck Technology helps reduce heat transfer and surface temperature. They are a composite material made from 95% recycled material.
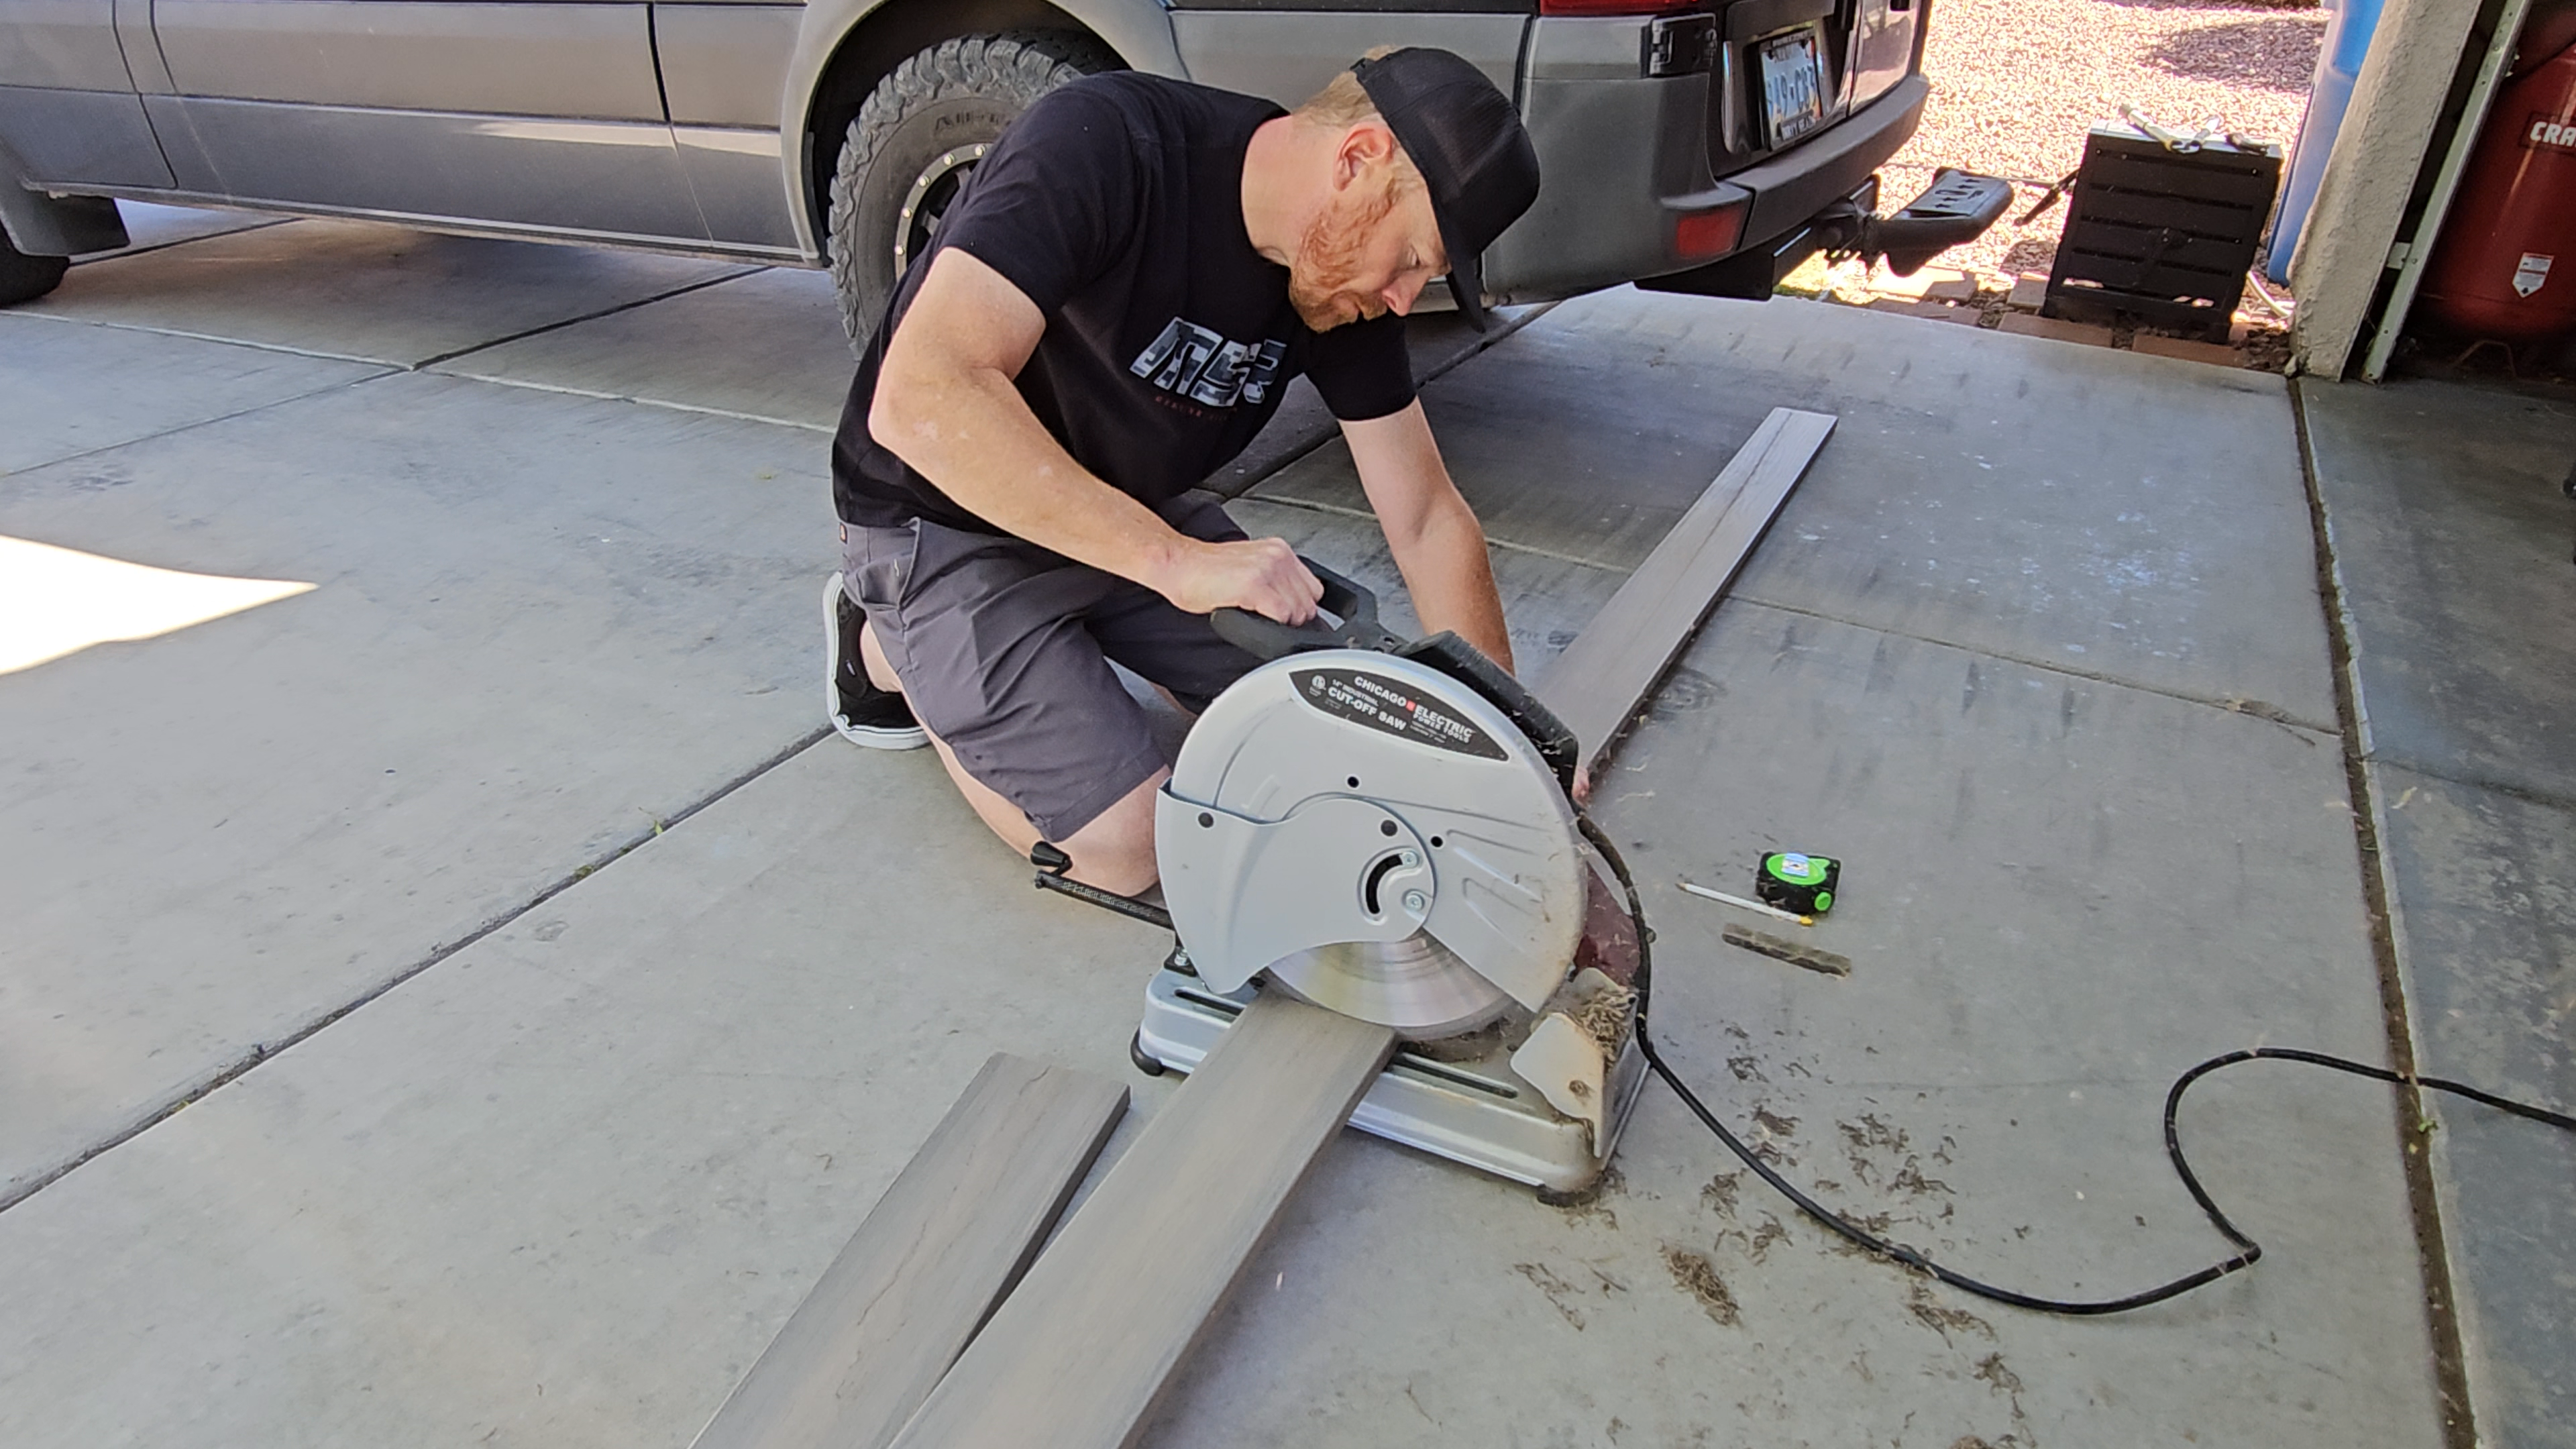
Each piece was cut down using the chop saw. I bought the 20 ft sections, so yeah…that was fun getting those home in the van. lol
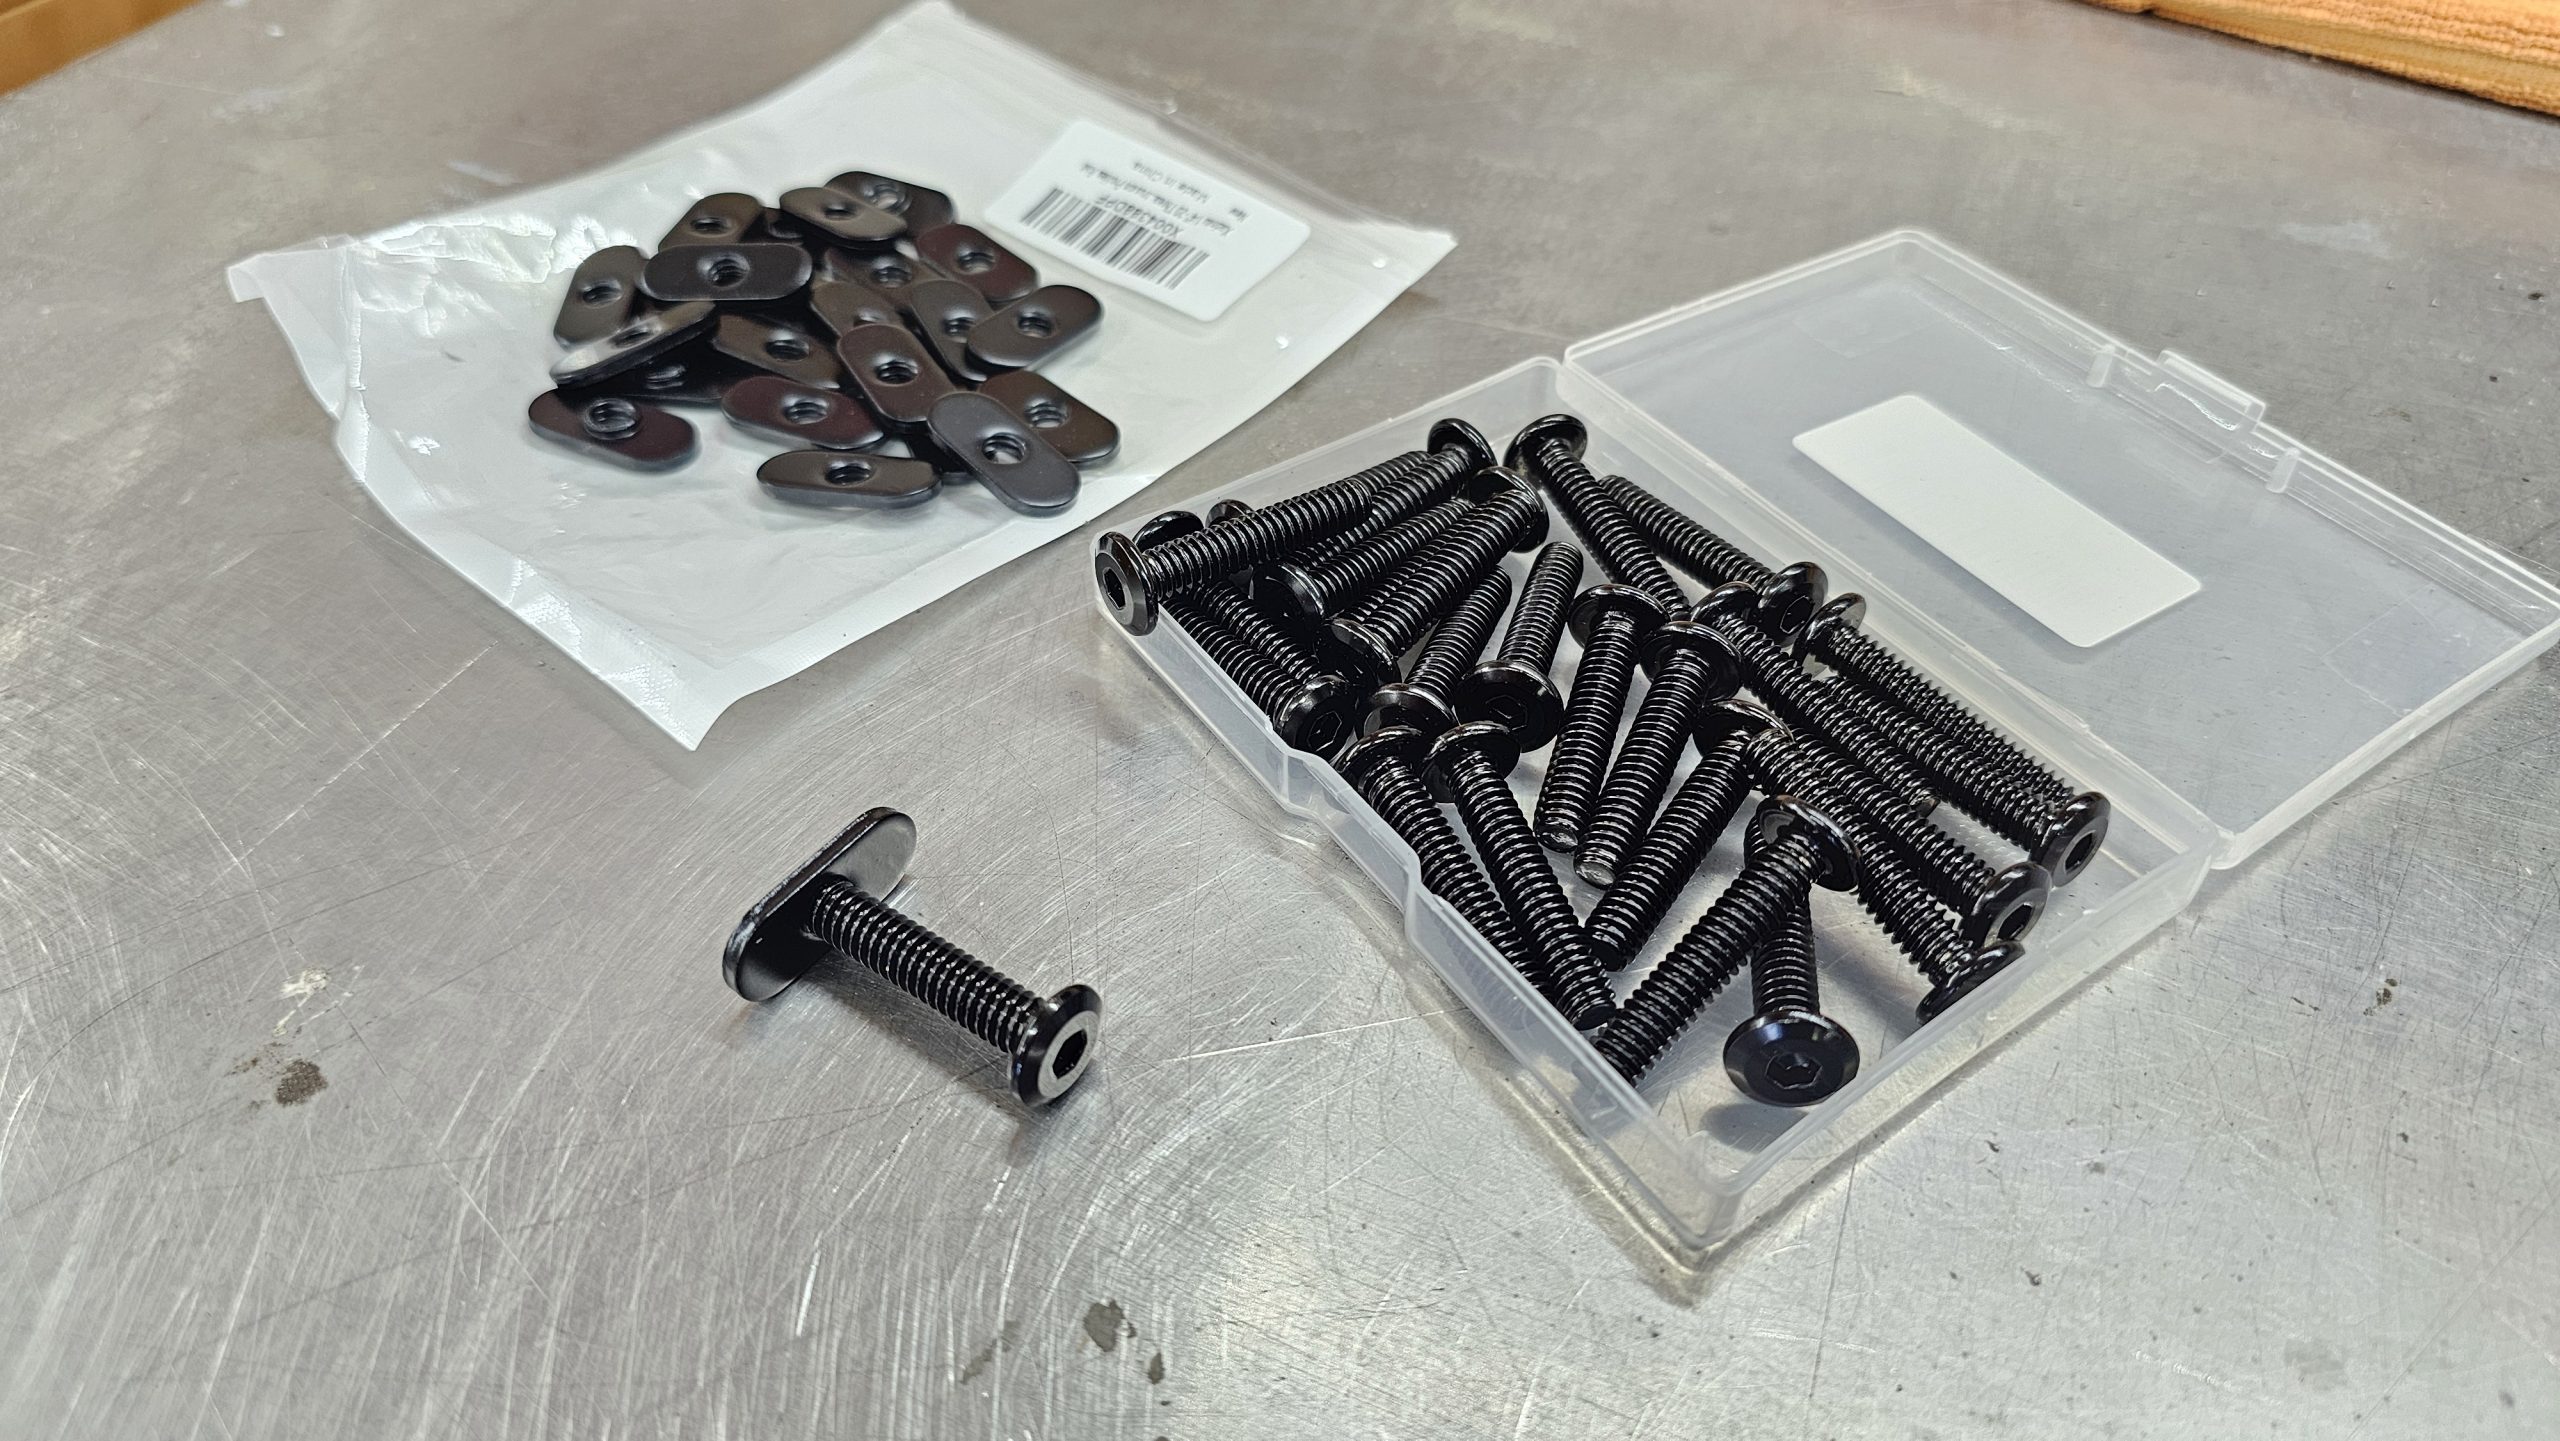
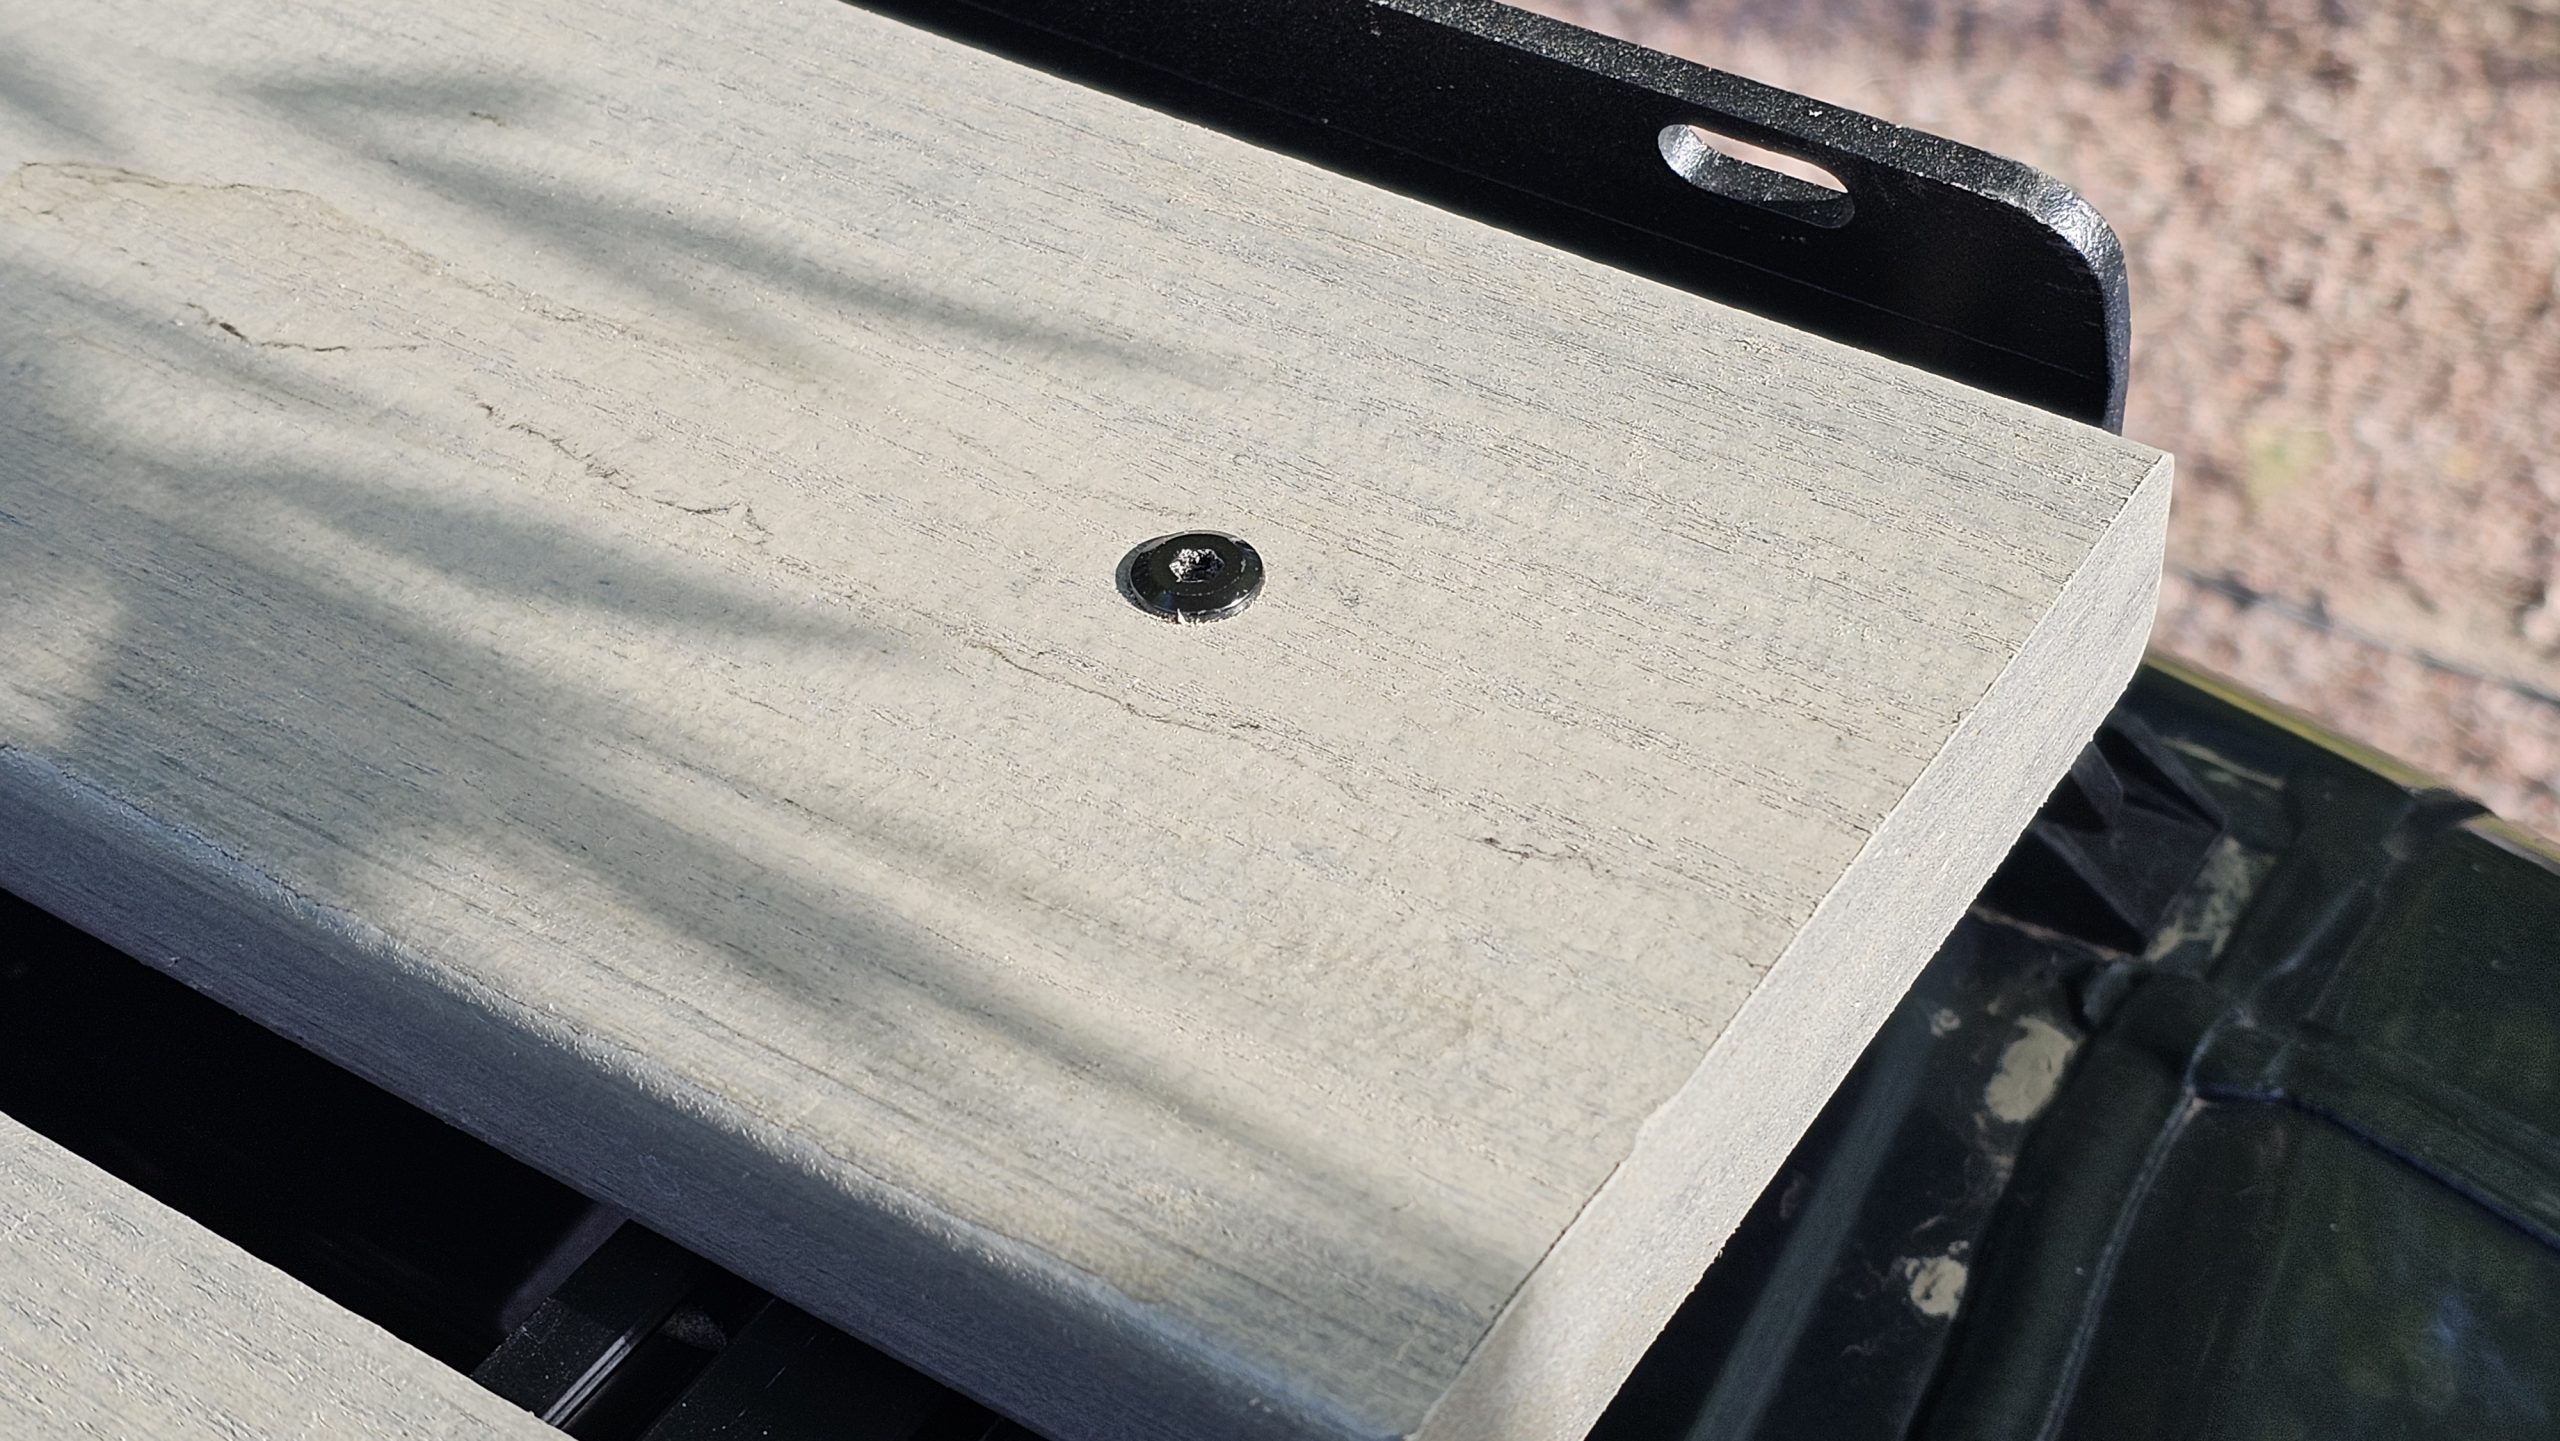
I used these black stainless steel Allen head screws with slide-in T nuts to attach the deck boards to the crossbars. Tip: Drilling oversize holes makes it much easier to get the bolts to line up with the T nuts.
I wanted some space between each board so I was pretty happy with how the spacing turned out. The roof rack space allowed for two long boards between the fan and the sides and then 3 short boards filled the center area perfectly.
The black screw heads were a nice touch against the gray deck boards.
In total, all the deck boards weighed about 75 lbs. This is more weight than an entire FVC low pro roof rack, but in the end, it will not affect anything worth noticing. I have weighed this van and it is extremely lighter than I thought it would weigh coming in under 5900 lbs. I guess I did well building this rig!
Rack Lights
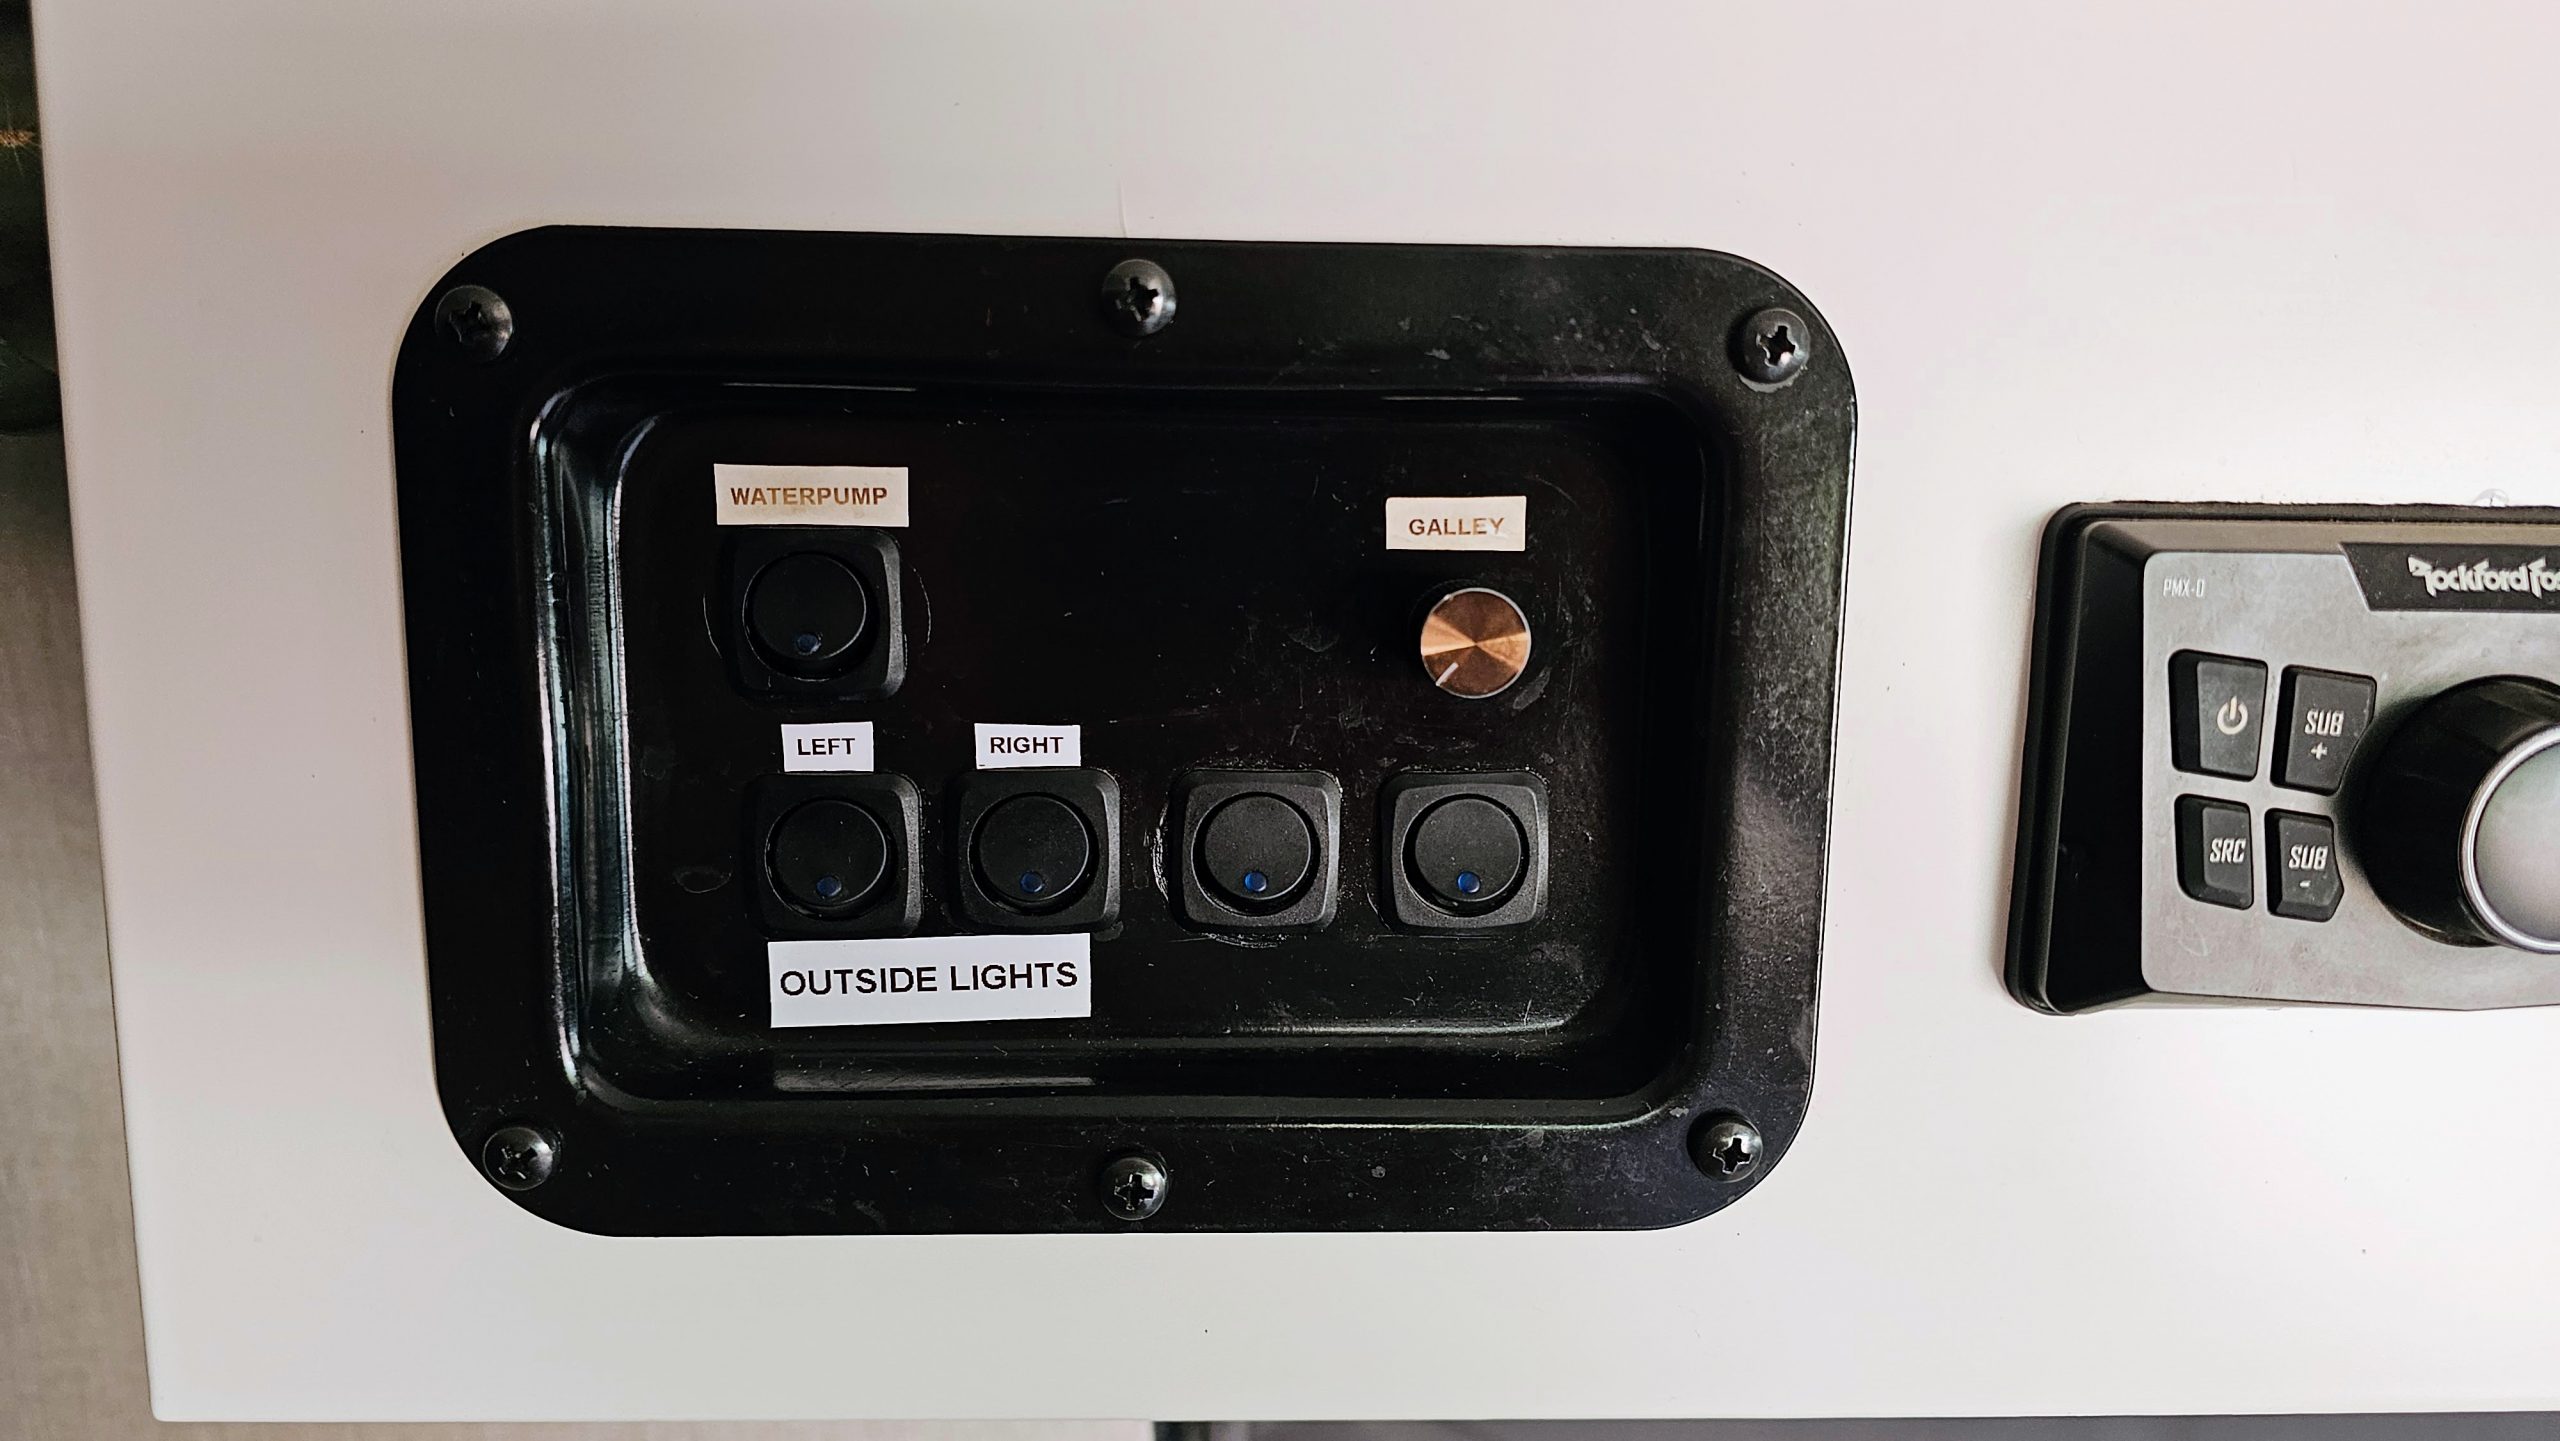
Next up is a set of outside camp lights. I prewired the roof for lights when I installed our solar panels so that part is already done and out of the way. The switches are also already mounted in our cabinet next to our water pump switch.
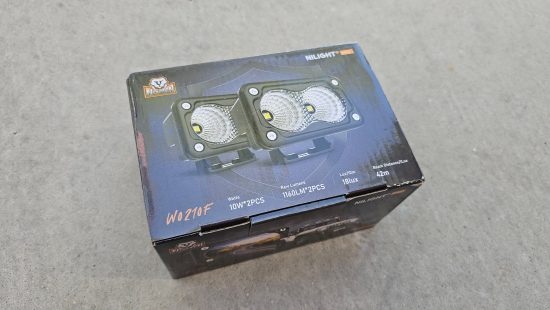
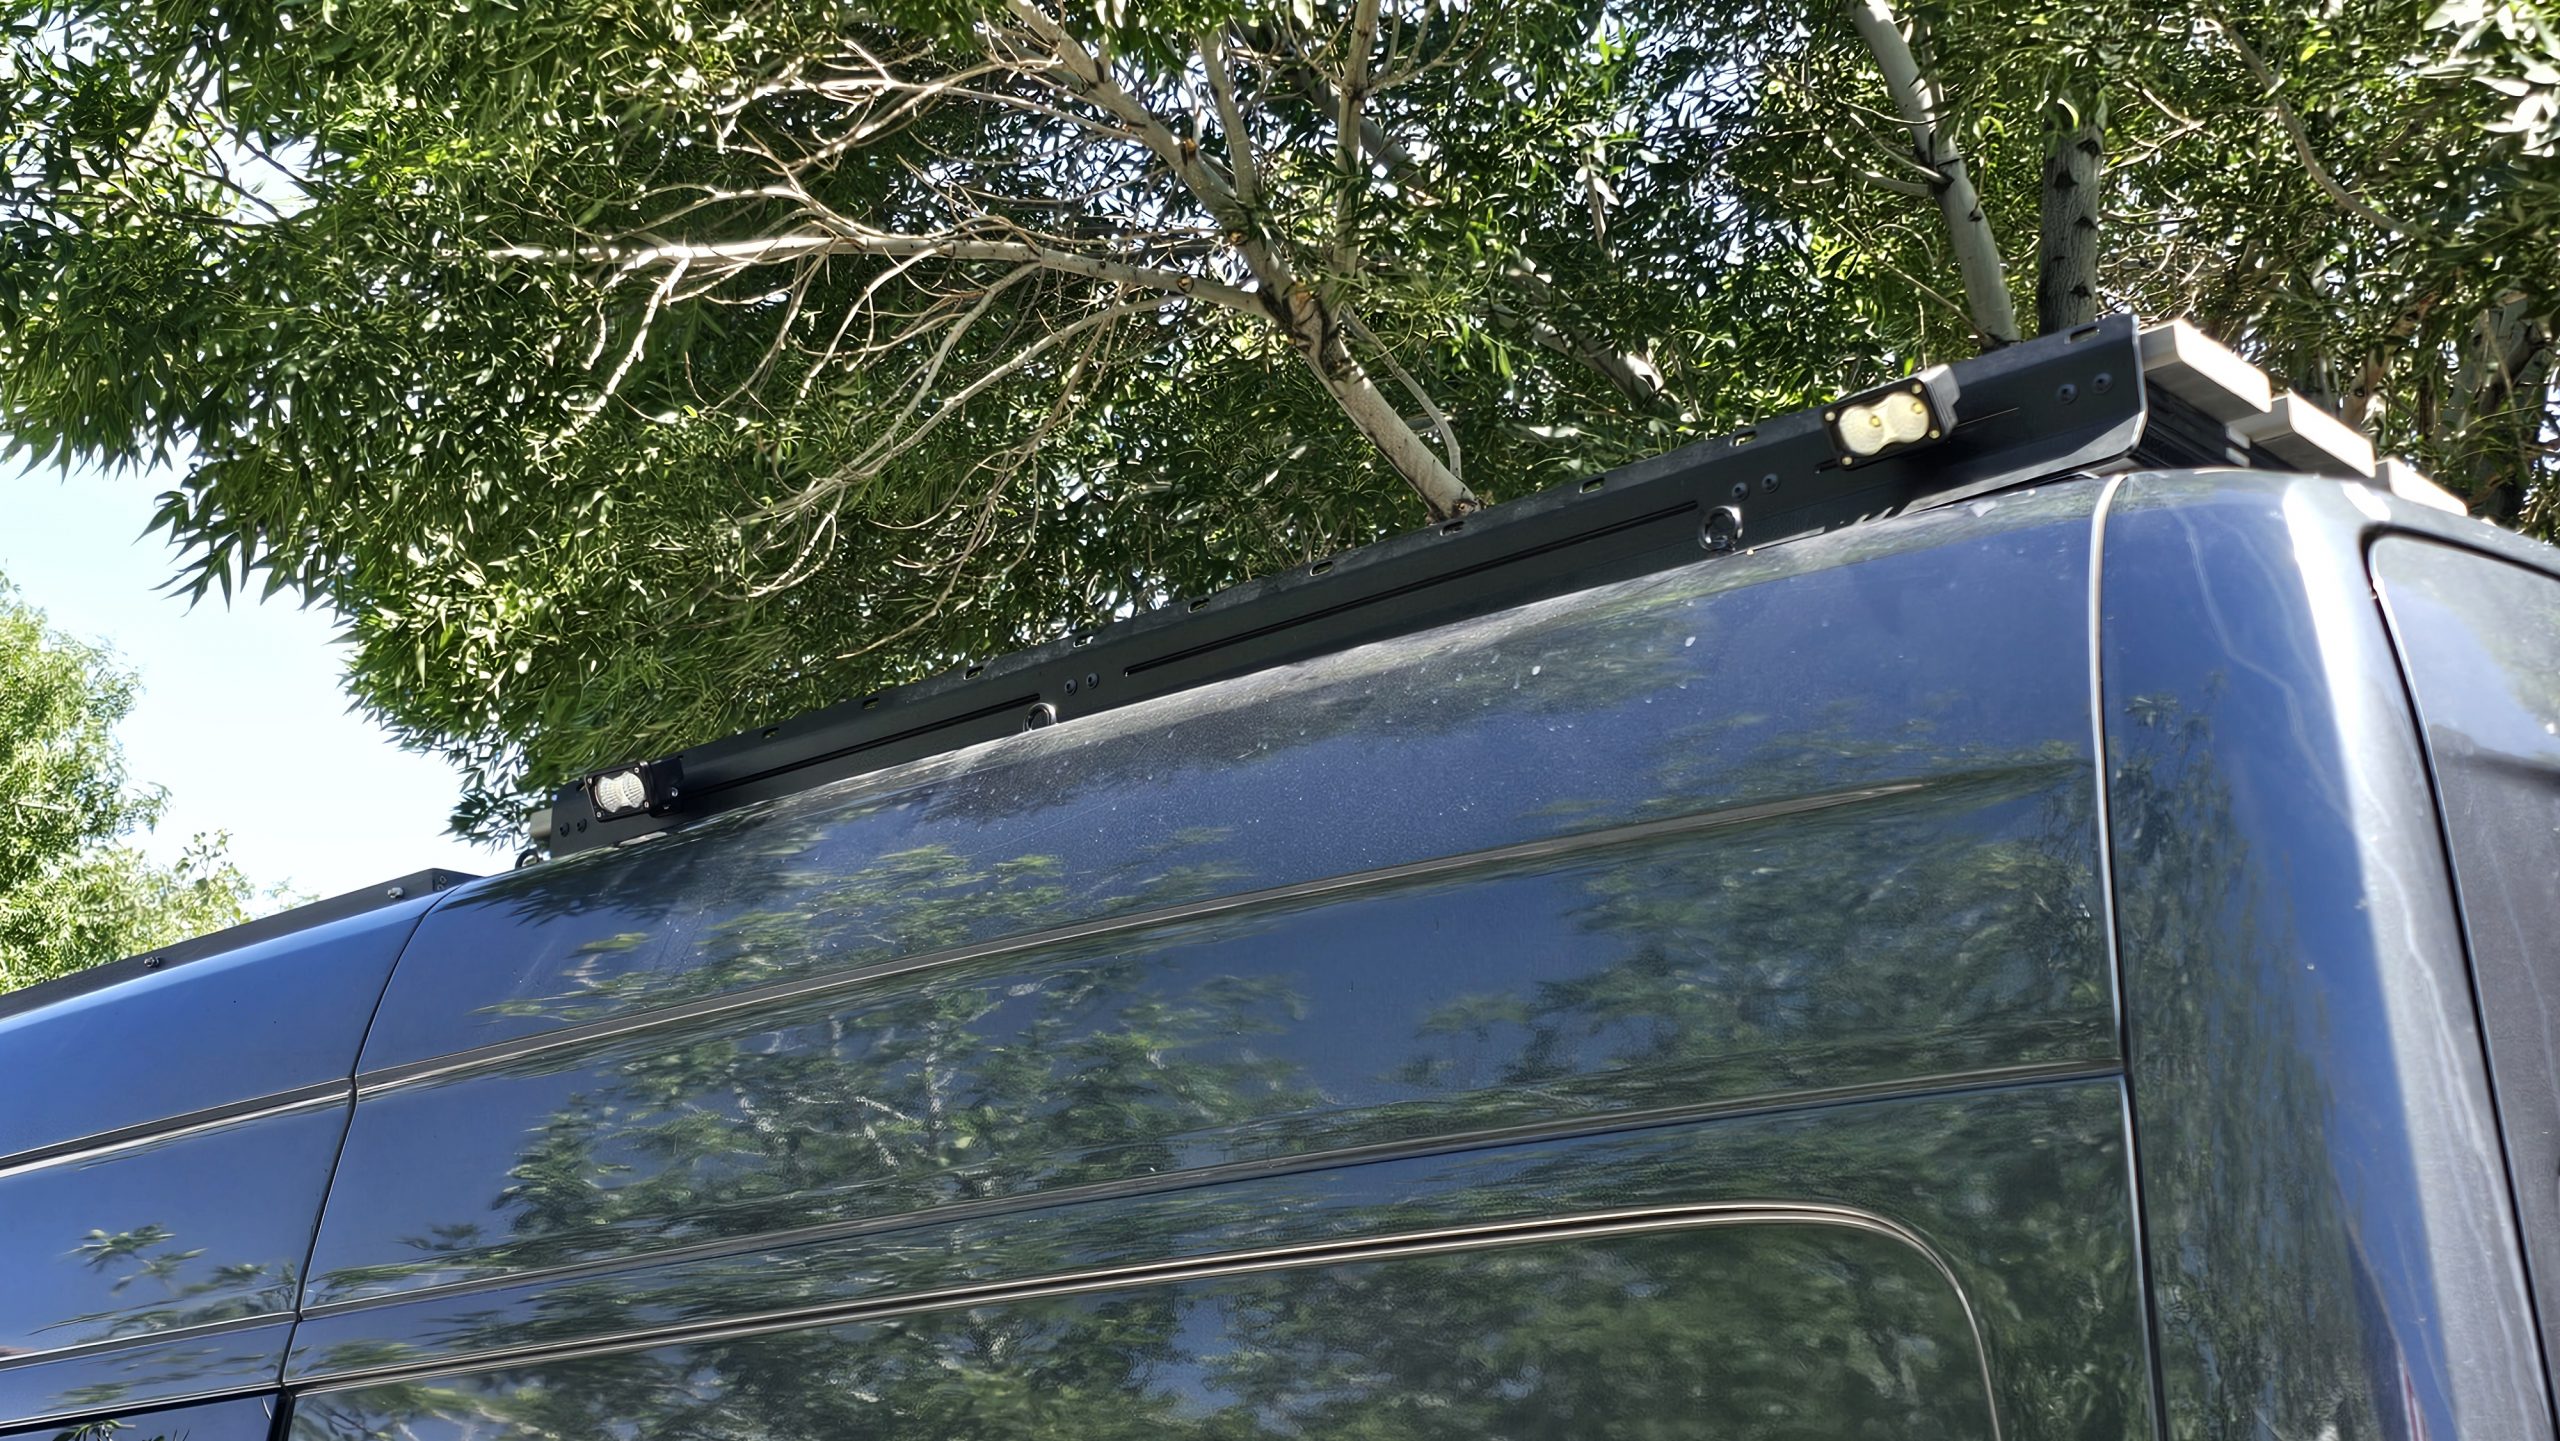
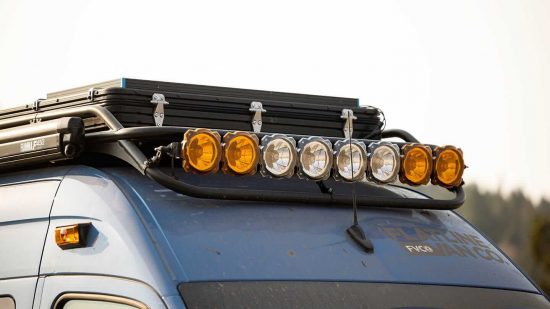
Keeping with the simple and low-profile look, I went with some small LED flood pod lights. There’s no reason to go with anything high dollar since brands like Nilight make lights that look and function great for what they are for. Having lights was important for us for a couple of reasons. First, it’ll be nice to light up the camp area especially when unloading the dirtbikes and gear. Second, we wanted them for security as well. There have been times we have heard a noise outside or thought someone was pulling up to our camp. We want the ability to light up the outside when looking out the window.
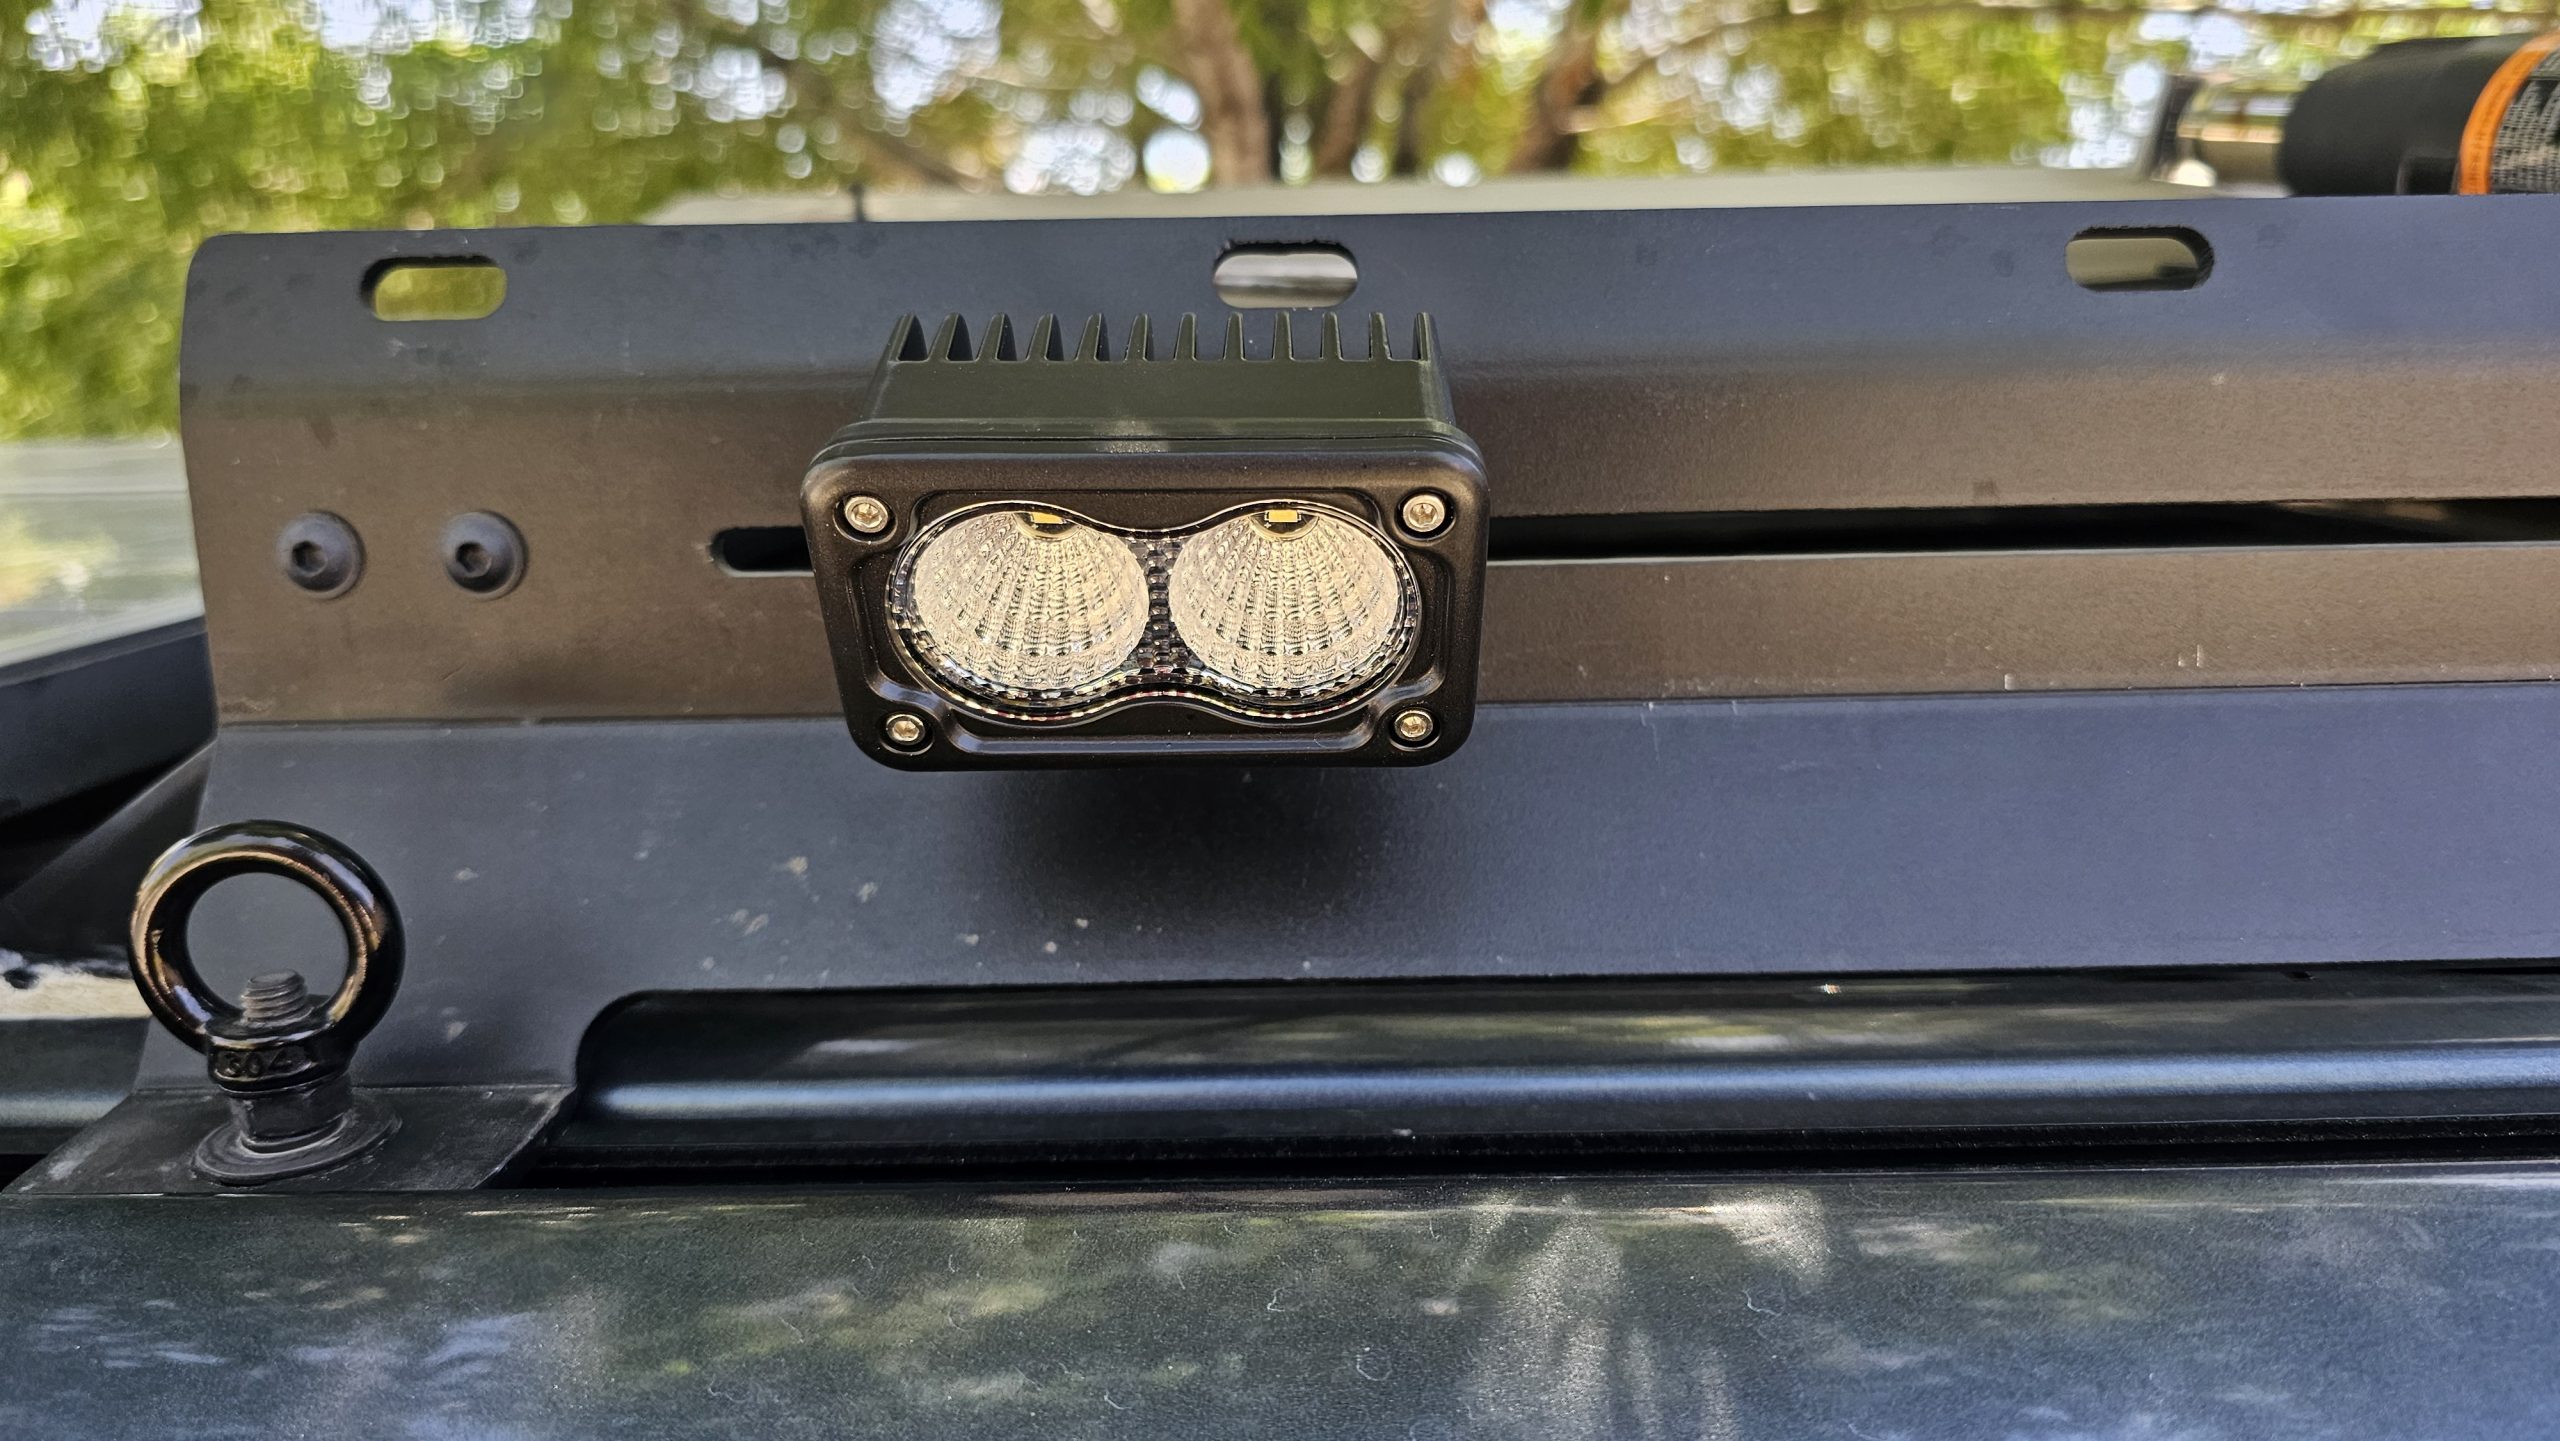
I installed a set of pod lights on each side rail of the rack. I chose to keep them mounted on the provided lower slots for two reasons; mostly to keep them less visible and so they don’t snag on tree branches when traveling off-road. I am happy with how they turned out; simple, clean, and functional.

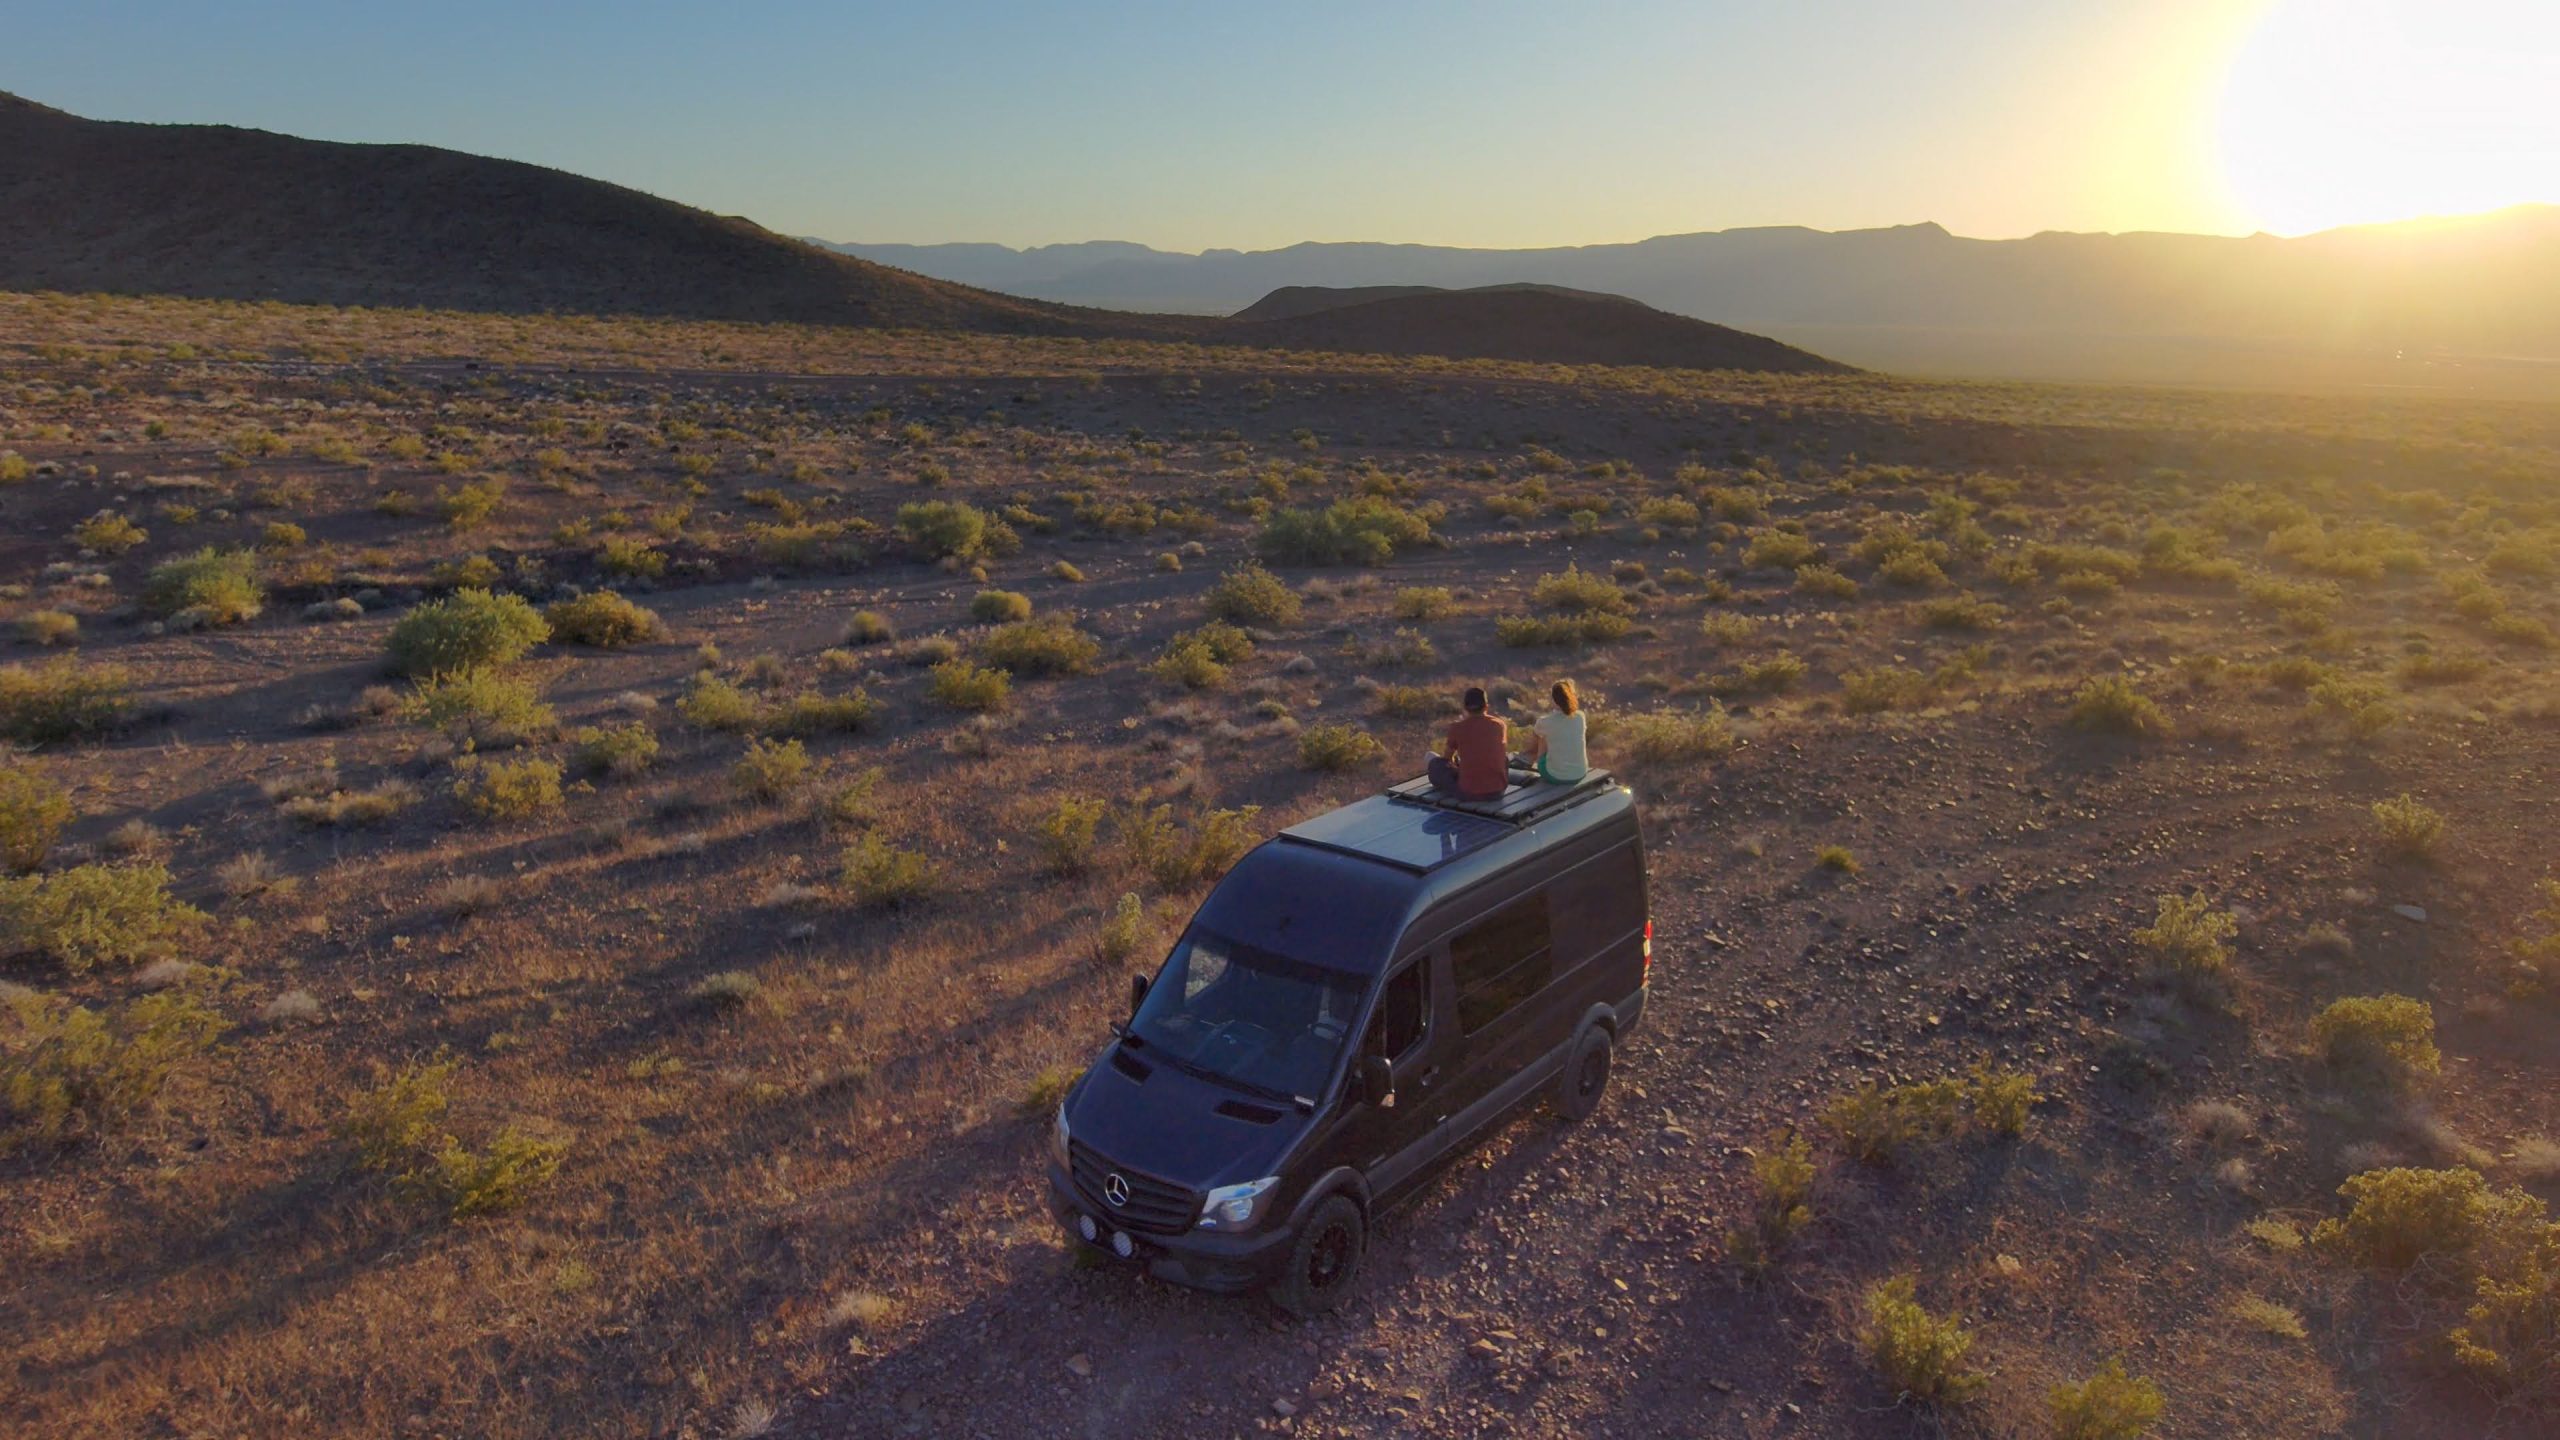
I want to send a huge thank you to Flatline Van Co. for making this project possible. We are so stoked to have this project under our belts after all this time and it’s done just in time for some summer van trips! I remember 6 years ago on our first big van trip we had no ladder or roof rack, yet we managed to climb up to our roof to watch the fireworks in the San Fransisco Bay on the 4th of July. We probably put some little dents in the roof that day, but it was worth it. So we’ll have to make a toast to our new rack on our first trip of the summer.

Full Parts List
- FVC SPRINTER VAN LOW PRO ROOF RACK | 144″ HIGH ROOF
- MoistureShield Meridian 1-in x 6-in x 20-ft Cooldeck Catalina Solid Edge Composite Deck Board
- 1/4-20 x 1″ Flat Head Hex Socket Cap Screws Bolts
- 1/4″-20 Threaded Centered Slide in Economy T Nuts
- T Slot Bolts for Thule, Yakima Roof Rack Cross Bars (8x30mm)- long for additional stud for mounting eye nuts.
- M8 Eye Nuts
- 8020, 3066, 10 Series, 1/4-20 x 0.75 Inch 3/4 Inch Flanged Button Head Socket Cap Screw
- Nilight LED pod lights
Flatline Van Co. Roof Racks for Sprinter Vans
Check out the full line of roof racks FVC makes for Sprinter Vans, Transits, and Promasters.
Leave a Reply