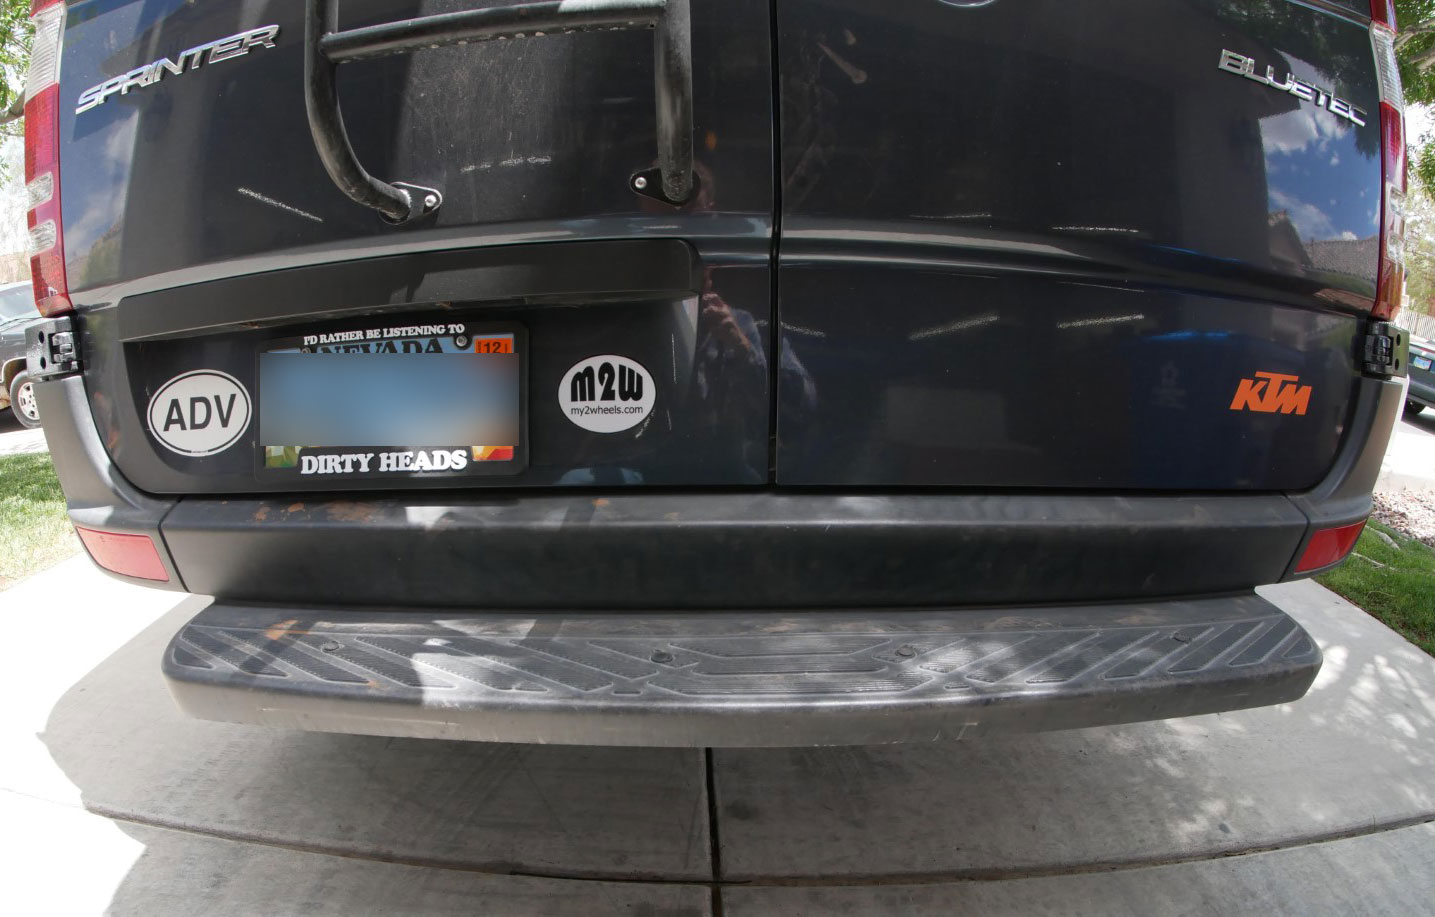
Our 2016 Sprinter did not come with a factory hitch or any trailer wiring. It did, however, have this nice step bumper that often comes in handy. The only dilemma with that style bumper is that our ground clearance in the rear will be significantly reduced when I want to add a hitch. So my plan is to ditch the step bumper, add a hitch for a factory no-step bumper and then just slide in a hitch step.
Removing the Factory Sprinter Step Bumper
It kind of killed me to remove this bumper only because it is so useful, but in reality, it has caused us to almost get stuck more than once. It hangs rather low and pretty far out there.
Removing the bumper was a breeze. The bumper attaches to the van using three large bolts & nuts on each side of the frame. Sorry, it looks like my van sharted itself. That’s just Utah mud. Don’t judge me! haha
That’s not the only step to removing the bumper though. The step bumper is part of the van’s rear bumper cover or fascia. That has to be removed as well. This also means you will need to buy a new bumper cover for a “no-step” bumper. There are a few T40 Torx bolts that hold the fascia to the van. I removed the two from each corner molding to aid in sliding the bumper cover off and on.
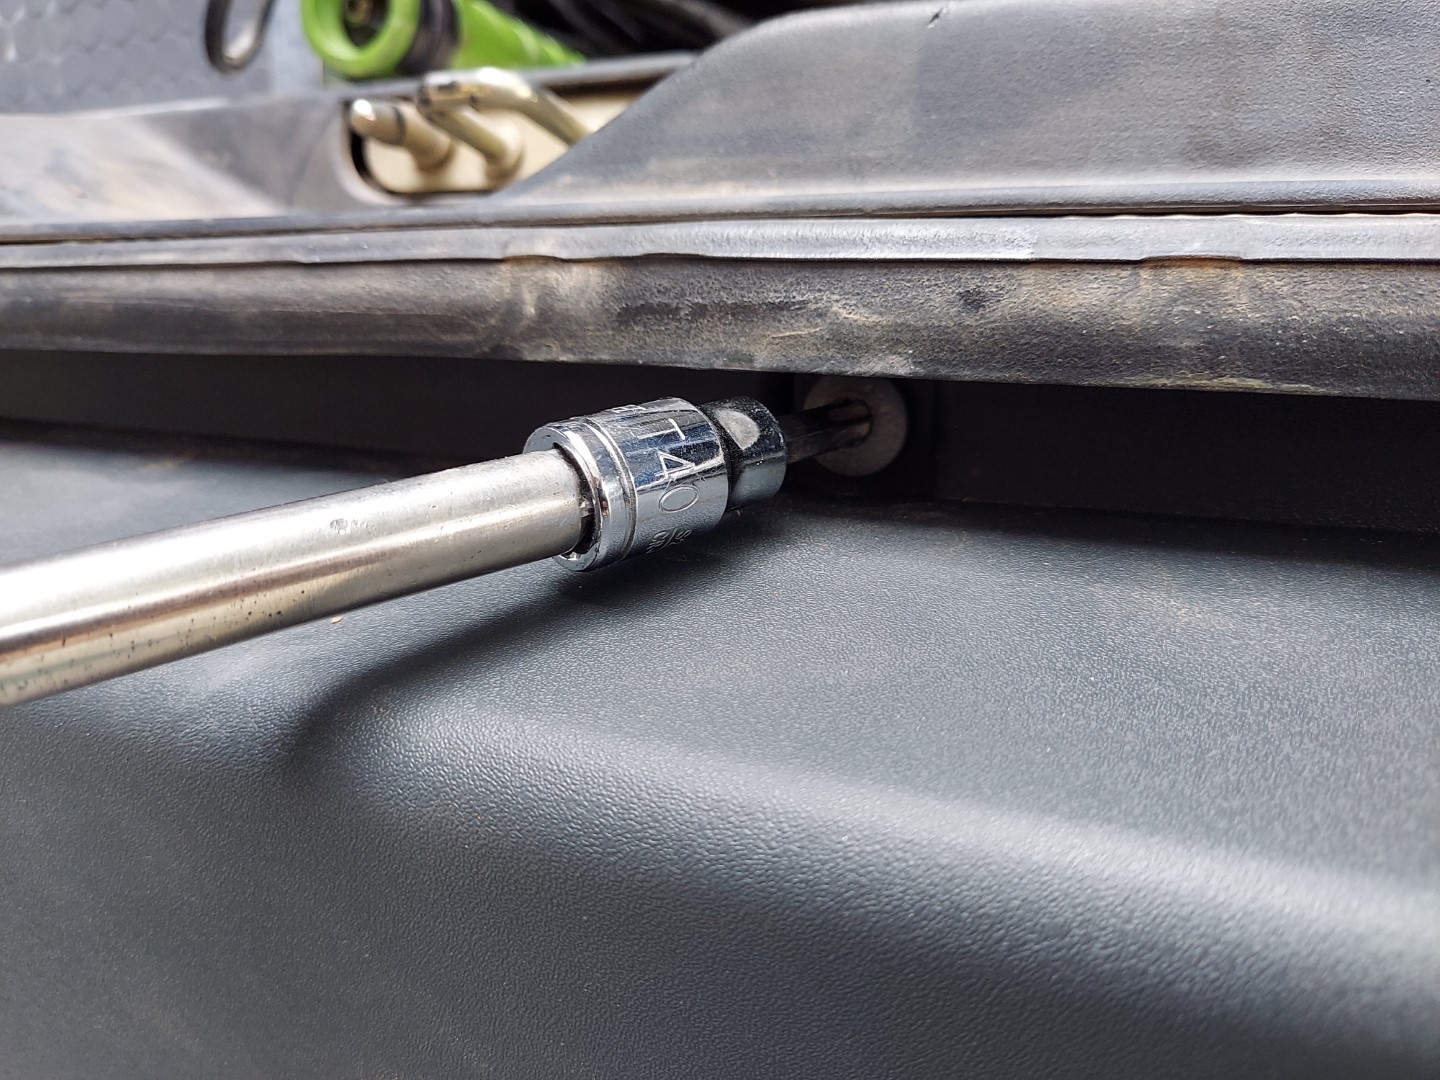


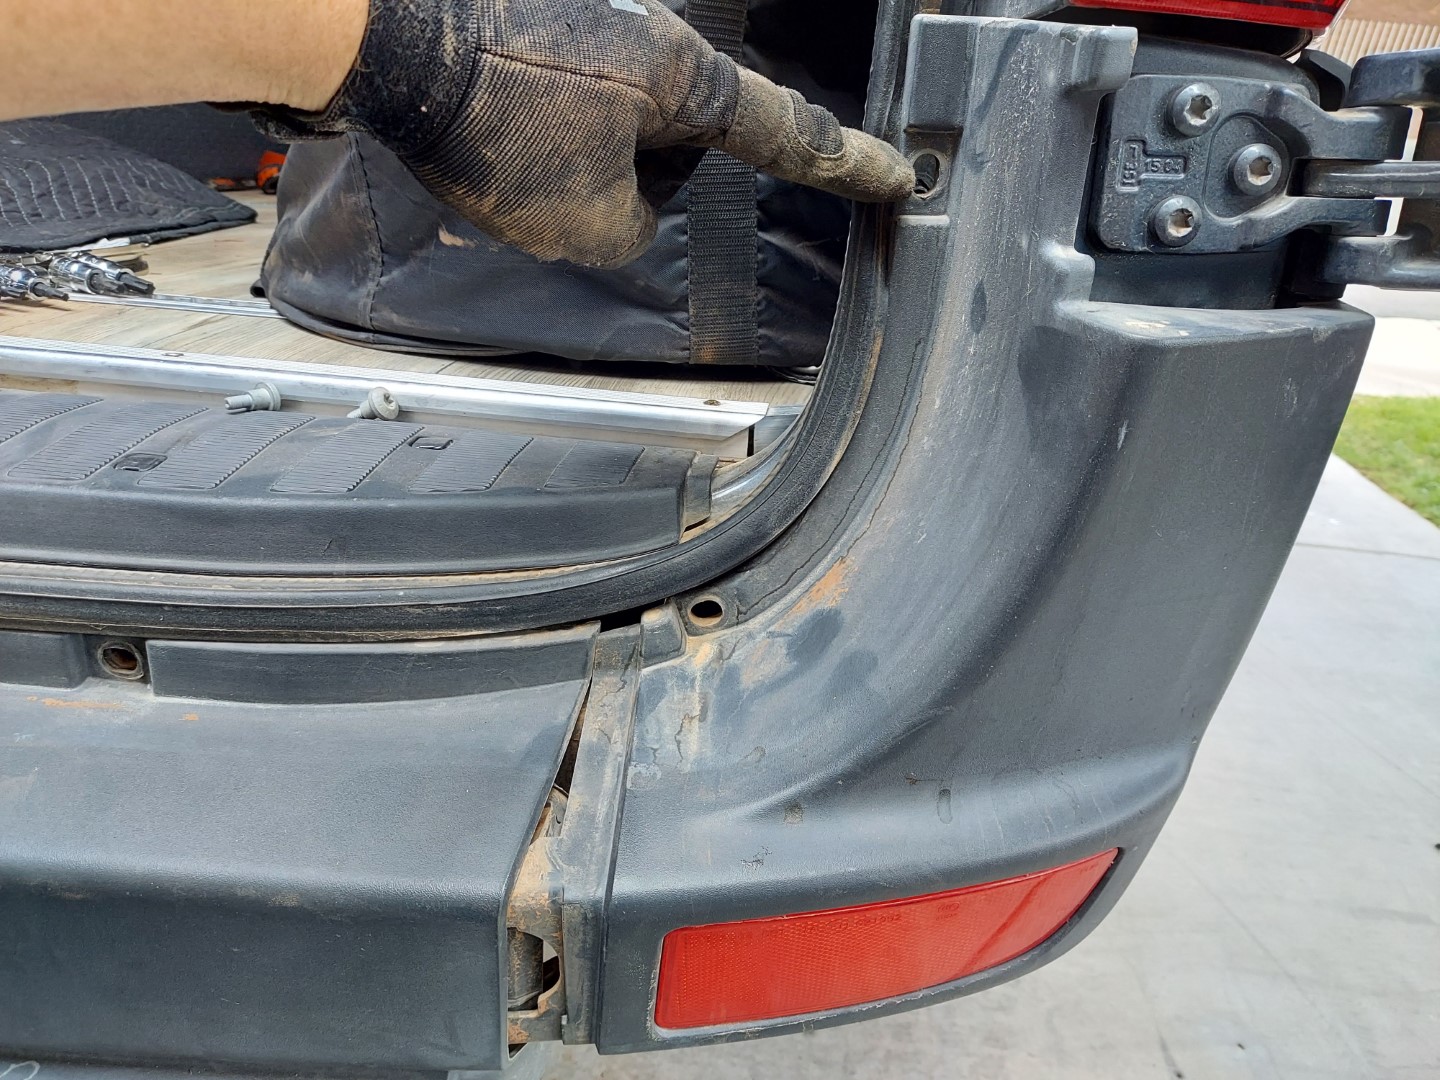
Once all the Torx bolts were out, the bumper cover and corner moldings just sort of slide apart from each other with little effort.

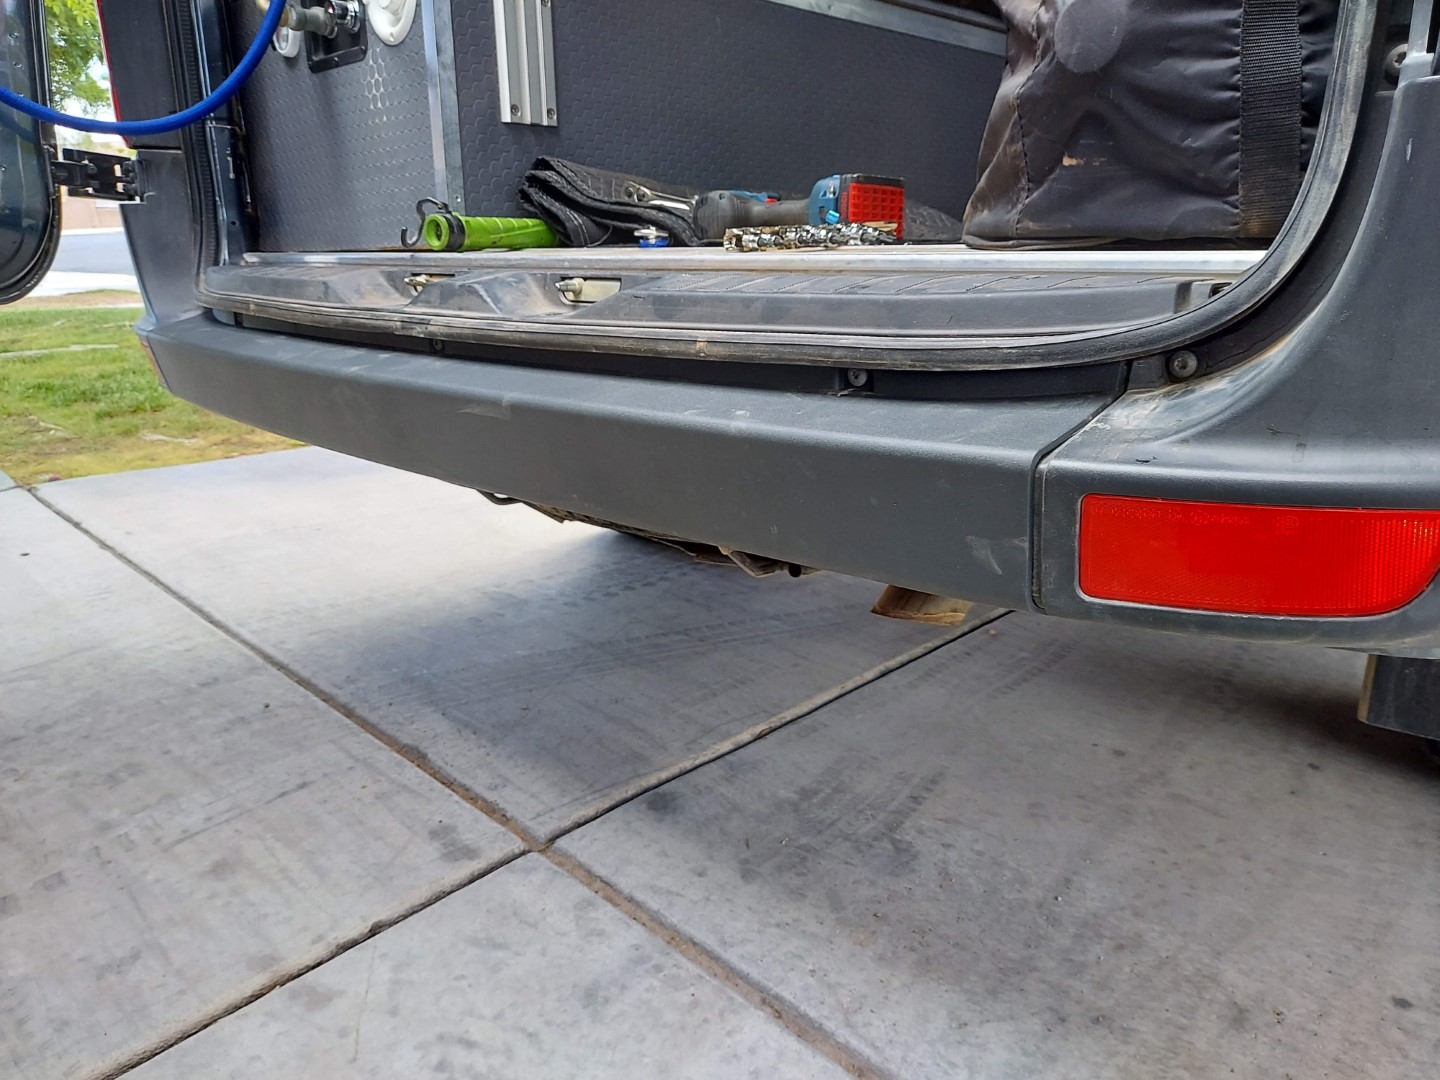
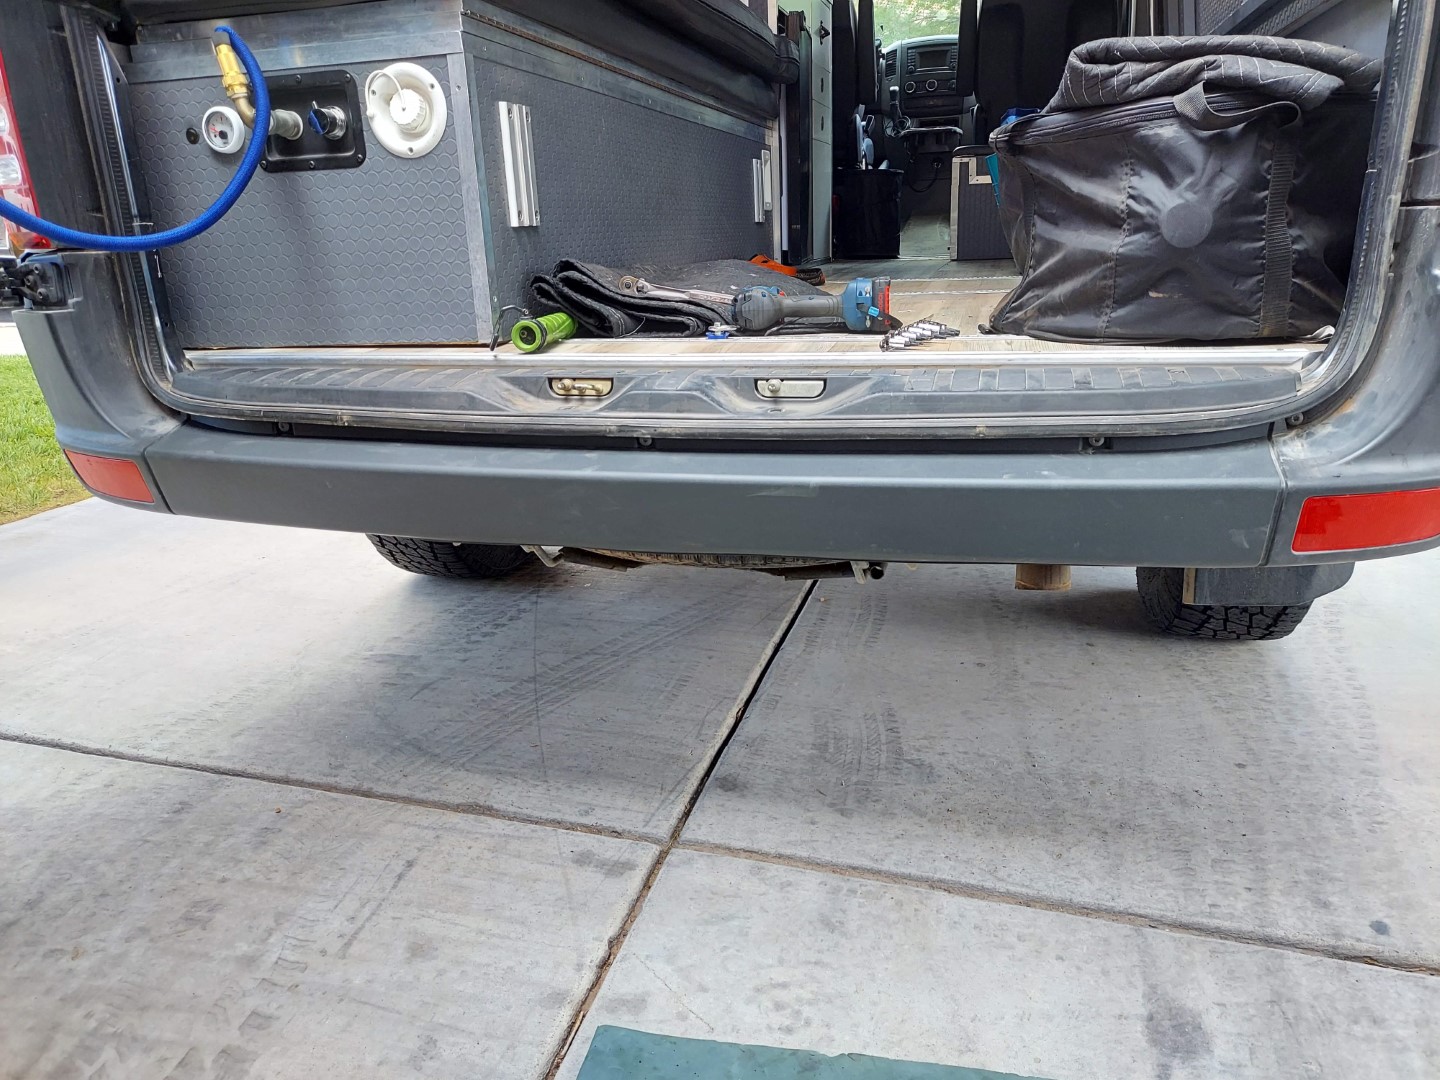
Installing the New Bumper Cover
Like I mentioned earlier, the step bumper has a rear fascia built into it that fills the gap at the bottom, rear of the van. The bumper cover was rather cheap and super easy to install. Using the same T40 Torx bolts, I installed the bumper cover in place of where the step bumper cover used to fill. It slid right in and plugged into the corner moldings with ease.

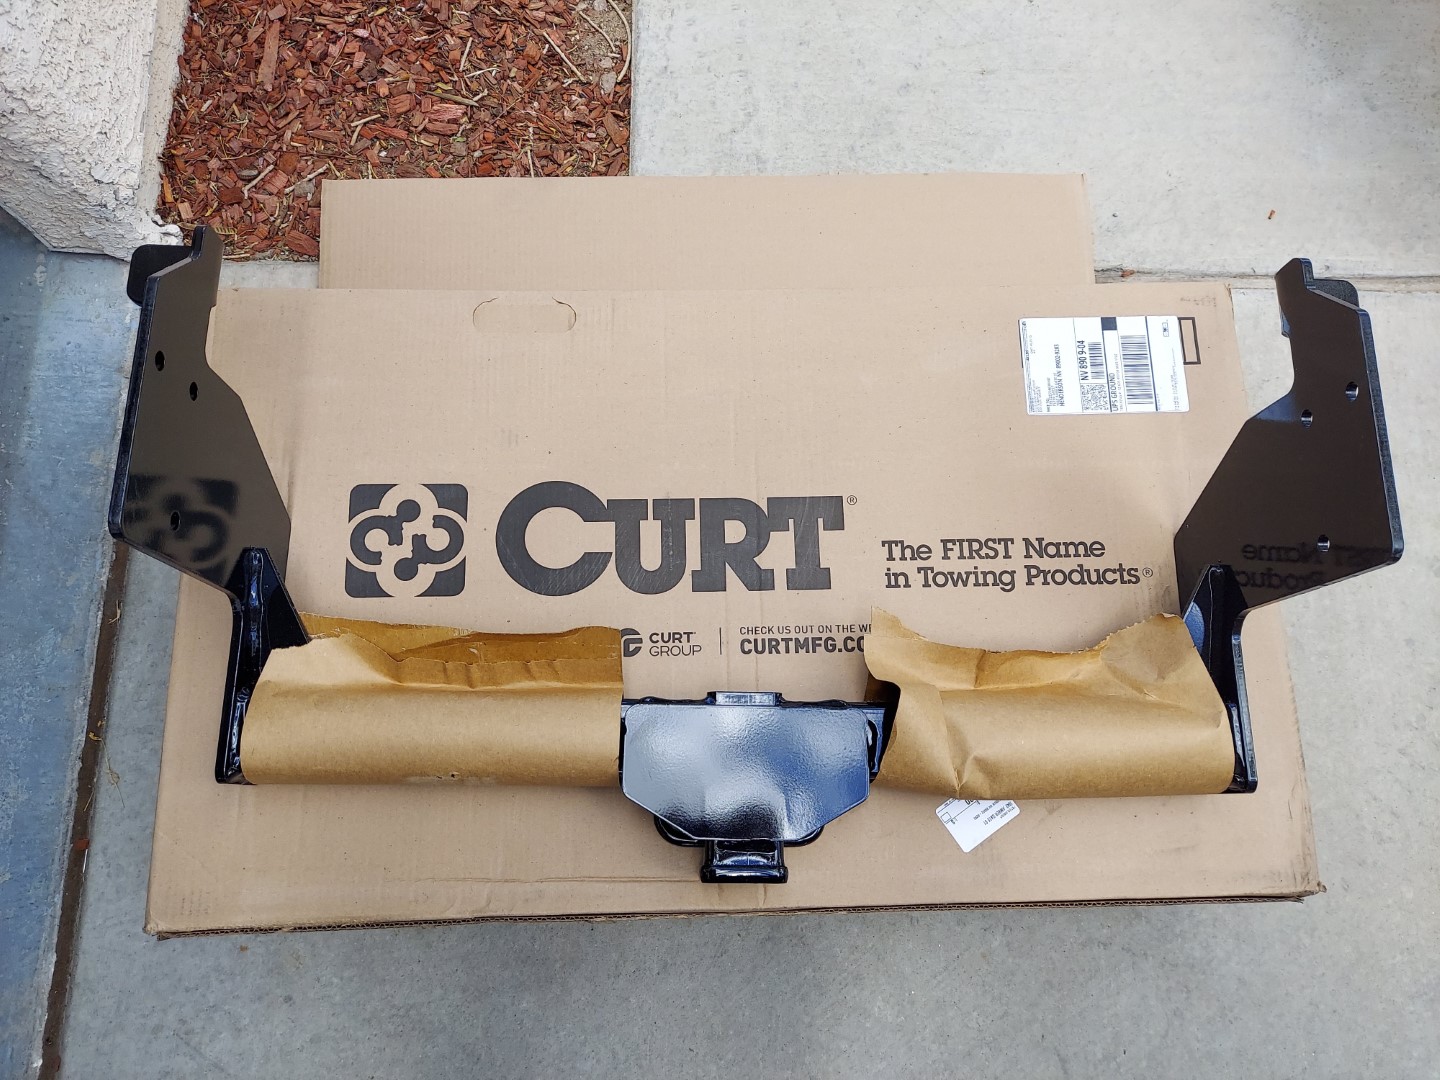
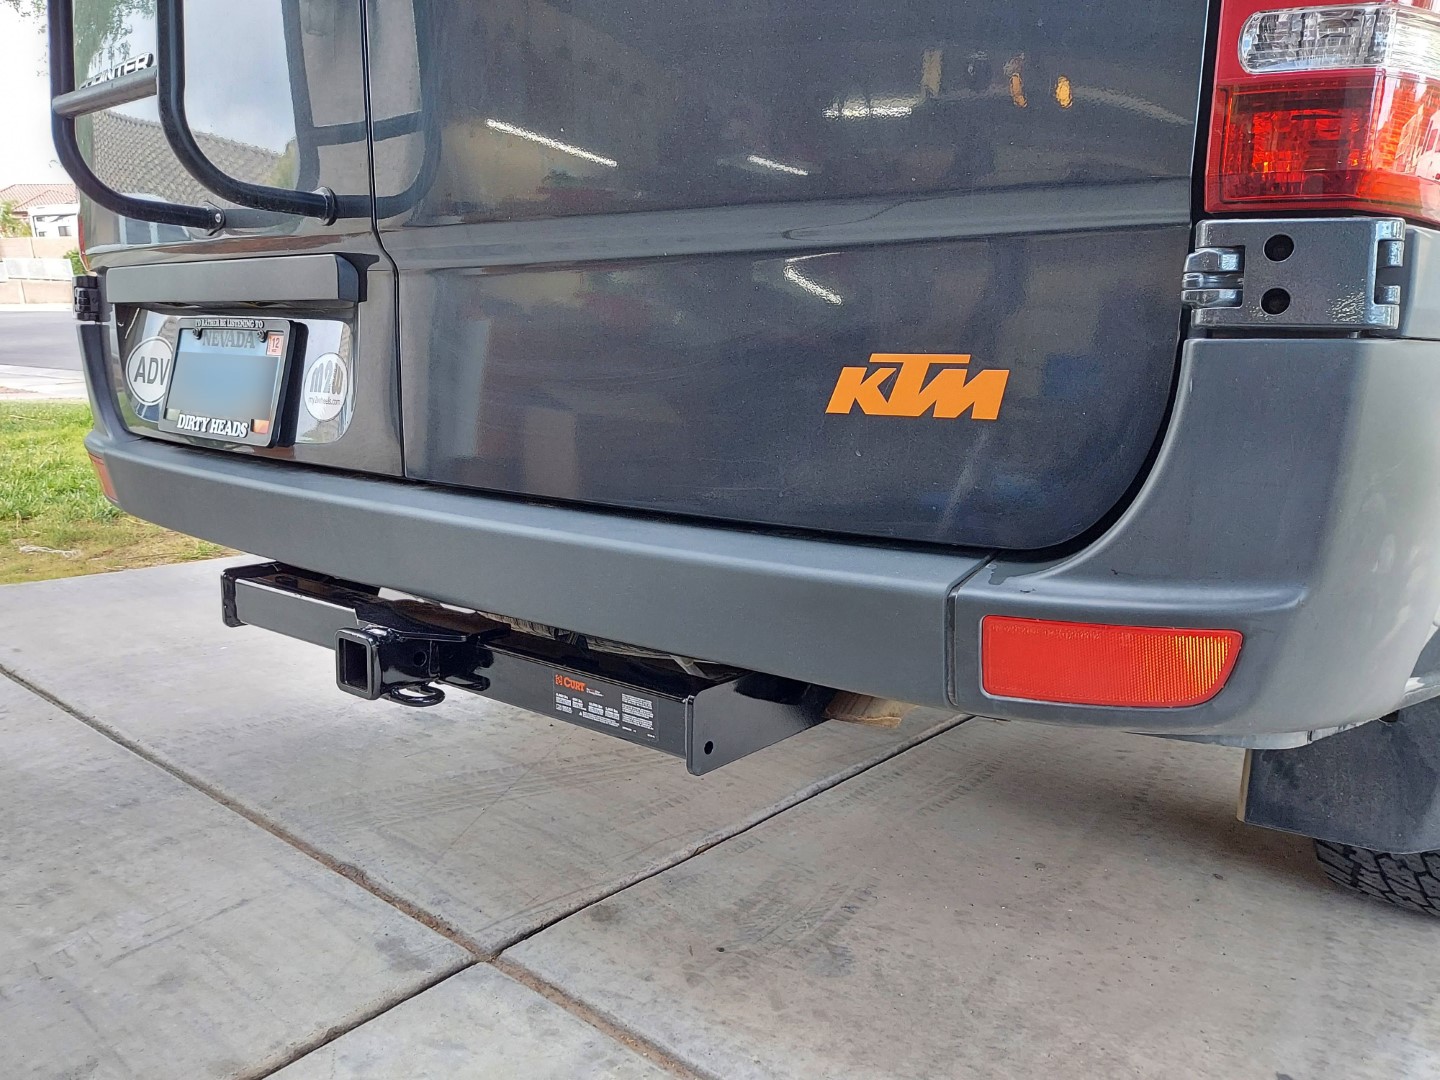
Hitch Install
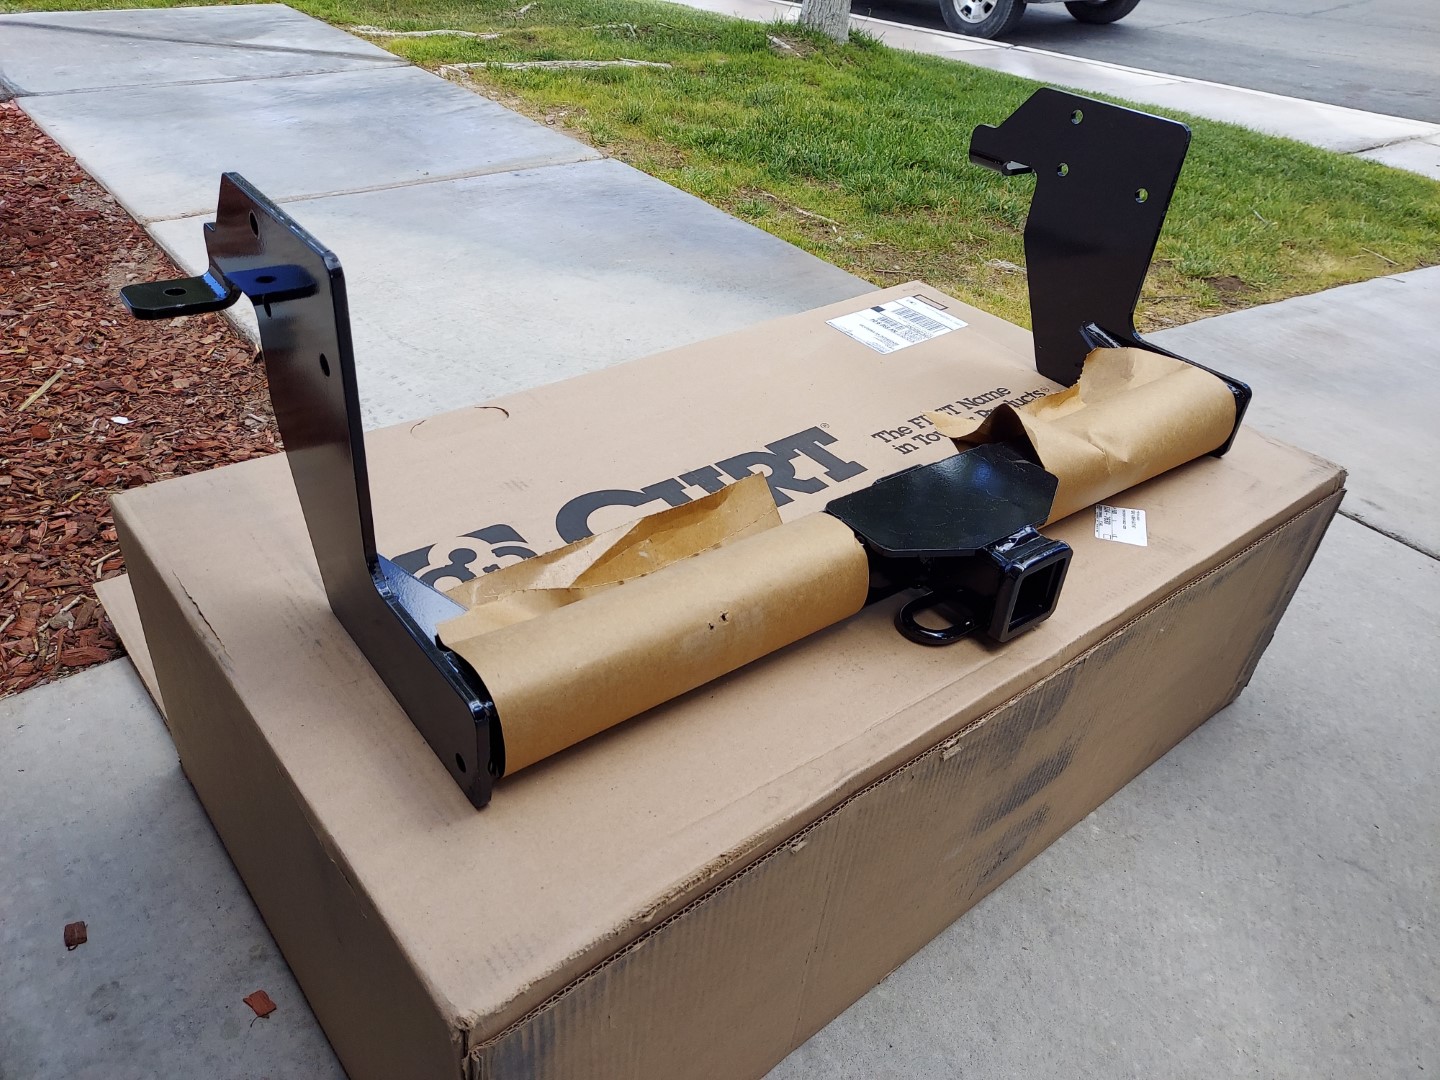
We went with a Class 3 Curt hitch. Since the towing capacity of the Sprinters is only 5000 lbs, this hitch was rated more than what we could already tow.
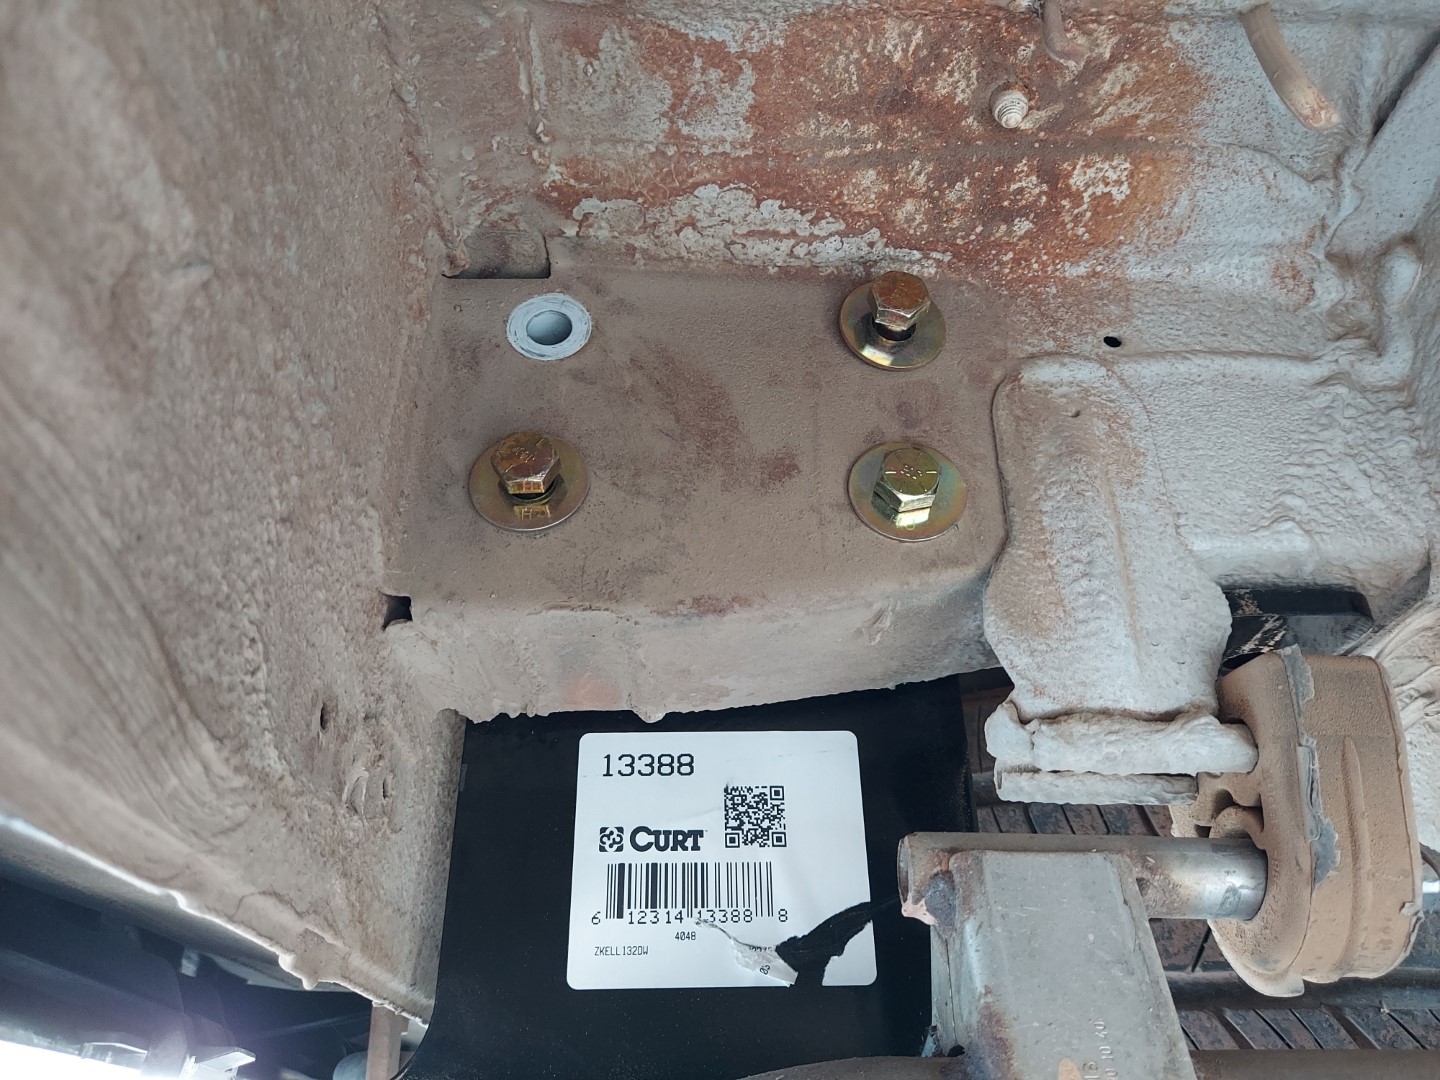
It was now time to install the hitch. The first thing I did was raise the hitch up to the frame and slide each new bolt through to hold it up. I kept the nuts only finger tight until the remaining bolts were in. (the next step)

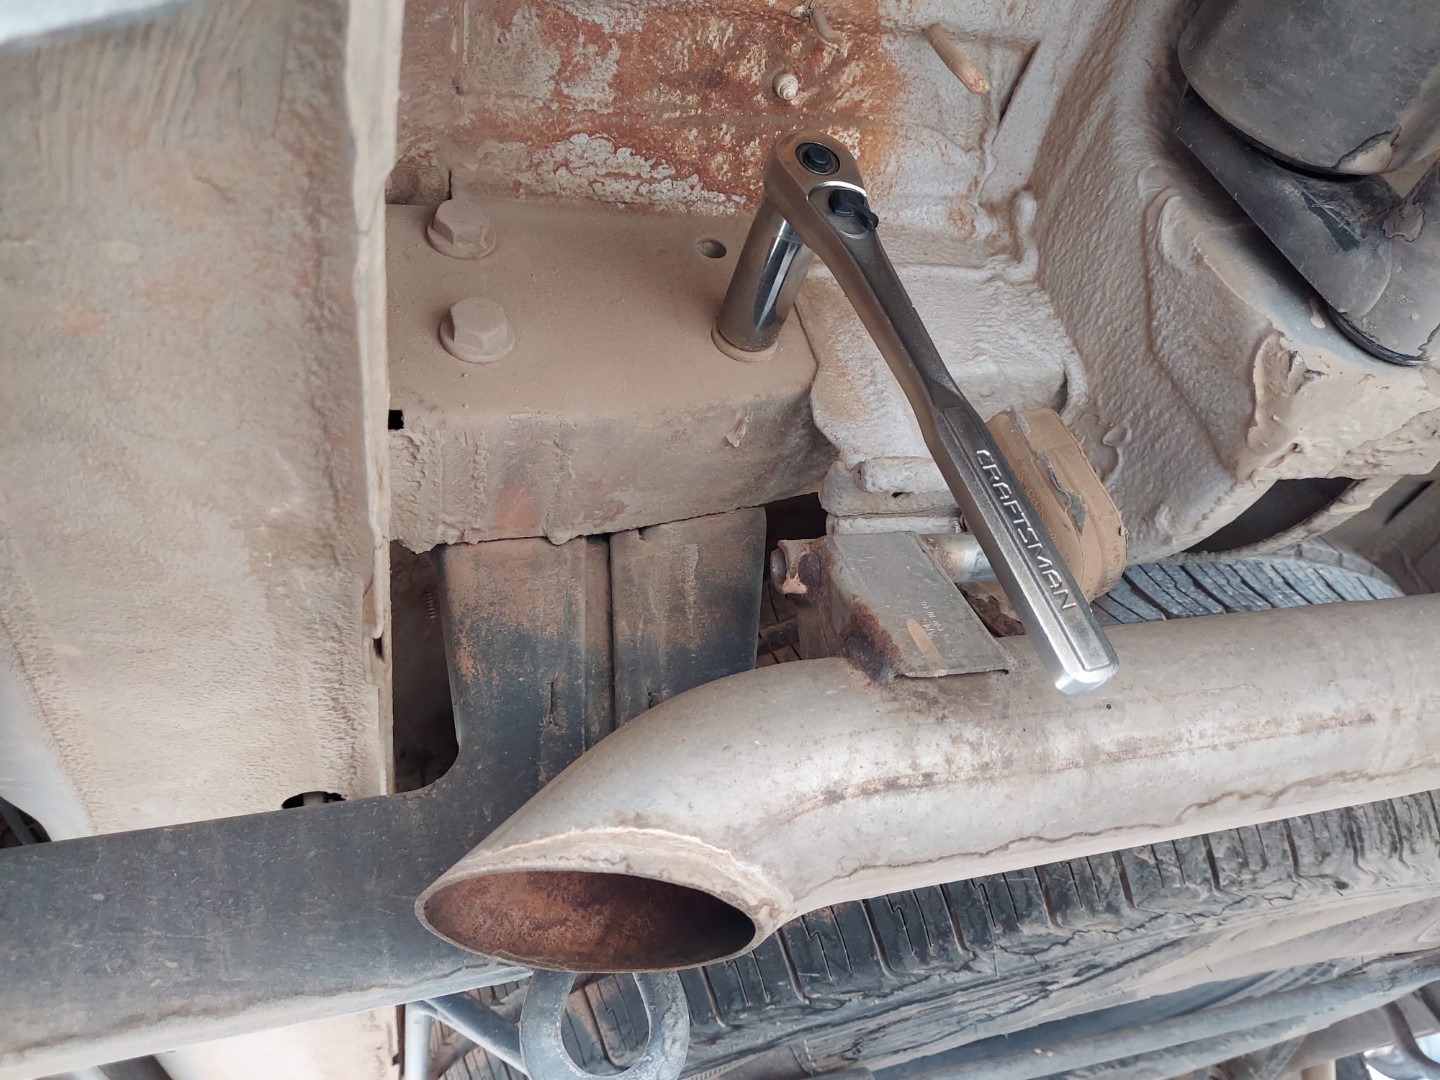
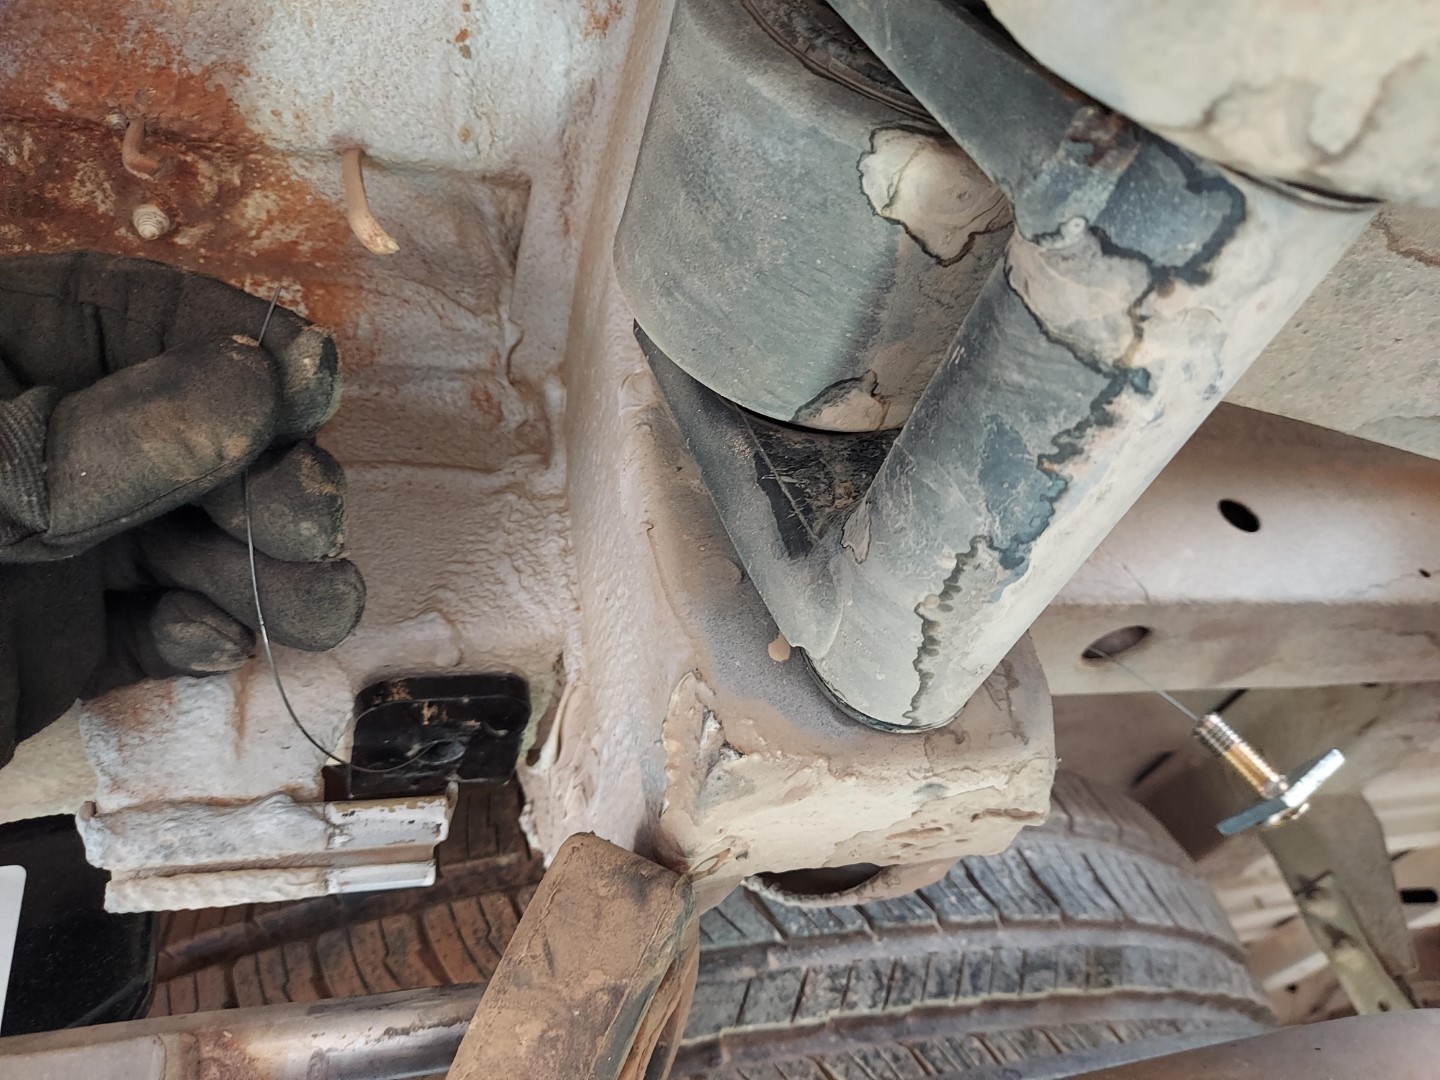
This is really the only step of the install that takes a little work or patience. First off, remove that rubber hanger to get the exhaust pipe slid out of the way because you’ll need to drill a 1/2″ hole on each side where the remaining hitch mounts mate up to the frame. Use a center punch to get your hole lined up correctly and then drill out each side. The frame isn’t super thick but it always helps to have some good drill bits on hand. Be sure to slightly “waller out” or clearance each hole a little bit. It’ll make the next step much easier.

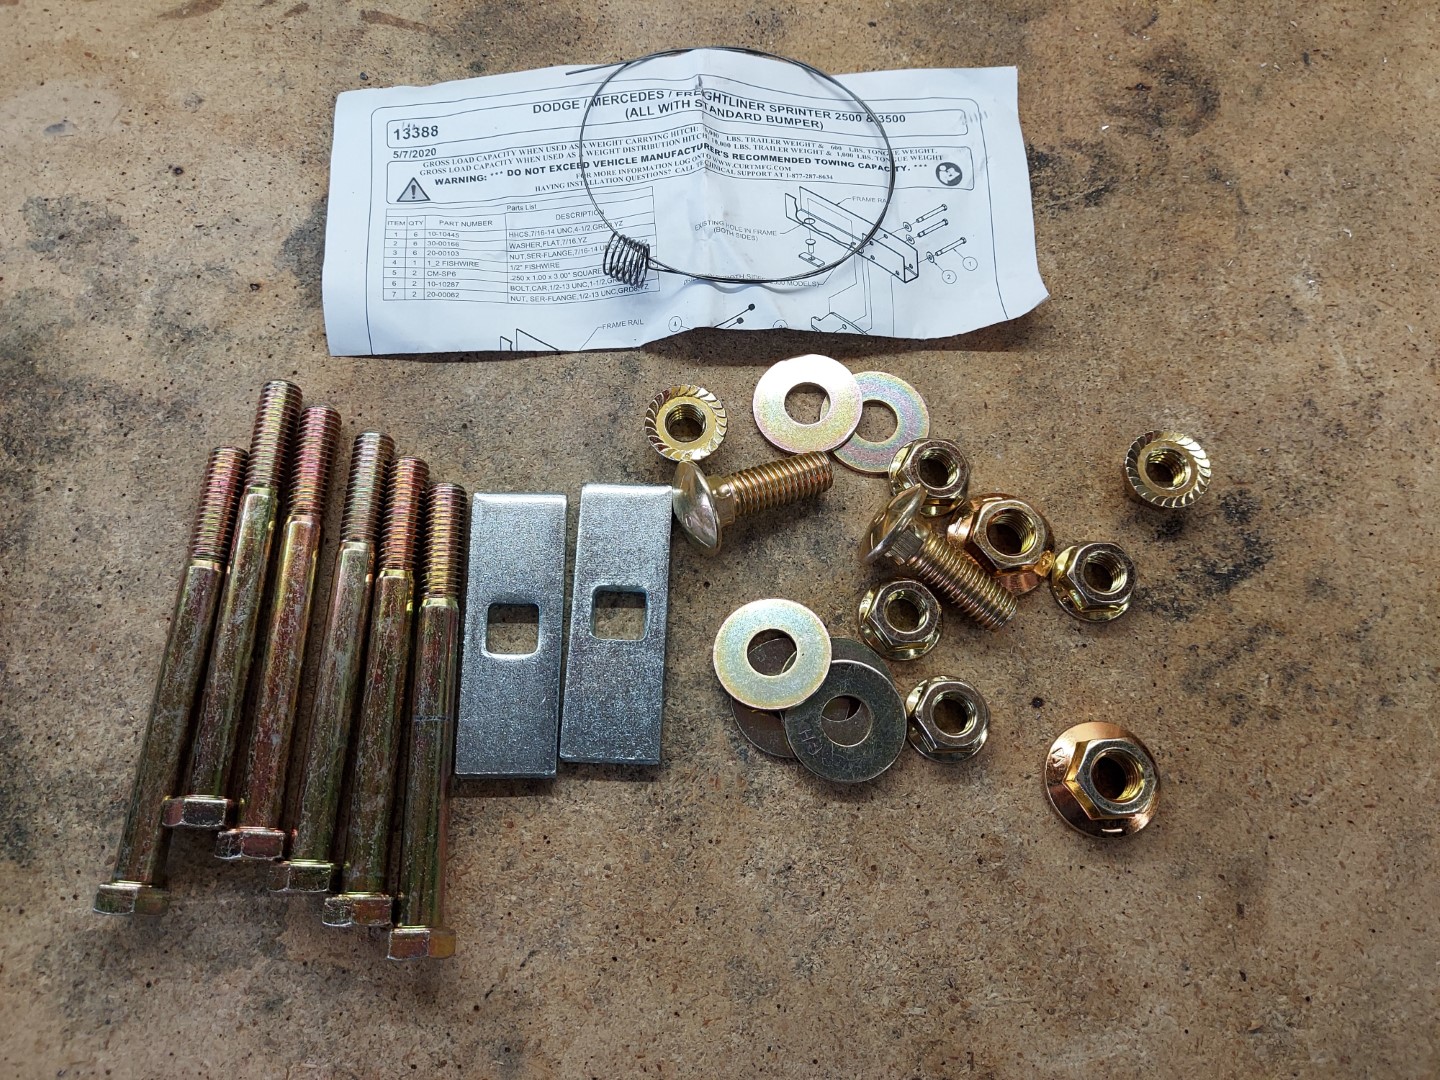
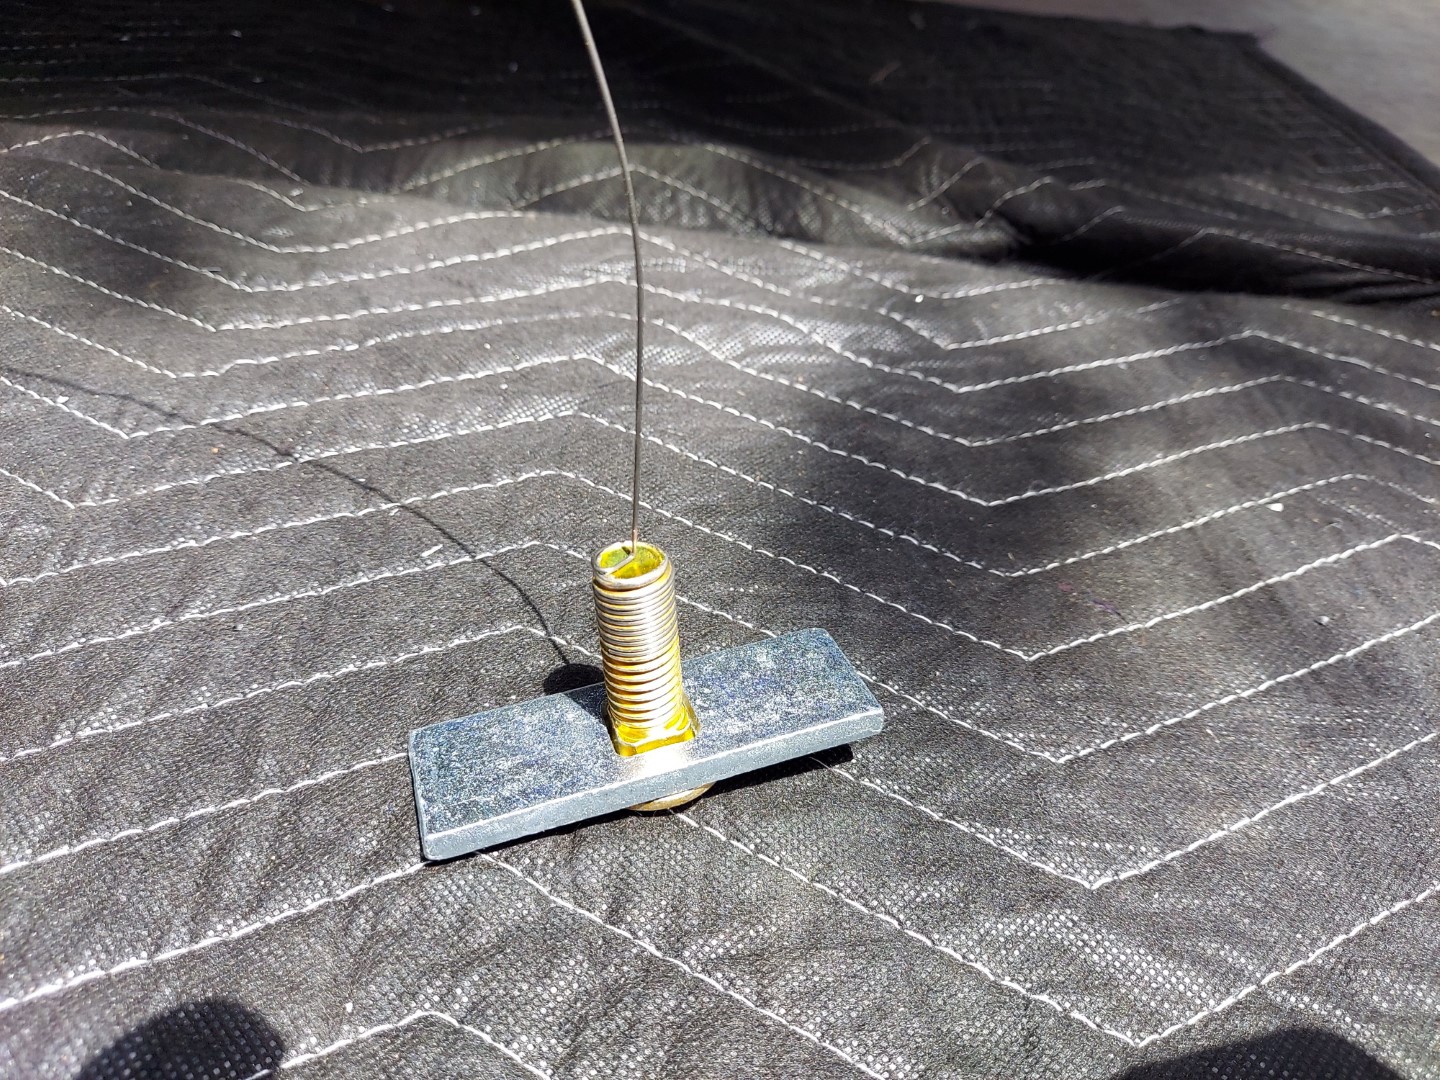
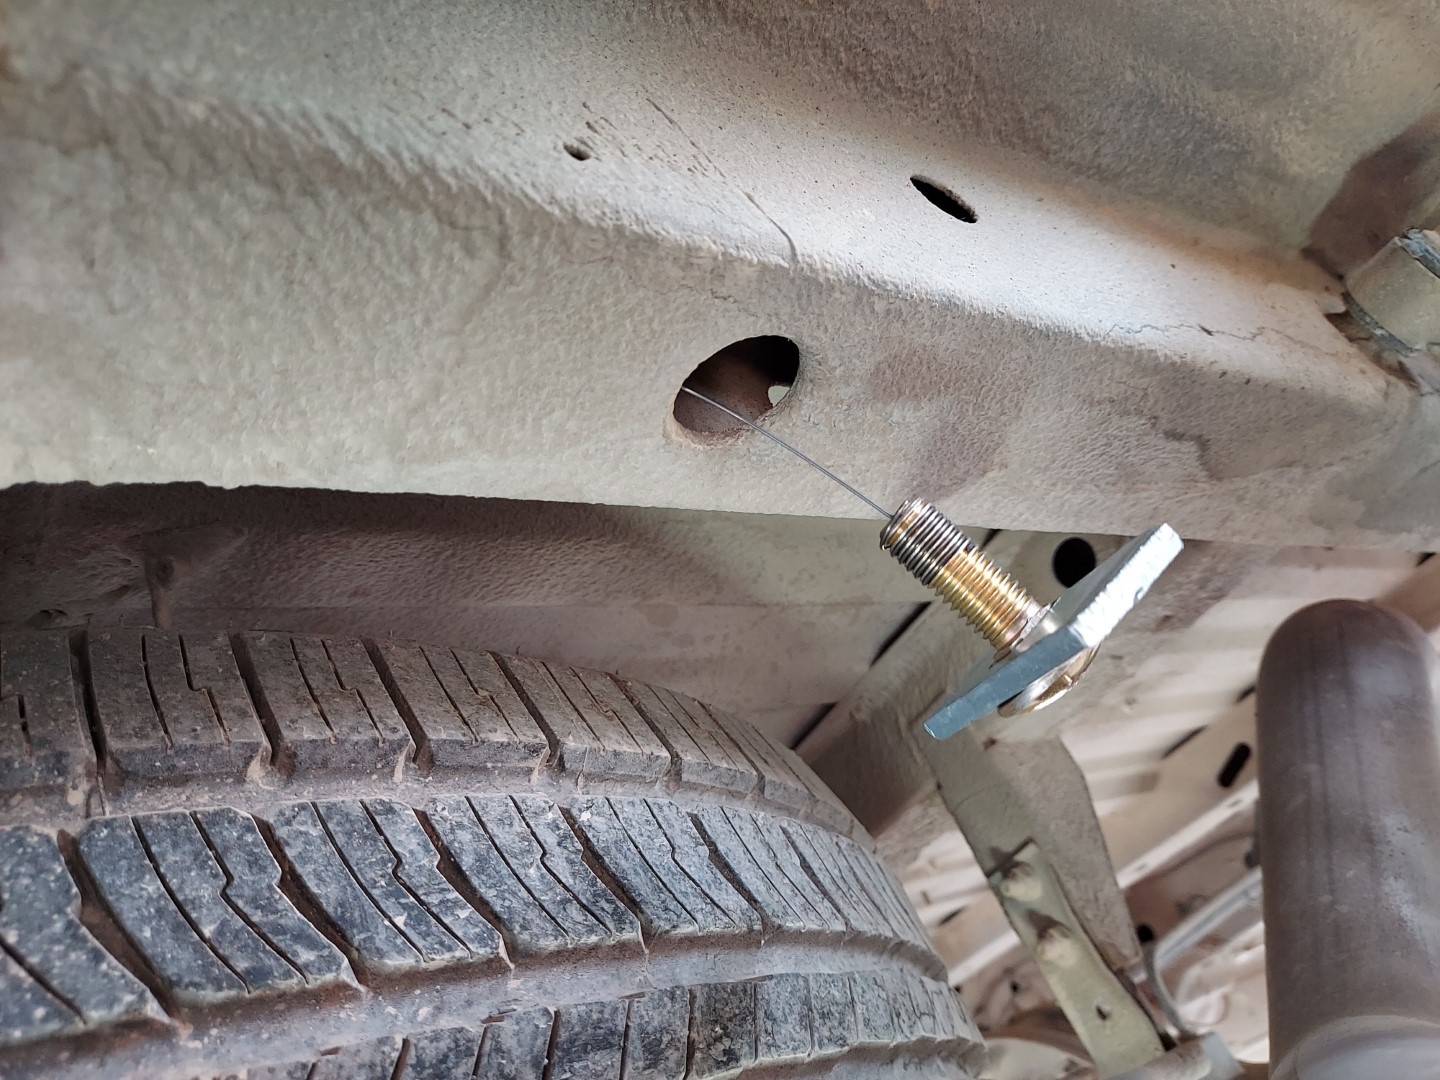
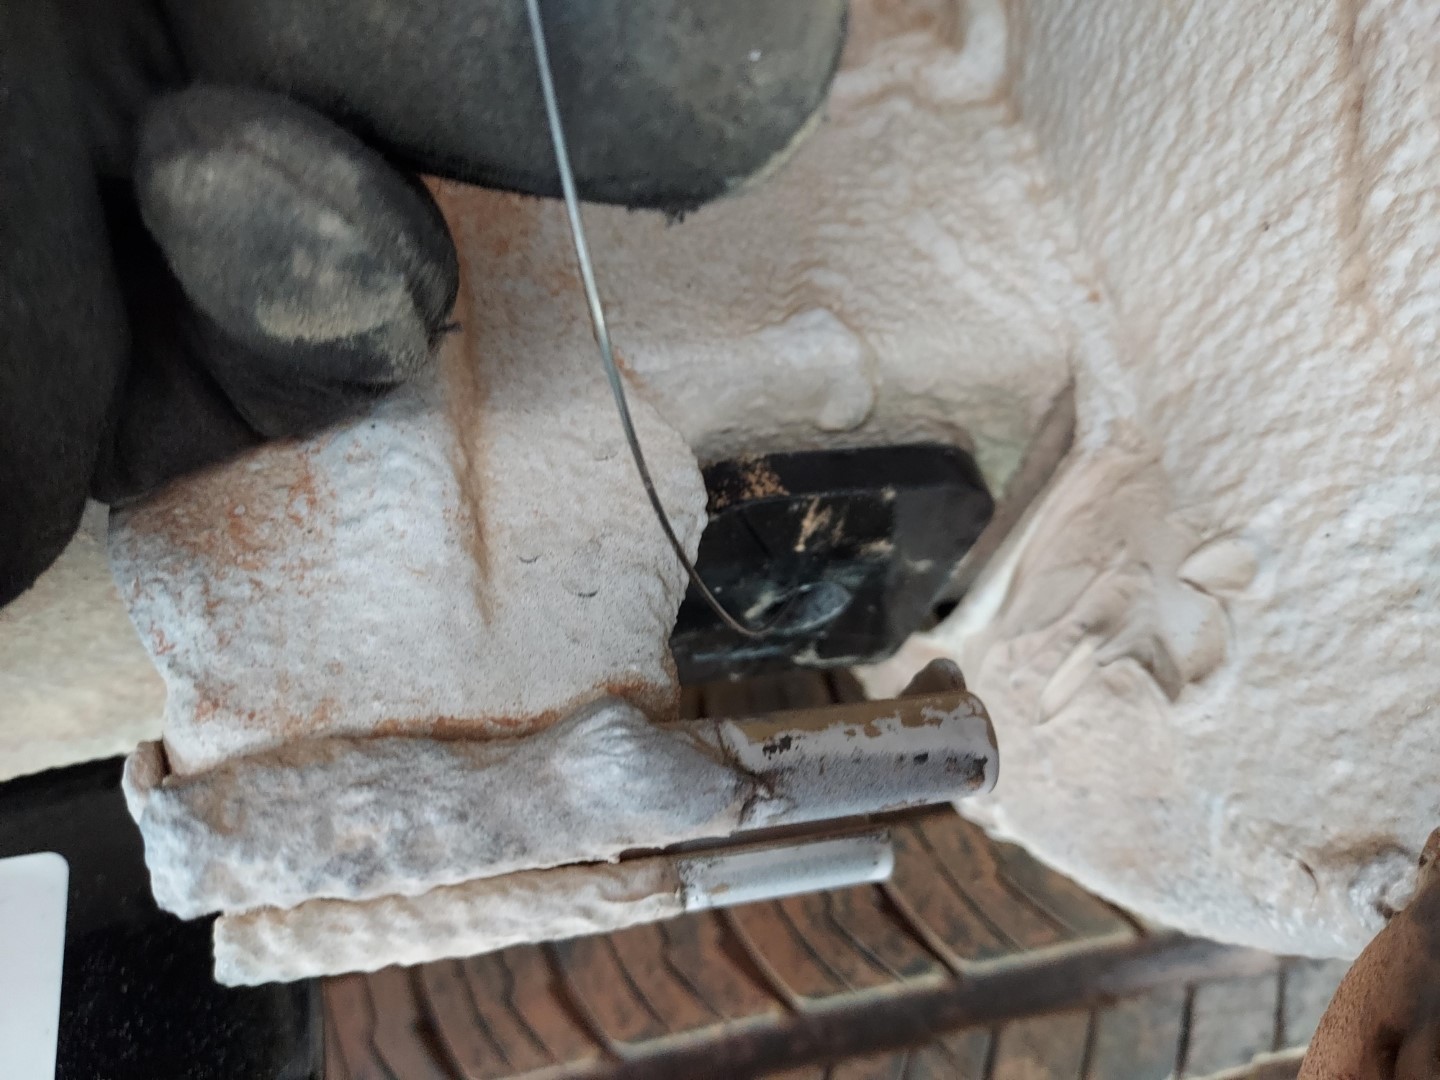
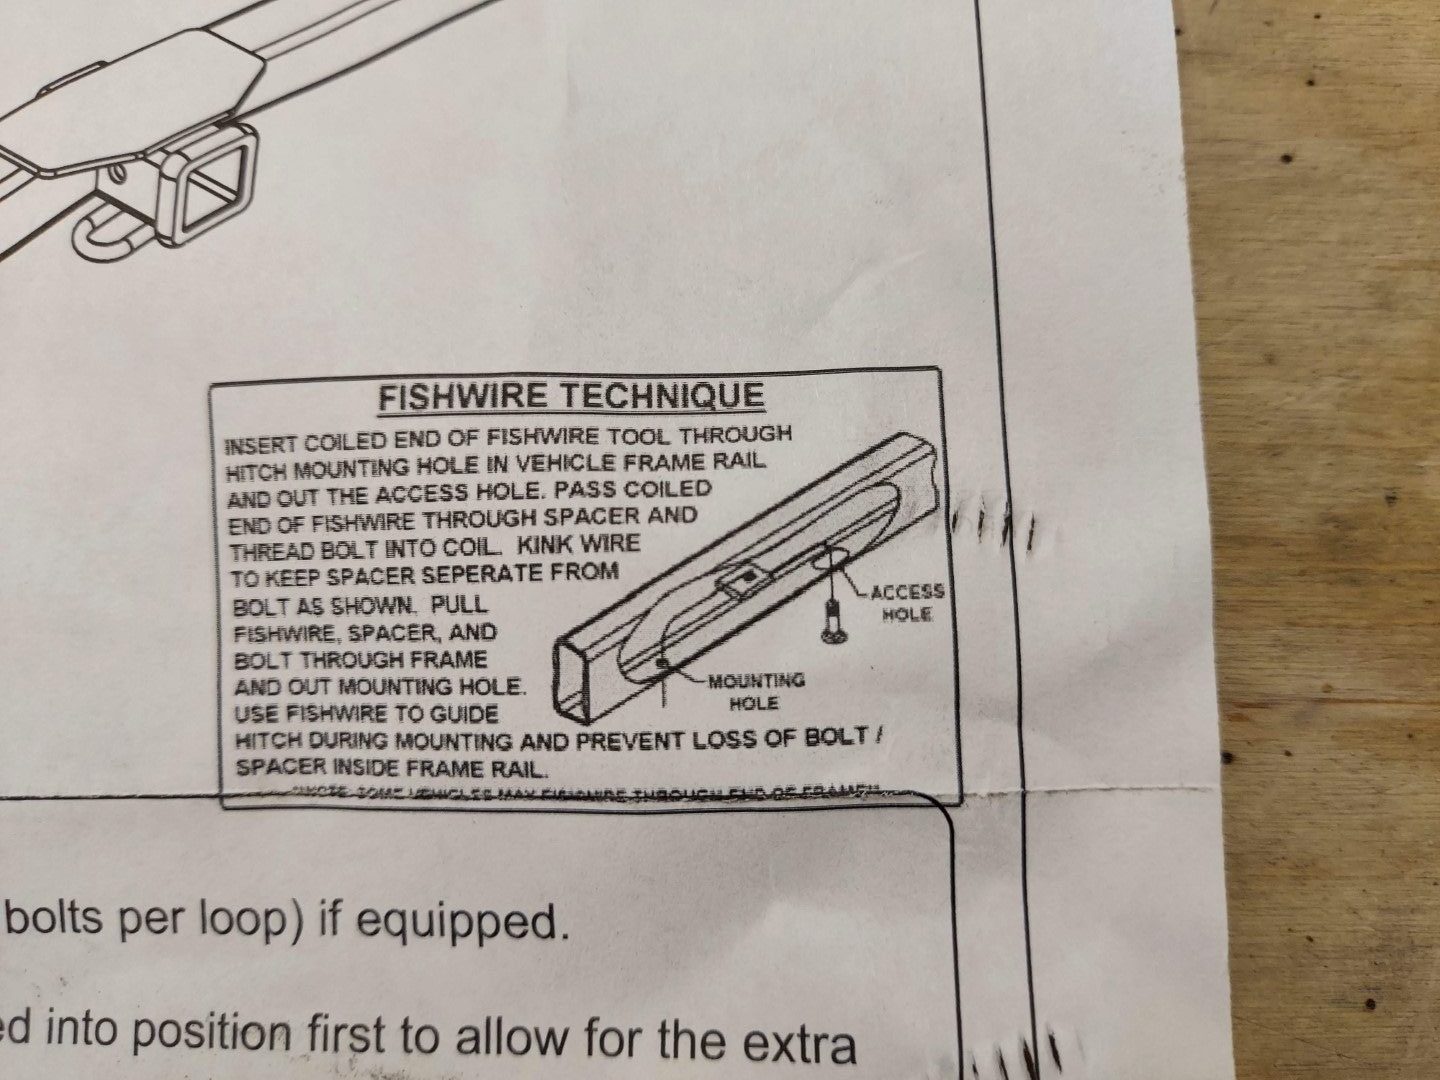
Once the holes are drilled, the hitch instructions explain how to use this special fish wire (included with hitch) and route the bolt and square washer through the inside of the frame and into the hole you just drilled. Tip: Once you get the fish sire routed in and out the holes, slide the washer up the line and through the hole first, then carefully pull the wire to pull the two through the frame and into the drilled holes. Do not pull too hard! You don’t want to lose those things in the frame. That would be a tedious job with a magnet to get them out.

Curt Hitch Instructions for Sprinter


Now that all the bolts were in, I torqued them all and checked the fit. Everything looks great! Oh, be sure to put that exhaust hanger back on!
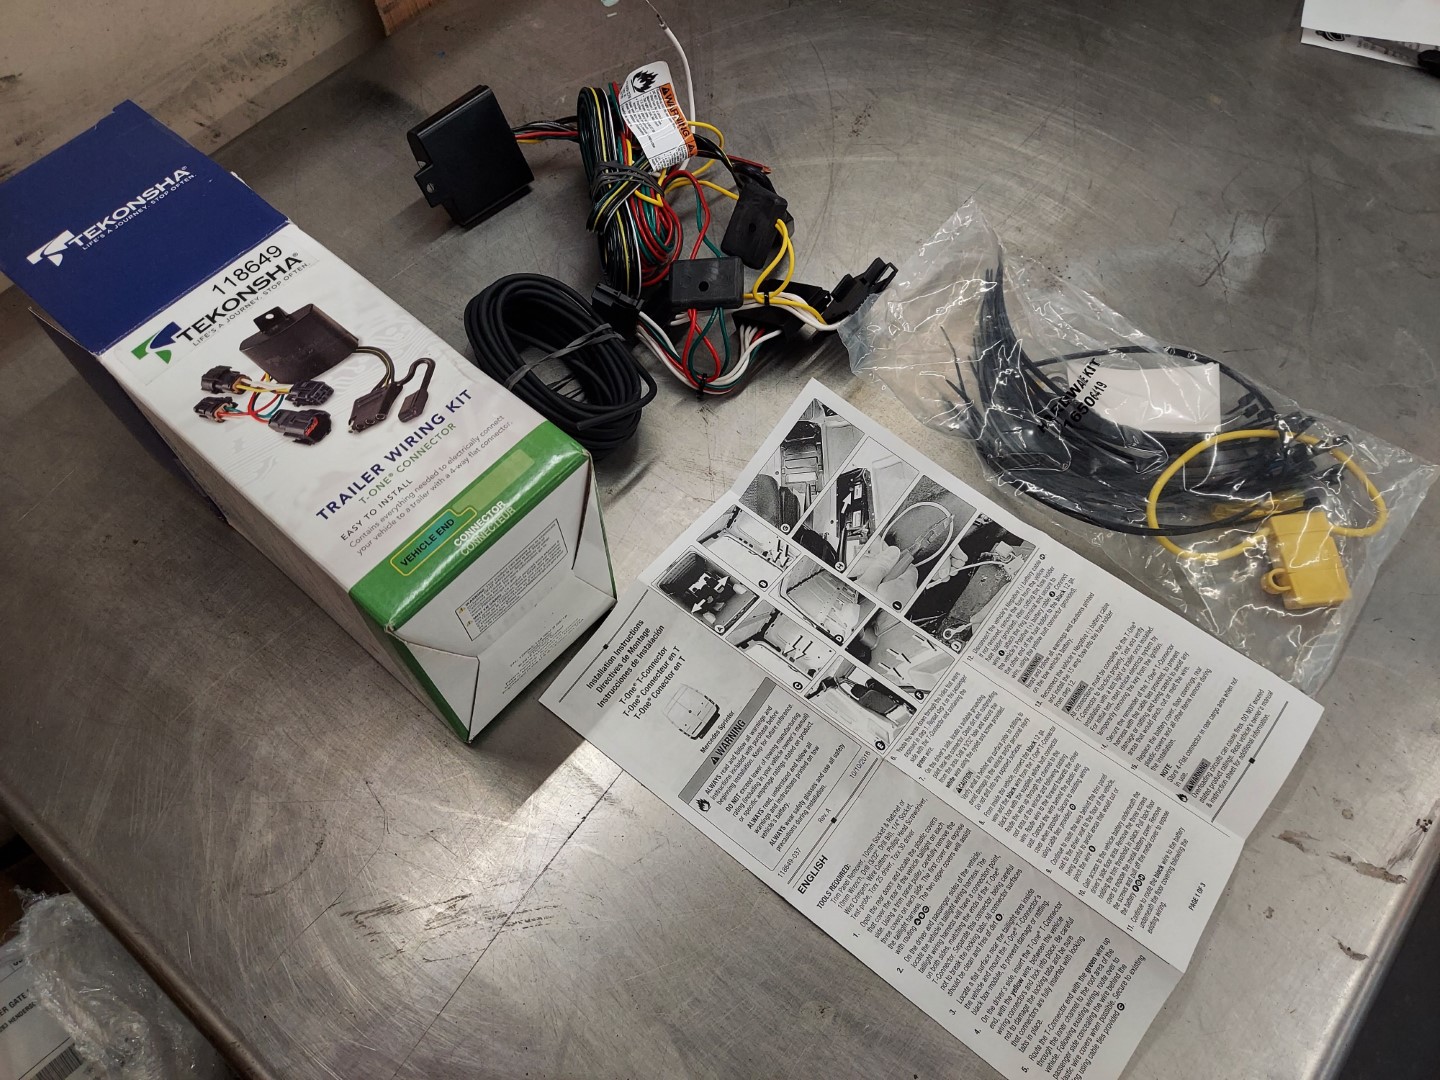
Adding in Sprinter Trailer Wiring
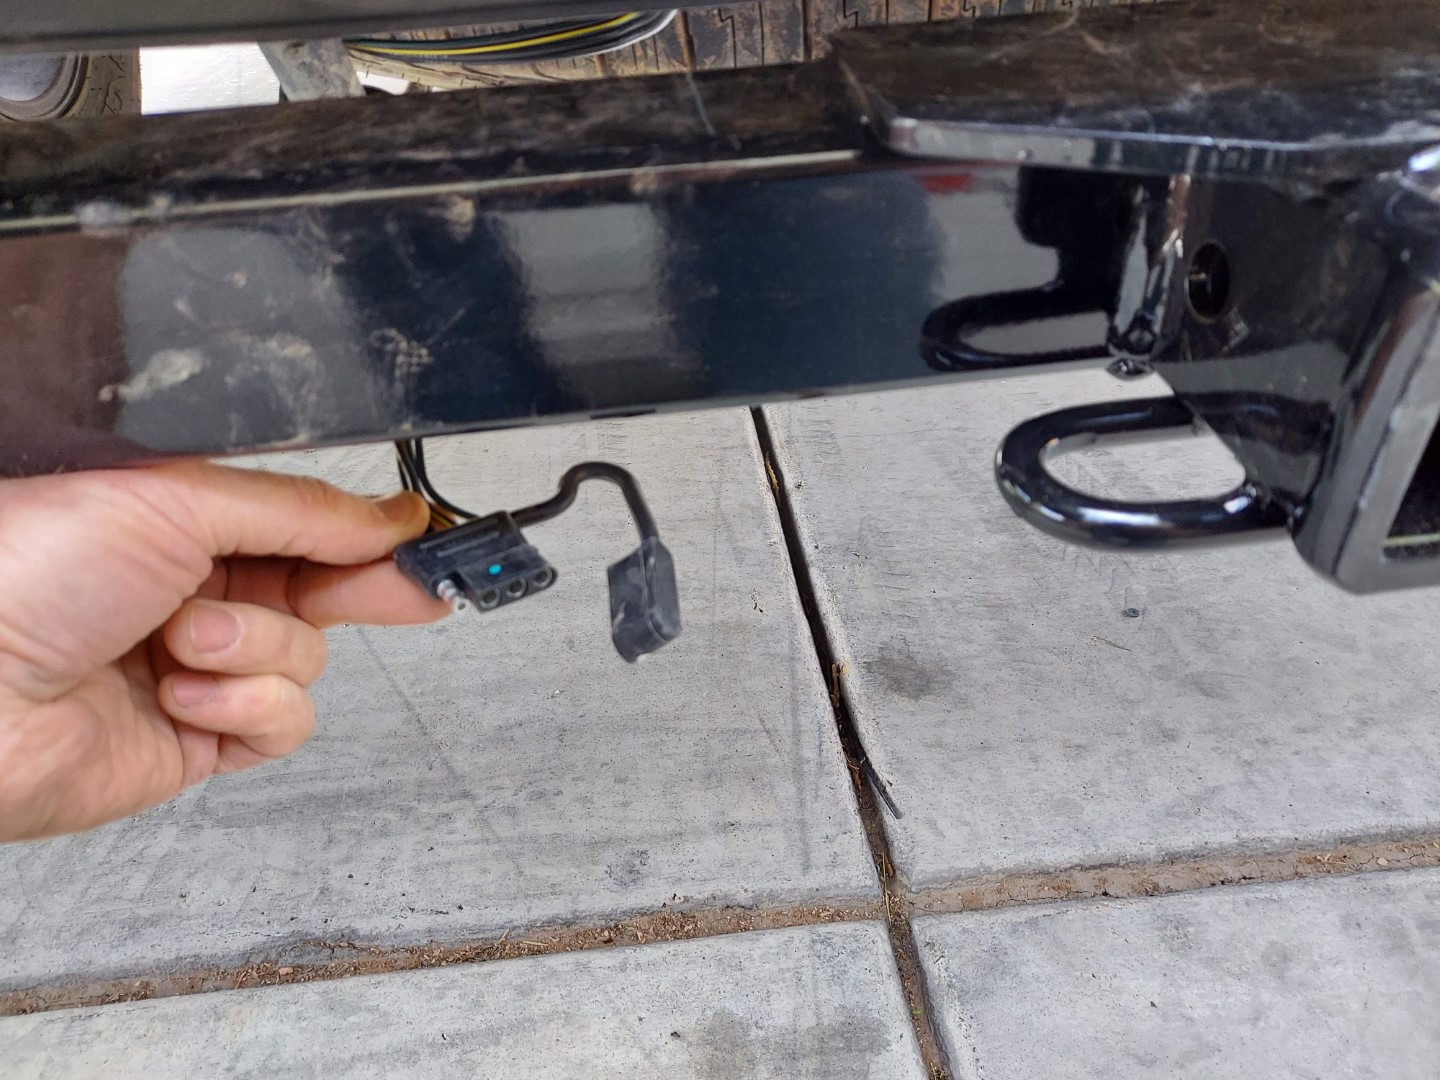
The step was to get some trailer light wiring back there. The best kit I found was the Techonsha kit.
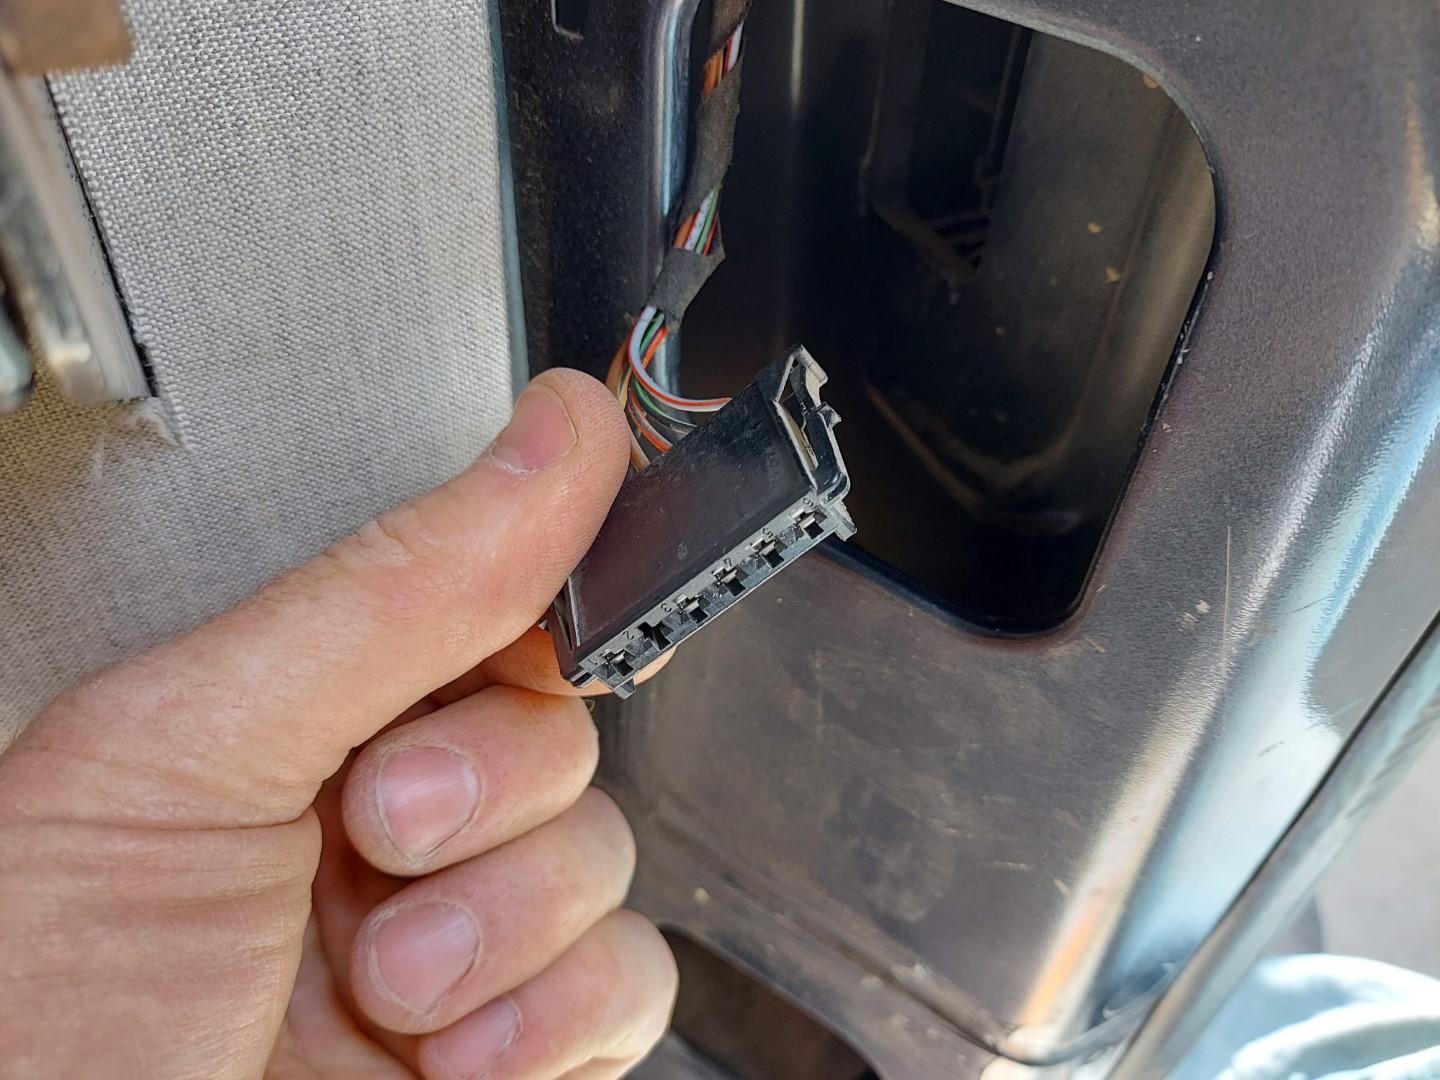
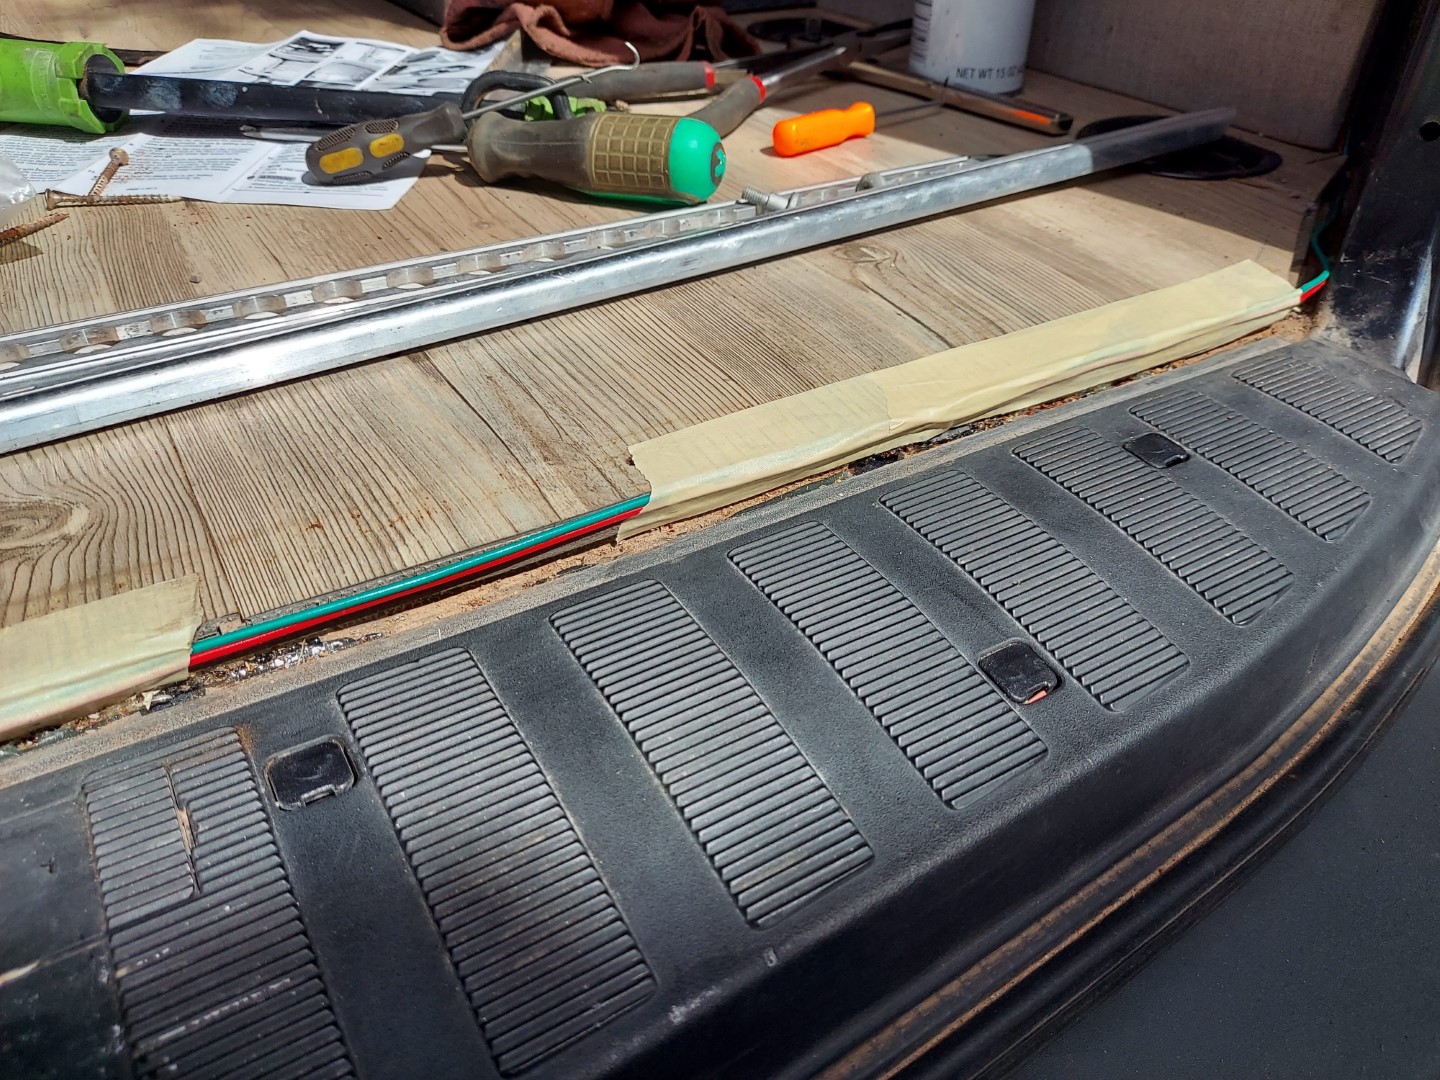
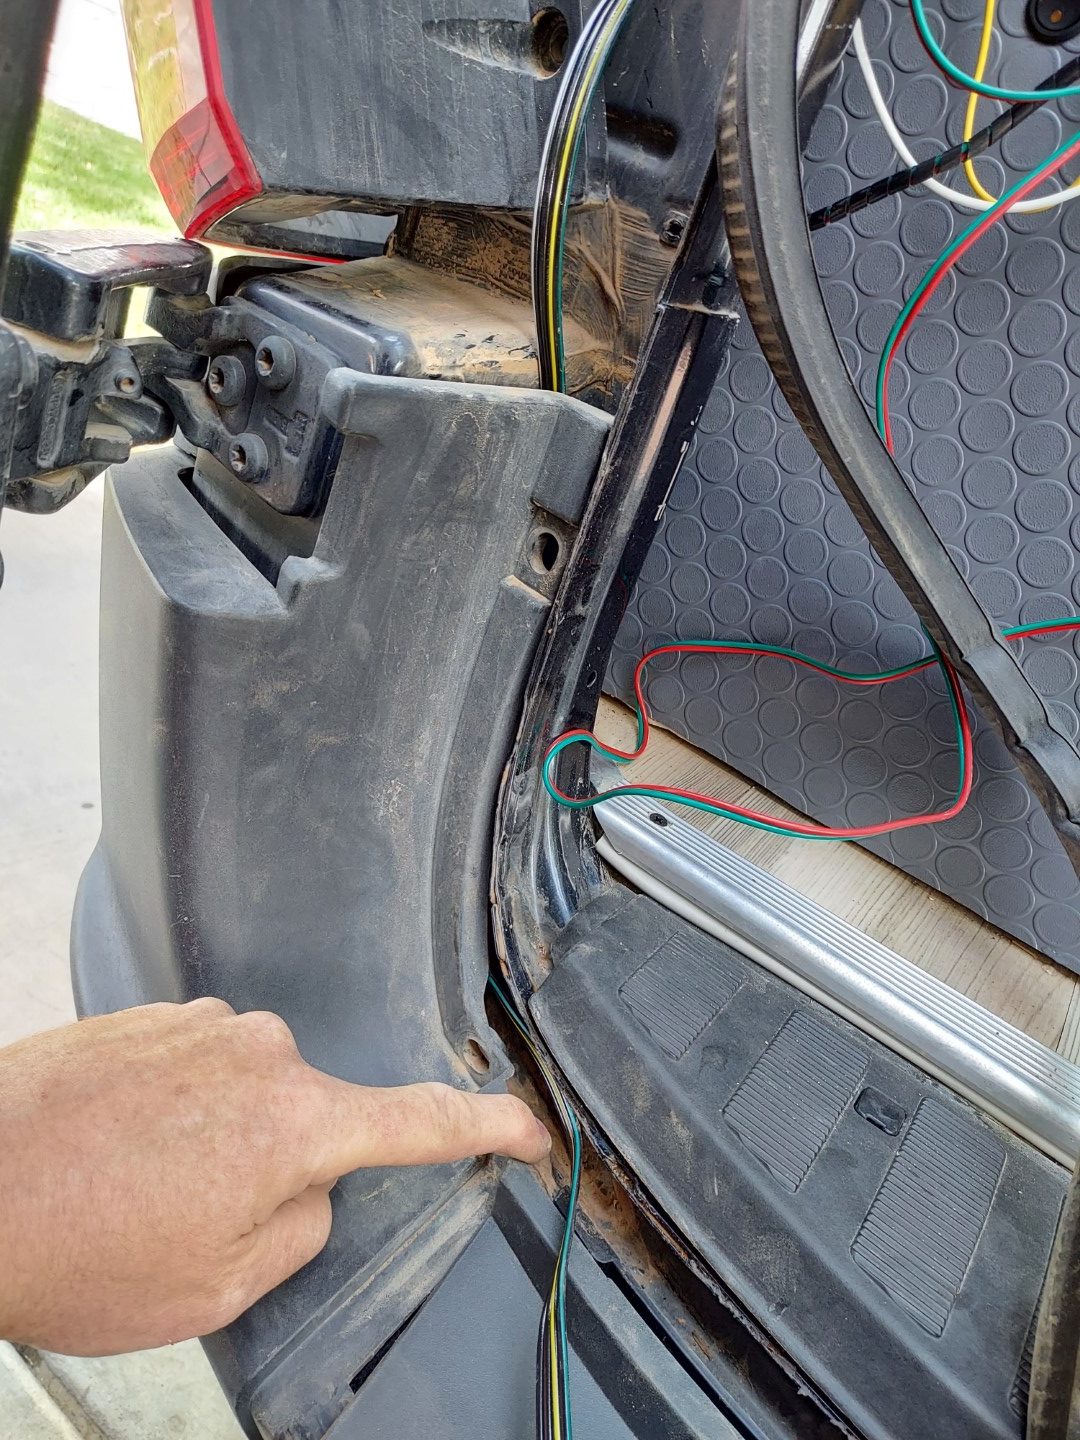
The connectors are plug-and-play with the rear taillights. That part is easy. My lights were still accessible from the inside because I am too lazy to make finished panels to cover them up. Routing the wiring took a little bit of time though. The instructions say to route it up and over the top through the rear of the body, but the back of our van is all finished up there and that would have involved way too much work. So instead, I just removed the floor sill or edging and routed the wire across the bottom. I used masking tape to hold it all in place so the wires wouldn’t get pinched.

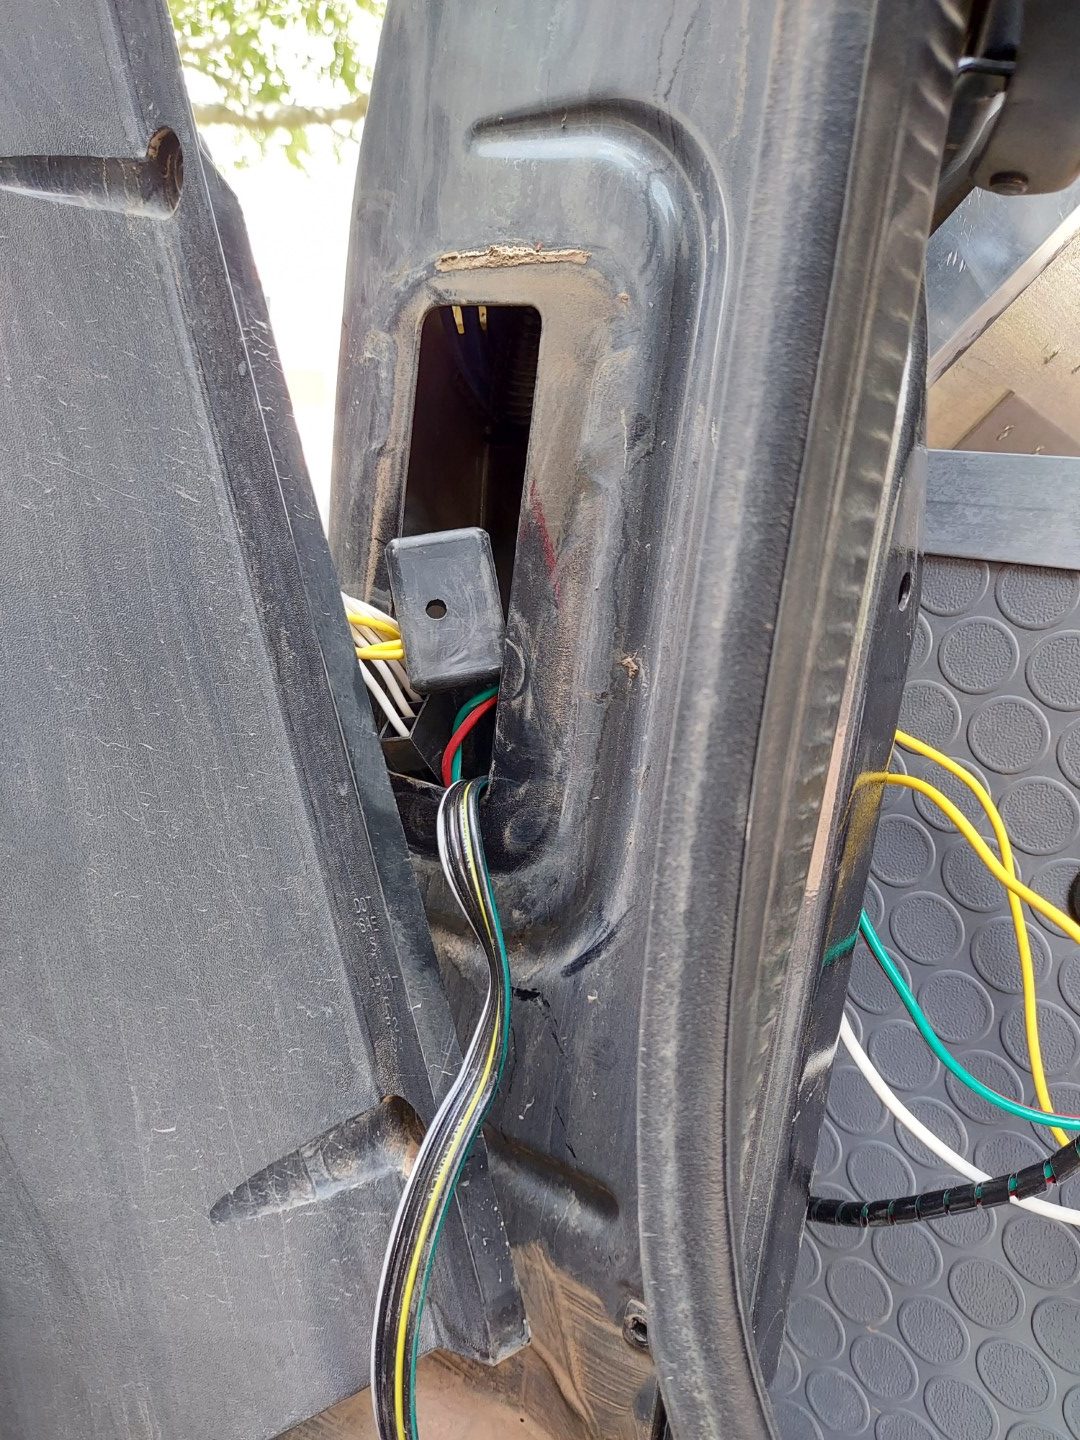
This trailer wiring kit comes with a little module that requires you to tap into a power supply and ground. This way the trailer lights do not interfere with the sensitive factory components or modules. I just zip-tied it to the inside of the corner of the van under the taillight. I then used power and ground from our house batteries to power it up.
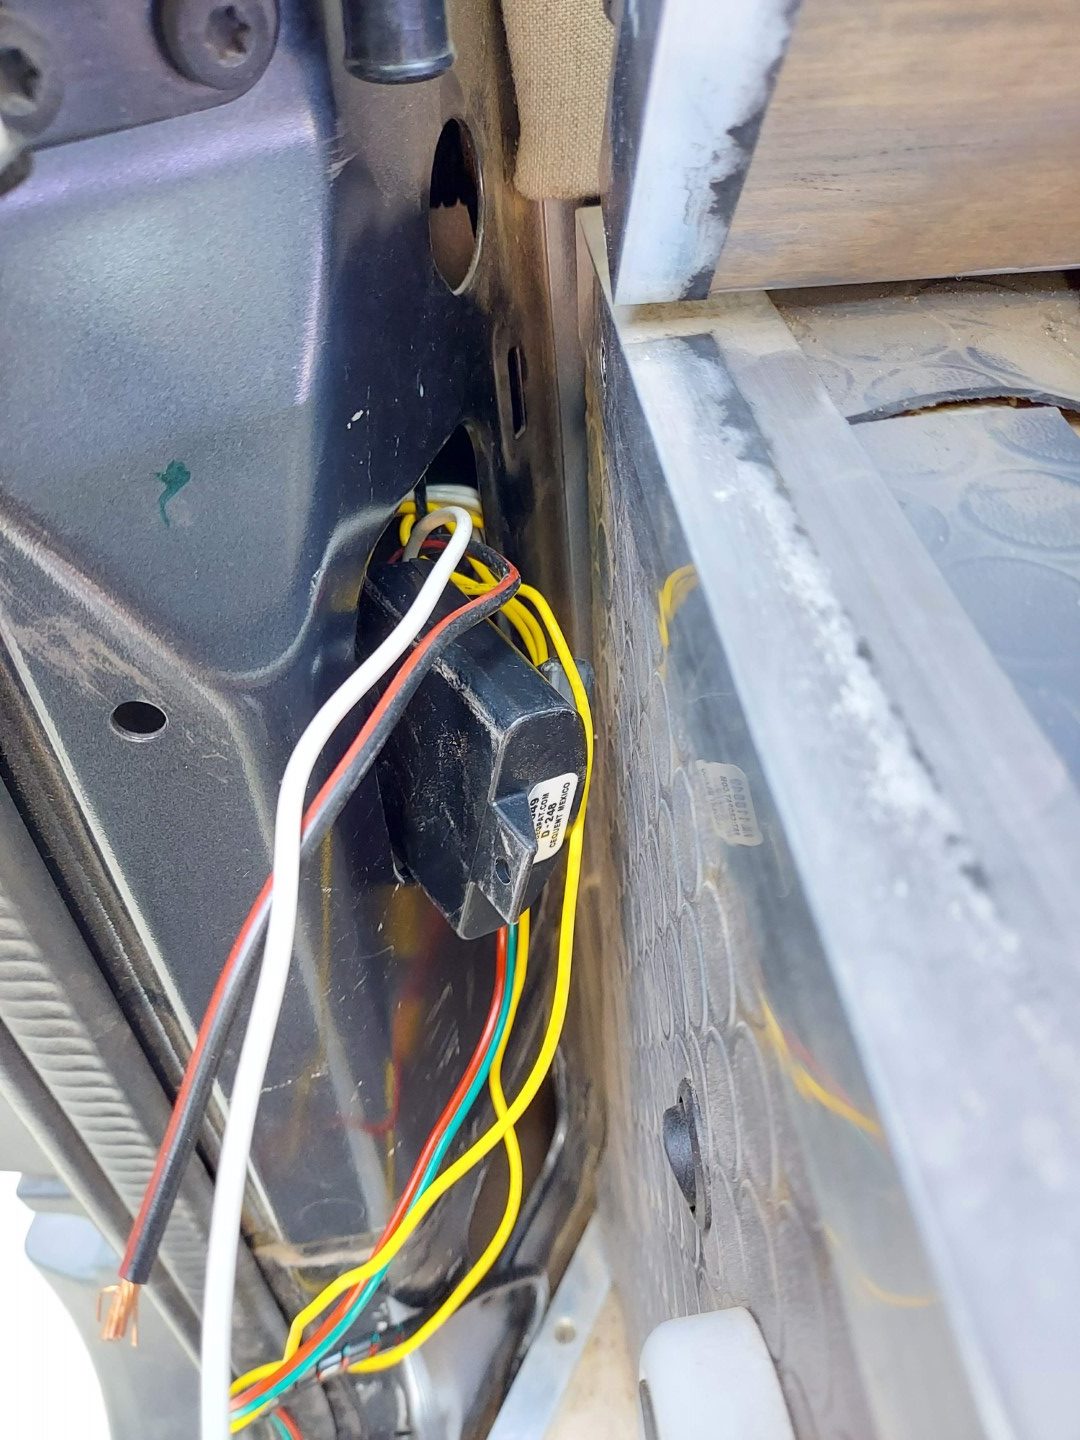
Now it was time to get the trailer wiring from the inside of the van to the outside of the van and down to the hitch. I removed the left rear taillight and was able to route the wiring through the taillight hole and through the inside of the bumper cover.
Hitch Step
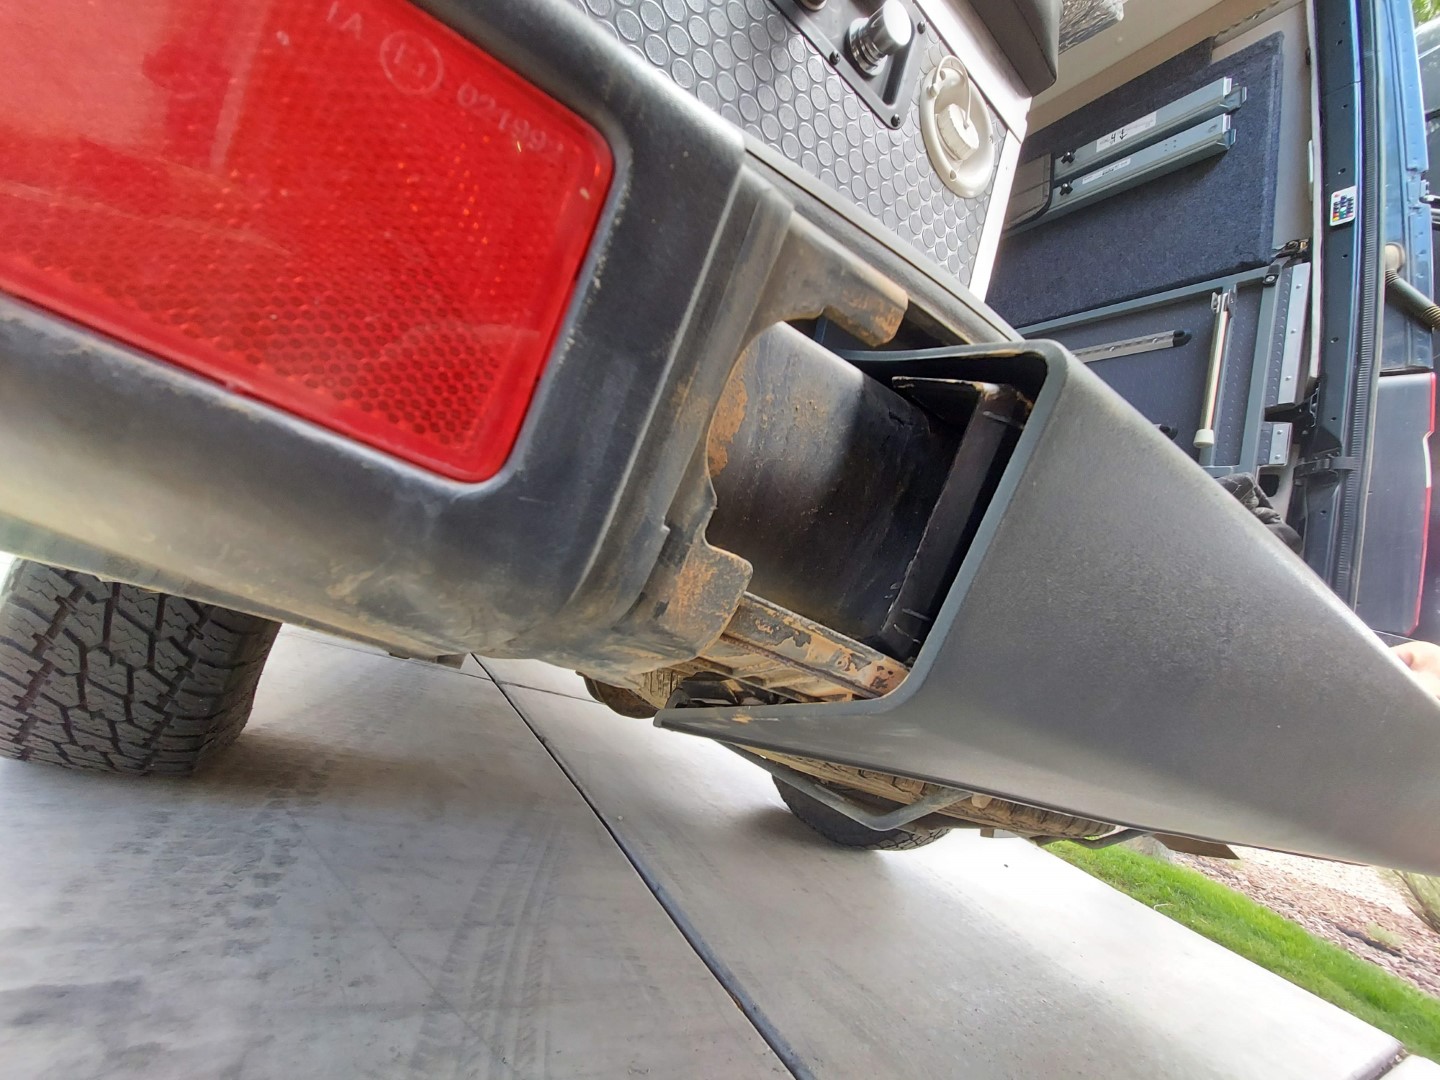
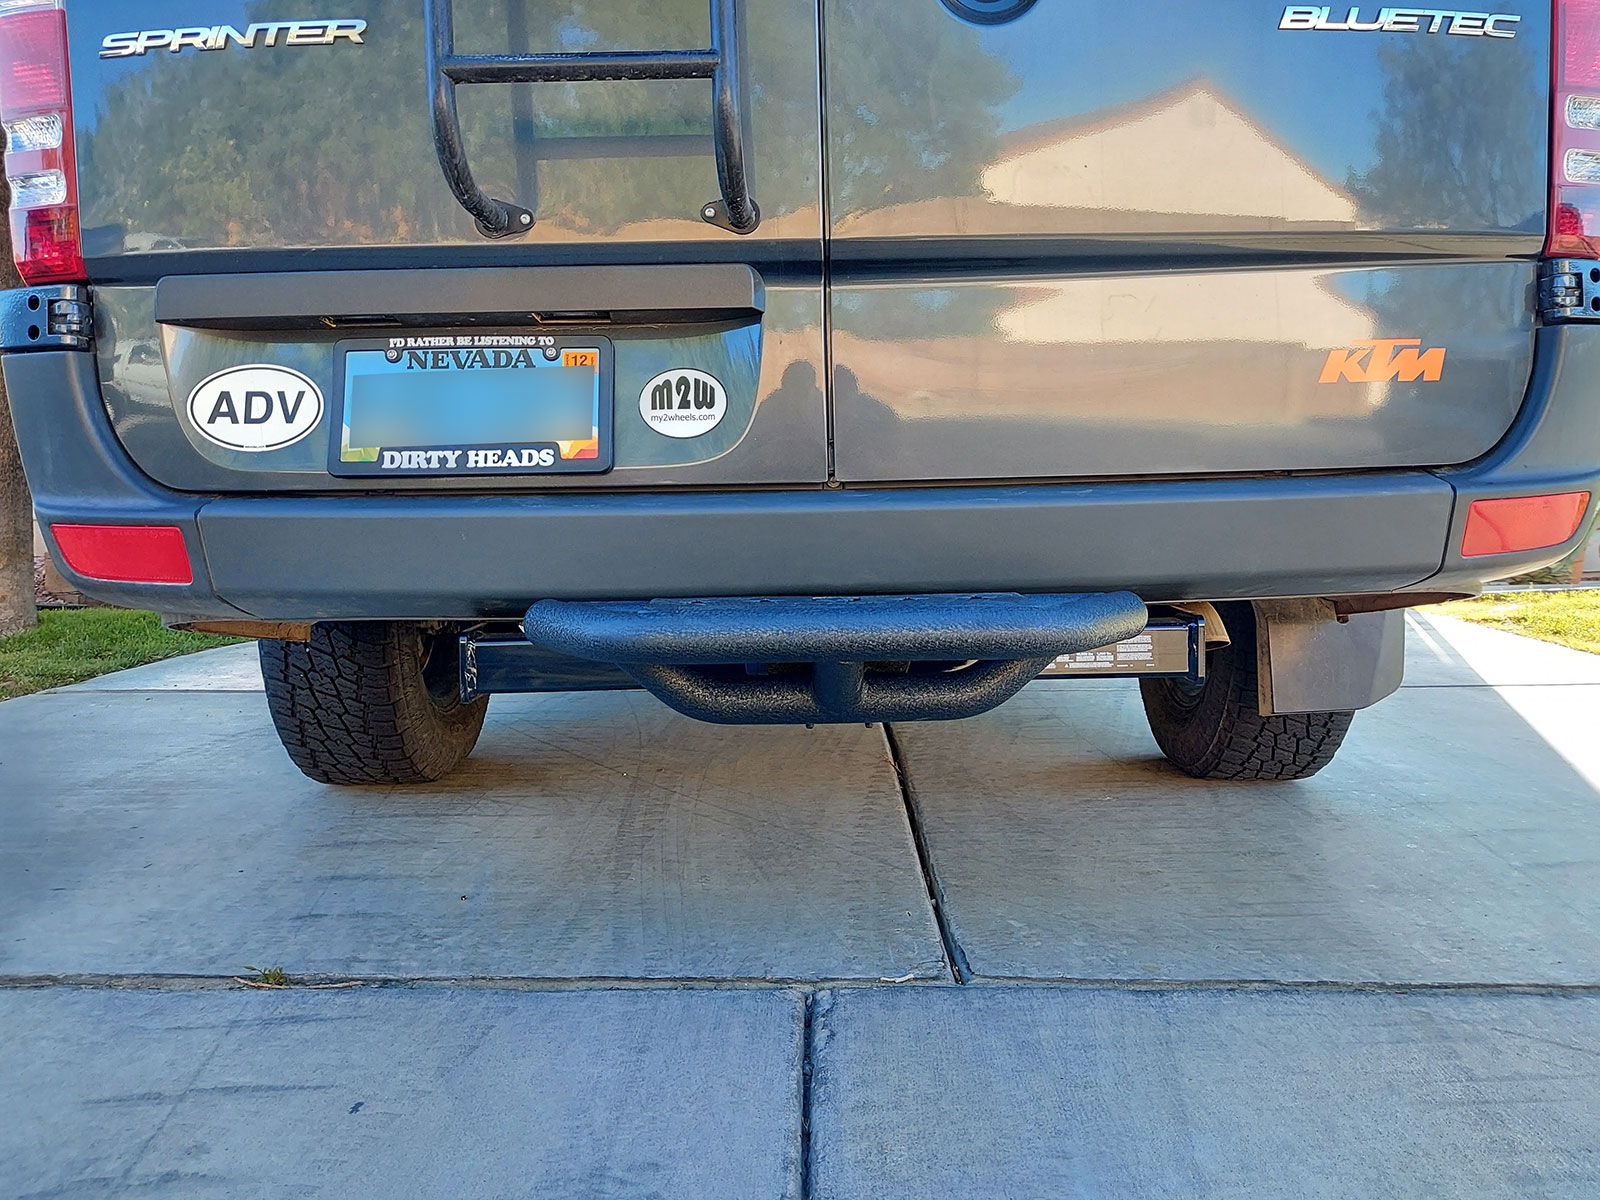
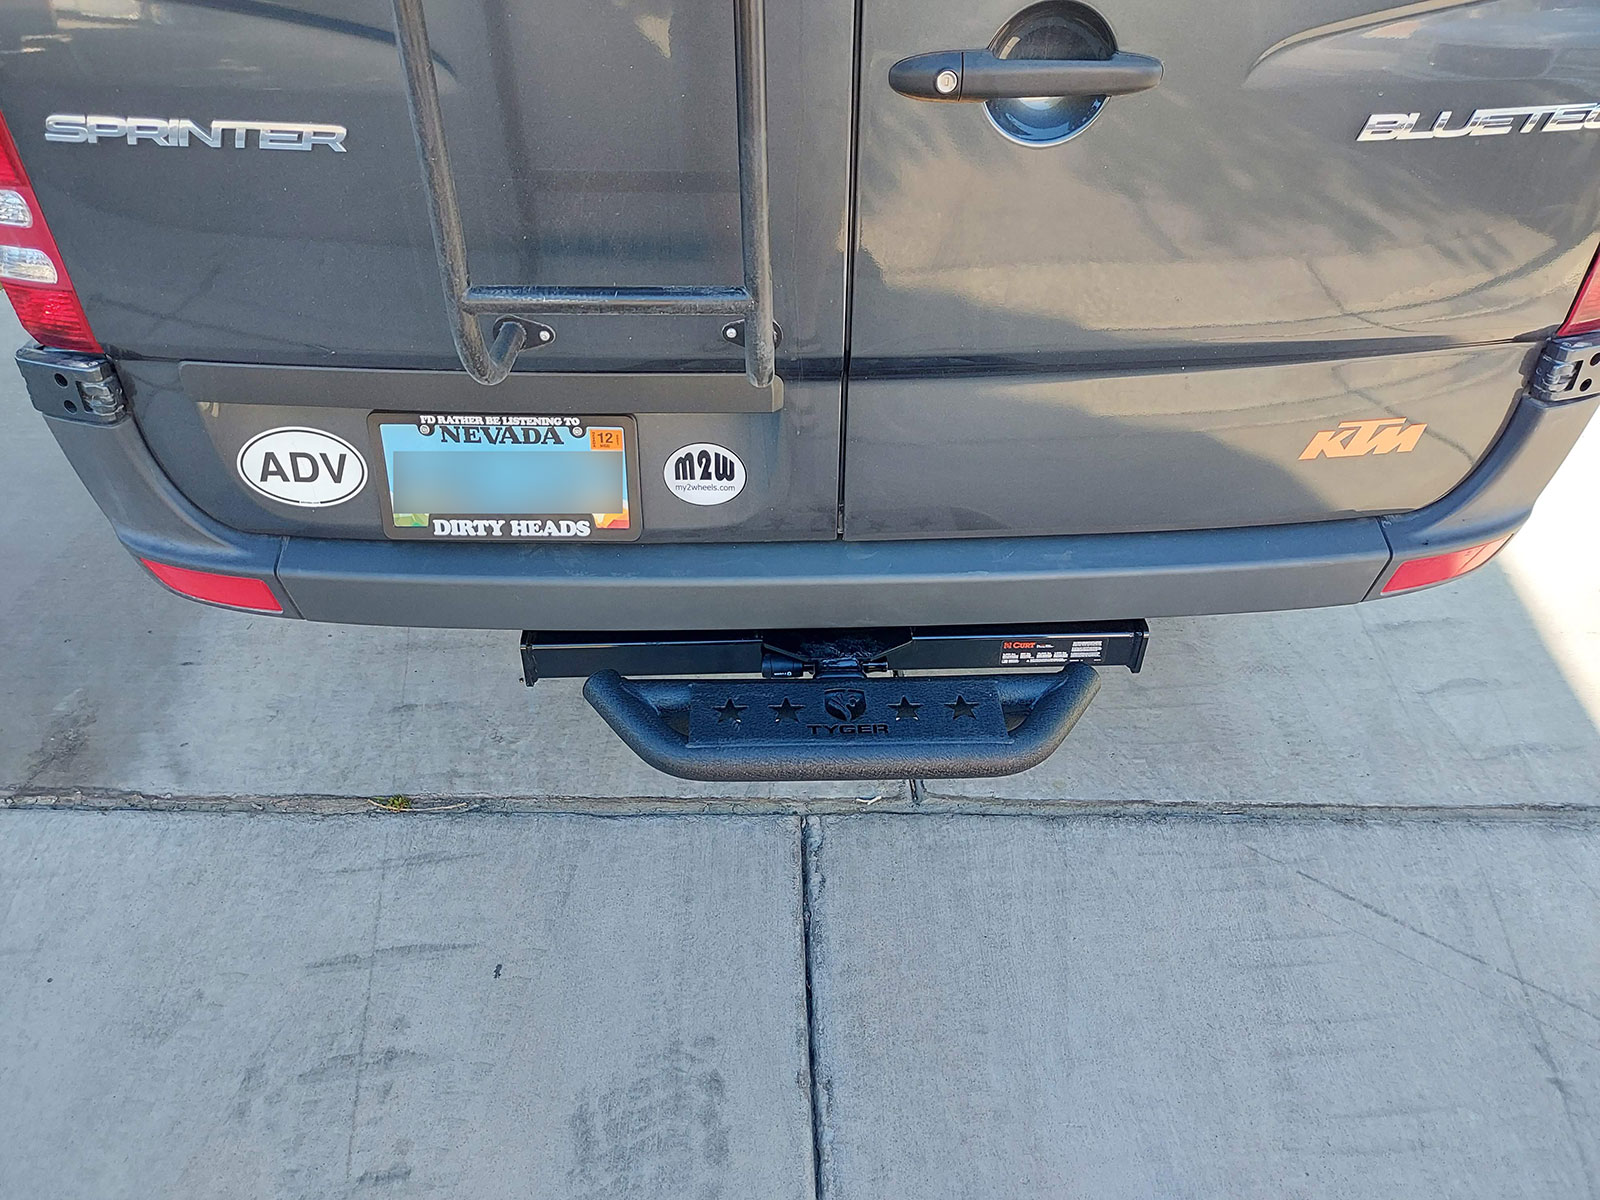
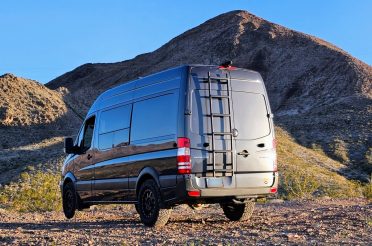
Since we lost our step, getting in and out of the back of the van would now require quite a stretch. So after a bit of Amazon research, I decided on the Tyger hitch step. I wasn’t expecting it to be very stout even though the reviews all came back super positive, but when it arrived, I was really impressed with how strong it is. I’m about 205 lbs and I can jump on the end of it and it barely flexes. It gives the back of the van a finished, but sort of off-road look and also protects the van from minor bumps or damage when backing up. It comes with a hitch lock and clamp to keep it from clanking when going over bumps.

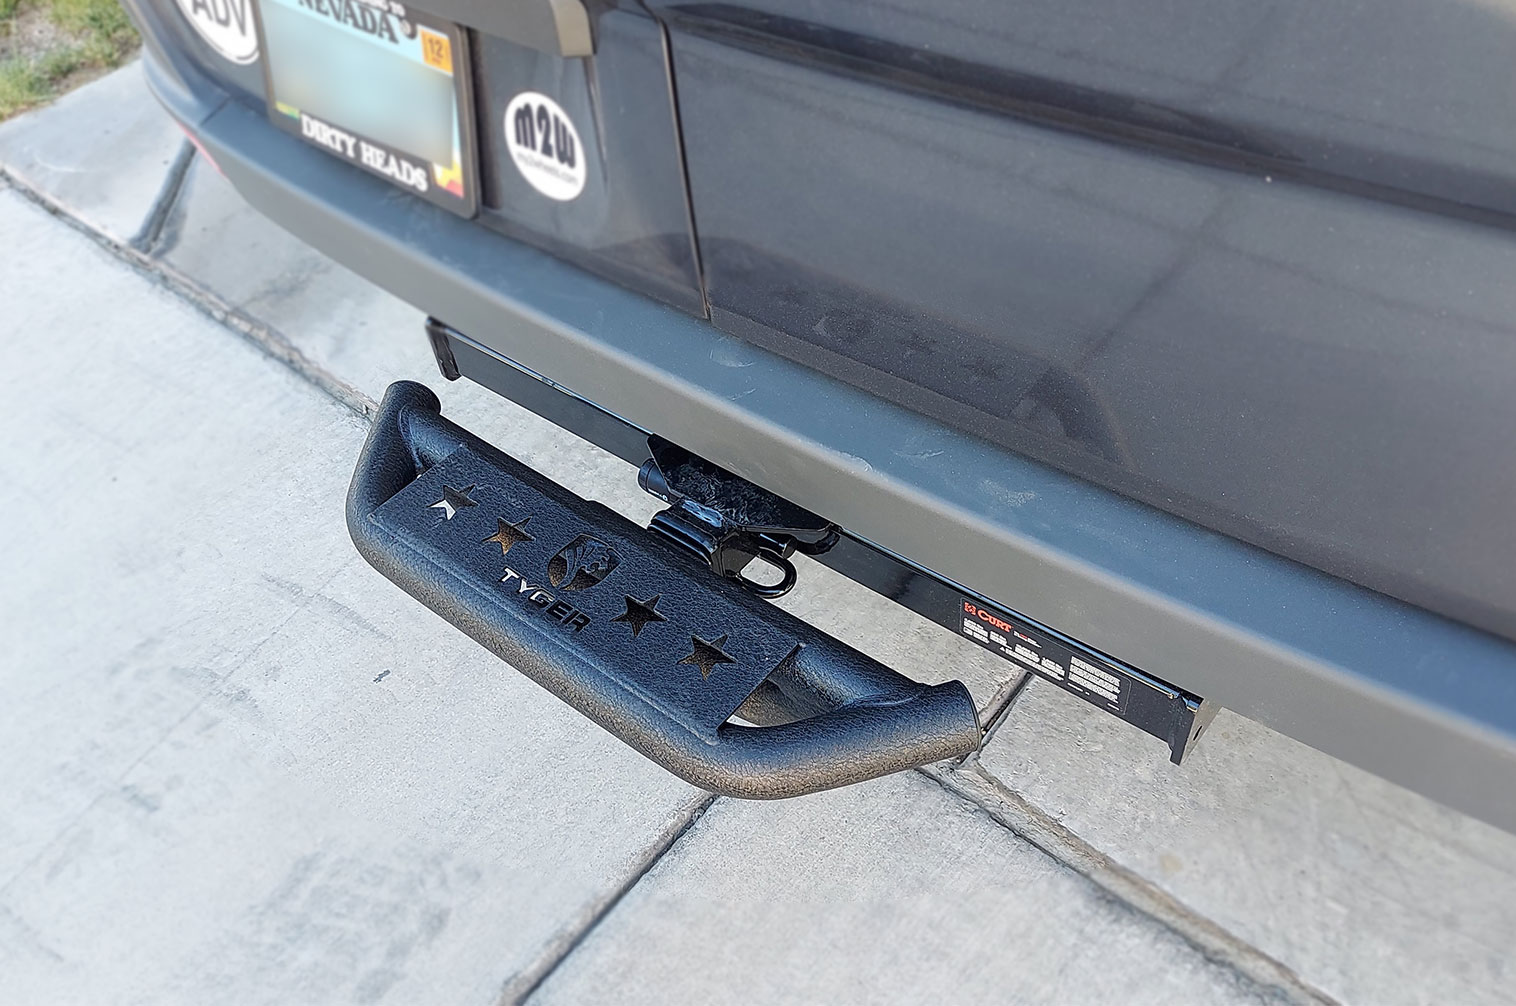
Overall we have the same or maybe slightly more ground clearance as the factory step bumper with the hitch step installed. The nice thing is we can always remove it if we think we’ll need a couple more inches of clearance off the back bumper.
Parts
- 13388 Curt Hitch (standard bumper/ no factory step application)
- Tekonsha Sprinter Trailer Wiring Kit
- 10-17 Sprinter Bumper Cover for no step
- Wire loom
- Tyger Hitch Step
We’re stoked to have the capability of towing a little trailer for more bikes, ATVs, or hopefully a boat one day soon.

2 Responses
Tanner Barajas
Hey Pete, thanks for the read. I just purchased a sprinter cargo van with the factory step. Would it be possible to add a trailer hitch while retaining the factory step?
Pete
I know you can with a 2016, but the best way to find out for sure with whatever year you have is just look up hitches on etrailer.com and put your details in.