 Time to upgrade our batteries in the Sprinter van! After only 3 years, our Renogy 200Ah battery started to drop voltage overnight and was dying a slow death. Switching to lithium isn’t as easy as just buying a lithium battery and dropping it in. Lithium batteries have special charging requirements which now means each charger has to be upgraded. Although spending some extra money and doing the conversion wasn’t something I was looking forward to doing, there are some huge benefits to making the switch. Some more good news is the price of lithium iron phosphate batteries has dropped significantly over the last few years since more companies are making them now. When I built our van, it was about $1000 per 100Ah. That’s mostly why I opted to go with AGM batteries at the time. In this post, I’ll cover each step of the way in converting our Sprinter Campervan from AGM batteries to lithium.
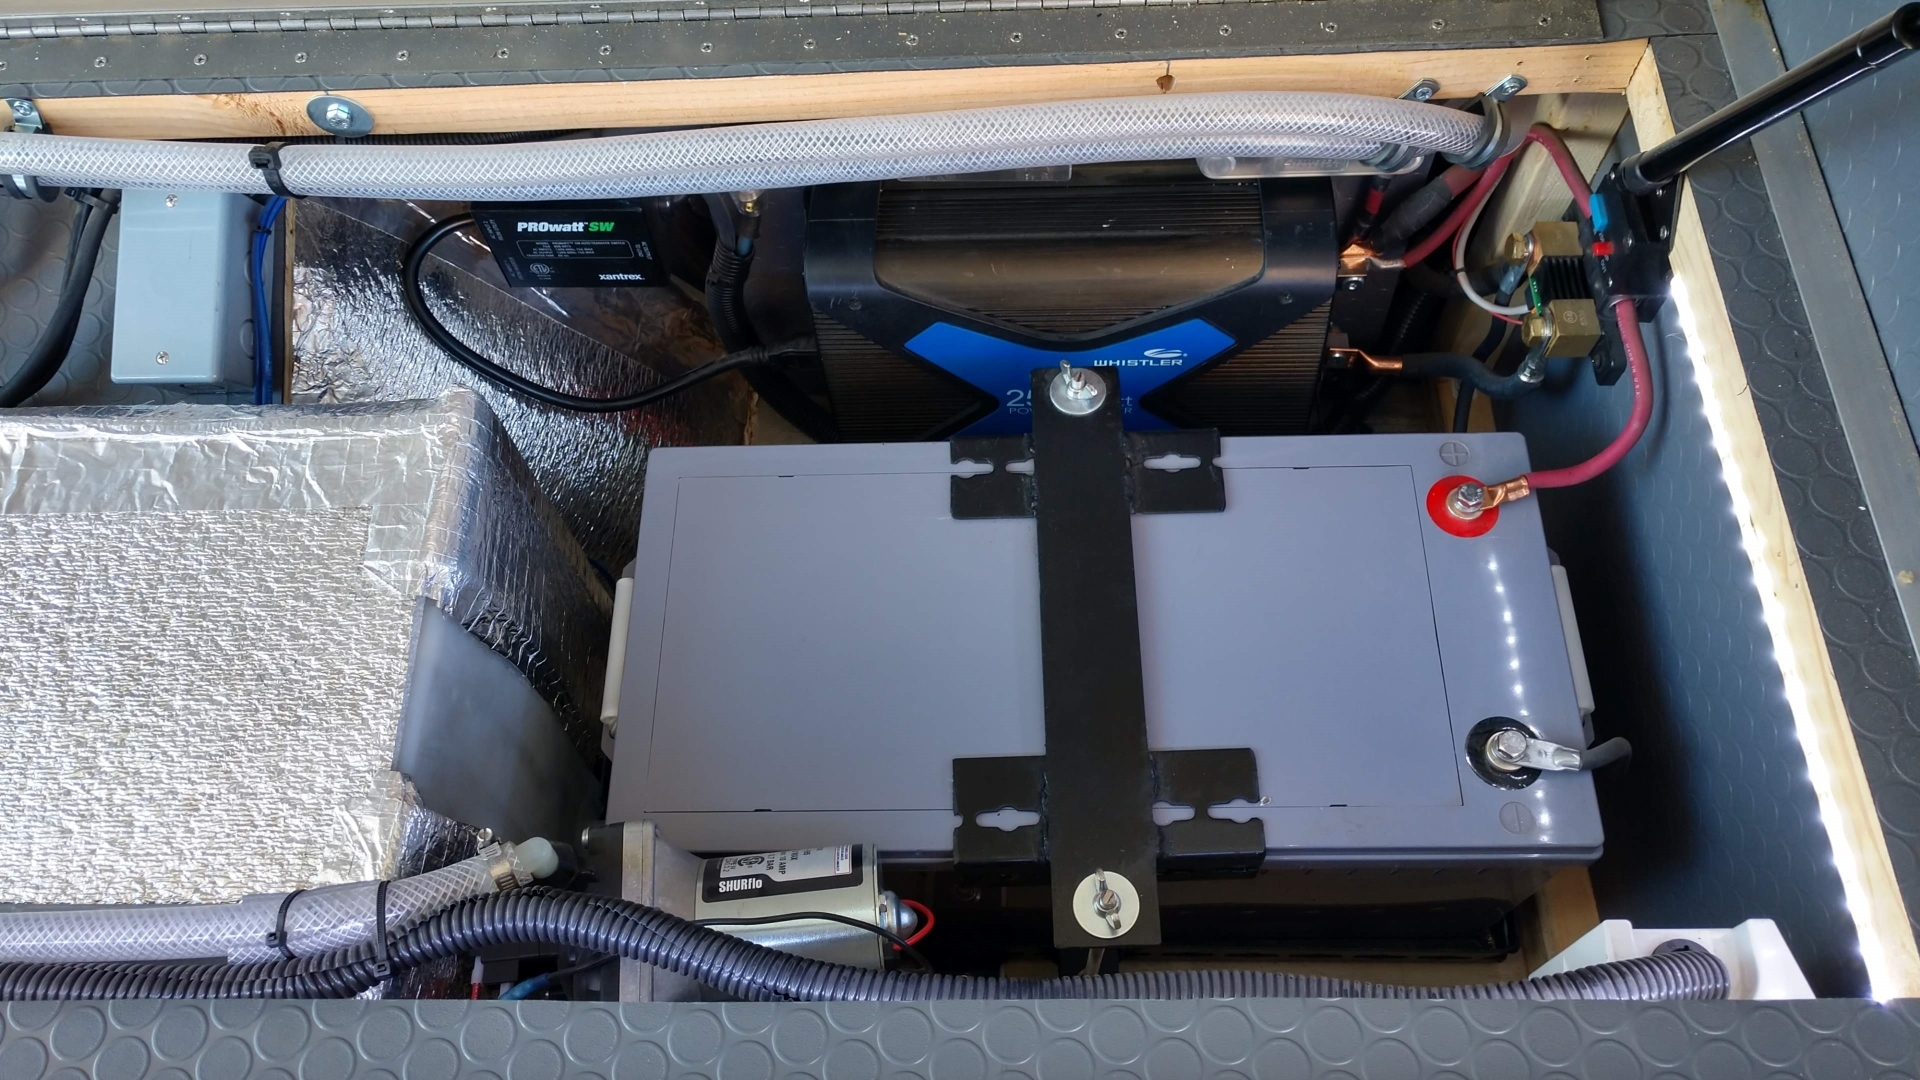
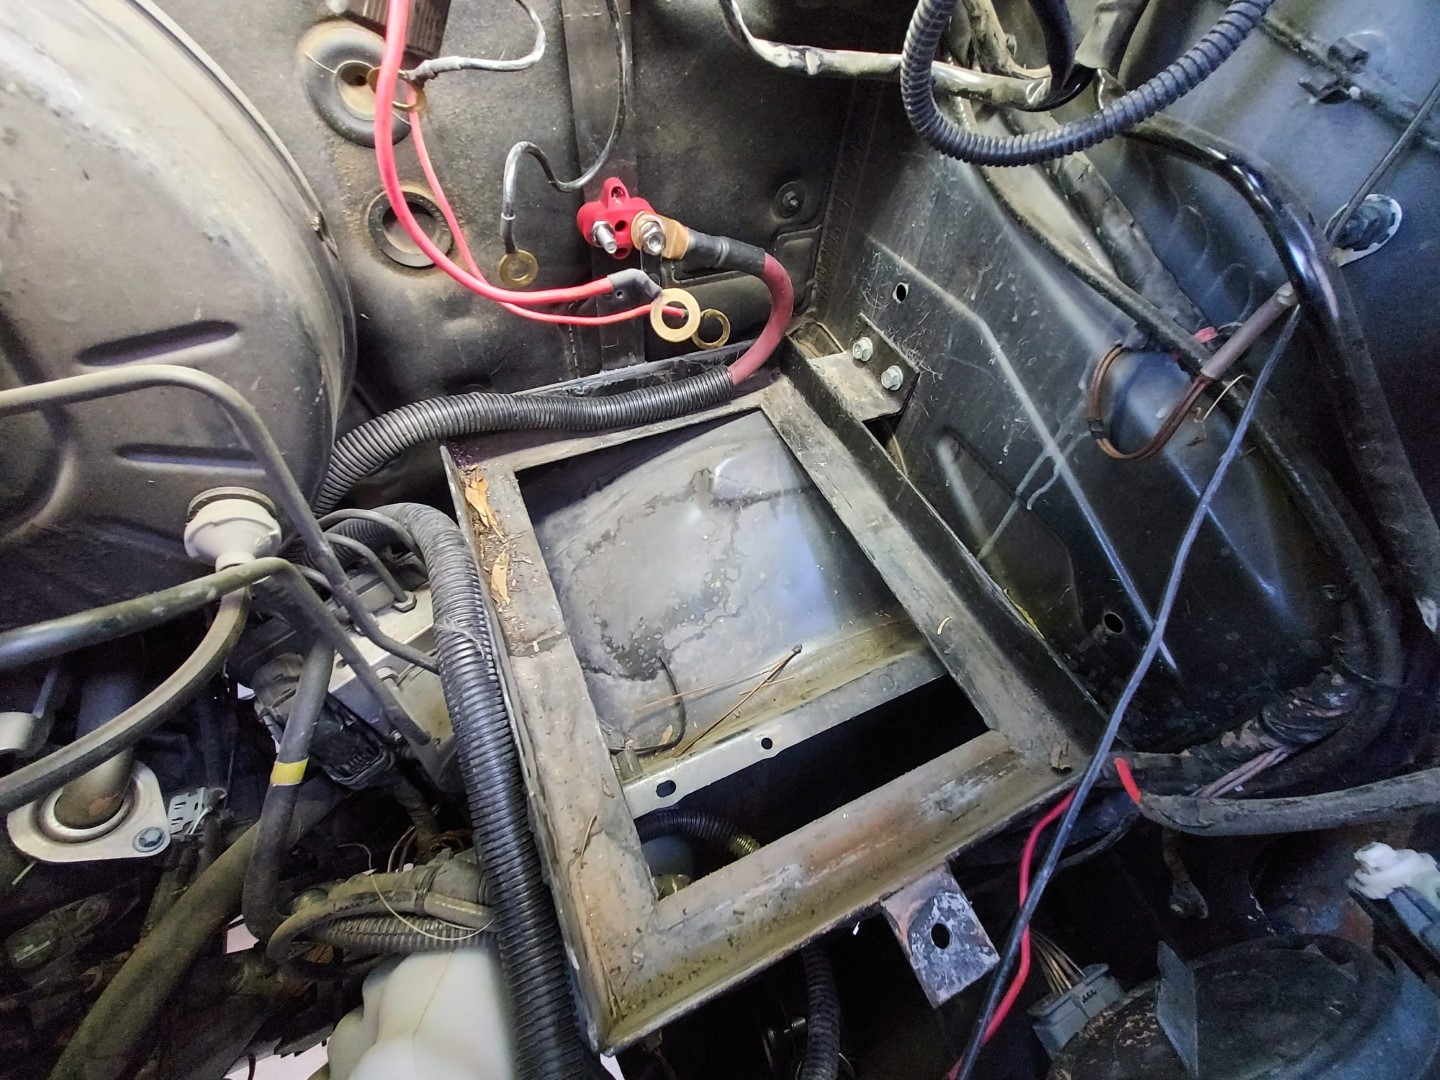
Our Original AGM Battery Setup
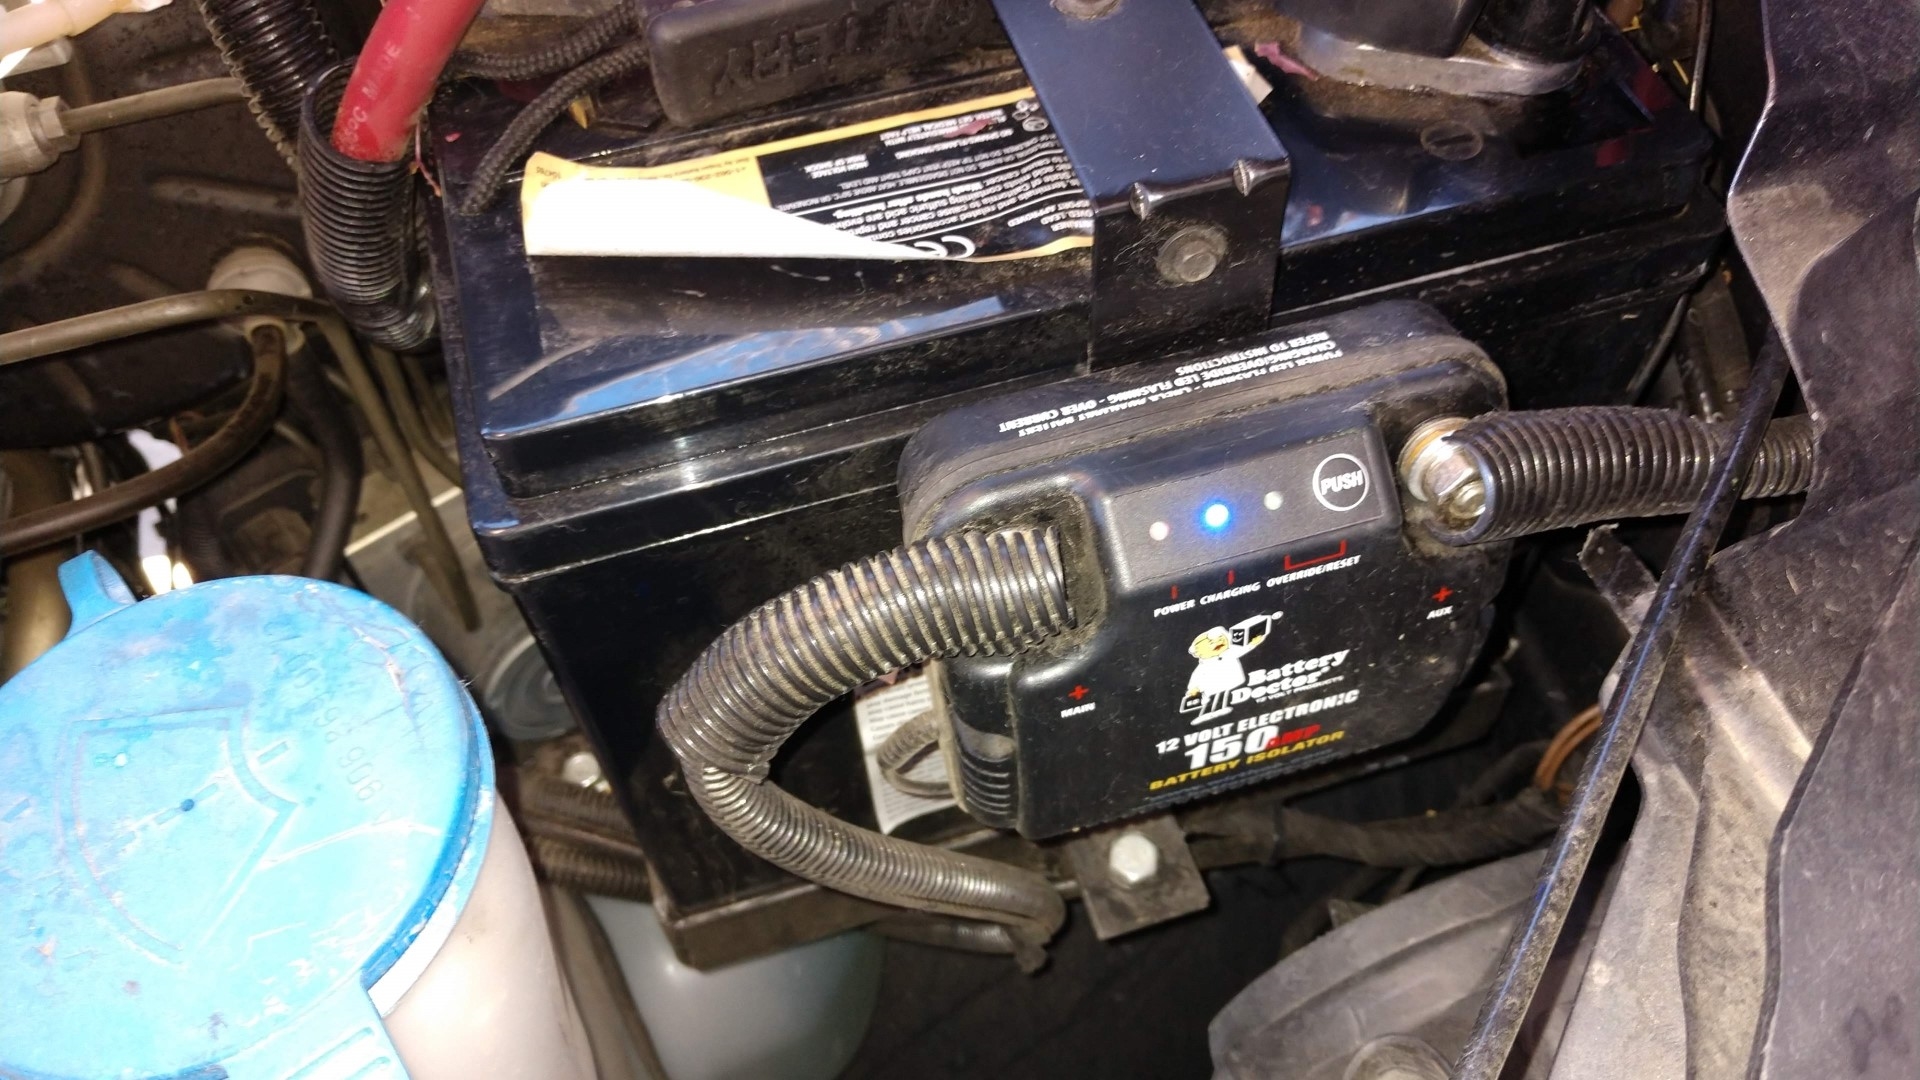
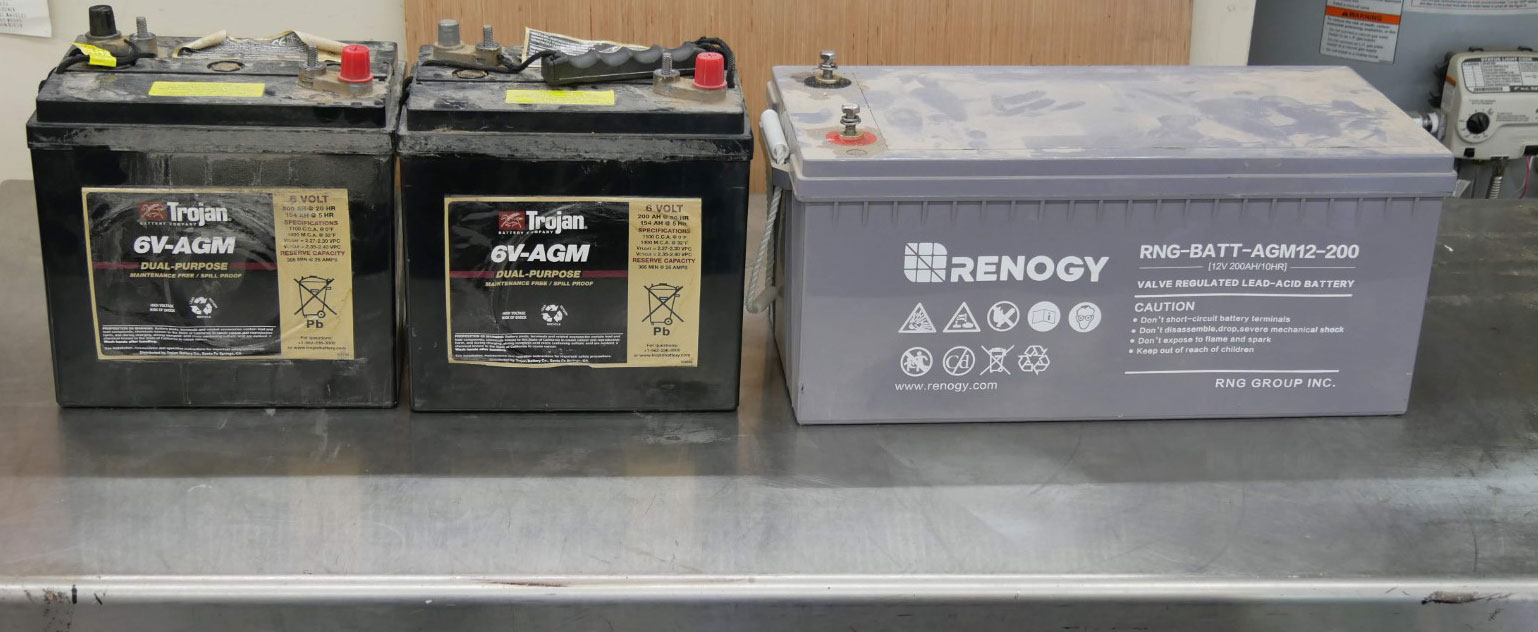
Originally we had 3 batteries in total. We had one 200Ah Renogy battery inside the van and two 6V 200Ah under the hood totaling 400Ah. Being AGM, that means we had about 200Ah of usable battery power. We charged the batteries off of our alternator using a battery isolator. This setup worked great until that Renogy battery died. I was not about to dump any more money into AGM batteries so it all came out.
Benefits of Lithium vs AGM
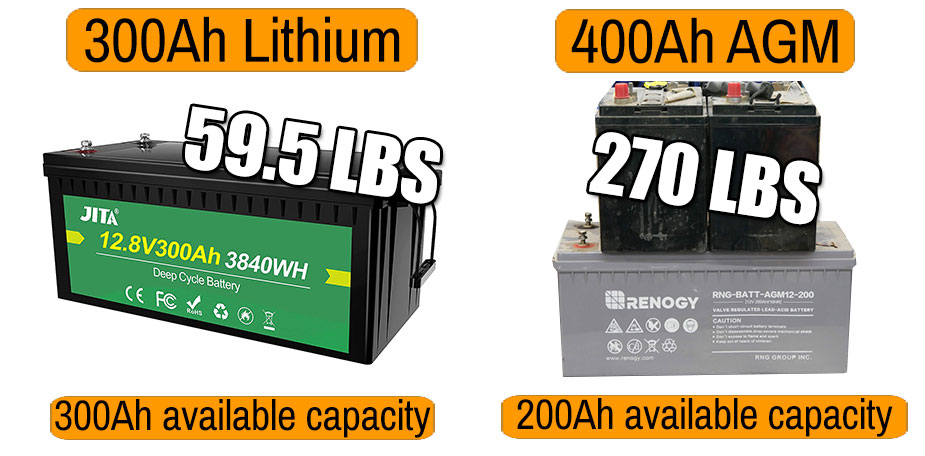
Weight: Lithium is much lighter than AGM batteries. Pulling the 3 AGM batteries out of the van removed 270 lbs! The new lithium battery weighs only about 59 lbs.
Usable Power: It is recommended to not let your lead acid or AGM batteries drop below 50% capacity or state of charge because they can be damaged or shorten the lifespan. Lithium batteries can be run all the way down using almost 100% of their capacity. Lithium batteries also have a much higher amperage allowance for loads.
Lifespan: AGM batteries only last 3-4 years before having to replace them while lithium is known to last upwards of 10 years. While lithium is more expensive upfront, over the years it’s actually cheaper than replacing AGM batteries multiple times.
New Lithium Battery Choice
I was happy to see so many choices on Amazon for LiFePO4 deep cycle batteries. It seems Battleborn was our only option years ago. Now I am not saying that they aren’t great batteries, but the price was just too high for me to justify. Not only were there many new choices for lithium, but they now offer a 300Ah capacity battery in the same 9×20″ size. I chose the Jita 300Ah LiFePO4 deep cycle battery. It was roughly around $1000 and has a Battery Management System (BMS) built into it to protect it from over or undercharge. It can handle a 200 amp load as well as 280 amp peaks, not that I would ever put that much load on it. It has an operating temperature range of 32°F~122°F for charging and -4°F~140°F for discharging. Utilizing an internal heating plate, the battery has a low-temperature heating function which automatically heats the battery to 50°F and the battery will automatically stop discharging if the temperature is lower than -4°F. The discharge function is automatically restored when the ambient temperature is higher than 14°F.
Key features that made me choose this battery
-Nice price point (~$1000 for 300Ah capacity!)
-large 300Ah capacity in a size that fit my battery tray and space
-lightweight (59.5 lbs)
-built-in BMS

JITA 12V 300Ah lithium battery LiFePO4 Deep Cycle Battery 200A with BMS
Alternator Charging
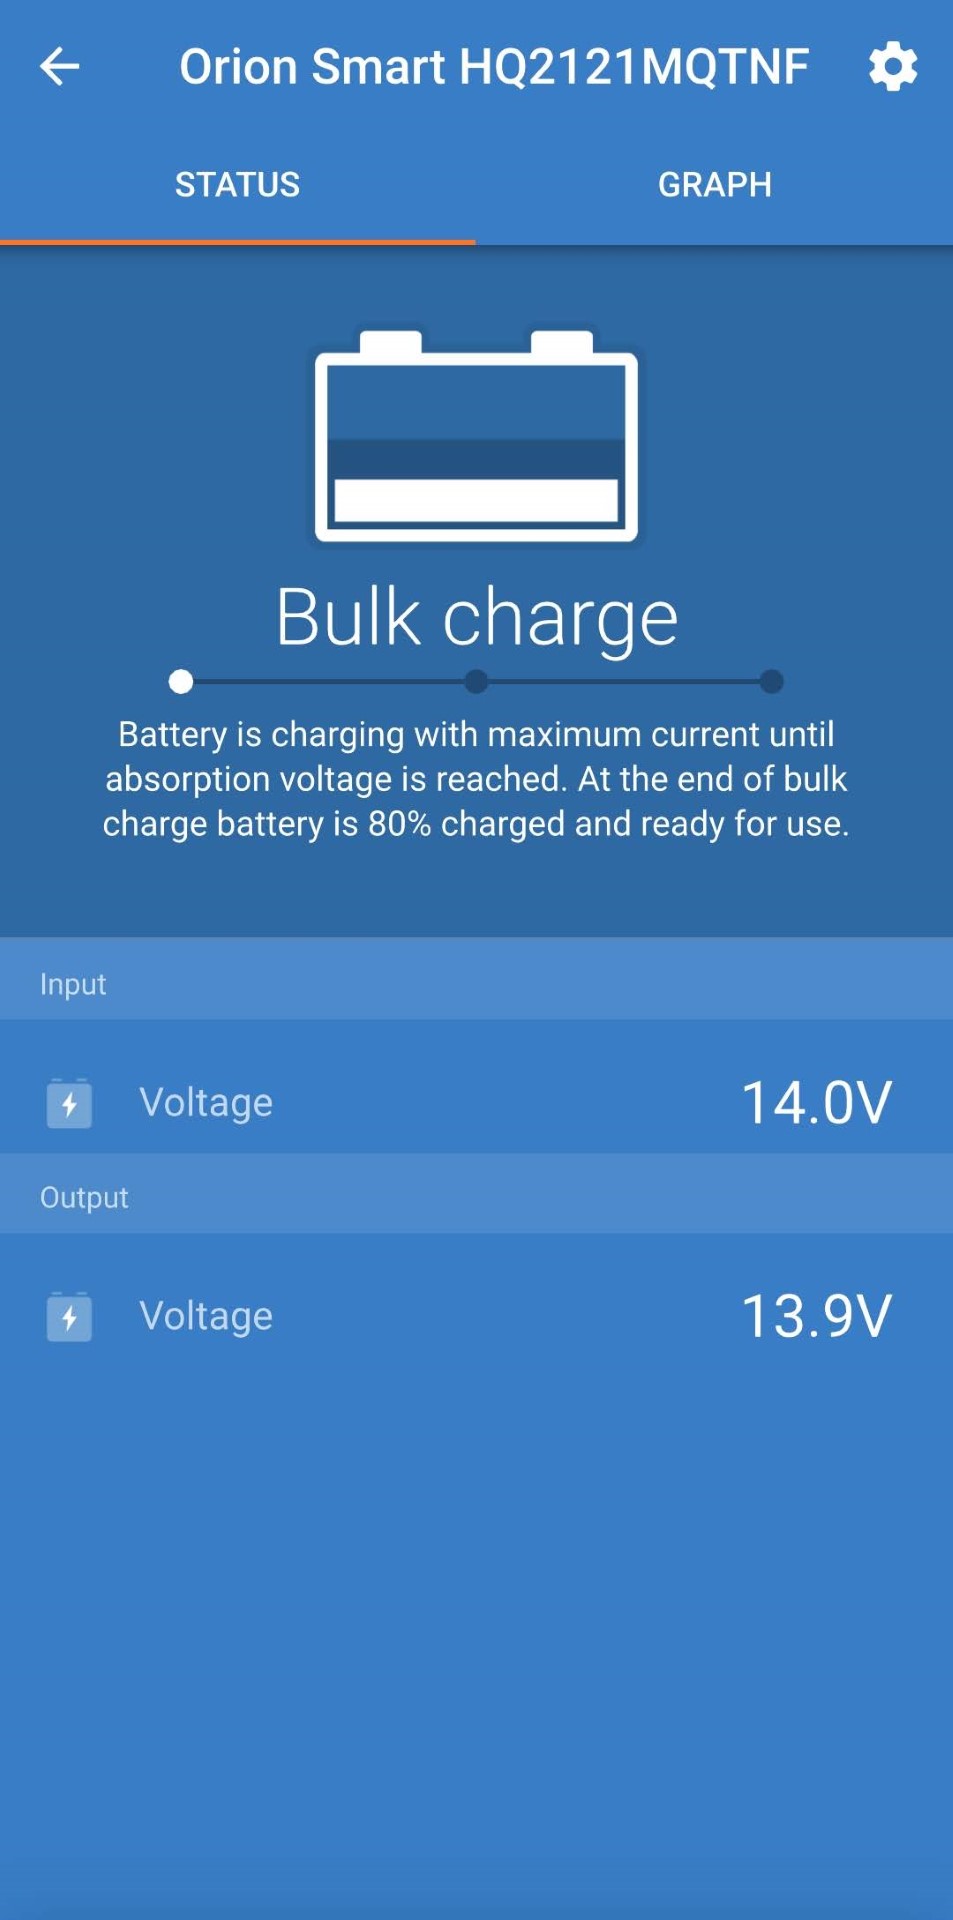
The reason I wasn’t able to connect the old battery isolator to my new lithium battery is that lithium batteries require a particular charge rate and profile that our alternator does not put out or understand. I won’t dive deep into the characteristics of lithium battery charging, but it is a very important part of switching to lithium from lead acid or AGM. The Victron Energy Orion-Tr Smart 12/12-Volt 30 amp 360-Watt DC-DC Charger (Non-Isolated) handles all of the charging from our alternator and with only a 30A draw, our alternator won’t get overloaded and fail. The nice thing about this charger is it has an isolator or auto-disconnect feature that disconnects the house battery from the car battery after it shuts off preventing the car battery from being drawn down. Then as soon as you start the van, it senses the charge voltage and reconnects. It also has Bluetooth built-in so you can monitor the charge status and adjust any battery settings.

Victron Energy Orion-Tr Smart 12/12-Volt 30 amp 360-Watt DC-DC Charger, Non-Isolated (Bluetooth)
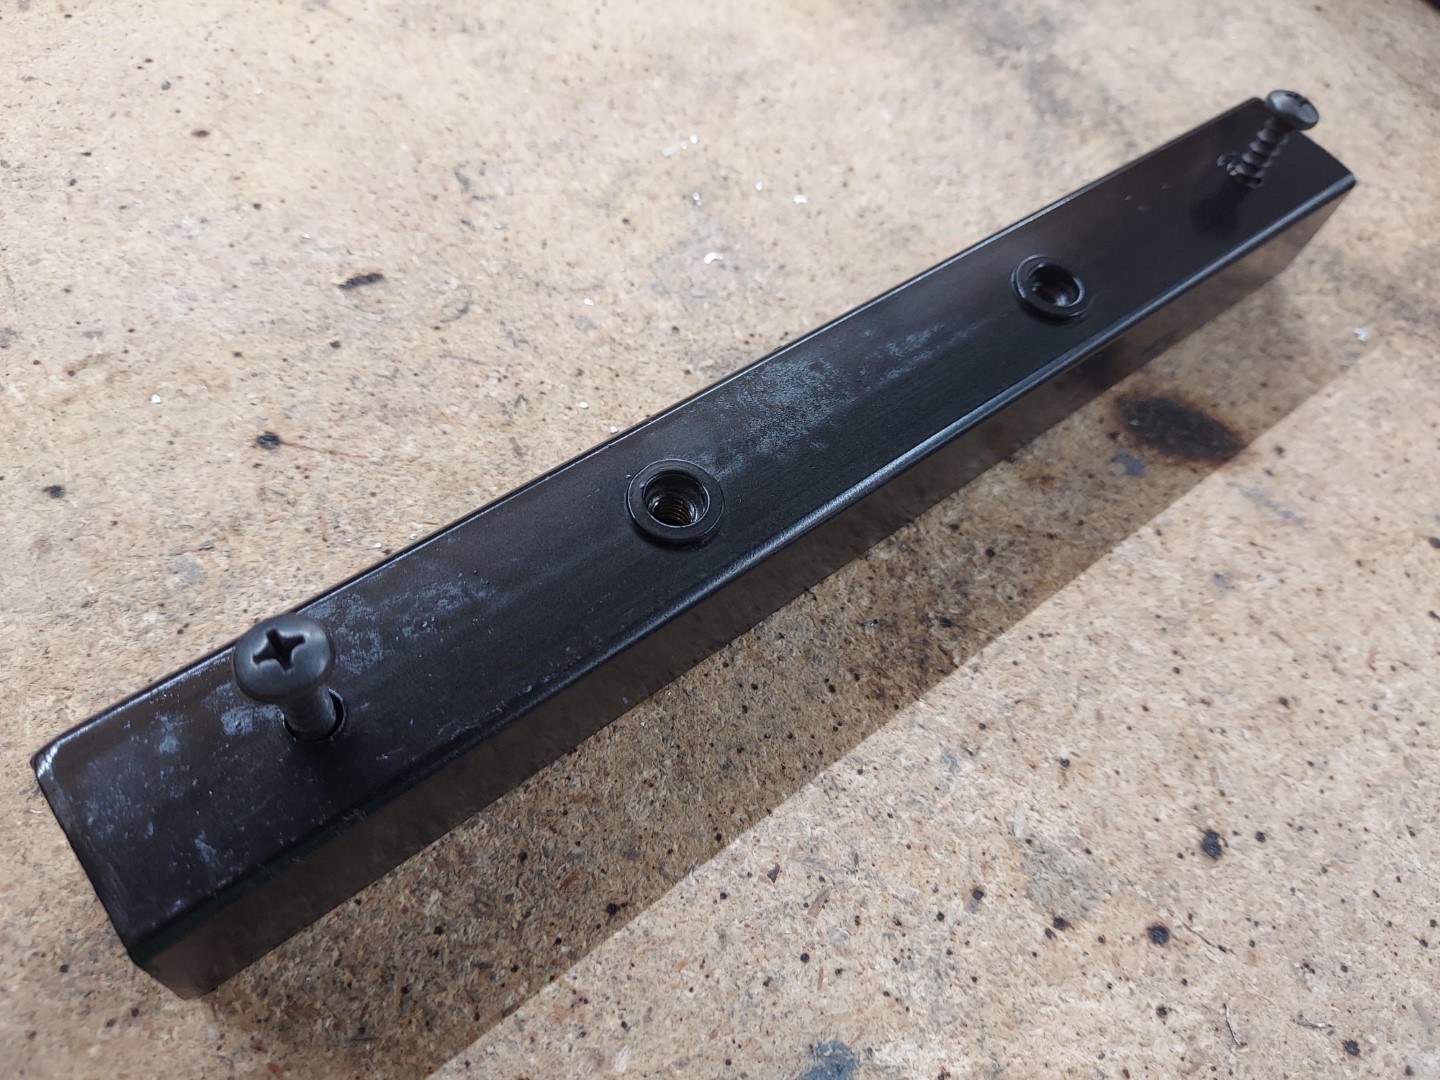
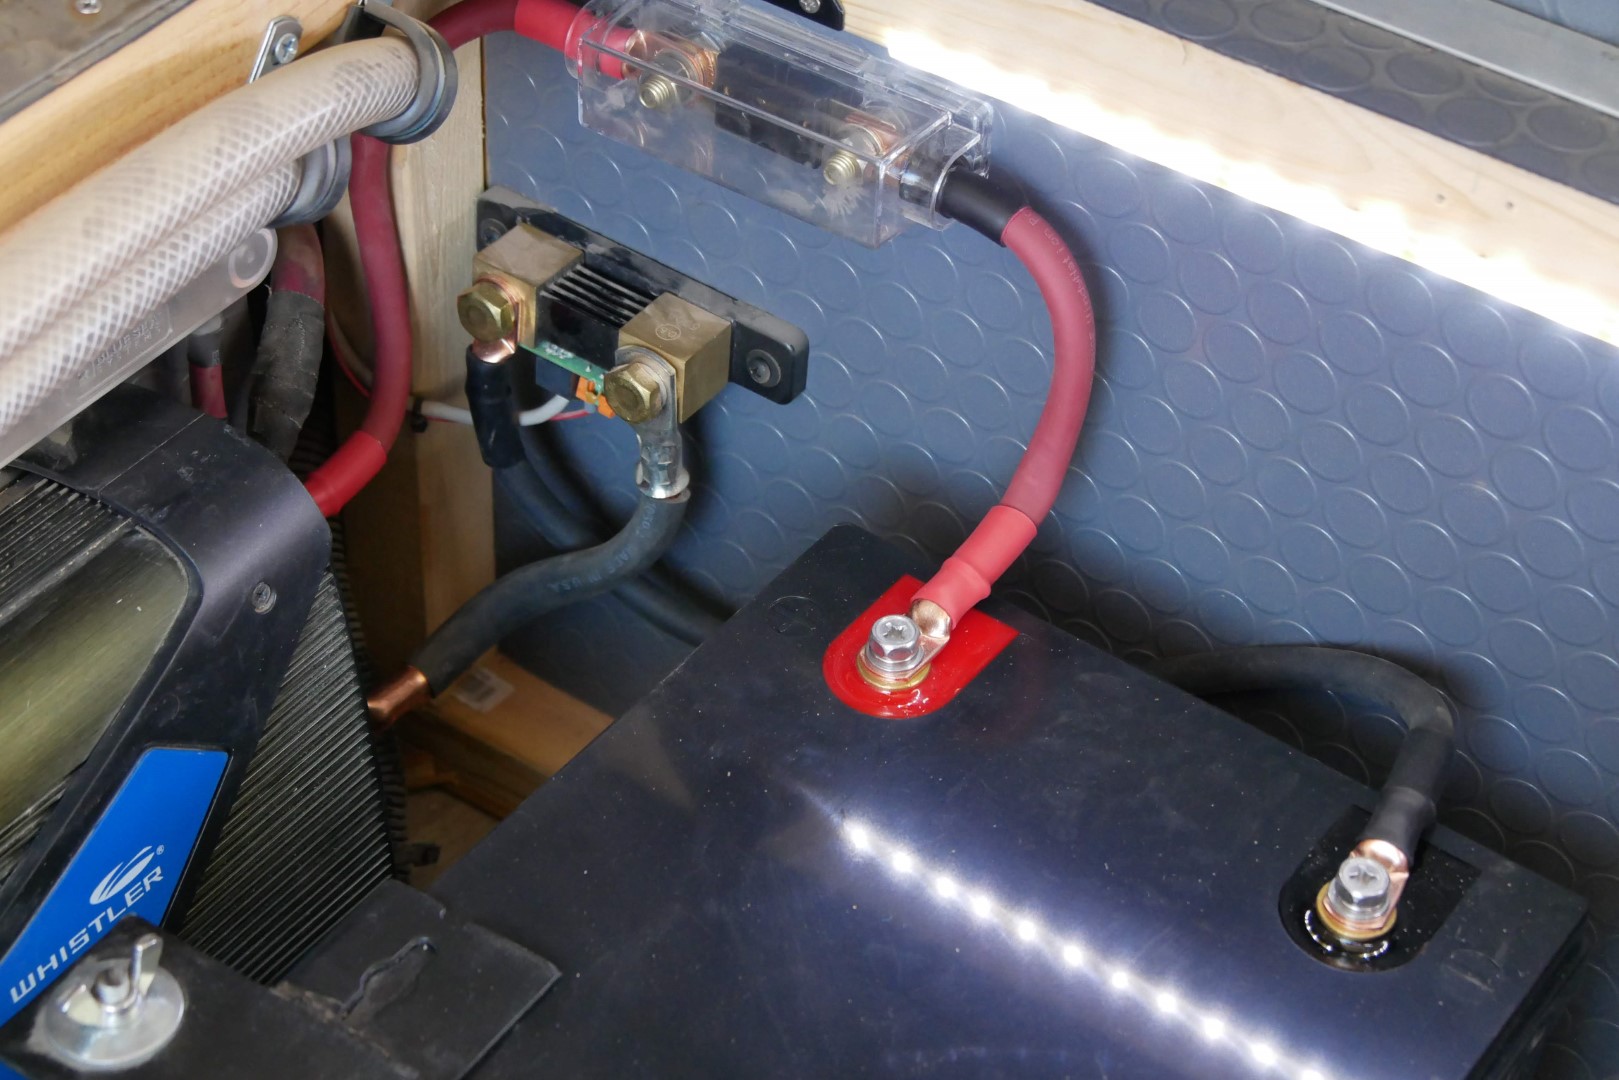
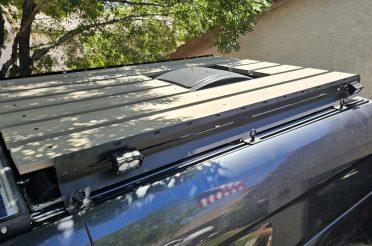
The battery tray under the hood is where the two 6 volt batteries used to be installed. I removed the 6V batteries and figured out a way to utilize the area to mount our new Victron DC to DC charger as well as a bus bar for the positive cable coming out of the charger. We have our offroad lights attached here as well as the mega-sized 0/2 gauge cable that runs back to the battery inside the van.
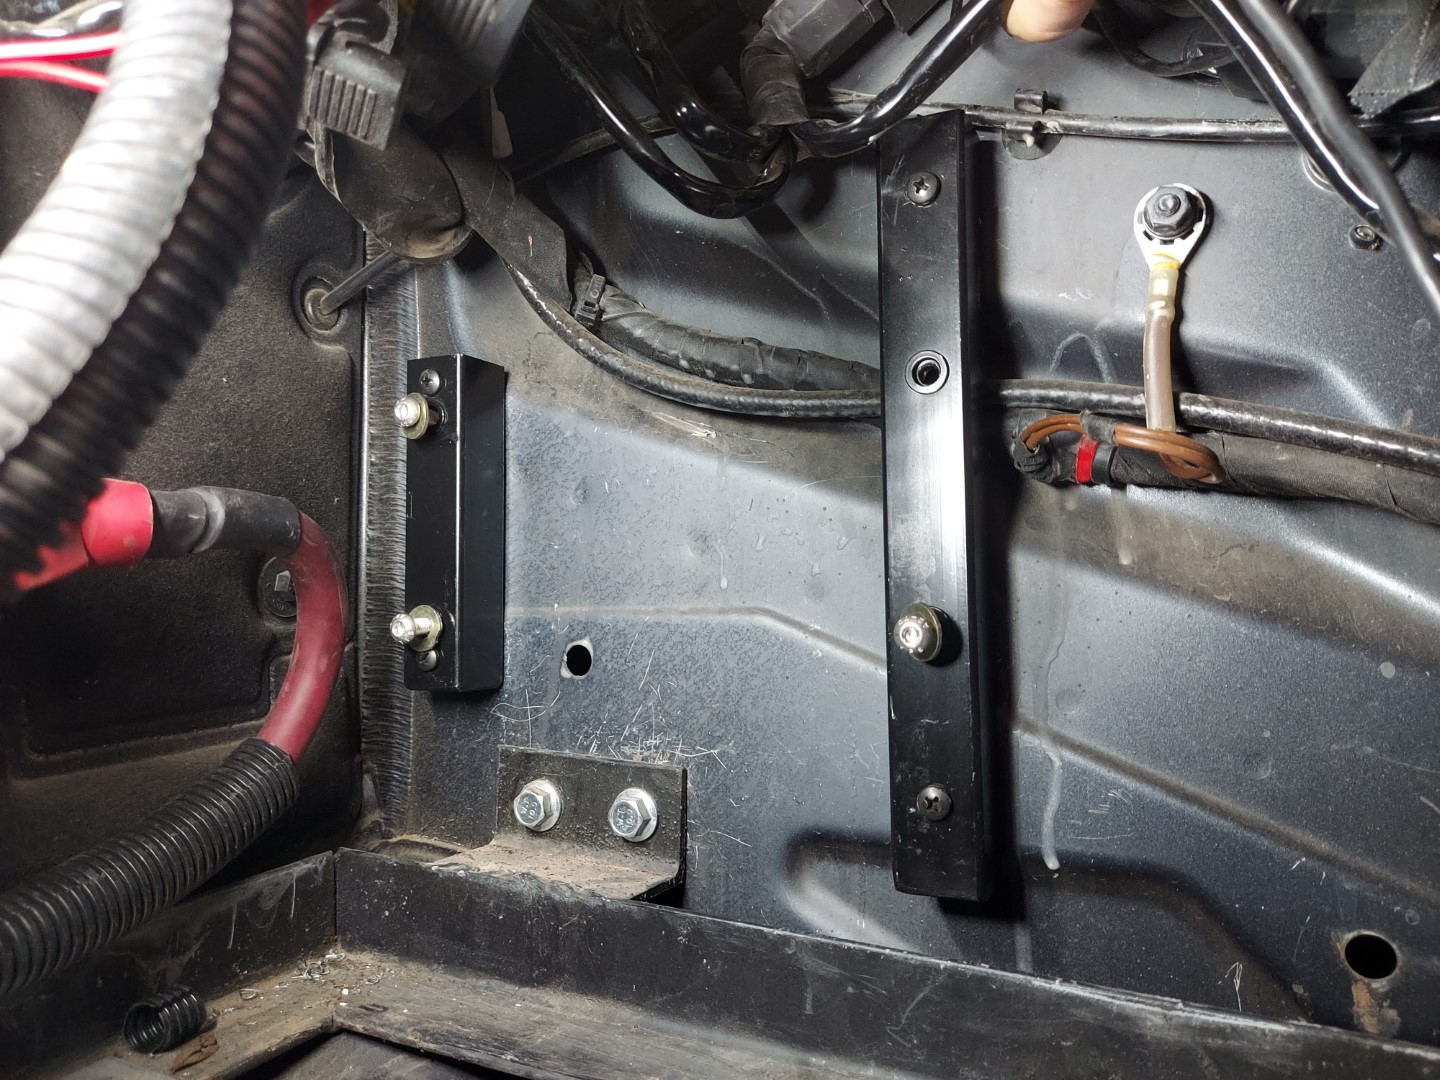
I used 1″ square tubing with 6mm rivnuts installed to make some vertical mounts for the Victron Orion. This allowed me to mount it to the fender but also have enough of a gap for cooling. Technically it should be mounted inside, but this area does not see any water and should get enough airflow so it does not overheat.

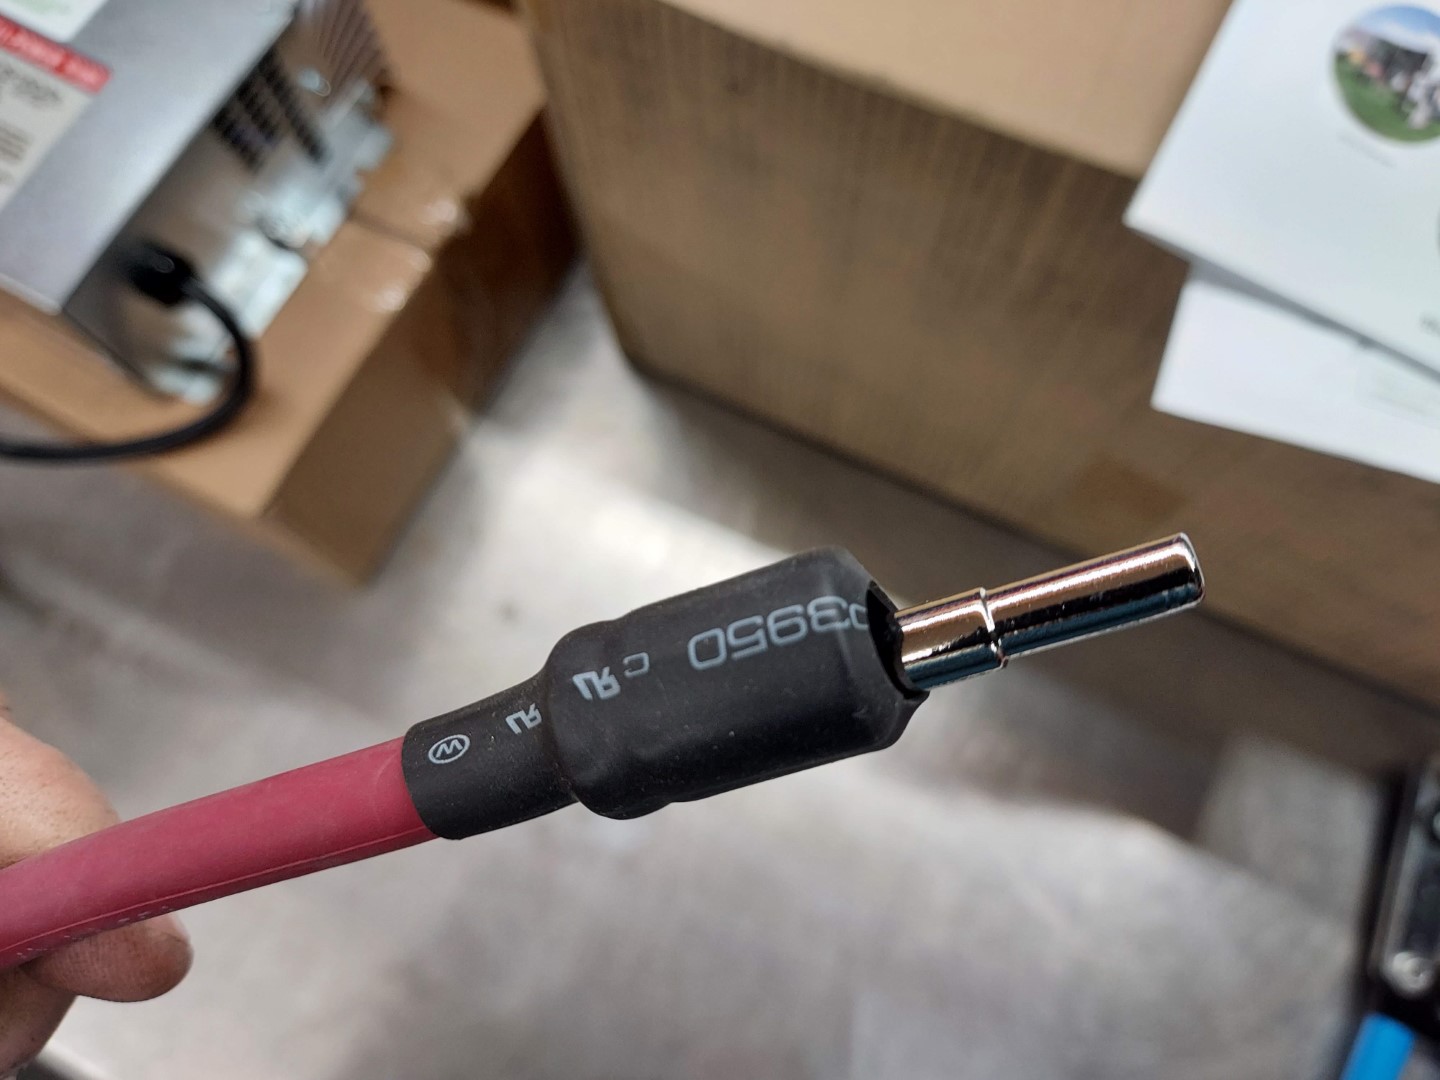
The charge cable off the back of the alternator is 4 AWG. Since the Vitron Orion input/output ports only allow 8 AWG wires, these 4 to 8 AWG reducers came in handy! Oh, and I installed a 150A fuse between the alternator and the Victron Orion (as seen in the photo above).
The Victron Energy app
The Victron app is nice because it can access both the Orion charger and Smart BMV-712 battery monitor.

Solar Charging
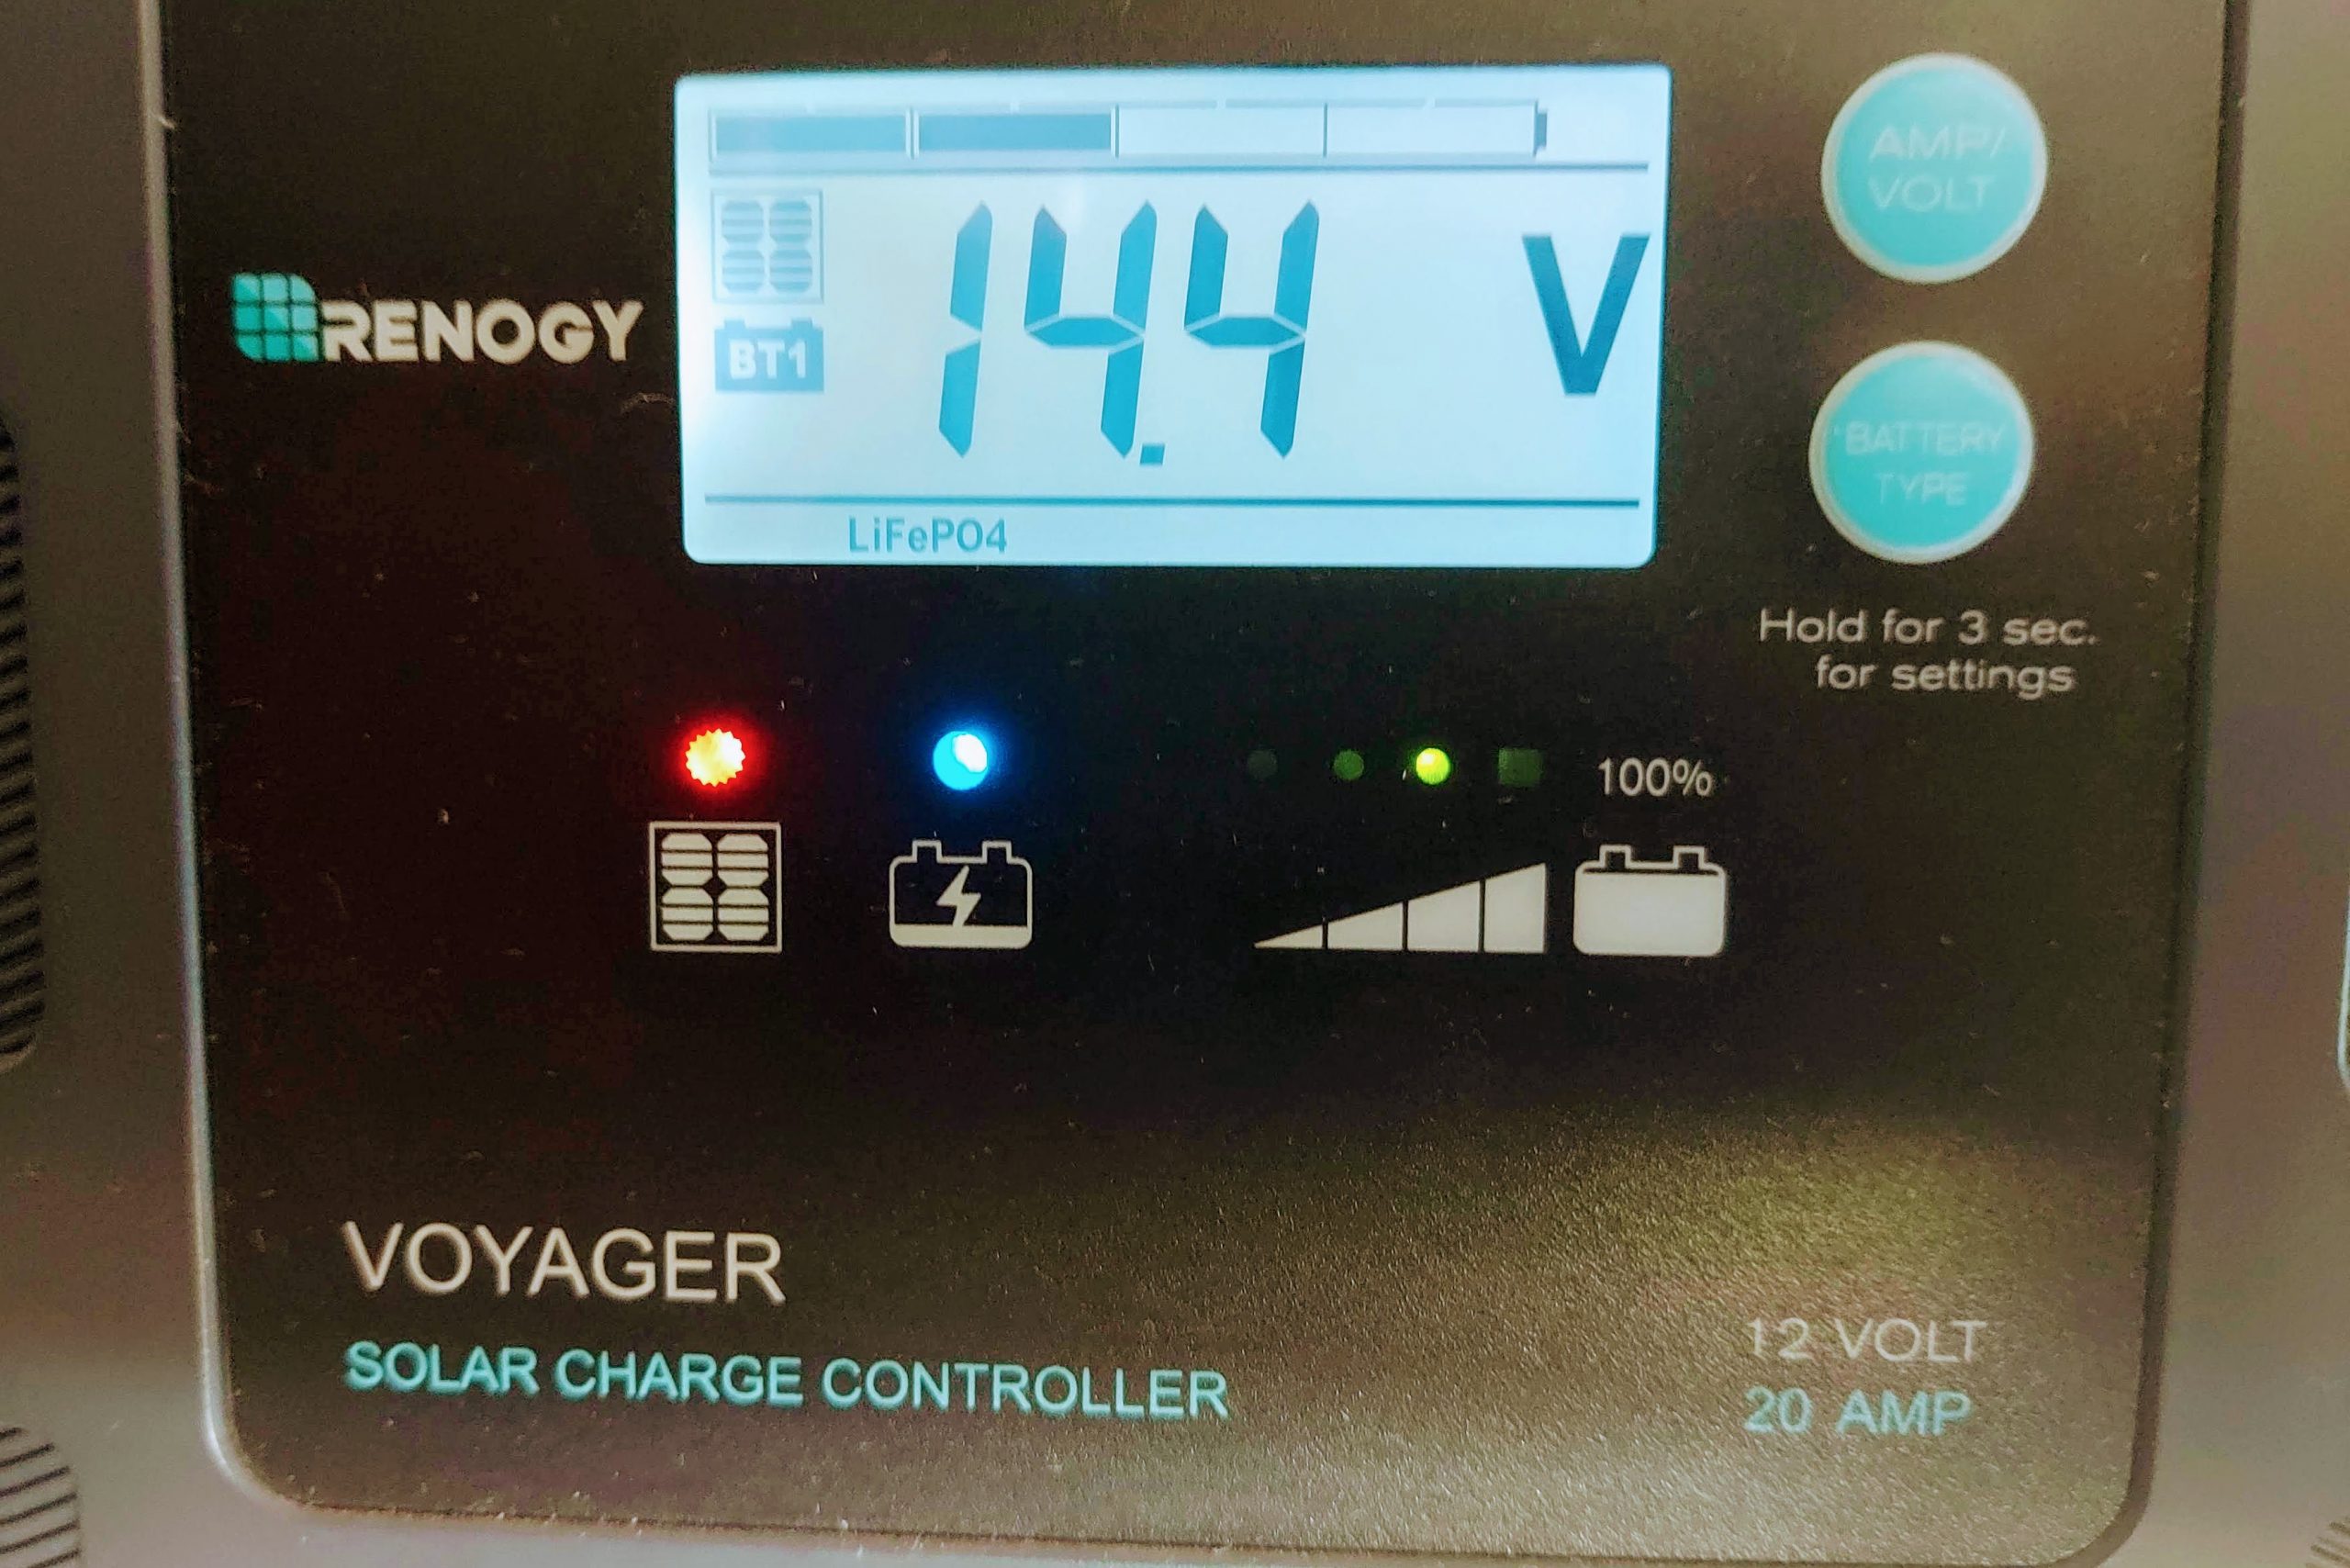
Now that our alternator charger is all hooked up, the solar charger part was easy. We’re running an older Renogy Voyager PWM solar controller (that might soon get upgraded to a more efficient MPPT Victron), but in the meantime, all that was required was to change the battery setting within the controller.
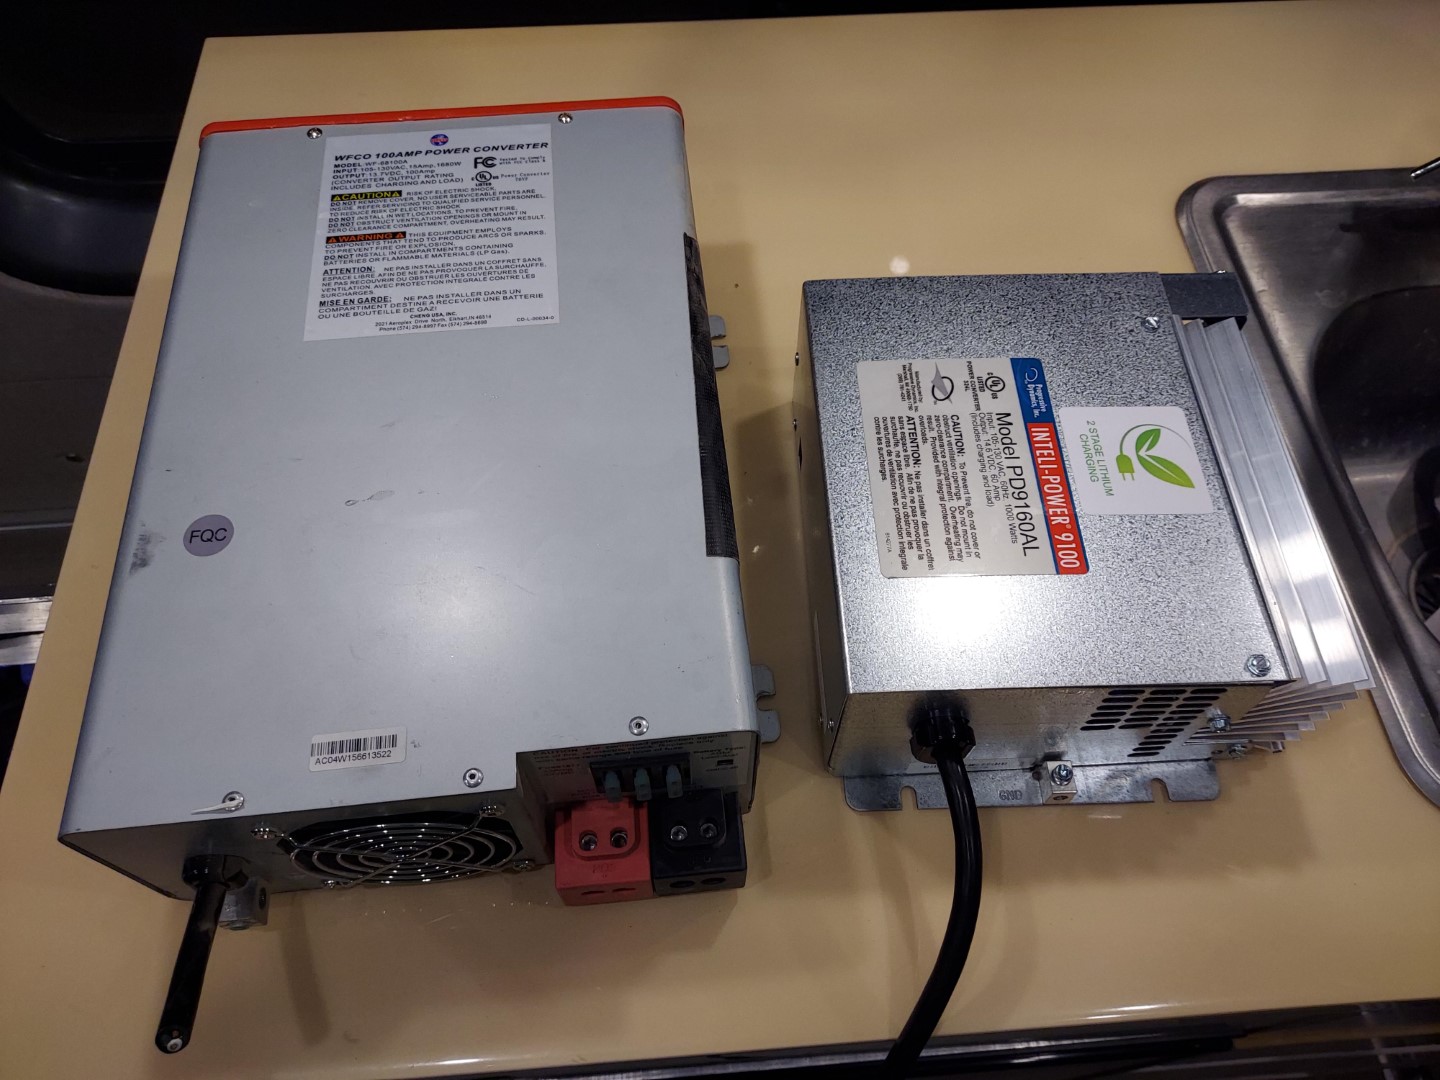
Shore Power Charging (DC Converter/ Charger)
The DC converter charger is basically a battery charger for when we are plugged into shore power. It’s a great thing to have for when you are plugged in at home or a campground so you don’t have to wait or rely on solar or alternator charging to top your batteries off. We had to upgrade ours since it did not have a setting for lithium batteries. Our new Progressive Dynamics PD9160ALV 12V Lithium-Ion Battery Converter/Charger puts out a 60 A charge. Technology sure has changed a bit since that original one was made because it’s about half the size!

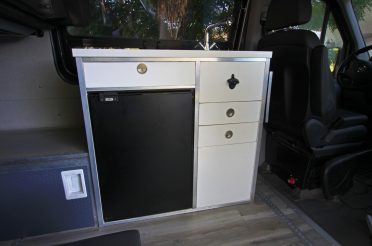
Lithium Battery Install
I was really stoked to see the new Jita 300Ah battery fit right into the battery tray in our electrical box. This meant I didn’t have to fab anything new and I could just drop it right in. I did, however, want to upgrade the battery cables from 4 AWG to 2 AWG since all of the load is now going through this one battery rather than split between the two banks. 4AWG would probably cut it, but 2AWG was recommended for the load that this battery could handle (200 amps). The largest load we ever pull is about 130 amps and that is from our water heater. I wanted to stay on the safe side and also prevent any excessive heat in the electrical system. We have a 200 amp fuse just before the battery for system protection.

Video
Performance
After a recent 5 day trip through Arizona, I am was very happy with the performance of everything. The lowest I saw on the battery monitor was about 58%, but that was after quite a bit of load like heating water for showers, making coffee, and charging my drone batteries. After just a couple of hours of driving though, our battery monitor showed 98-100% and I saw the Victron charger go into absorption and float mode. It’s really nice ditching all of that lead weight from the van too!
Parts List
- JITA 12V 300Ah lithium battery LiFePO4 Deep Cycle Battery 200A BMS
- Victron Energy Orion-Tr Smart 12/12-Volt 30 amp 360-Watt DC-DC Charger, Non-Isolated (Bluetooth)
- Progressive Dynamics PD9160ALV 12V Lithium-Ion Battery Converter/Charger – 60 Amp
- Victron Energy BMV-712 Smart Battery Monitor
- M6 Rivnuts, rivnut tool
- positive bus bar
- 150A fuse
- 2 AWG cable kit
- 2 AWG 5/16″ Battery Lugs
- 2 AWG 3/8″ Battery Lugs


Leave a Reply