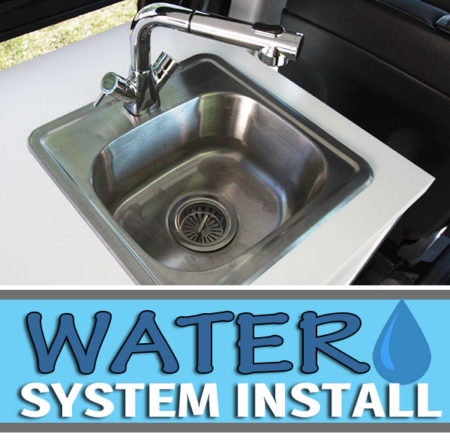
 Running water is a game-changer when it comes to camping in a van. We wanted the ability to shower and have a fully functioning sink for washing up and general kitchen duties. For some reason, many people don’t install a full water system. I’m not sure why that is because it’s fairly cheap and extremely easy to do.
Water Tank
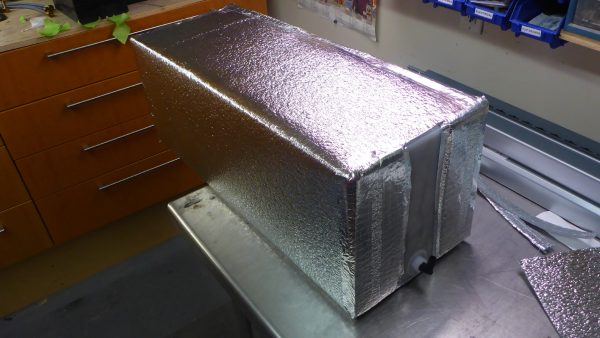
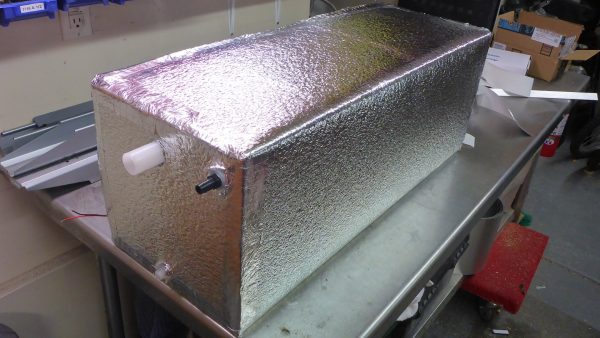
Having enough water to last 2-3 days was important to us, so we bought a 20 gallon RV fresh water tank off Amazon. It came with threaded provisions on each side for a drain, a vent, and a large fill port. The tank measures 32″ long by 12″x12″. It was a perfect size for the space we had.
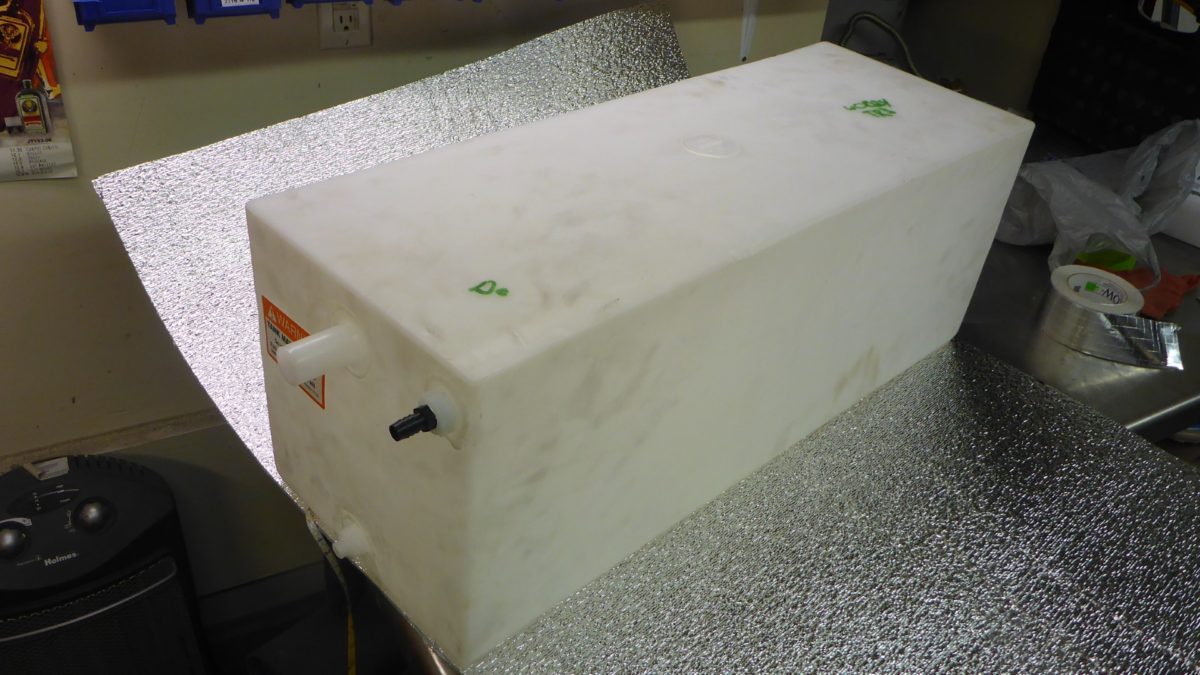
The tank would be mounted inside our “utility box” which is part of our lower bed and dinette set up. A quick test-fit was done before moving forward. Phew…it fits!
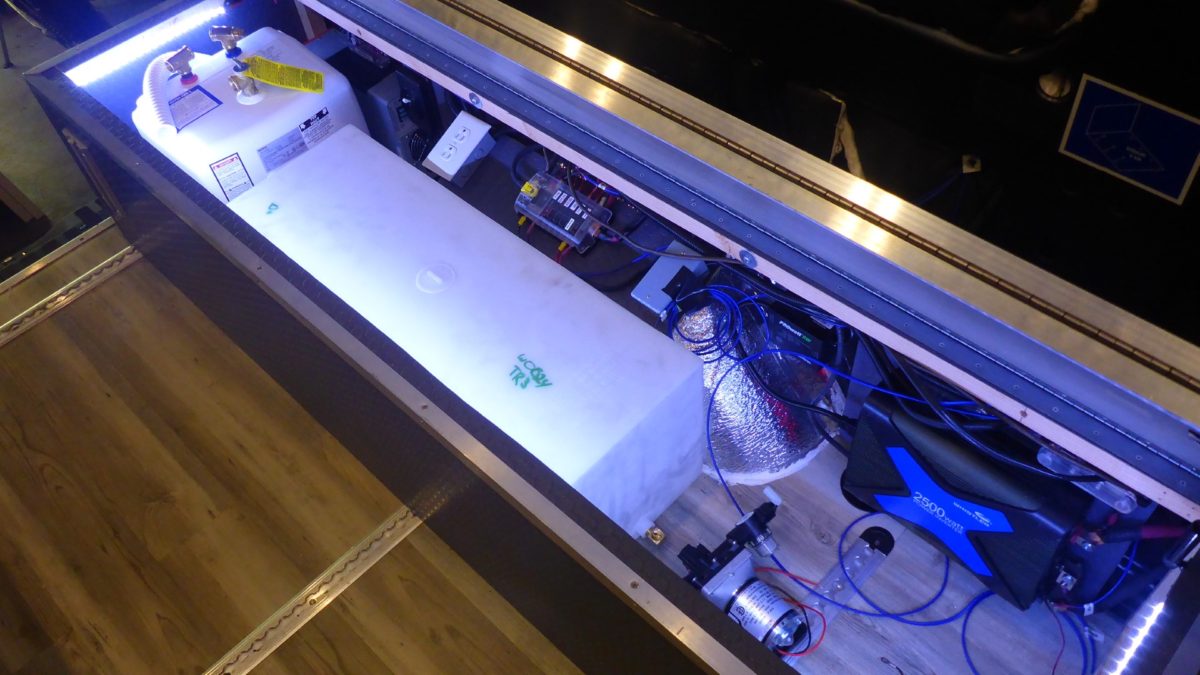
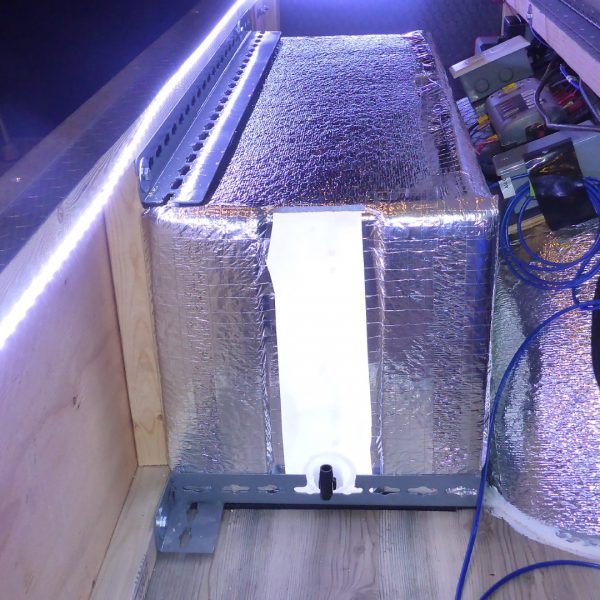
I decided to insulate the tank only because I had so much leftover Low E foil-faced foam insulation. I don’t think the inside of our van will ever get to below freezing temperatures, but I figured it couldn’t hurt to wrap it in a layer. I left the right side of the tank exposed so we could visually check the water level. I also added some LED lights on the back before the insulation was wrapped up.
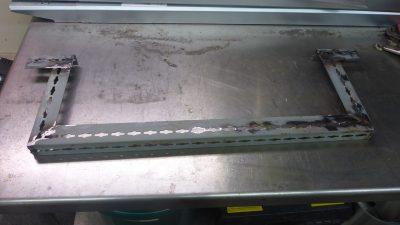
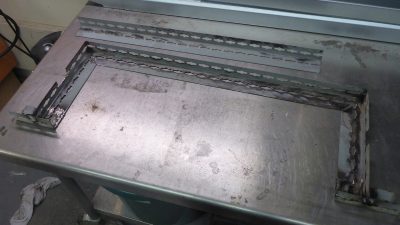
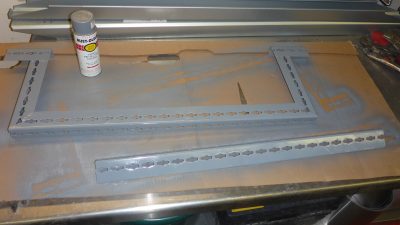
The next step was to build a frame in order to mount it securely in our van. 20 gallons of water weighs about 160 lbs, therefore it had to be strong. Repurposing some old metal shelving, I cut and welded together a frame that the tank would sit in. It was ugly at first, but it was nothing a little spray paint couldn’t cover up. Besides, it wouldn’t be visible anyhow.
|
If I could offer any advice about building a van, it would be to learn new skills as you go. I had never even welded before we started this project. Being able to fabricate and build something custom is very rewarding and satisfying. It also saves you a ton of time, money and hassle. You might just surprise yourself with what you can do. |
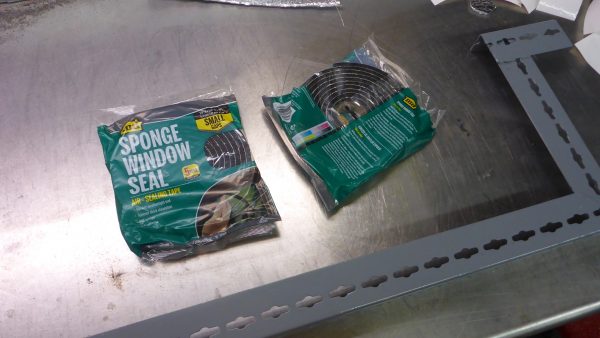
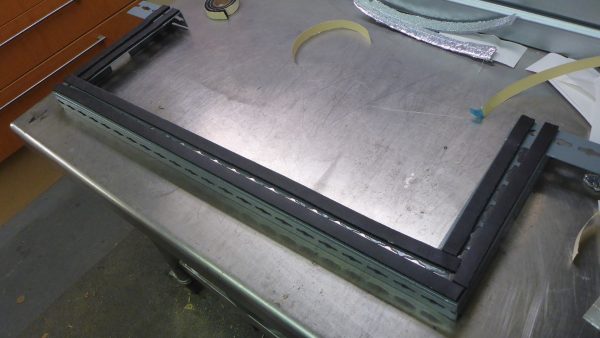
To keep things quiet and to prevent the water tank frame from wearing through our nice flooring, I added some foam insulation to the bottom.
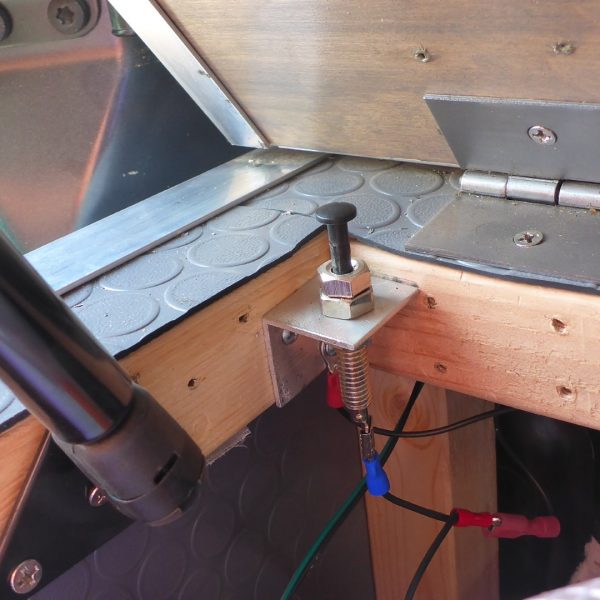
The water tank frame was installed and bolted into the frame of the utility box and then a top bracket was installed to keep the tank secure to the frame. Everything is secured into the floor’s L track. I wired water tank lights into the utility box cargo lights. They turn on as soon as the lid is opened via a spring loading grounding switch making it easy to quickly check the water level. The only issue with is is if we have a bunch of our stuff stored on the box so I may install a water level indicator.
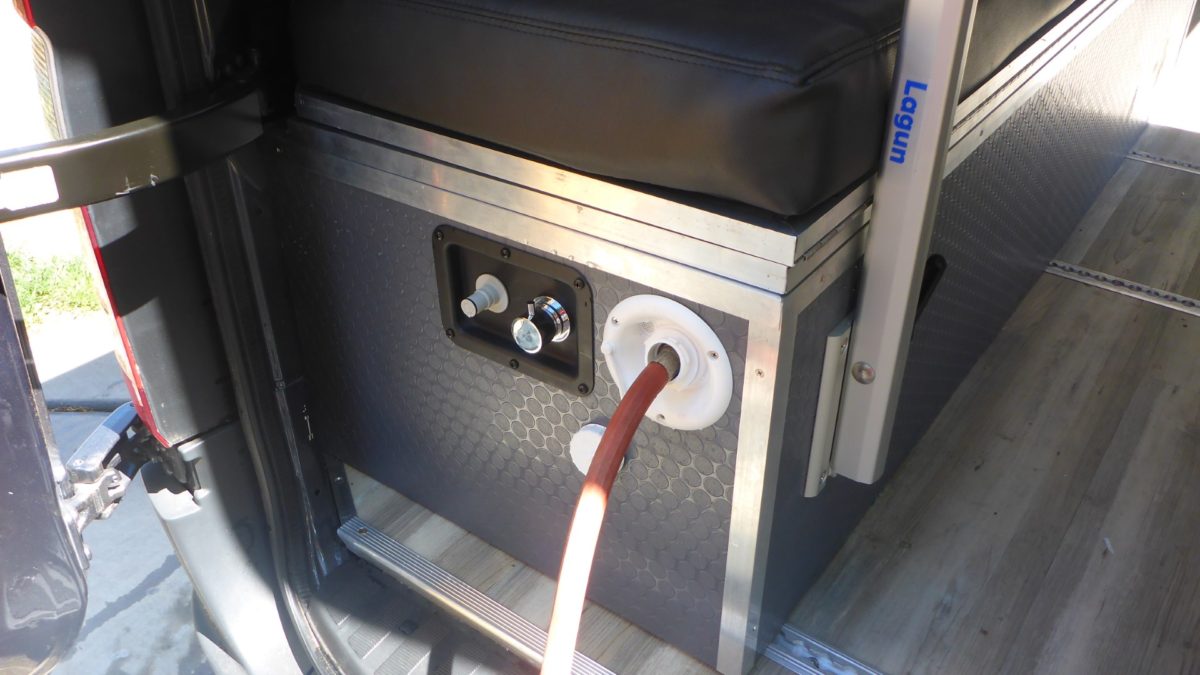
The water fill and tank vent are at the back of the utility box/ bench. It’s easy to fill with any garden hose (or funnel and water jugs).
Water Pump
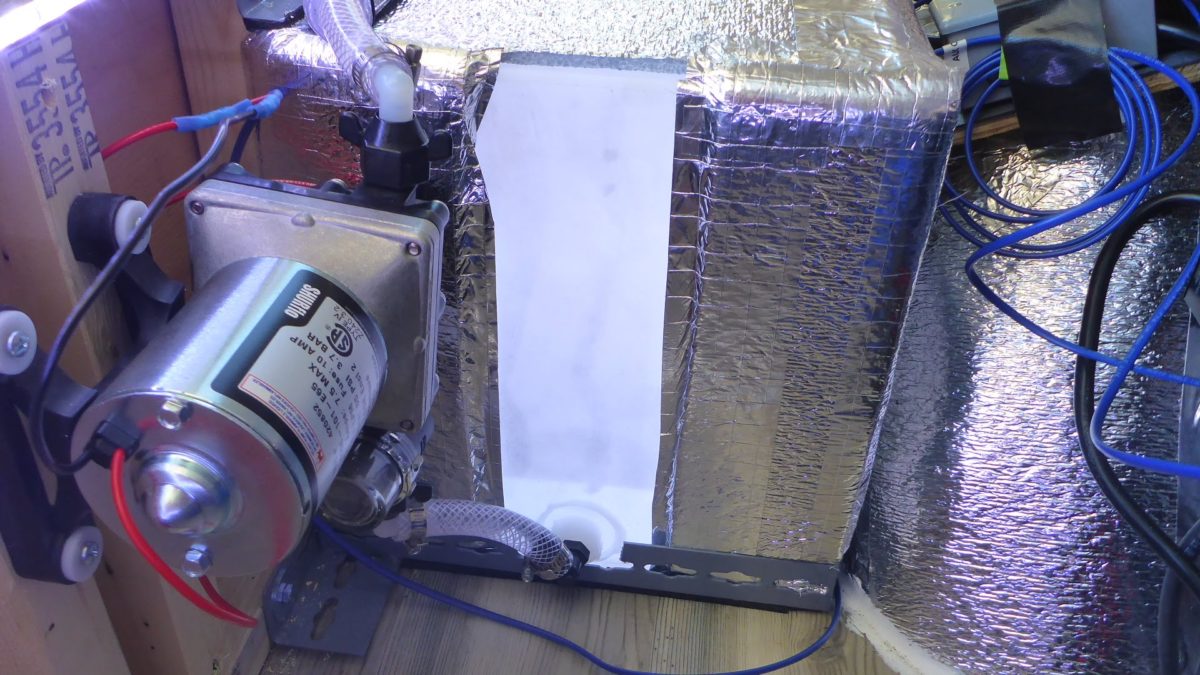
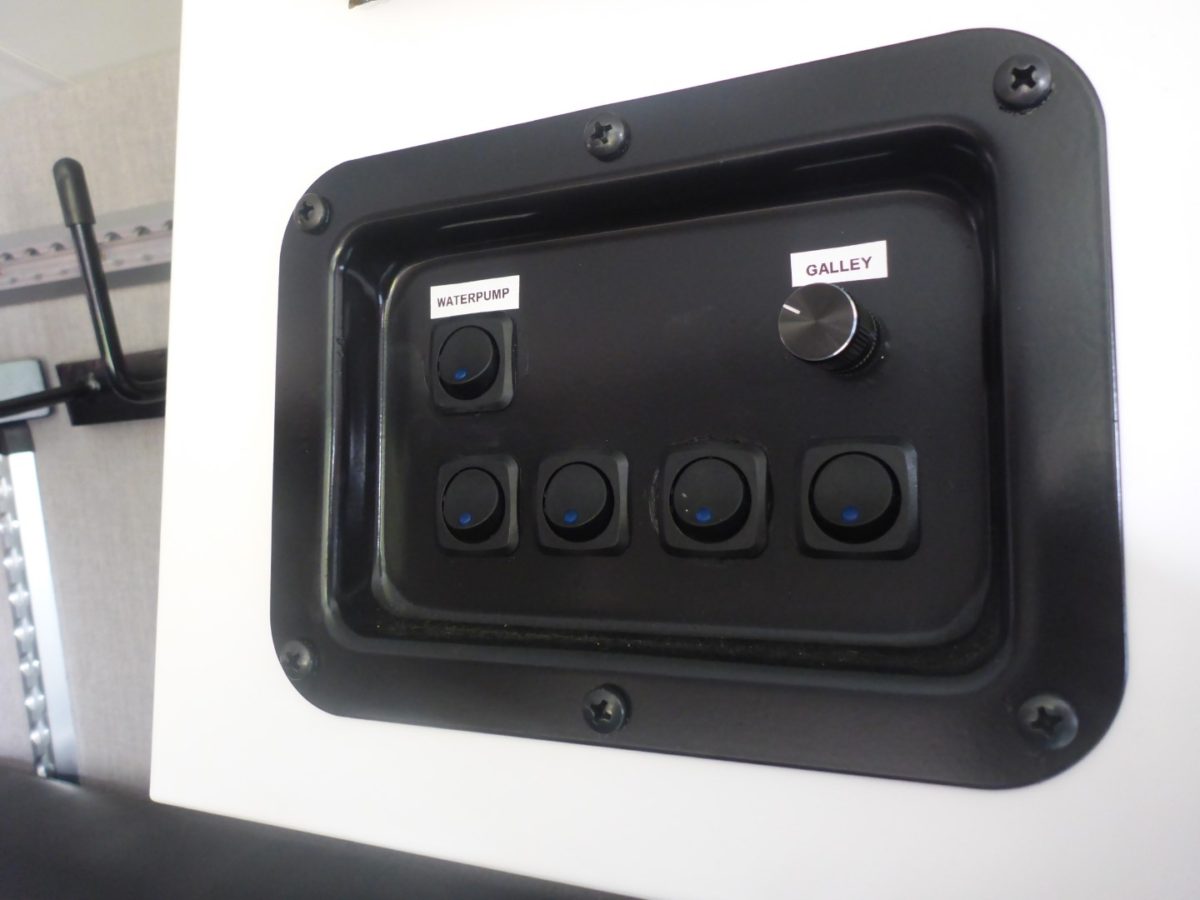
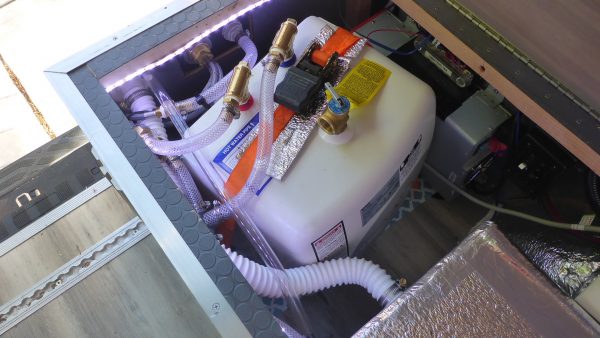
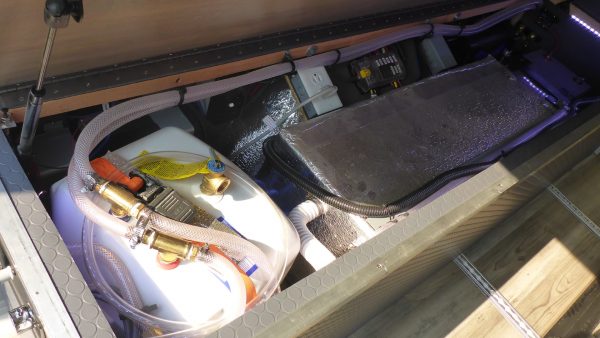
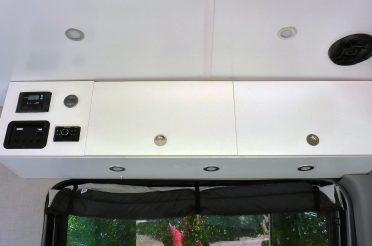
To get the water from point A to point B, we installed a SHURFLO 3.0 Revolution Water Pump. It is commonly used in RV applications such as this install. The pump puts out more than adequate pressure and volume and has an internal pressure switch. It actually might pump water faster than we want when trying to be conservative, but the pressure is nice for the outdoor shower/ bike wash station. It’s plumbed into the tank with ½” clear, braided hose. This hose can be found at Lowes or Amazon. A Shurflo strainer is threaded on the inlet of the pump to keep any debris from ever getting in. Many people run an accumulator tank after the pump, but it is not necessary with this waterpump. It has an internal bypass system that prevents excessive pump run time to create water pressure. We have a shutoff switch on our overhead cabinet in order to turn it on and off.
Water Heater
 We work too damn hard during the day to take cold showers, therefore hot water was a requirement for us with this build. It posed some challenges, but we pulled it off. There are a few options out there to heat water and none of them are cheap. We chose to go with an electric water heater that runs off 110V AC power via our inverter. It’s not the most efficient way to heat water, but it requires no vent and is relatively cheap and easy to install.
We purchased a 4 gallon Bosch water heater. It sits behind our freshwater tank and is simply secured with a ratchet strap. Sort of ghetto, yet effective. Besides we aren’t going to be entering our water system into any fashion shows. It just needed to be solid and function well. Plumbing the water heater is very simple: cold water in, hot water out. I teed into the lines to run water in two directions: the outdoor shower right behind it and forward to the kitchen galley.
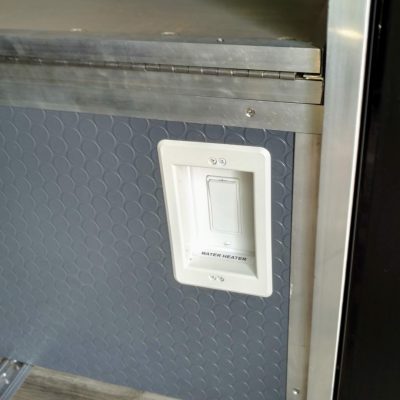
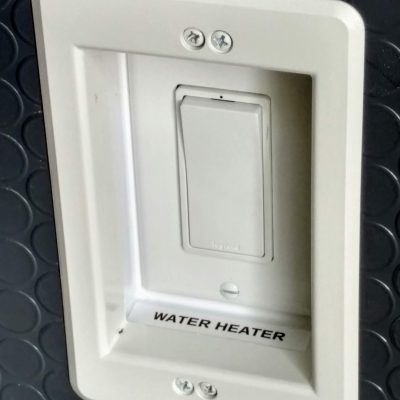
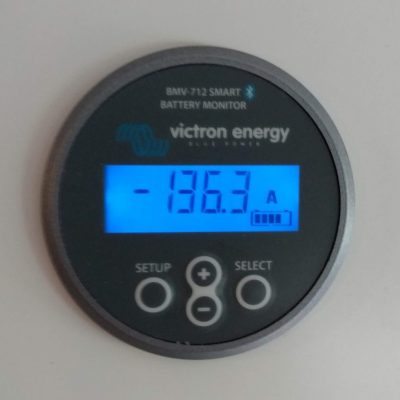
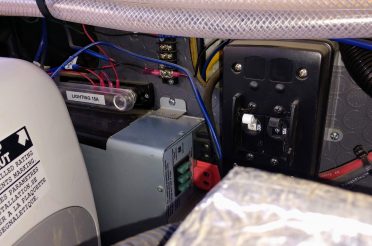
The water heater plugs into a 110V AC power outlet inside our utility box. That outlet has a wall-mounted power switch that allows us to turn the water heater on and off remotely. We installed it in a recessed outlet box so it doesn’t get bumped accidentally. When it is turned on, it typically runs for about 15-20 minutes at the most. 4 gallons of hot water is plenty for two quick showers, therefore, we shut it off after it kicks off automatically. Powered by our 2500W inverter, it uses about 1440 watts of AC power. This translates to about 135-140 amps of draw from our 12V batteries. It’s quite a bit and that’s why we use it sparingly. We have 400 amp hours of battery capacity so we can actually use the water heater a couple times before needing a charge that is more than our solar can provide. Other charging comes from our alternator while driving or shore power as a last resort.
Kitchen Sink
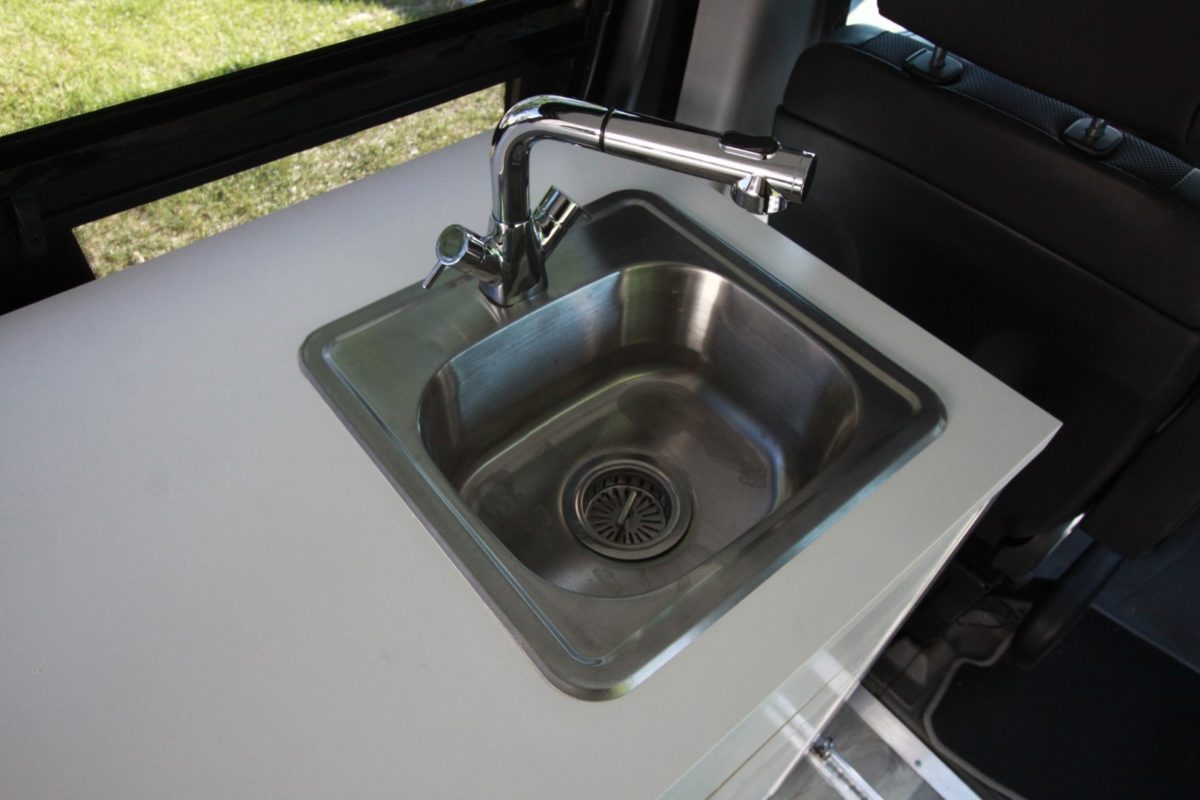
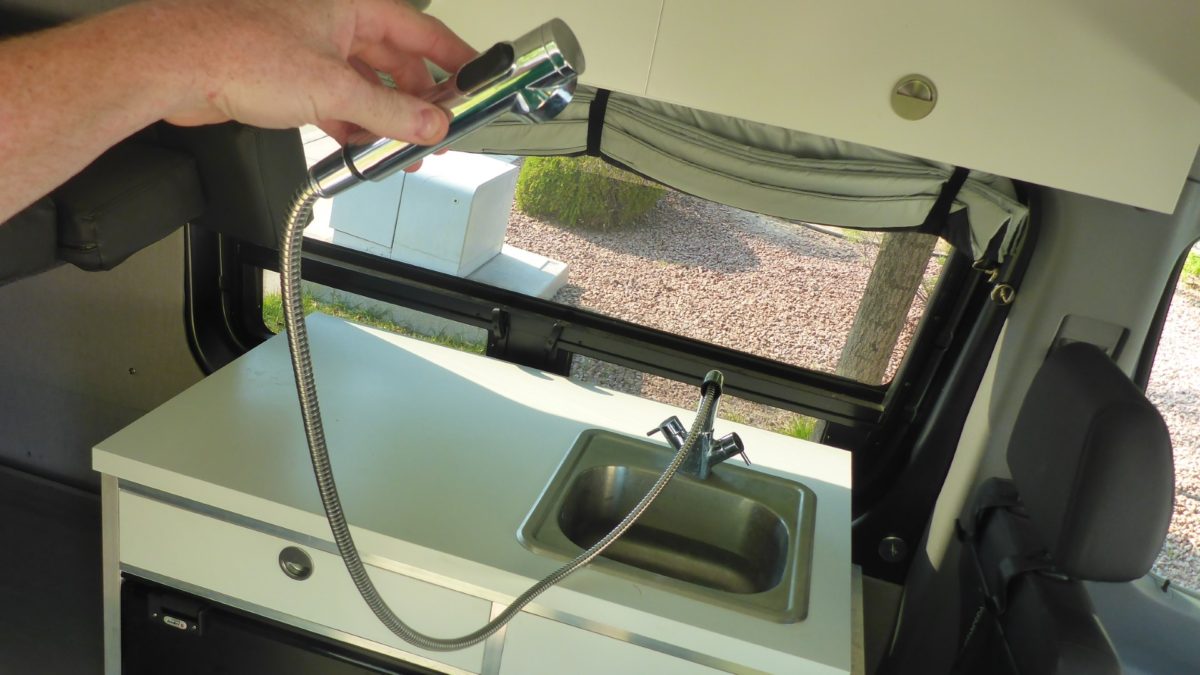
Our kitchen sink faucet has a hot/cold mixer so we can have hot water at the sink as well as in our indoor portable shower. The hose is 6 feet long making it a nice, dual-purpose water supply that reaches across the width of the van. It works great for filling up the water tank for our portable toilet too.
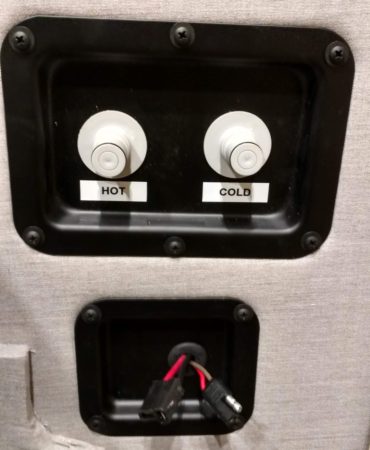
Two water lines (hot and cold) run from the water supply through the wall and to a wall plate where we have two quick connect fittings. Originally we were going to make the kitchen galley modular so it could easily be removed, but we decided against that because we use it all too often. The quick-connect fittings are still nice to have for any kind of plumbing service.
We used a 90-degree adapter for the sink drain because it needed to clear our drawers. It drains towards the back of the galley and into a 5-gallon clear jug. There isn’t much odor without a pea trap or loop. We tried one and it seemed to significantly reduce the flow so we went with the routing you see here. We drop a couple drops of tea tree oil in the tank if it gets noticed and we also keep our sink drain closed when not in use.
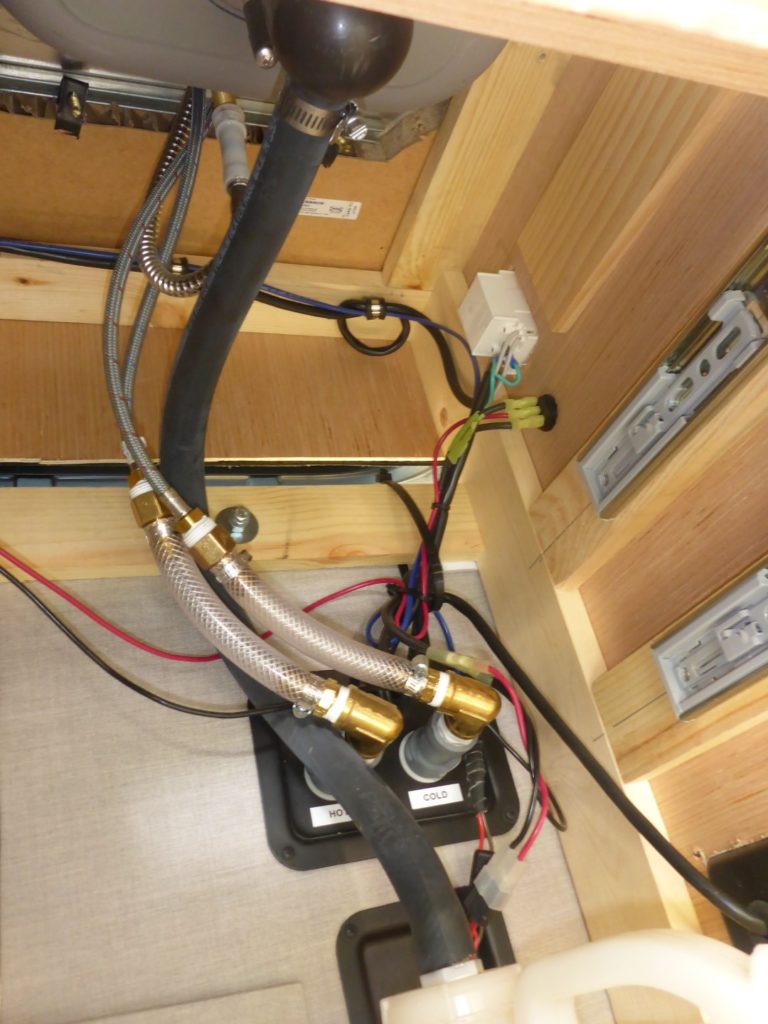
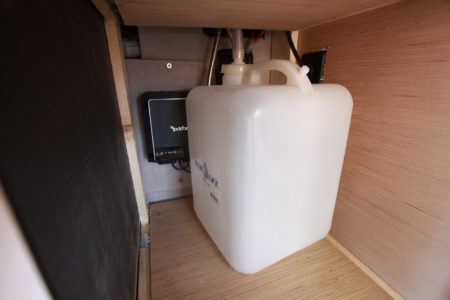
Our 5-gallon gray tank
Easy to drain, lasts about 2-3 days & it’s just plain SIMPLE
We ended up using black, automotive-style heater hose (as seen in the previous pic) for the drain hose. It seemed to hold it’s shape better in cold weather.
Indoor Shower
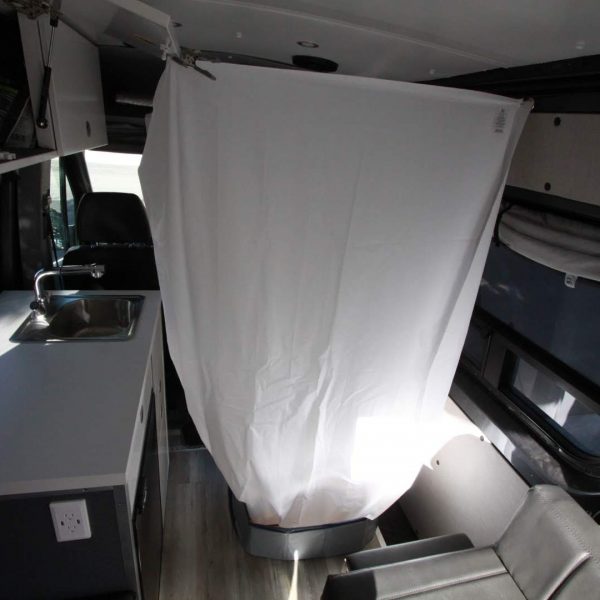
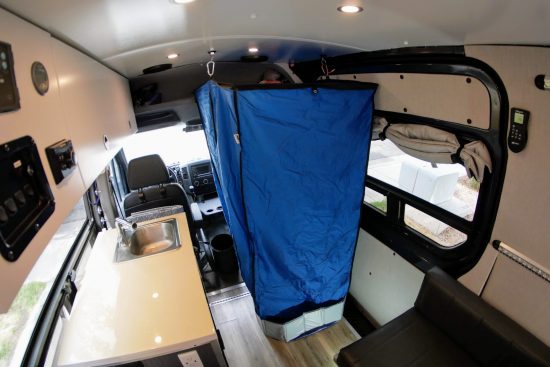
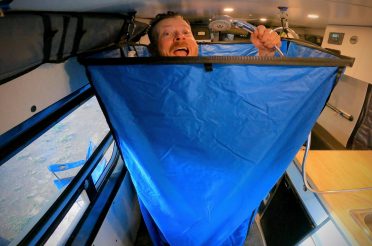
As I mentioned earlier, our Ambassador kitchen faucet pulls out 6 feet. It is a dual-purpose marine application making it very handy in the van. When it’s time to shower inside, we set up our portable shower pan plumbed to the outside of the van, put up a couple of shower curtains, and take a real indoor hot shower just like at home. It works great and has come in handy many times. More info on this project here.
Update! We made some improvements. Click here to check out our Indoor Portable Shower 2.0!
Outdoor Shower
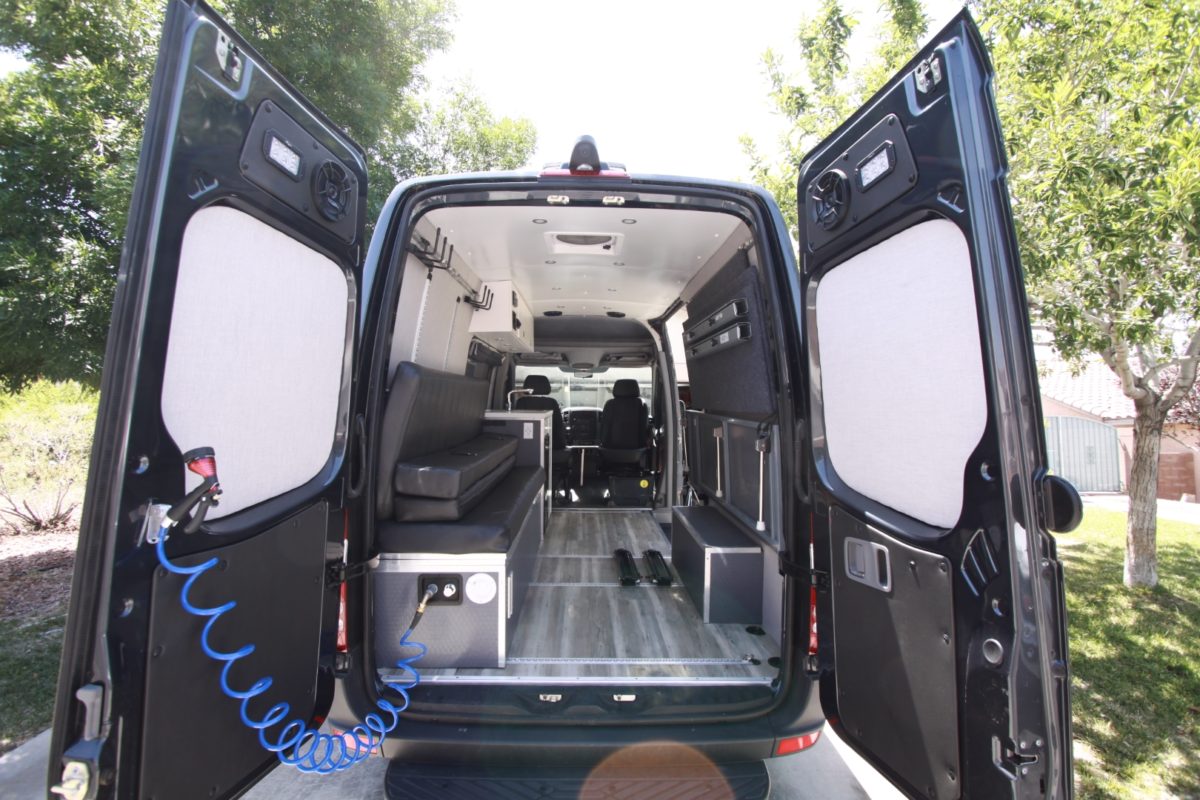
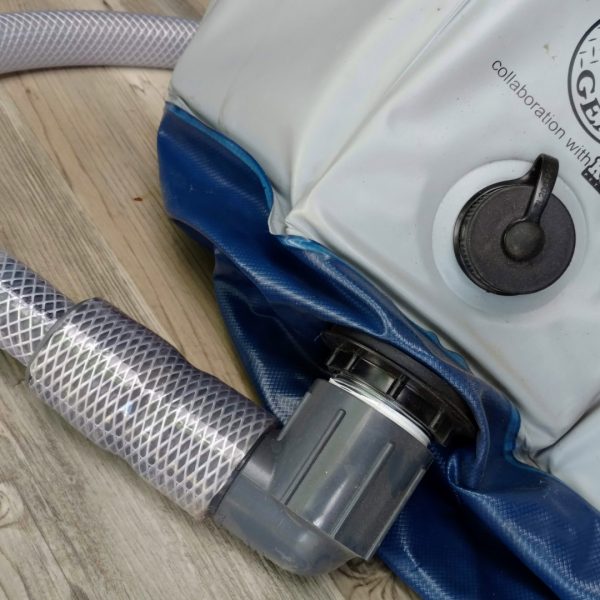
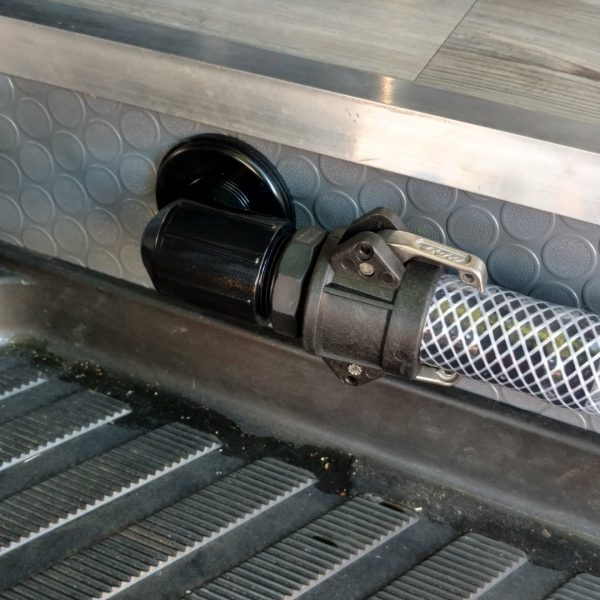
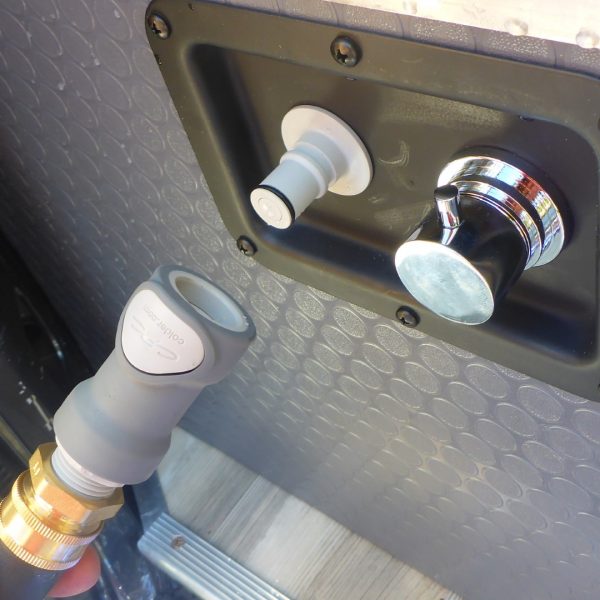
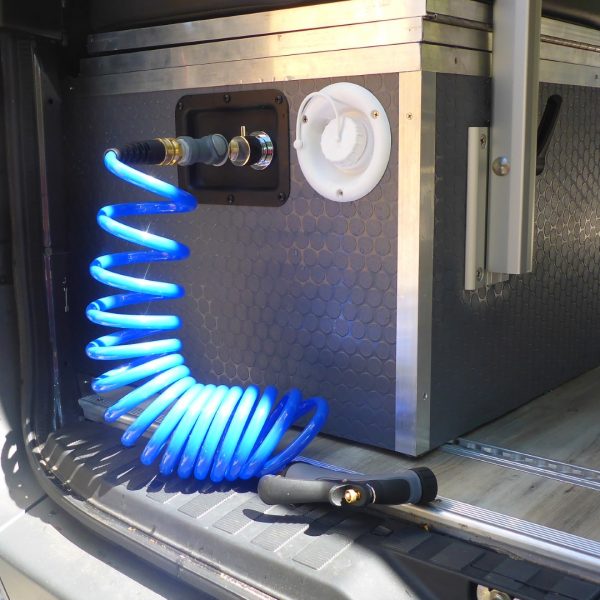
When the weather is good and we’re out in nature, sometimes we prefer to use our outdoor shower. At the back of the utility box/ bench, I used a Penn-Elcom blank dish and drilled a couple holes to mount a hot/cold mixer valve and panel-mount quick disconnect for a shower head and hose. We also have a 15′ coiled hose with a spray nozzle that works great for rinsing off the bikes and gear.
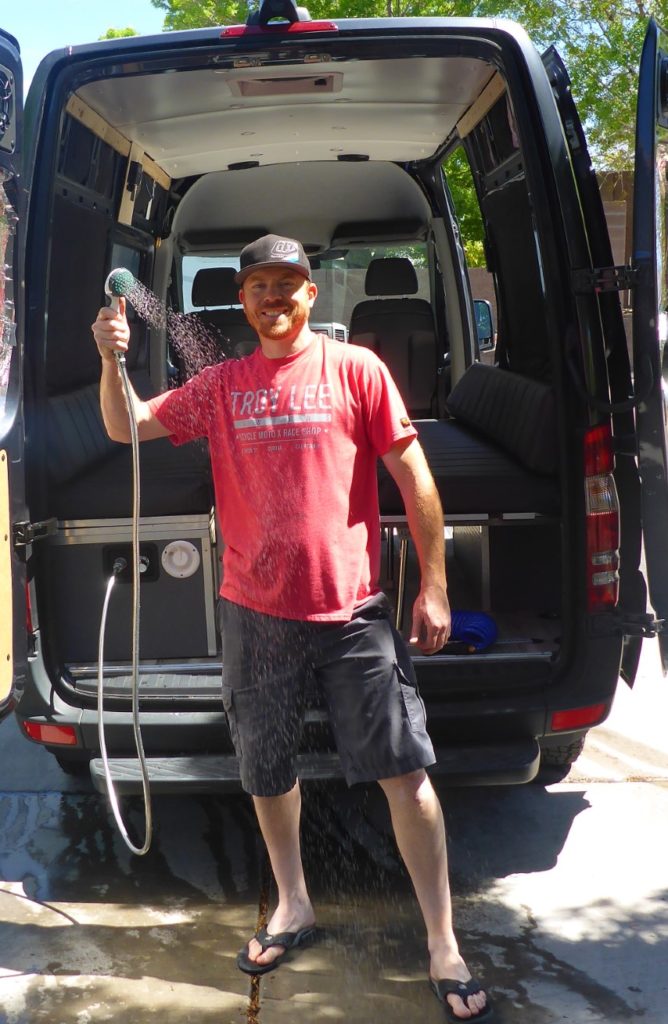
A showerhead bracket was mounted to the inside of the left door using VHB tape.
Parts List
- 20 gallon water tank
- Low E foil-faced foam insulation
- LED lights
- foam insulation tape for the bottom of the tank frame
- 3.0 GPM Shurflo water pump
- strainer
- ½” clear, braided hose
- water pump hose fittings
- 15″ kitchen sink
- 5-gallon clear jug (gray tank)
- Ambassador marine head/shower combo faucet
- 90-degree sink drain adapter
- Colder quick connect, panel-mount water fittings
- Colder quick connect, ½” male fitting
- 1/2″ Female NPT to 3/4″ Male Garden Hose Thread Adapter
- 1″ clear braided hose
- ½” clear hose
- ½” male barb
- ½” female elbow
- ½” barb to ½” female thread
- 4 gallon Bosch water heater
- water fill and tank vent
- 110V recessed outlet box
- Penn-Elcom blank metal dish
- Outside shower hot/cold mixer valve
- panel-mount quick disconnect
- shower head
- shower hose
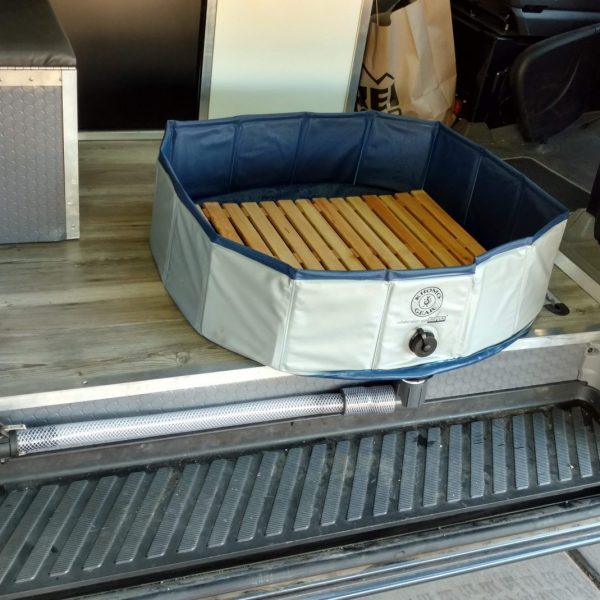
- shower pan (pet pool)
- 15′ coiled hose and spray nozzle
- showerhead bracket
- VHB tape
10 Responses
Glen wilson
This is very good education how to make a van into a camper
John B
Great points. Why did you go with electric water heater vs propane. We plan on 200-300 amps AGM batteries plus olar and a 1800 watt inverter. Which way would be better for remote use. I’m thinking electric, as the propane store may not be close by.
Pete
We have really liked the electric water heater. It works awesome! If you camp in one spot more than a couple of nights you may need to run your van (if you have alternator charging), but we are always driving and we charge our batteries back up quickly from the alternator. I love not having to refill propane or worry about where to get it or “how low is it?”
ken
Hey Pete,
Love your build. I have “borrowed” many ideas from you. Hope you don’t mind 😉
I had a question about your rear showered quick connectors. The link you have posted is the “male” end that attaches to the cabinet, which I ordered, but for the life of me I cannot order the correct female part. I have ordered two off of Amazon and neither fit.
Here is one:
https://www.amazon.com/dp/B003LYBU5Q?psc=1&ref=ppx_yo2_dt_b_product_details
and the other:
https://www.amazon.com/dp/B003M07S46?psc=1&ref=ppx_yo2_dt_b_product_details
If by chance, could send me the link of the proper part, I’d be forever grateful.
If you links are affiliates, I have ordered what I can from directly from your site. Every little bit helps I suppose. Cheers!
Ken
Pete
Hi Ken. Thanks and not a problem at all! Use whatever ideas you’d like. I’m trying to figure out which fitting you mean though. Is it a fitting I used in my build or something different you are putting together? Do you need a female Colder quick connector fitting with female threads or male? This is the fitting I used to connect a garden hose to then it plugs into the male panel mount quick connector. https://amzn.to/3j7D9lQ
ken
That’s the one! I think Amazon might have sent me the wrong male end (that attaches to the cabinet). I think it’s a 1/2″ connector and not the 3/8″ like in the link you sent. Thanks for sharing it with me.
I had one other question and then I’ll stop bothering you. 😉 It appears you used hose clamps for most of your plumbing hose connections. How have they fared? Any leaks? I am tempted to go this way as it seems the other connections seem like kind of a pain in the ass to clamp when it tiny little spaces. And harder to repair if on the road. Thanks again for your time.
Pete
No worries. You aren’t bothering! 😉 Spring clamps would be better. I am constantly checking them and tightening them to make sure they don’t leak. Springs clamps maintain constant clamping force. The hose clamps work but they just require periodic checks.
ken
Thanks for the tip. I see so many van builds using home plumbing specific components that use expensive clamps and crimping tools that I figured there has to be more simple ways to do this. There are lots of spring clamps in your engine bay holding in boiling hot coolant, so this has to be fine for some water lines inside a van. Thanks again,
Ken
Ramzi
Hey Pete, had a question about the water heater pressure relief valve – I’m looking to possibly put mine under a seat bench like you have. Have you ever had the relief valve open (is the bench high enough for the valve to be open all the way)? And does it create any problems being in a closed box like that? Thanks!
Pete
It has never been a problem. We only turn the water heater on for short periods of time to heat a tank and then turn it off. It has never opened.