 Although our Sprinter van’s freshwater tank is clear and even lights up when the utility box is opened, opening it up is not always an option when we are fully loaded with gear and ready to hit the road. So we got tired of guessing how much water is in the tank and decided to install a gauge and level sensor. It was a very simple project that I have been putting off for much too long.
Choosing a Level Sensor
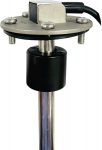
I went with a simple float design level sensor that works off resistance (33-240 ohms). When choosing this level sensor, there are many different lengths available for different sized tanks. You can get this same sensor anywhere from 4-24″ in length. You want to get one that is 1/2″-1″ shorter than the depth of your water tank. Since our water tank is 12″ tall, I went with the 11″ sender. I could have also gotten an 11.5″ sender, but this way when the gauge is on “E”, we’ll have a little bit of reserve water still left in the tank.
![]() This level sensor includes the level sensor assembly, a rubber gasket,
This level sensor includes the level sensor assembly, a rubber gasket,
5 mounting screws with rubber washers attached, and instructions.
Installing the Level Sensor
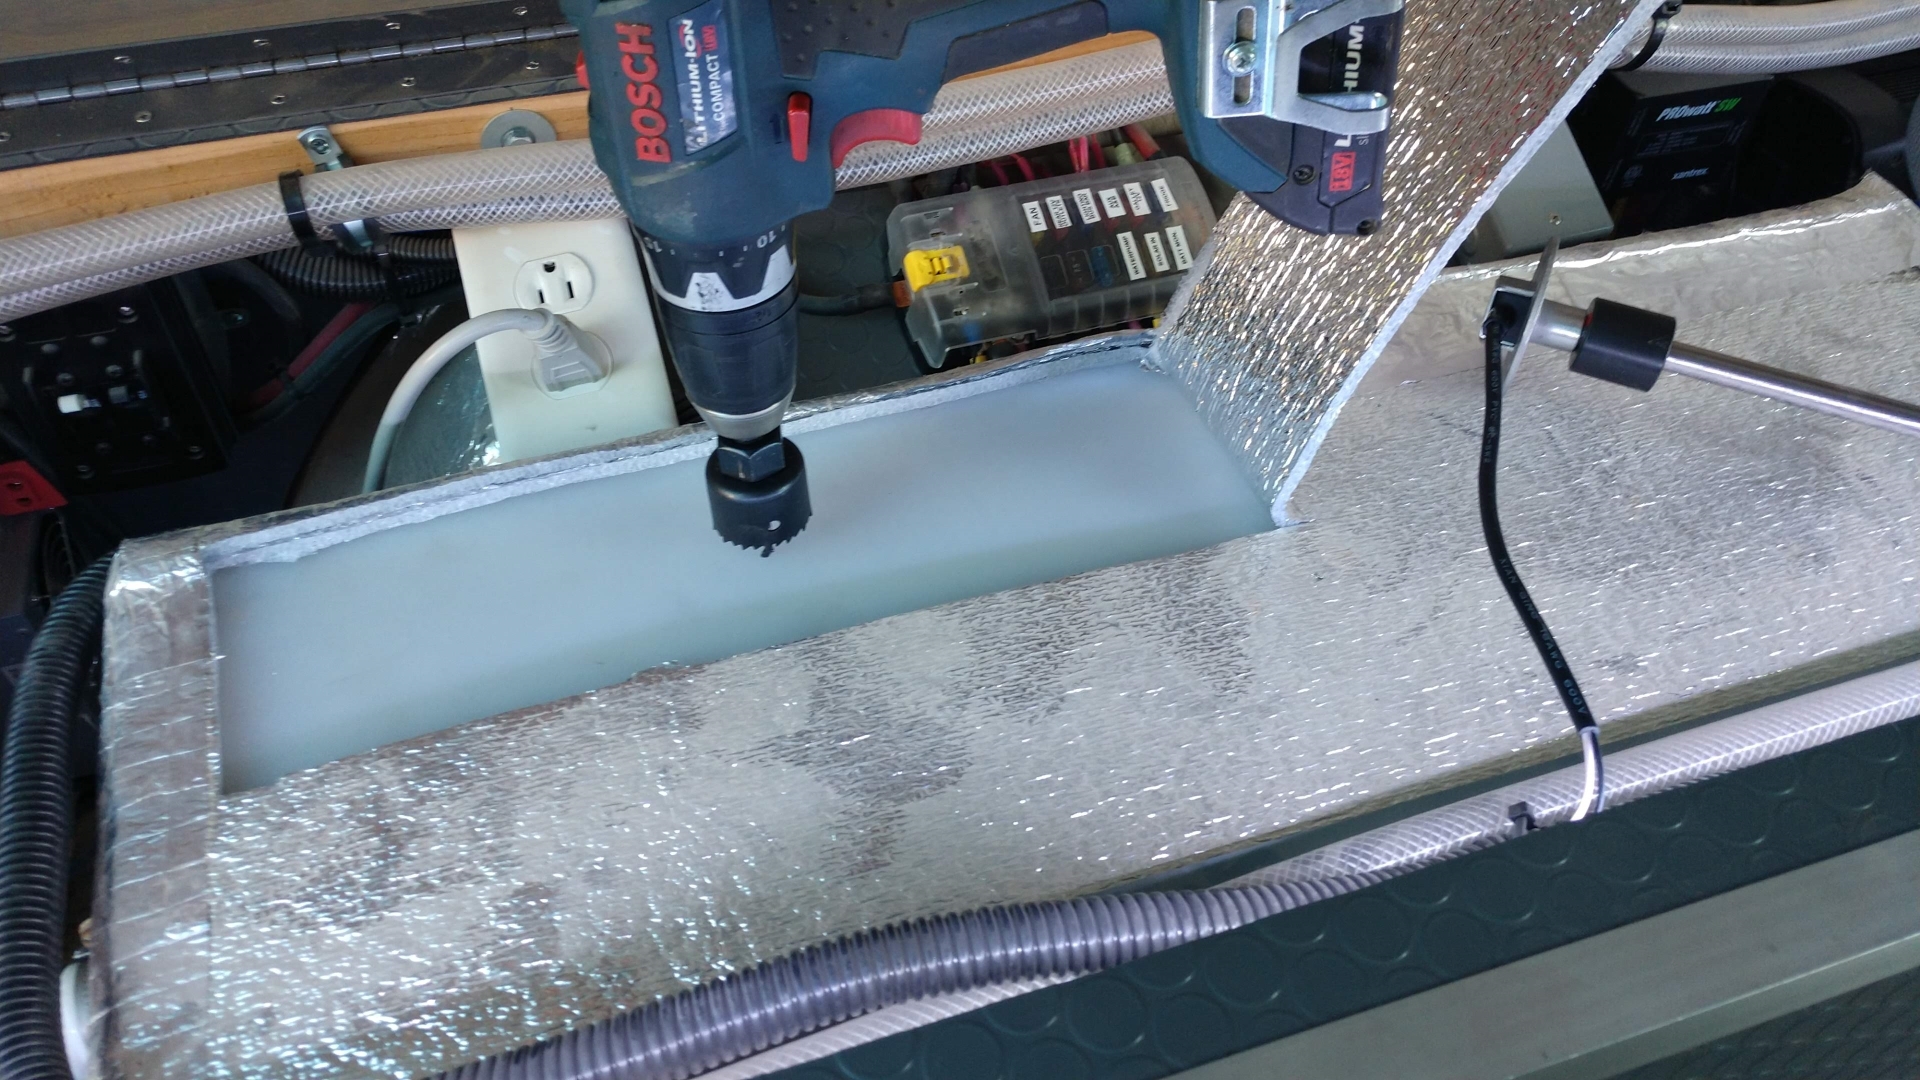
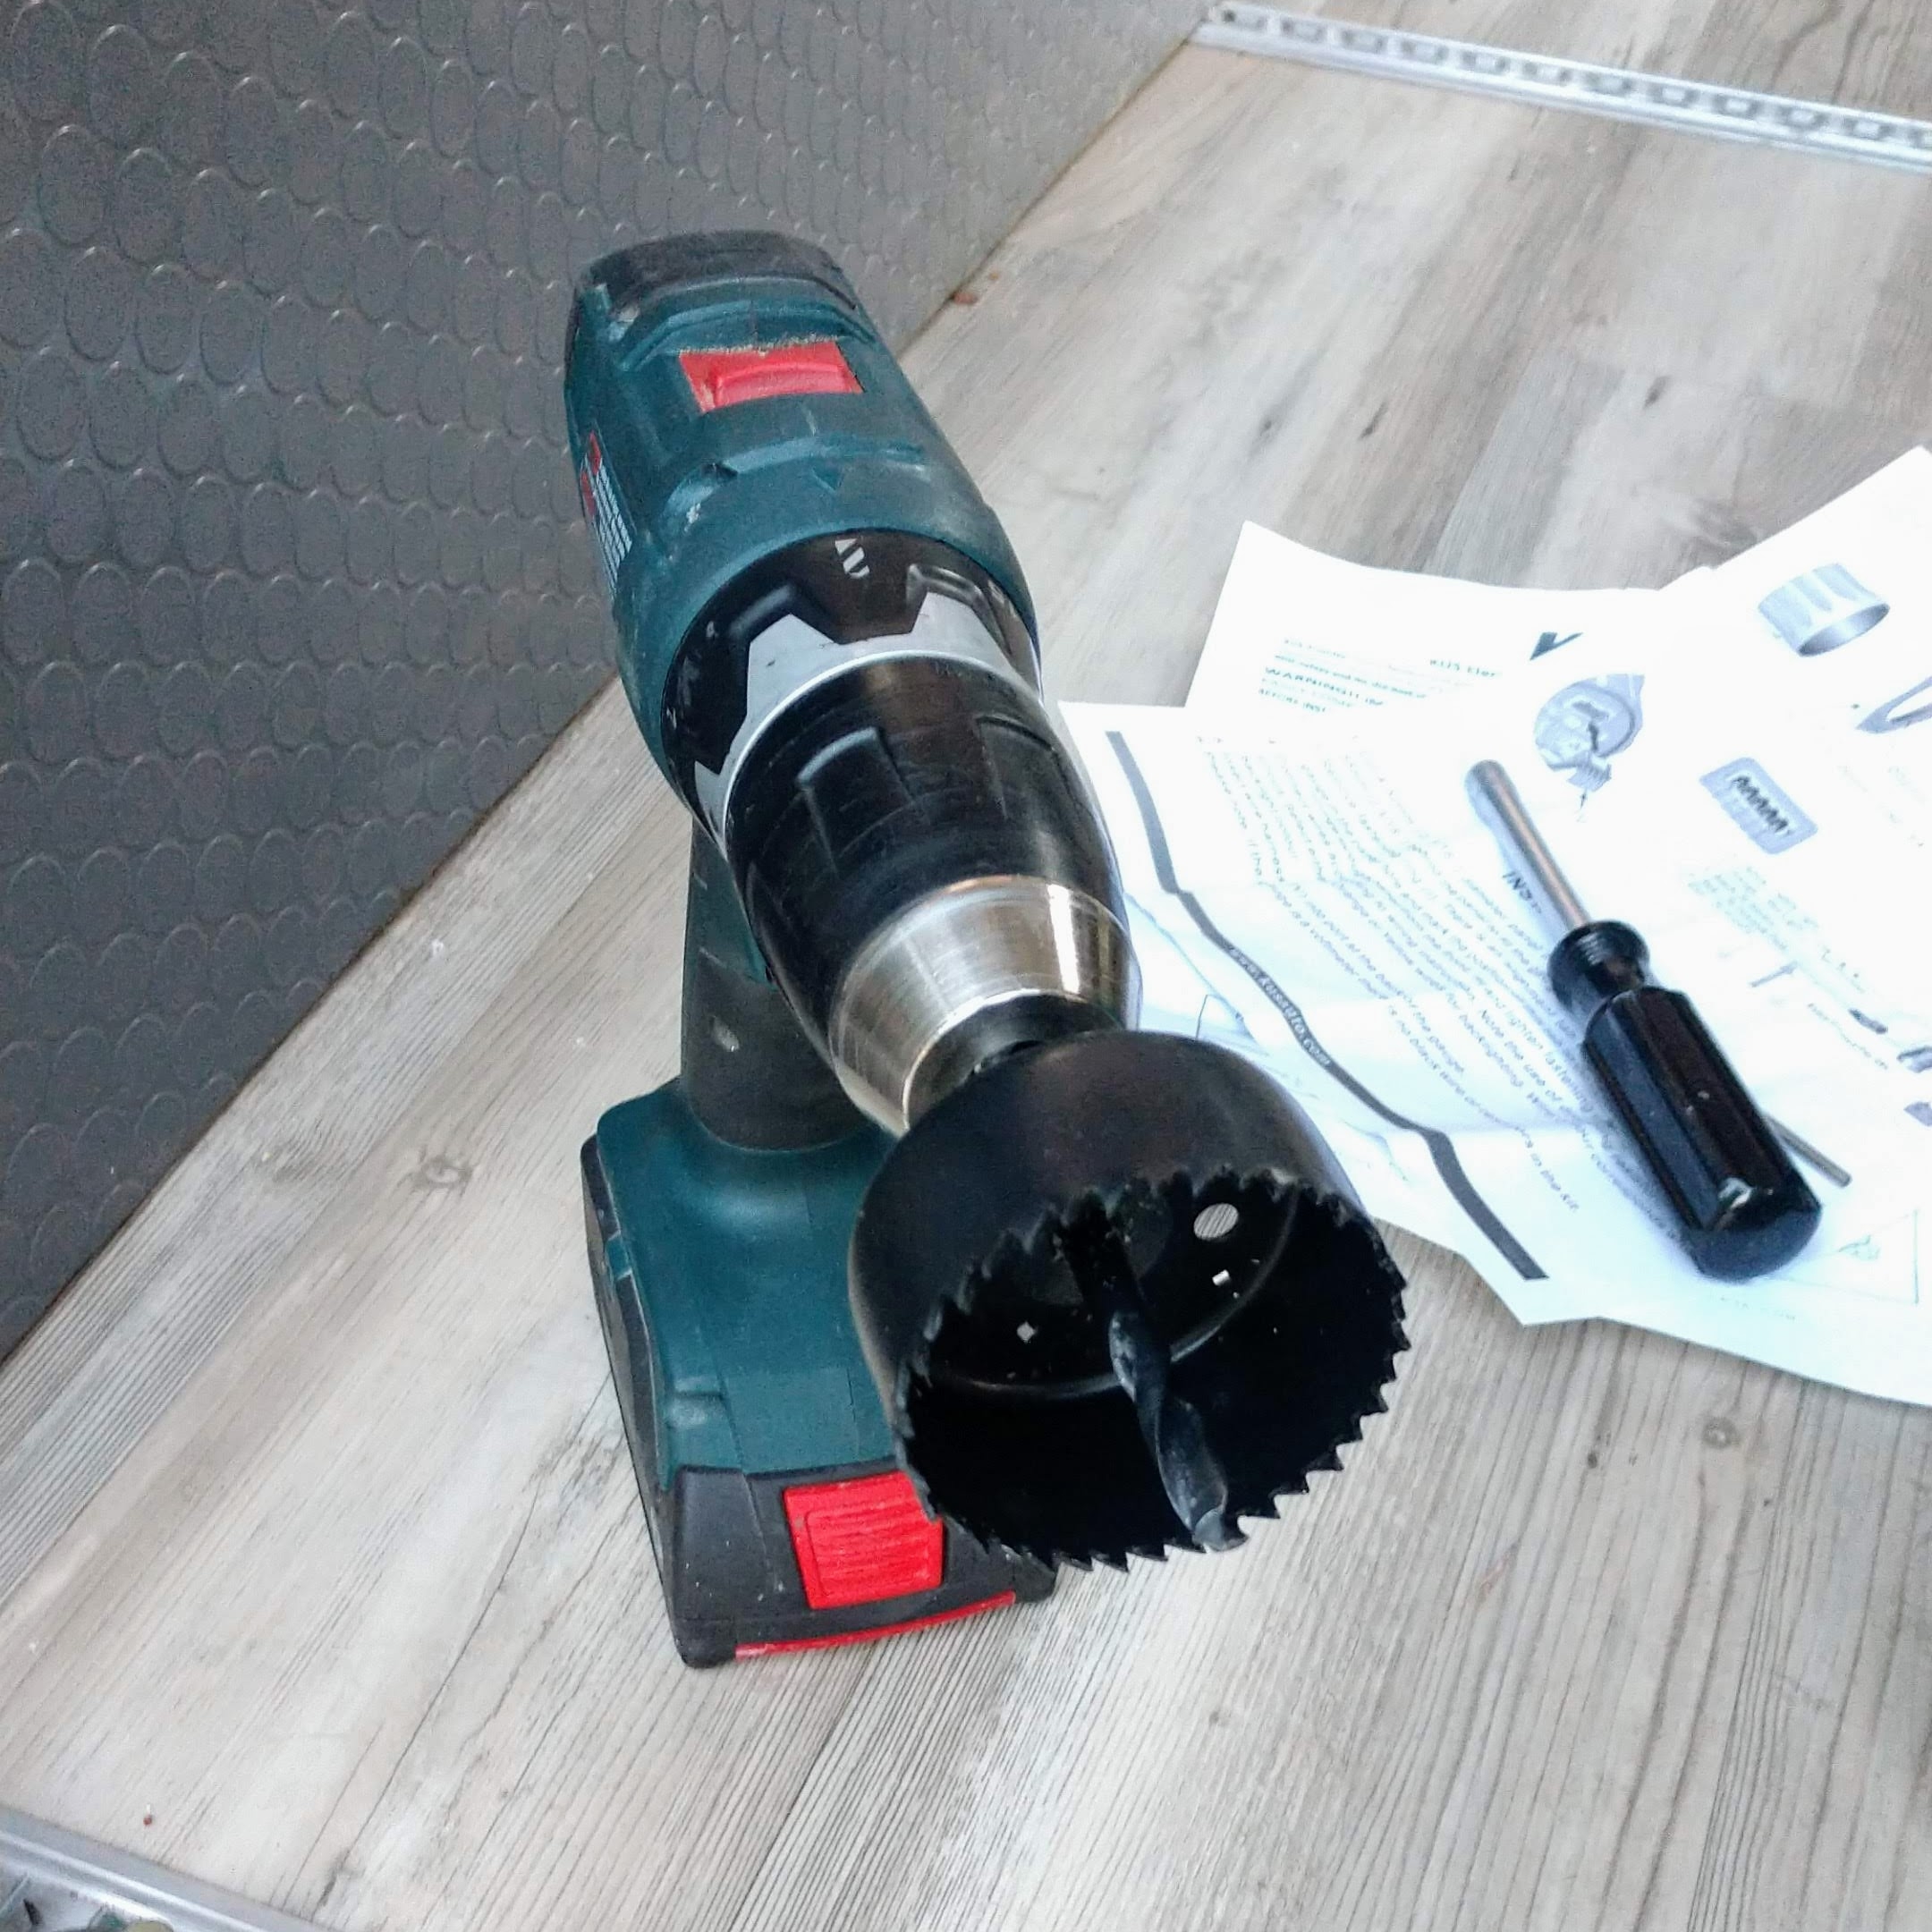
Drilling into our water tank was almost more stressful than cutting a hole in our roof for our vent fan. 😆 The last thing I wanted to do was completely rebuild or replumb our water system. I chose a location in the tank that was about 2/3 from the end and a couple of inches from the side of the tank. It doesn’t matter too much, but I felt this was a good spot for it. I used a hole saw that matched the center of the gasket that was supplied with the level sensor.
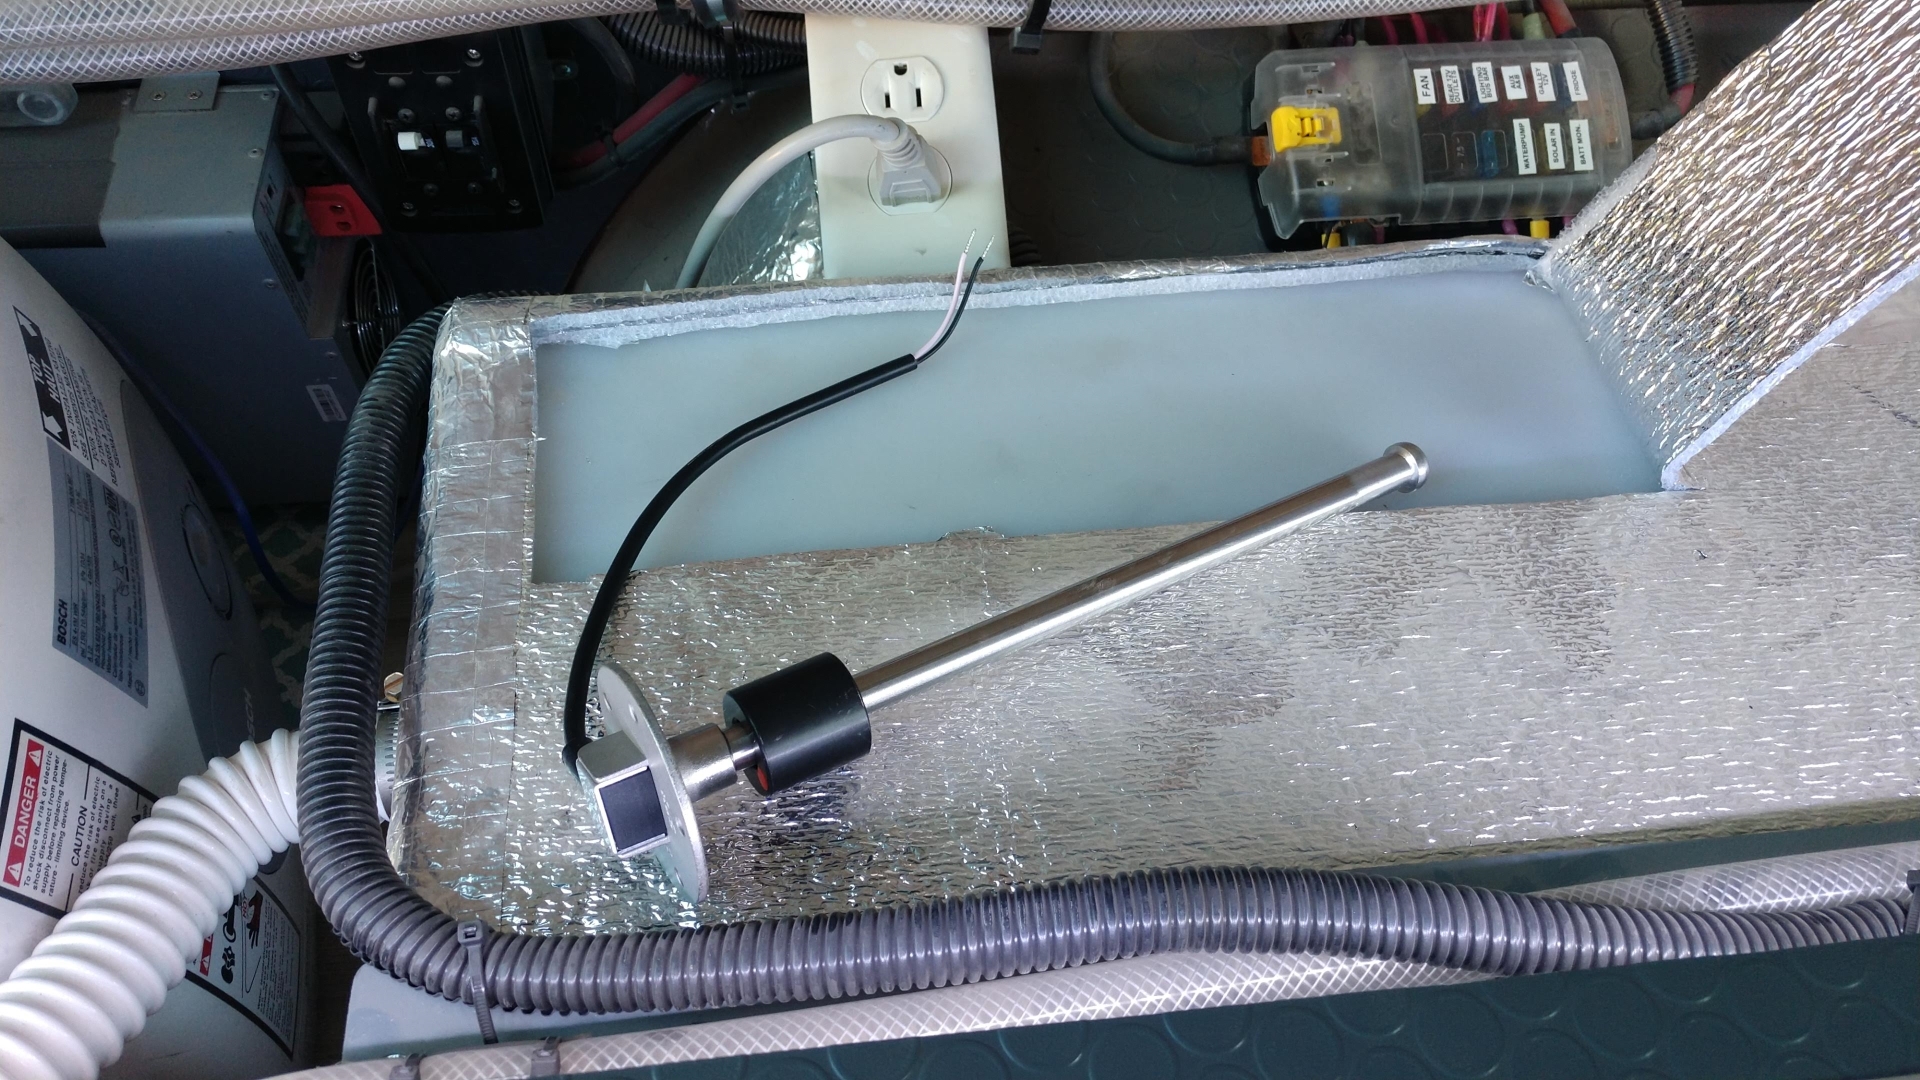

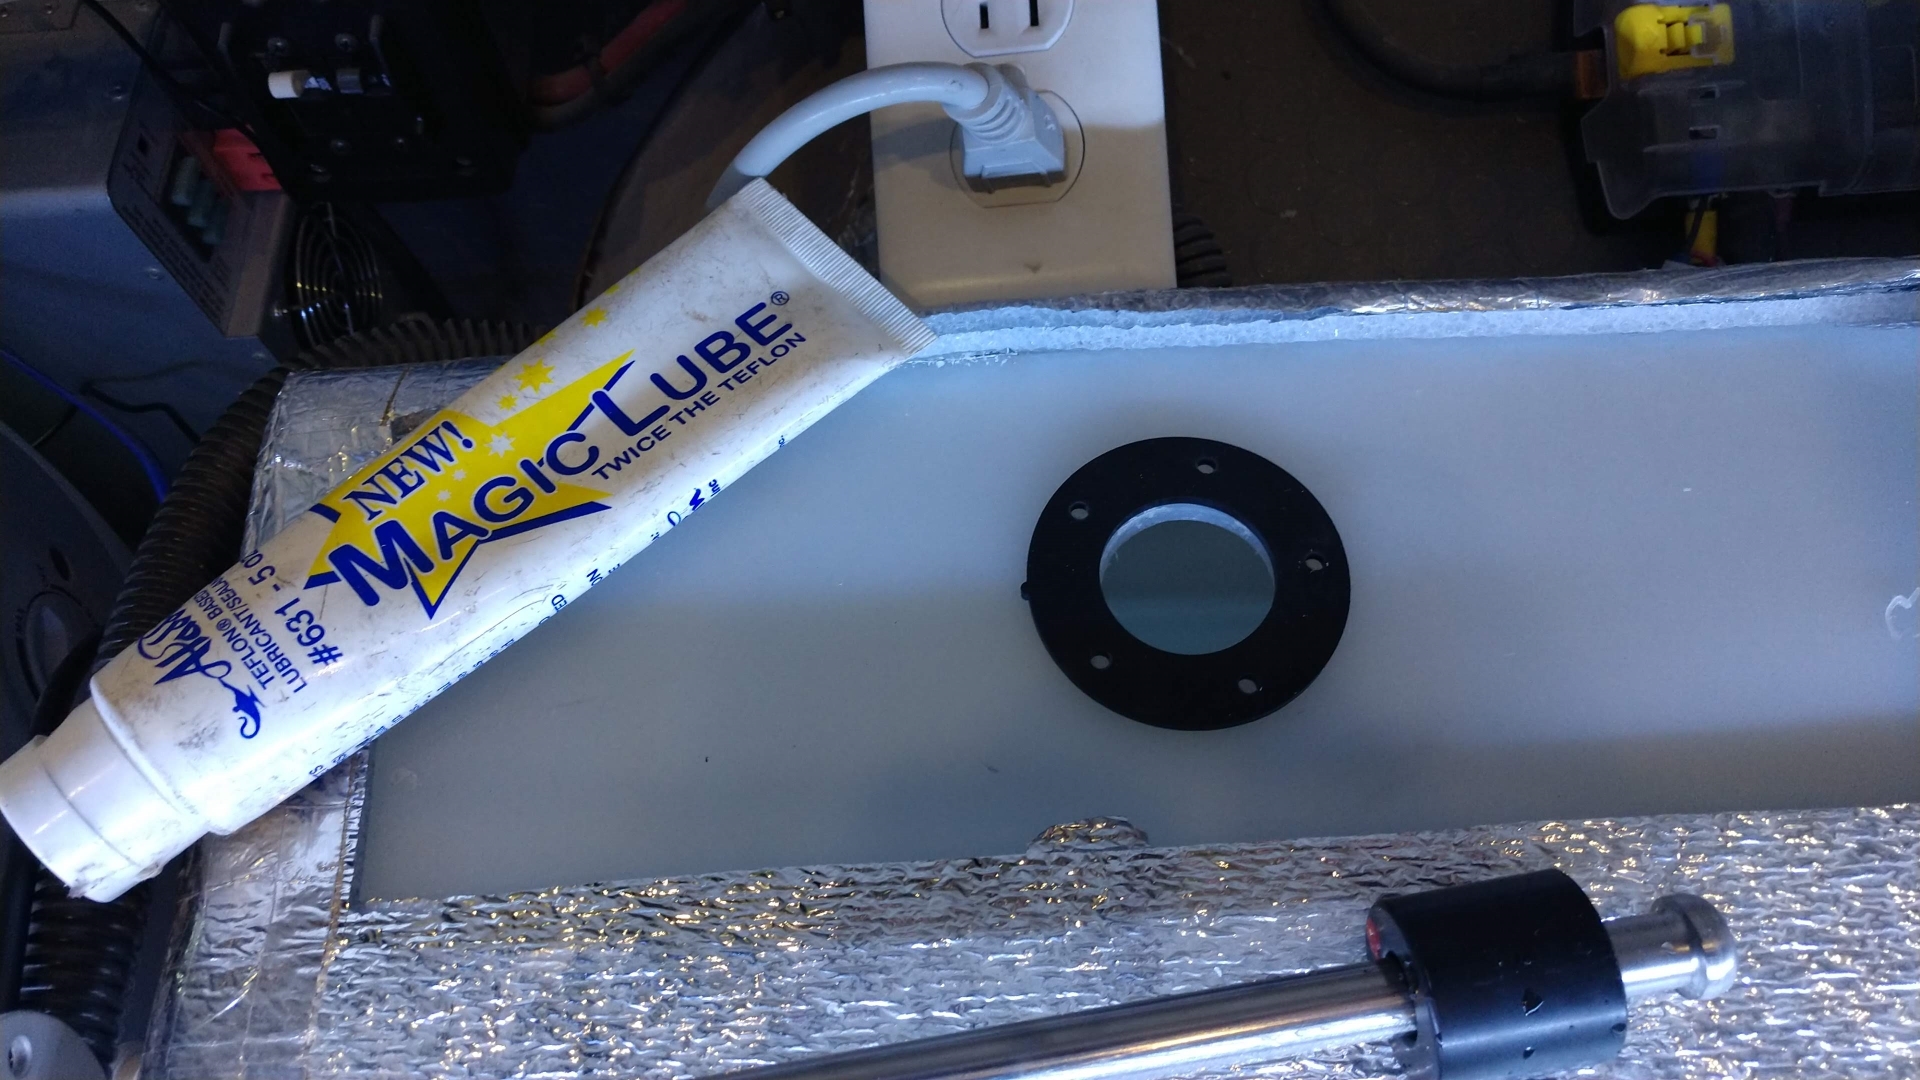
After cleaning up the rough edges, I applied a small amount of Magic Lube with Teflon to each side of the rubber gasket. This ensures the gasket makes a good seal against the tank.
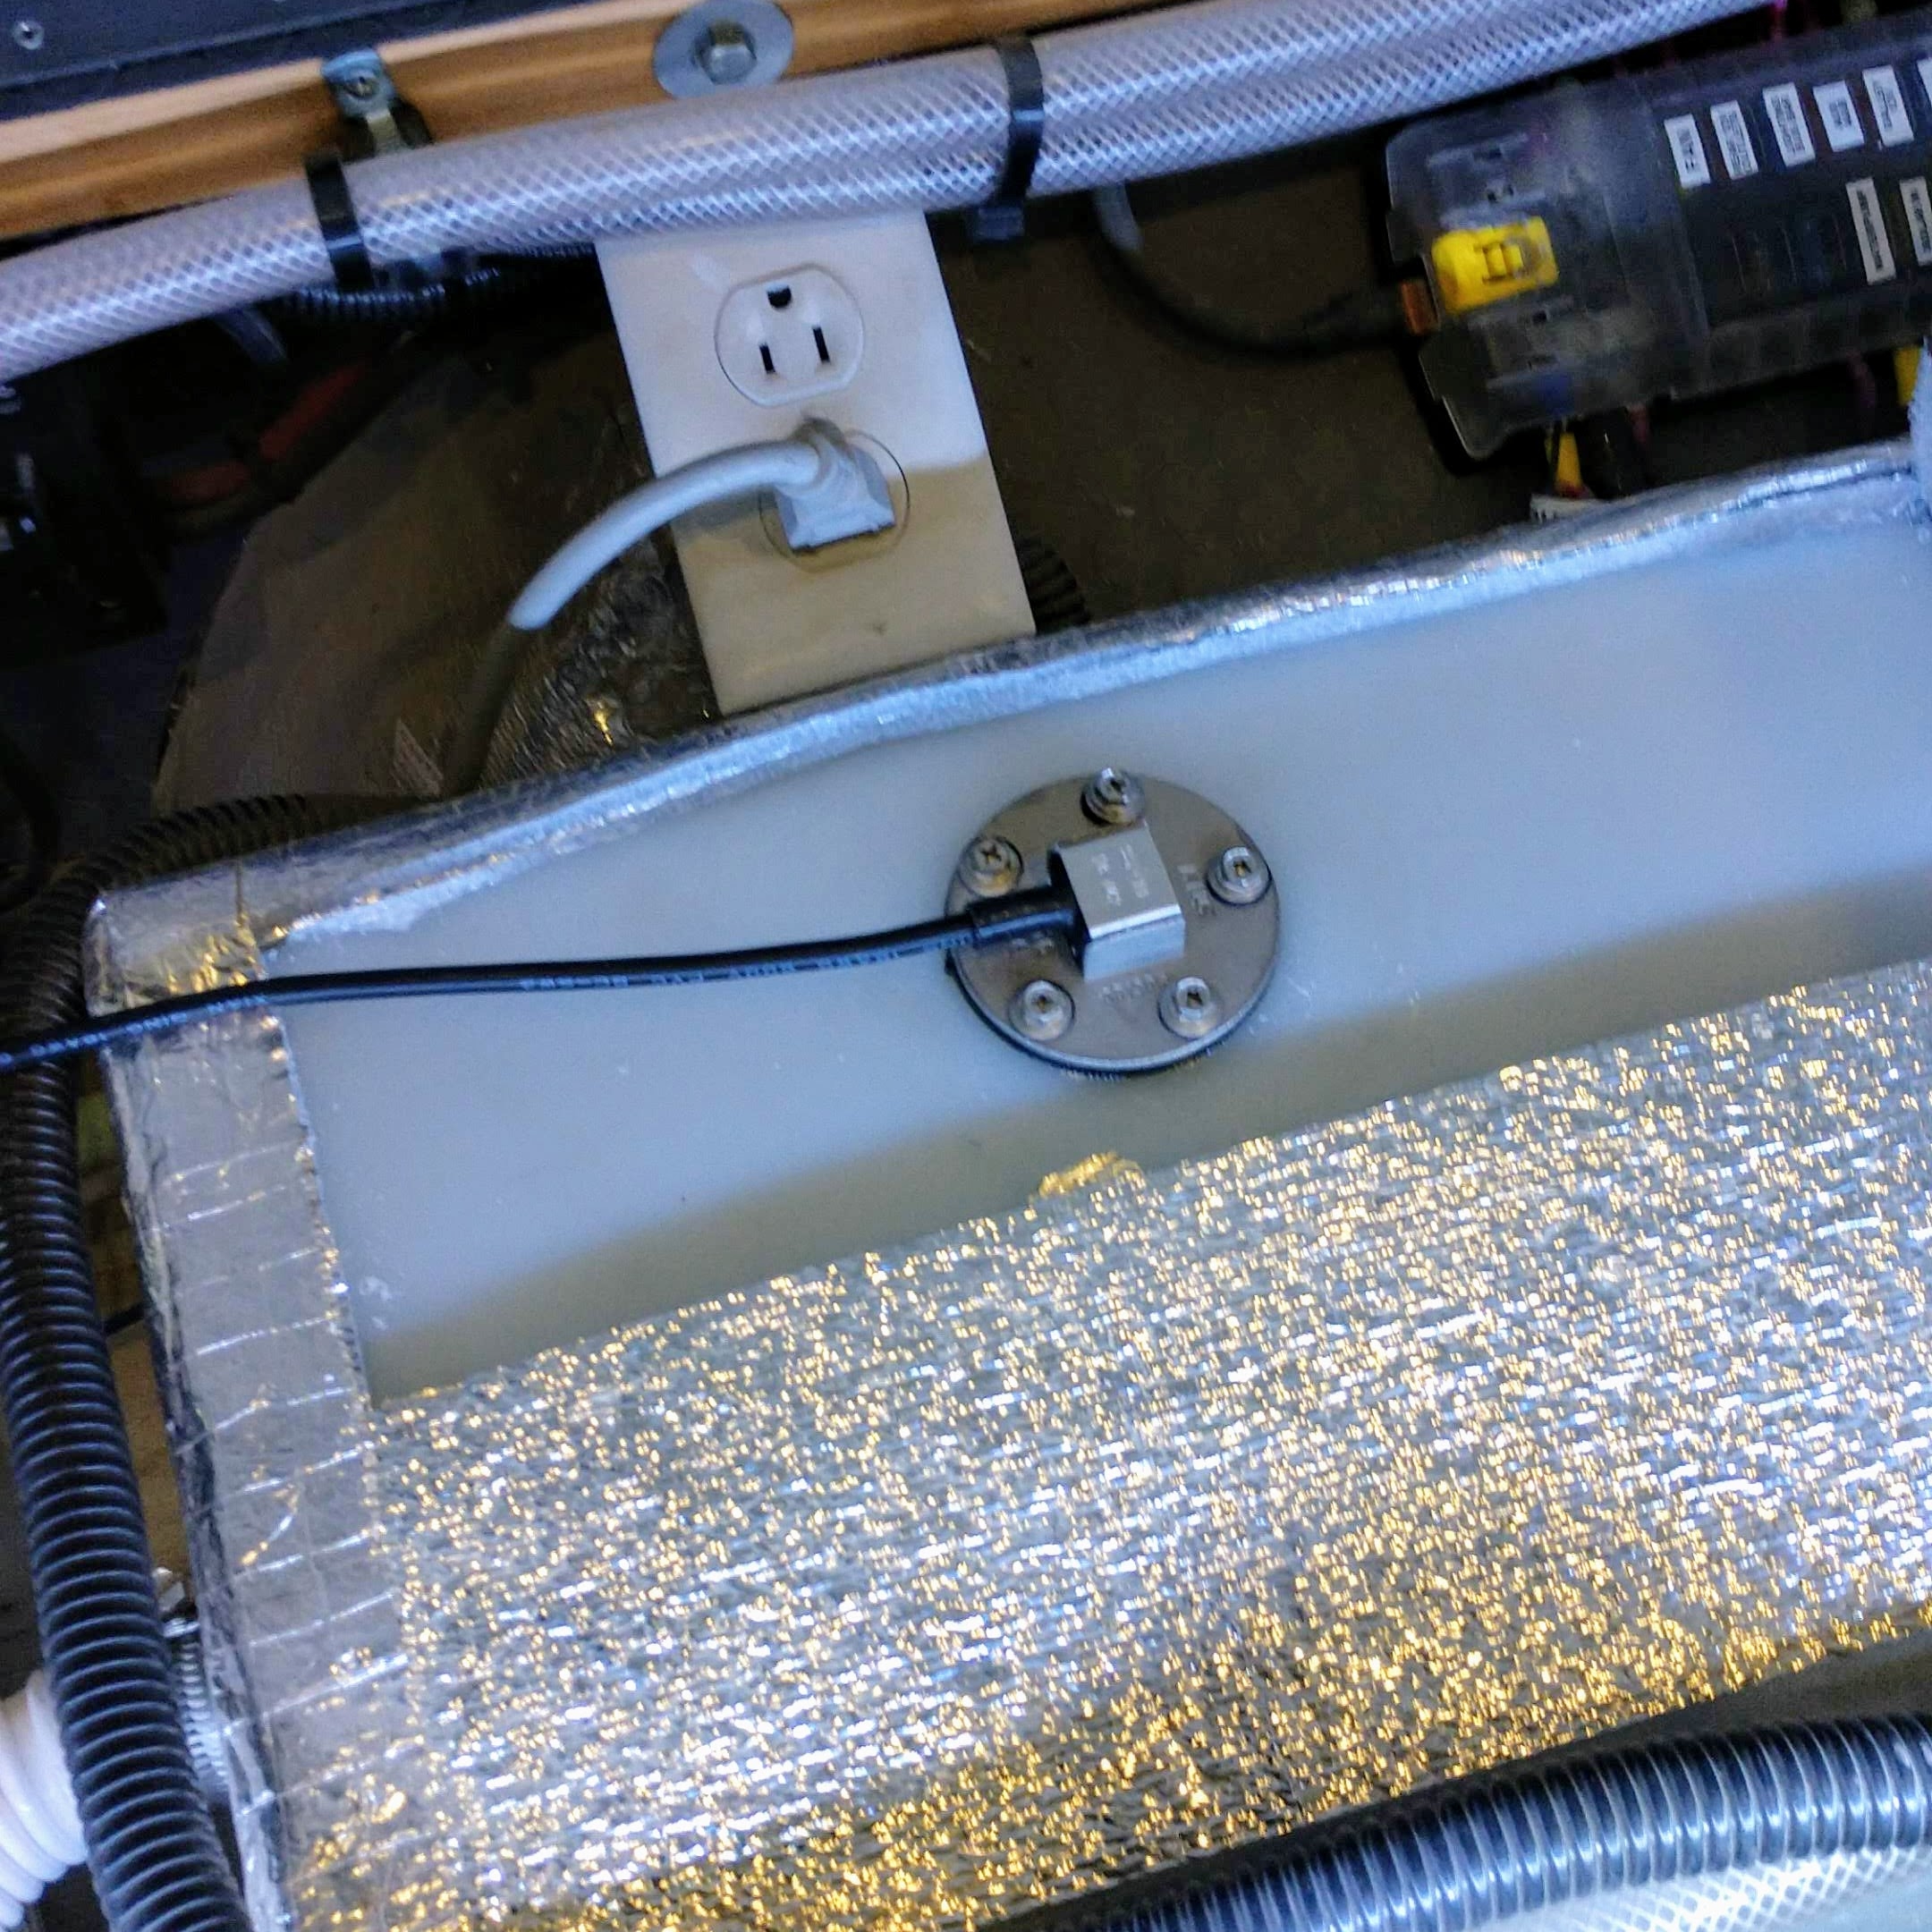
Tightening the level sender into place requires very little force. Otherwise, you can easily strip the tank out.
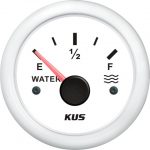
![]() Choosing a Gauge
Choosing a Gauge
As long as the gauge reads the same range of resistance as the level sensor, the gauge is compatible.
Most gauges are ~33-240 ohms.
Installing the Gauge
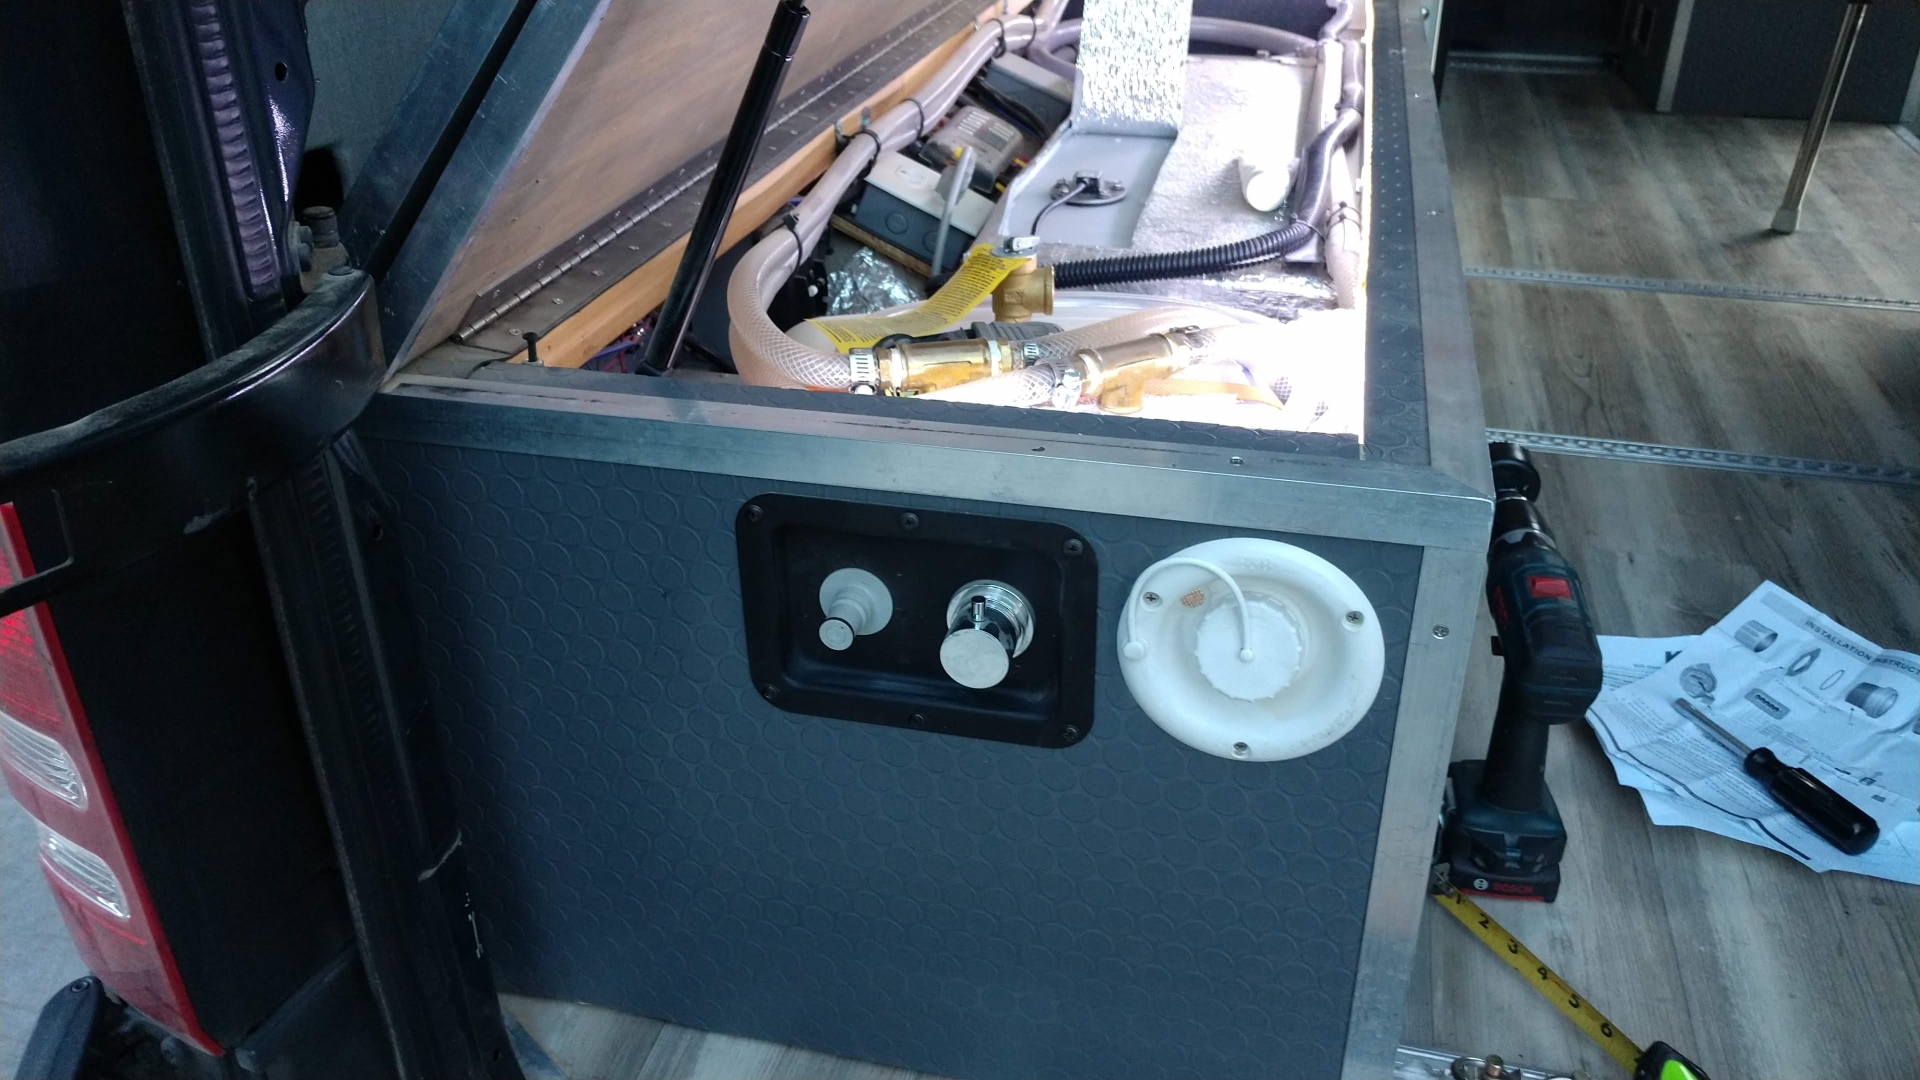
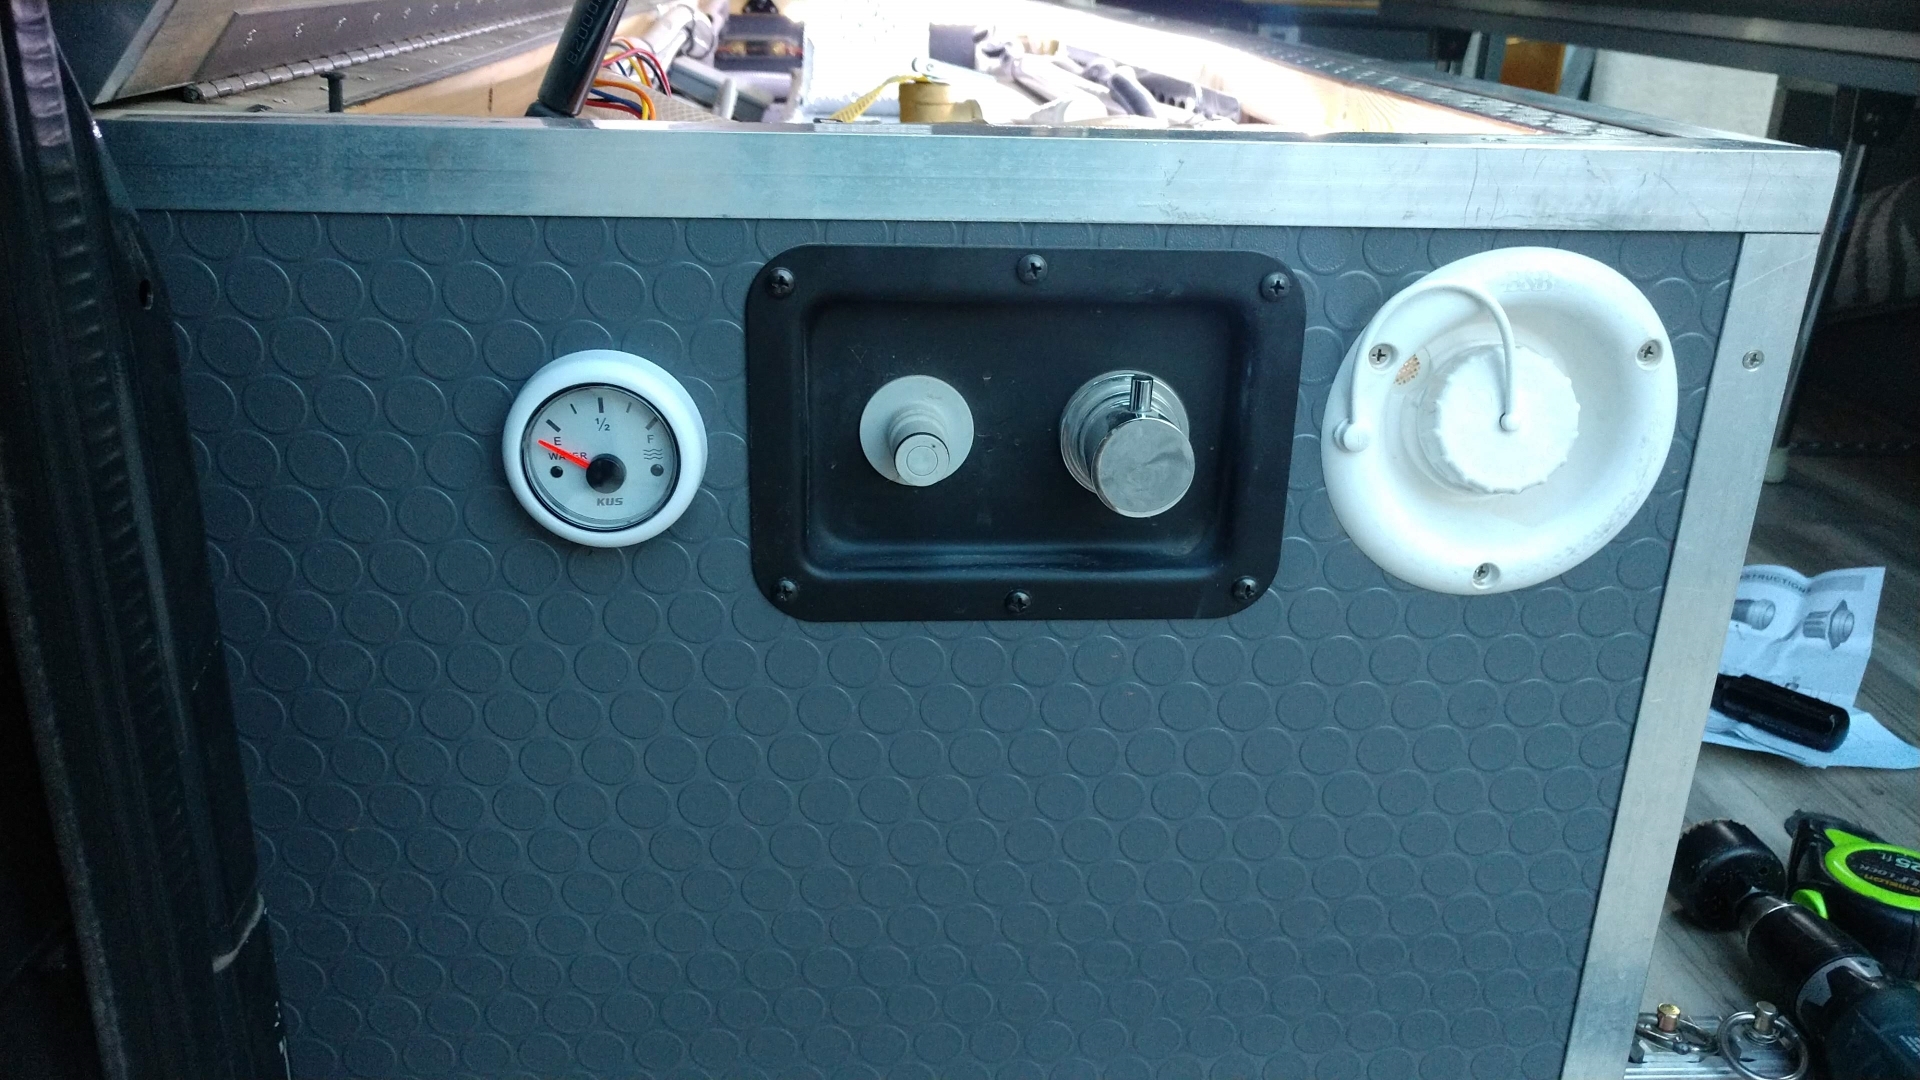
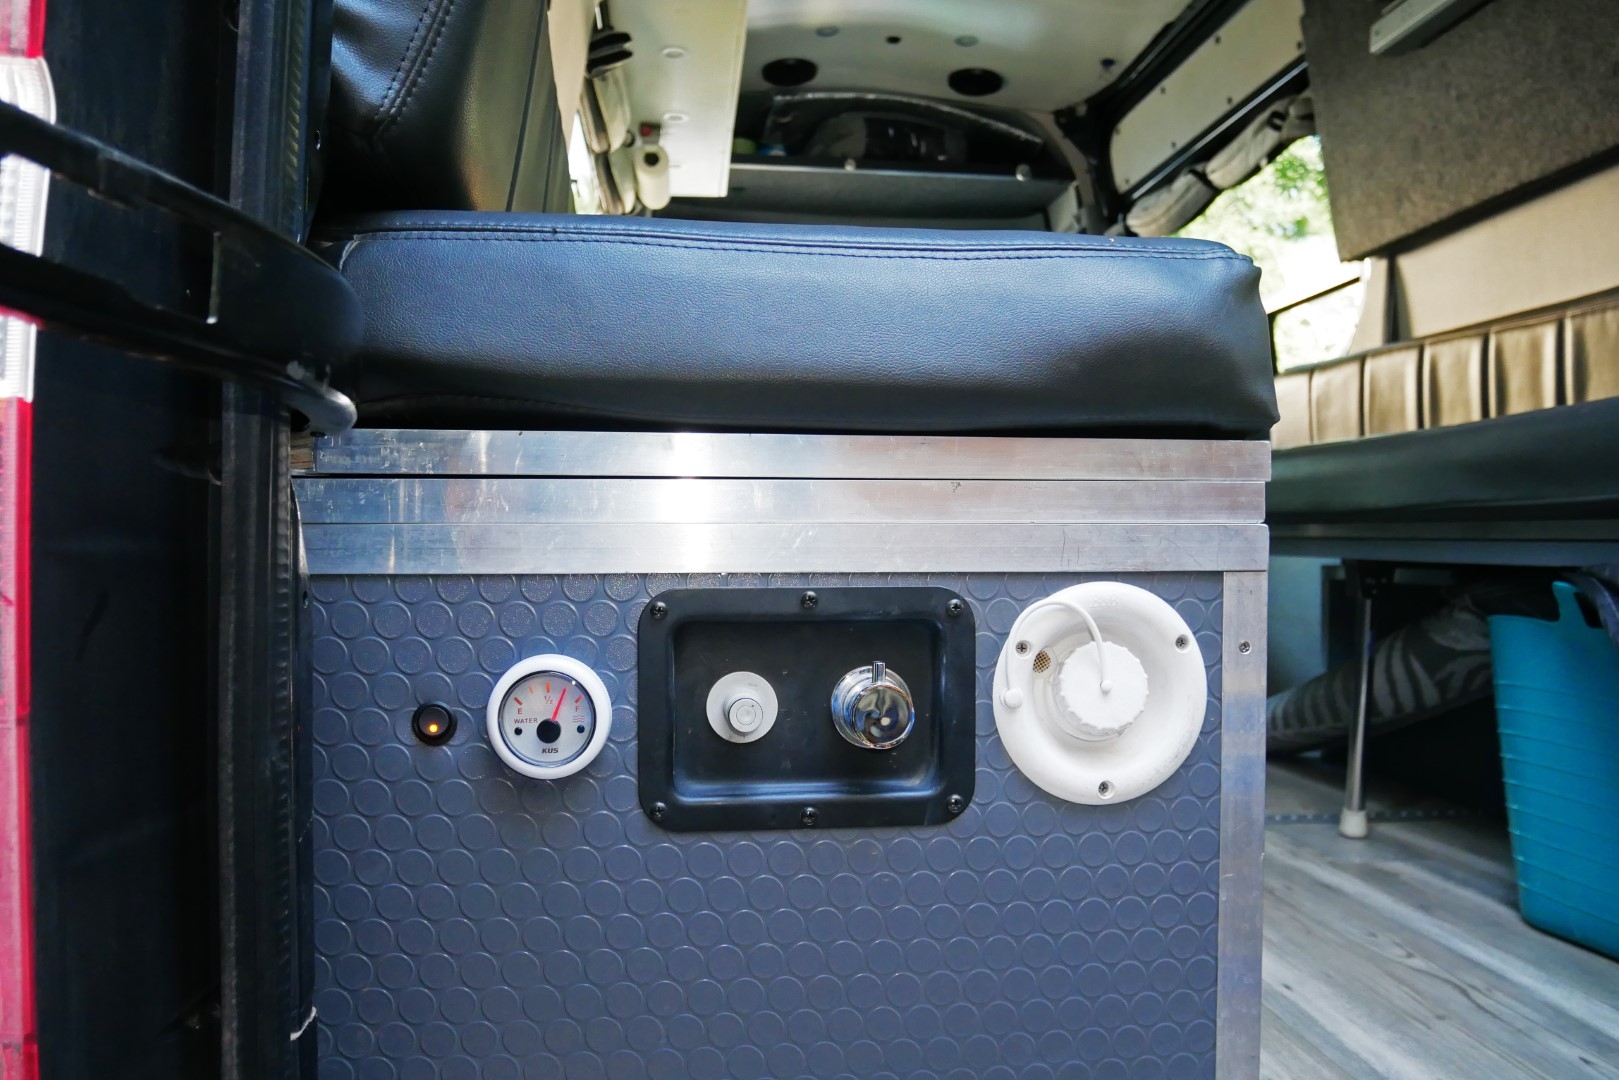
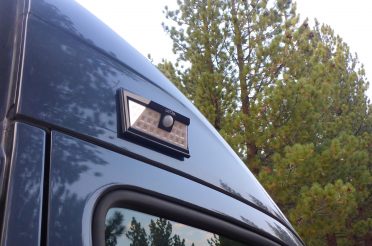
Now that the level sensor was in place, I chose a spot near our water fill to mount the gauge. Originally I was thinking of putting it somewhere near the galley, but the only time it is critical to know how much water is in the tank is when we are ready to fill the water and we can’t open our utility box because we have gear loaded on top of it.
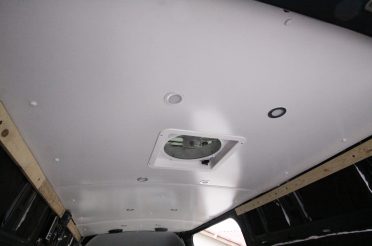
I used a 2″ hole saw from the same hole saw kit that I used to drill our water tank.
Here we go! 😮


Phew, ok I’m glad that’s over. Time to mount the gauge.
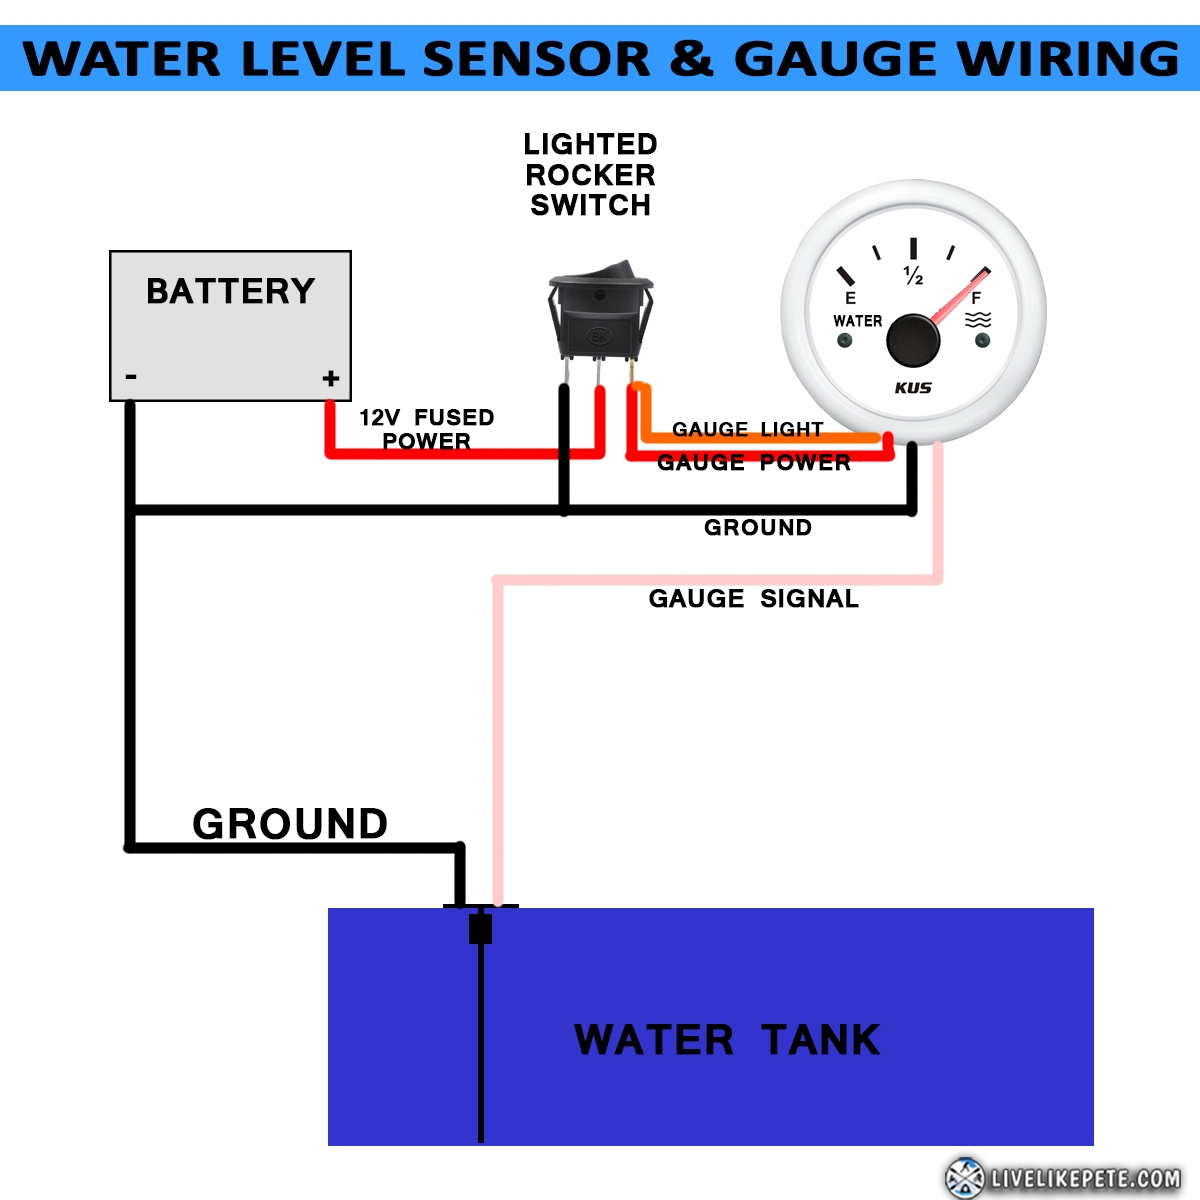
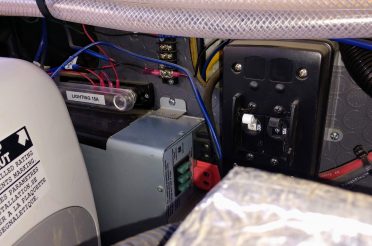
Wiring, Gauge Lighting, & Operation
Next came the wiring. I found out that this gauge comes with two backlight options, yellowish-orange or red. Although the gauge draws very minimal power, I figured I would install a rocker switch that would turn the gauge and backlight on at the same time. I will just keep it turned off when not in use.

Wiring Diagram
Parts List
- Water Level Gauge
- Water Level Sensor
- Rocker Switch
- Magic Lube/ Teflon Sealer
- Fork Electrical Connectors to attach to our ground bus bar
- Butt connectors
- 18 gauge wire
Tools
Water System Install Link

4 Responses
D Philliope
Hi there – I’ve been looking at these more detailed level sensors and I wonder if you have had a chance to go over a lot of rough terrain and monitor the performance? I was thinking of using an adhesive but it looks like you may have used just a silicon base and allowed the screws to secure it? Have you ever seen any water at all around the hole and plate? No drips or anything at all? And have you been through rough roads with lots of vibration and did you see any kind of effects? Thanks!
Pete
Hi Don. I travel down ALOT of rough roads in our Sprinter. There has been zero leaks from this level sensor and it has never failed. 👍
Yomar
Hey Pete I want to do van life and I am checking every detail and info, I wanted your opinion for only me what water tank you recommend me? Thank you.
Pete
I’d go with at least a 15 gallon tank. (sorry for the SUPER long delay in response)