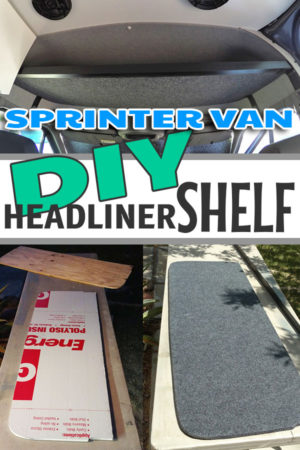
 Like most people with a van know, storage space is limited. Making use of wasted space is almost a necessity if you plan on traveling or living in your van. Once you load all your stuff into the van, you quickly find yourself looking for places to throw stuff and set things aside. The headliner area above the seats is a great place to use for storing things, but some sort of shelf is needed. We tried a net, but it didn’t work out. Spending over 400 or 500 dollars on a Sprinter-specific, pre-made shelf from a company just seemed ridiculous. It’s just a shelf! I figured it was worth a try to make our own. If it sucked or turned out crappy, I could always scrap it so I gave it a whirl.
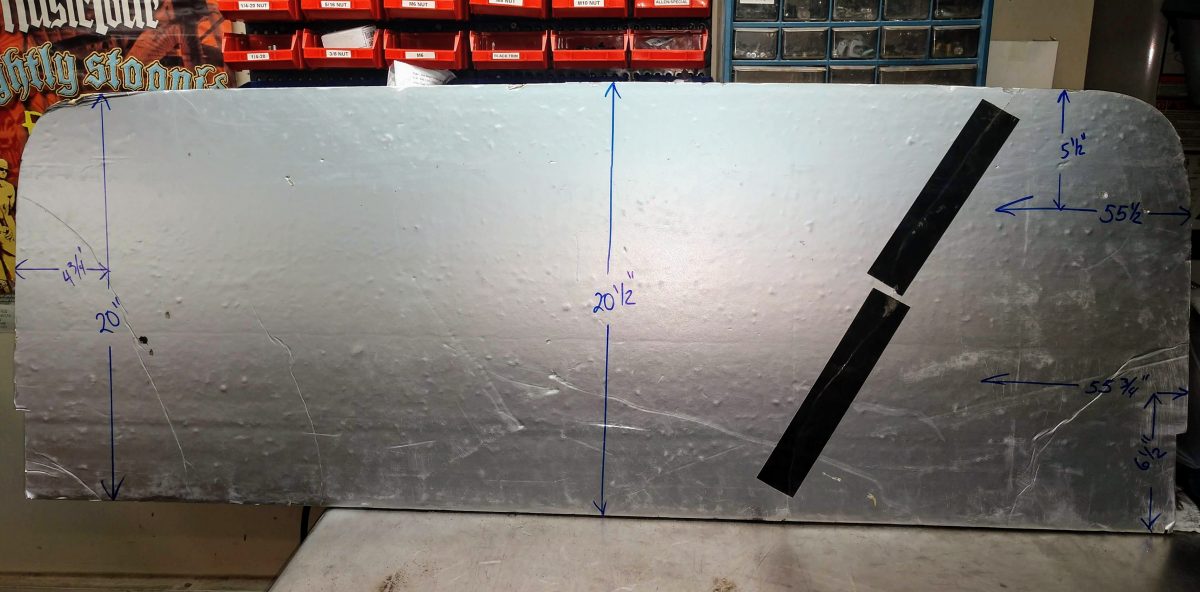
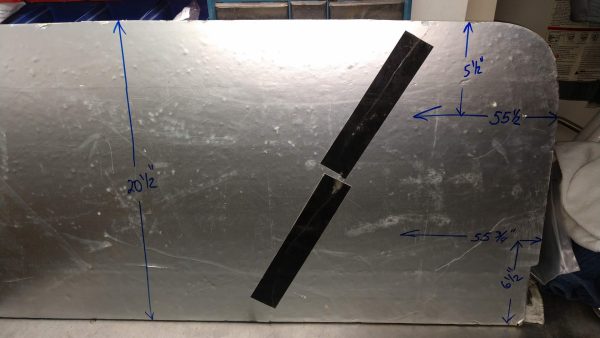
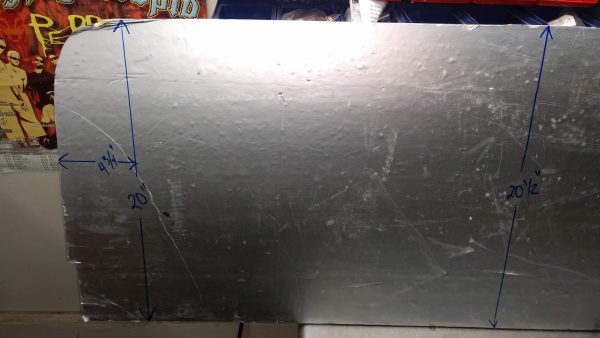
The first step was to make the shelf out of 1/2″ plywood. I needed a template for the wood, but I found that creating a template out of cardboard was very difficult because isn’t stiff enough. I had some extra 1/2″ rigid foam insulation laying around and it ended up helping me tremendously when making the template. It was easy to trim with a utility knife and is almost an exact mock-up. If you don’t have any, it’s only like $13 for a 4×8 sheet from Home Depot or Lowes.
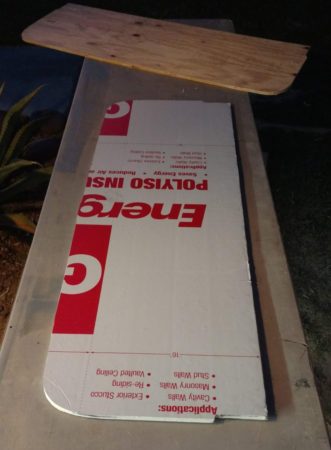
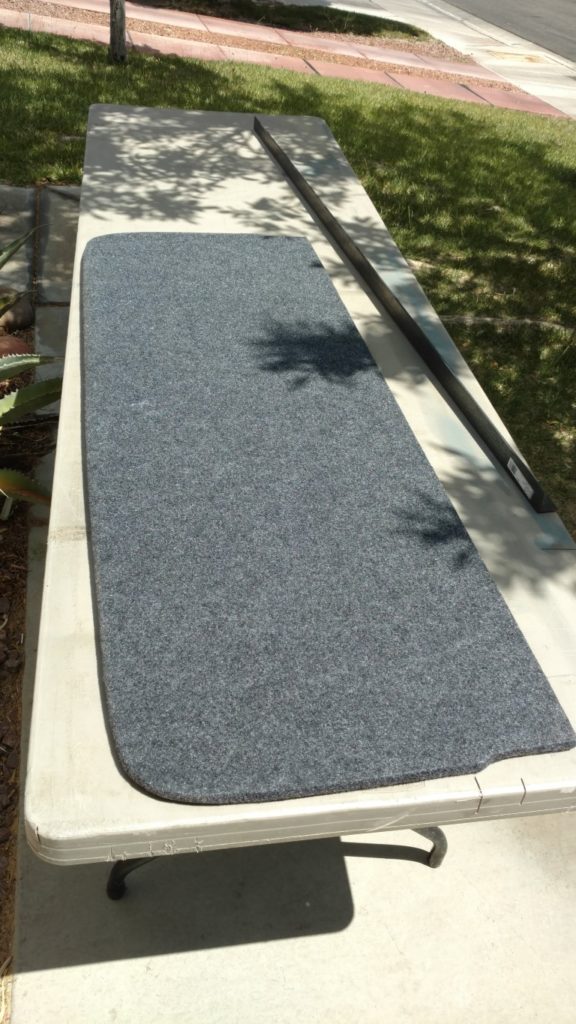
The template was made and I was happy with the shape of the shelf. I didn’t worry about it fitting to the exact specifications and shape of the headliner. It just had to be close. It’s not like we planned on storing small, loose items up there anyway. I used the template to cut the shelf out of the plywood and then I covered it in speaker box carpet using 3M77. The great thing about that carpet is it hides flaws and stretches when needed. It’s also very durable.
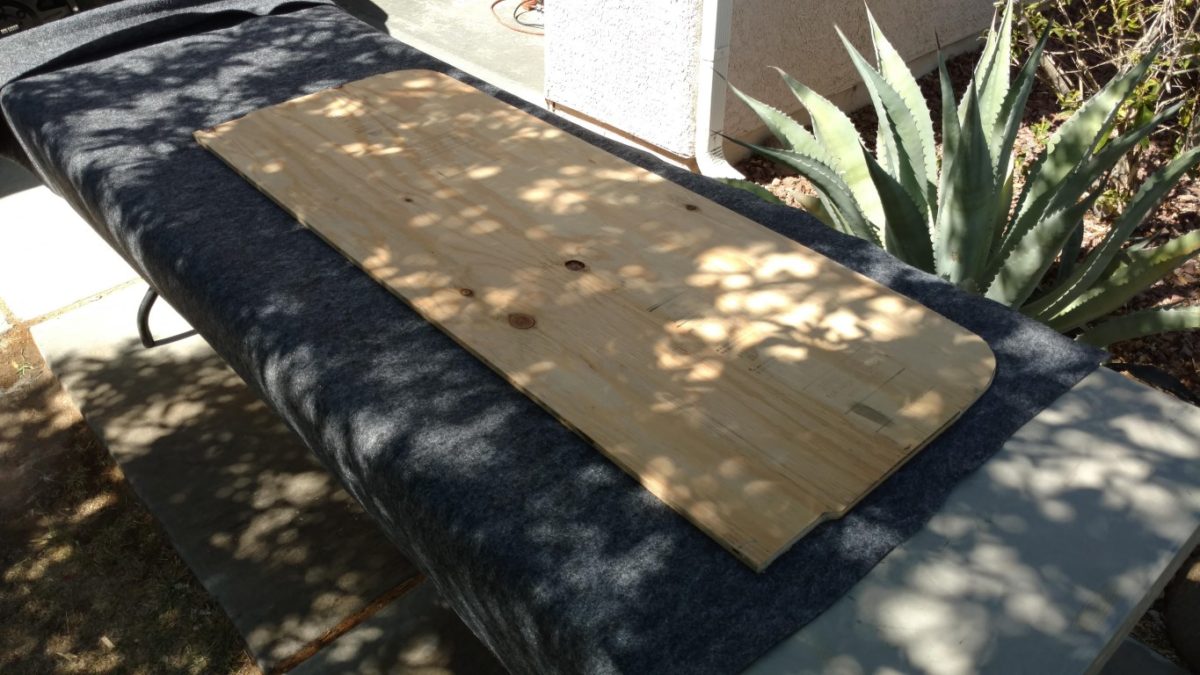
The shelf was ready to go. I cut a section of 1½” angle steel to mount to the back of the shelf. This would act as additional support as well as a lip at the back.
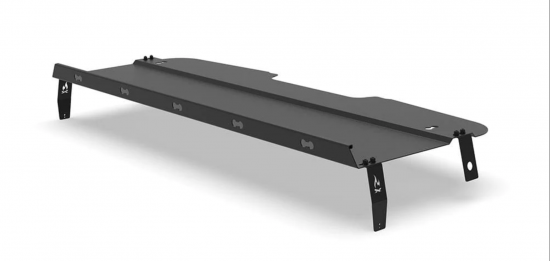
DIY Shelf KitsNot feeling up to building your own headliner shelf? Flatline Van Co makes a complete headliner shelf with brackets. Bolt it right in and be done. Even easier! |
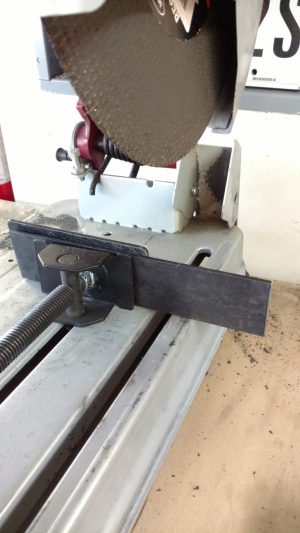
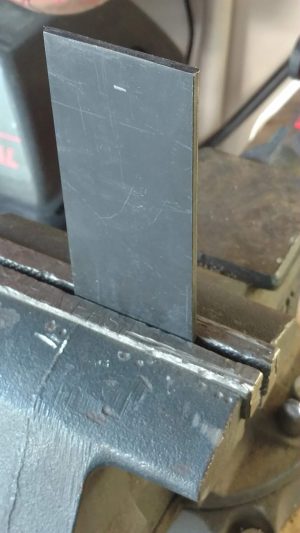
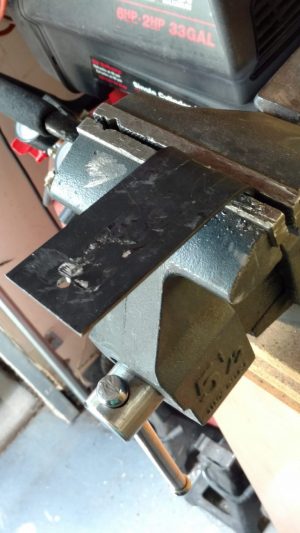
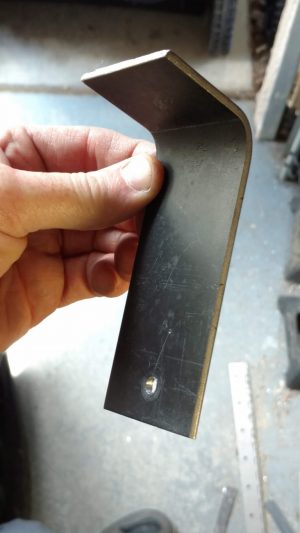
The next step was to make four brackets that would support the shelf. I used some 2″ flat steel. I cut it down with my chop saw and then simply used my vice and a big ole hammer to bend it 90° at the ends. I drilled a hole at each end and then painted it flat black.
Mounting the front brackets was a breeze. I just removed the grab handle bolts, slipped the bracket behind them and reinserted the bolt. I used some black 6mm Allen bolts to give it a nice look.

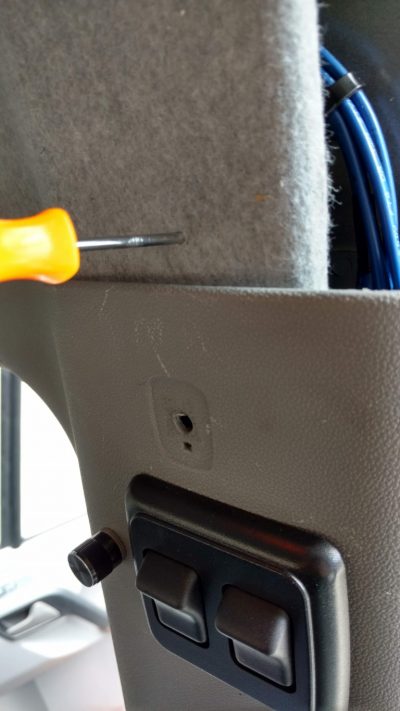
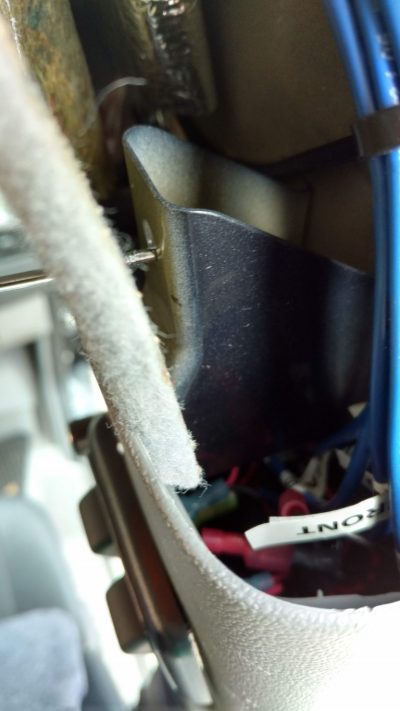
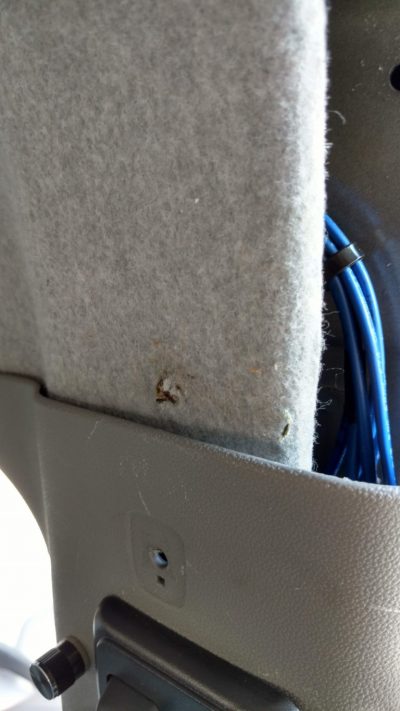
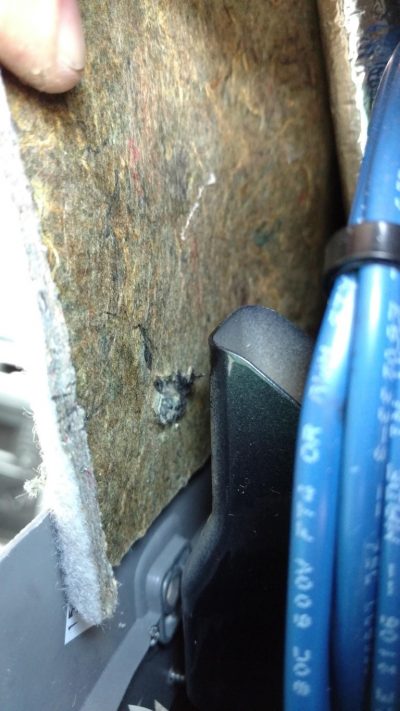
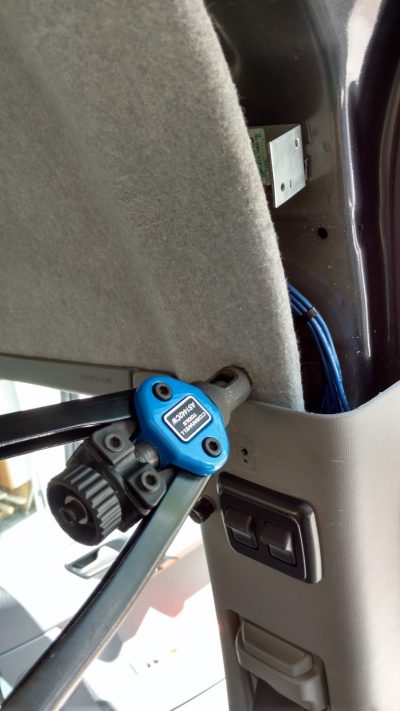
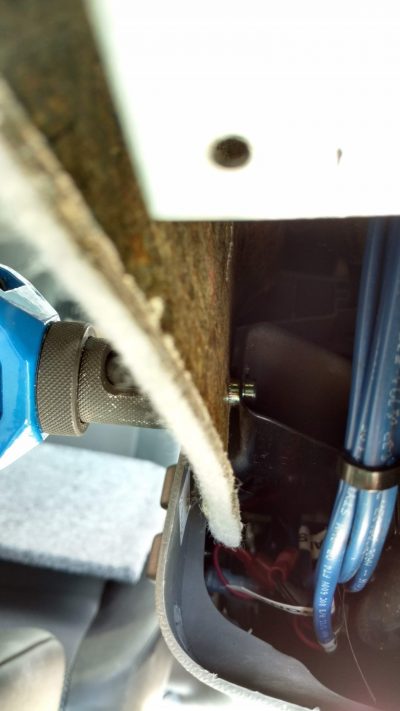
The rear brackets took a little more ingenuity. I removed the coat hook and pulled back the headliner just a bit to find that there was already a hole in the place where I needed to mount the bracket, but it needed to be enlarged slightly to accept a rivnut. I poked through the headliner using a pick set, then drilled my hole. I believe it was 23/64″ that I needed for the 6mm rivnut. Then, although the headliner was in the way, I was able to set the rivnut with the tool by applying a decent amount of force against the headliner.
It worked! The rivnut was set. It sure beats pulling the whole headliner or trying to get a nut back there! I did the same on the driver’s side.
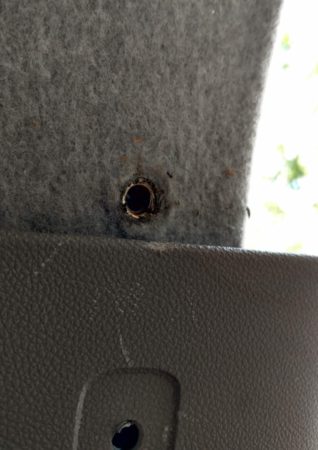
Now that I had a good place to mount my brackets, I set the shelf in place and tightened all the bolts.
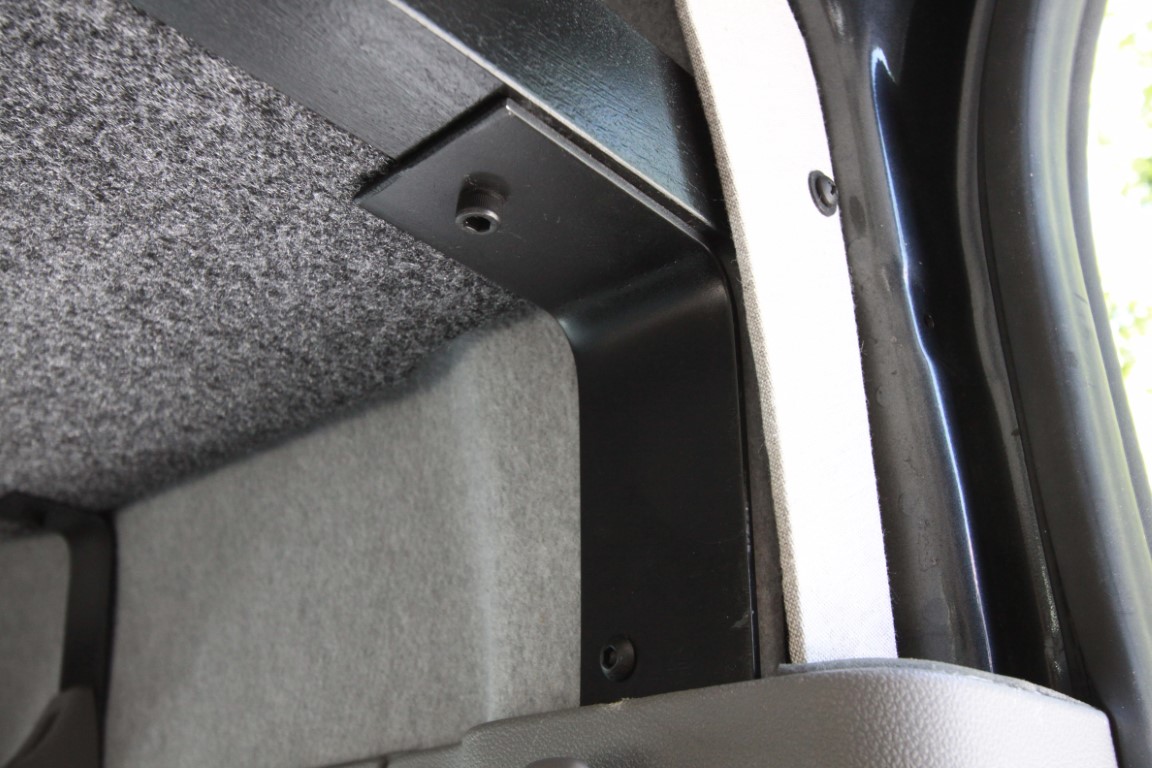
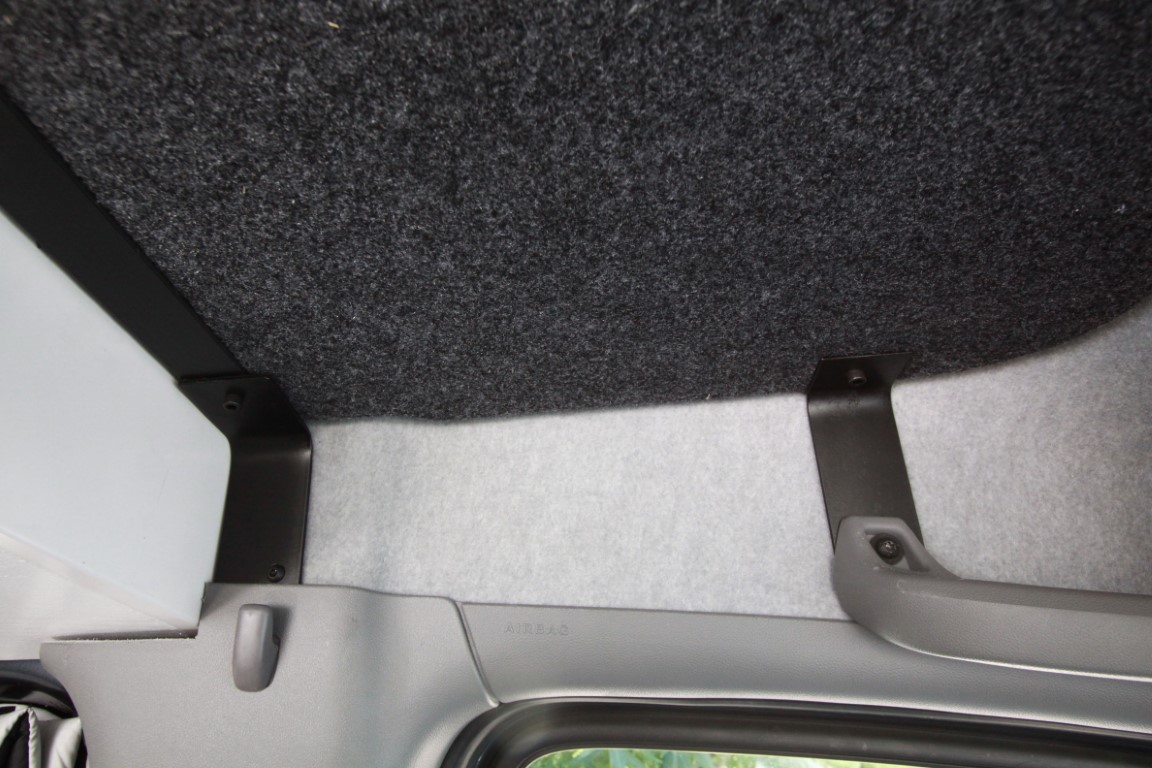
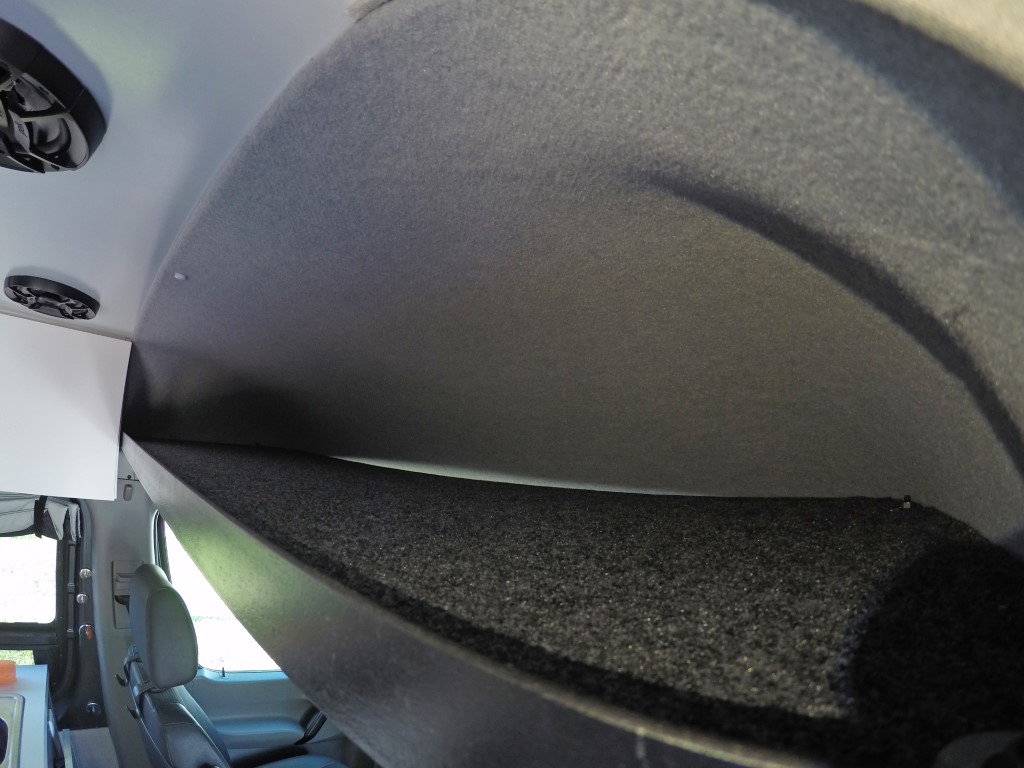
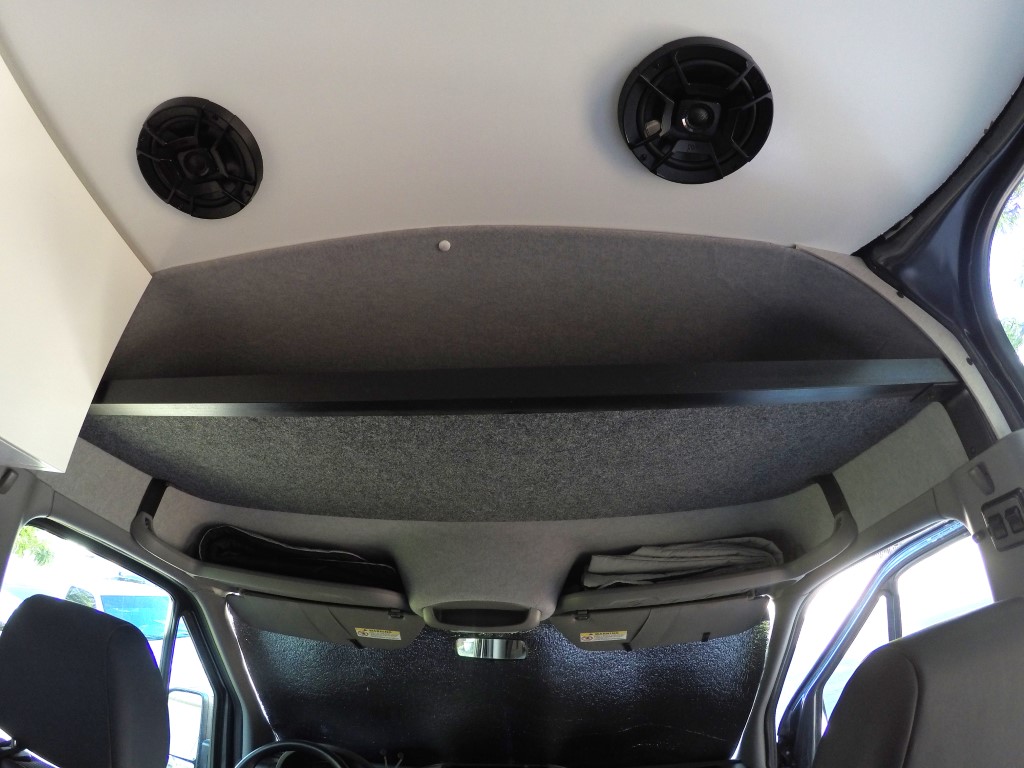
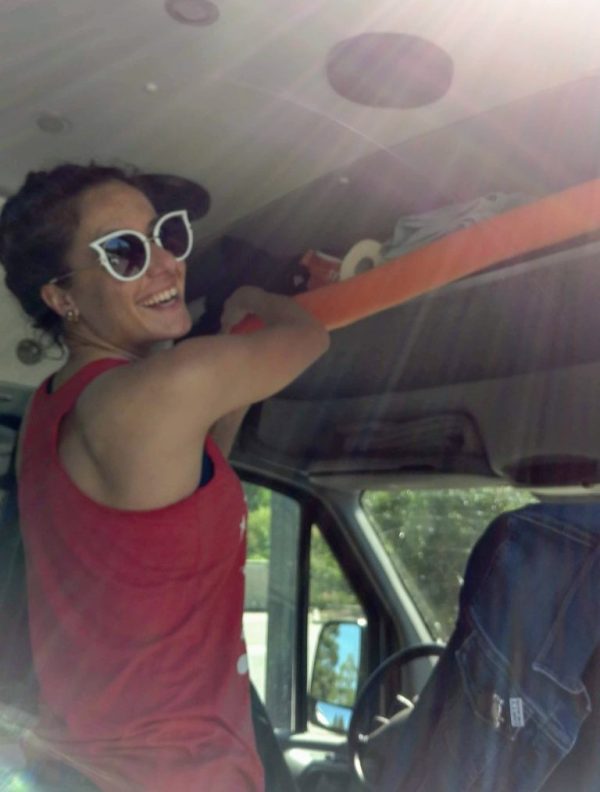
The shelf is super solid and looks almost factory.
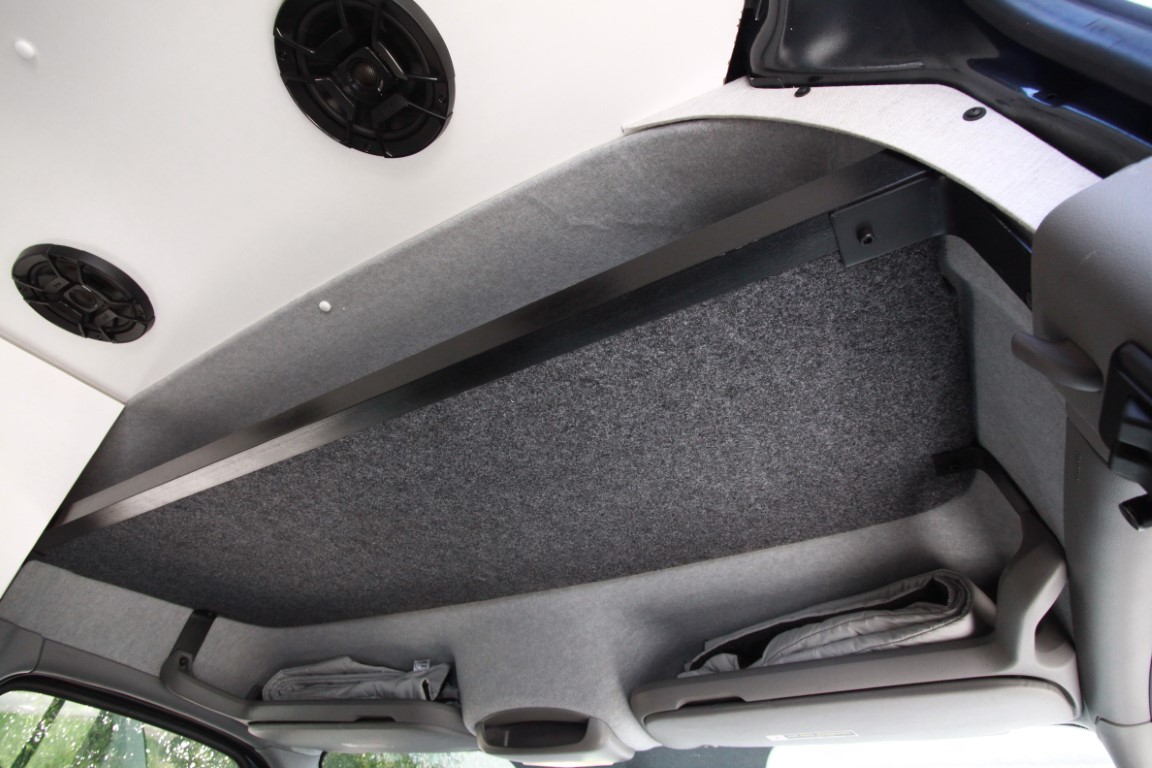

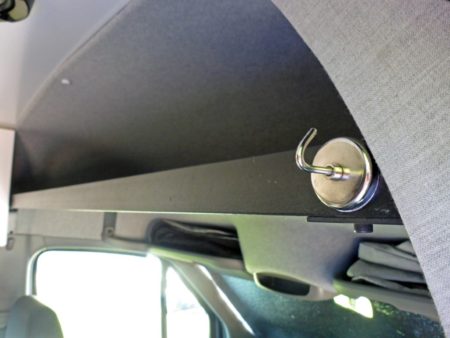
The steel lip at the back is nice to hang things off of or stick a magnetic hook for keys, hanging our shower curtain, or whatever.
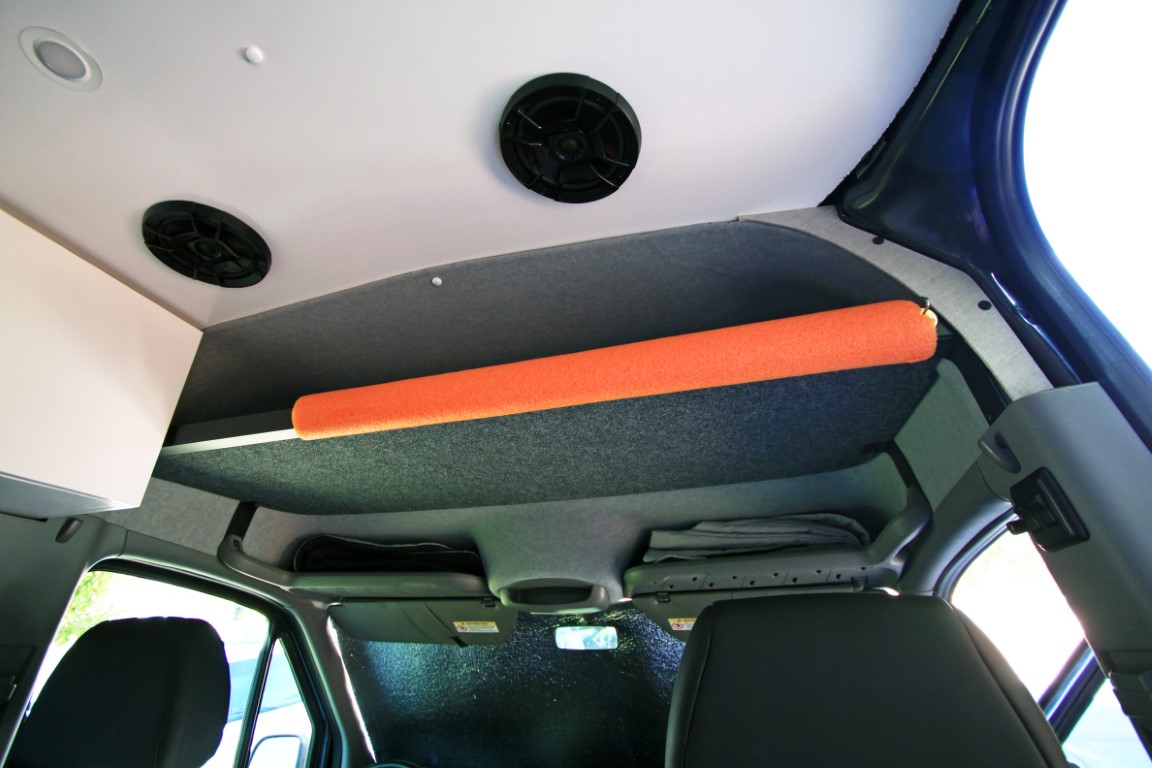
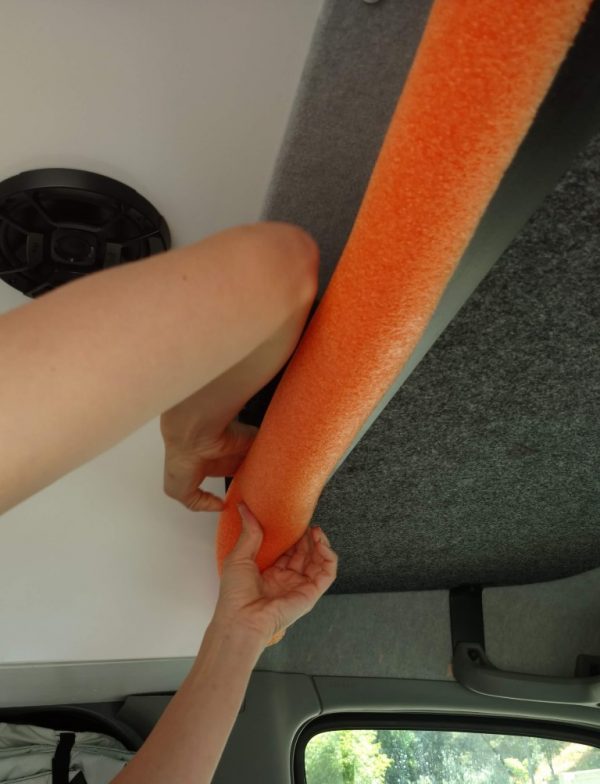
To prevent any head injuries when we’re moving around in the van, we cut and installed a section of a pool noodle to the edge.
Although we have gotten used to the shelf being there and we hardly even notice it anymore, it’s good insurance to have that noodle there.
This shelf comes in handy when storing blankets and random items up and out of the way. It sure beats spending over $500 for a shelf too. I was able to build this with almost all scrap materials from our build. The only thing I had to buy was the angle steel.
Parts List
- 1/2″ plywood
- ½” rigid polyiso foam from Lowes/ Home Depot
- 2″ flat steel
- black 6mm allen bolts
- black 6mm button head bolts
- 1½” x 1½” angle steel
- 6mm rivnuts
- speaker box carpet
- 3m77
- magnetic hooks
- pool noodle
Another Headliner Kit Option

7 Responses
Andrew Regan
This is great! Thanks for posting this! I knew there had to be a good way to make your own and also not have to remove the head liner.
Pete
You are welcome! Thanks for following, Andrew. Good luck with the project.
jay
Do you have the dimensions for the brackets you fabricated for the shelf?
Pete
Hey Jay. They are approximately 4″ long.
Jay
Thanks for the info, Pete. I was hoping for a little more detail on the difference in length between the front and back brackets. It looks like there is significant difference in the length on the Vancillary model. I have a strategy on the fabrication, and thinking that the “fit” part will be on the fly for drilling the bottom hole of the bracket, to do the proper leveling. Also, how did you get such a nice finish with the fabric wrap on the shelf? Where are the seams?
Pete
The brackets on the vancillary kit mount differently. I think the rear brackets utilize the screw hole for the coat hook. My brackets are all the same length because I made my own mounting threaded hole for the rear brackets. The fabric is all one piece. I wrapped it all the way around and the seem is on the front of the shelf and unnoticeable. The roll of carpet was wide enough to cover the width of the shelf. Even when there are seems, that stuff hides them well.
jay
Thanks for the update and clarification. Your end product looks great!