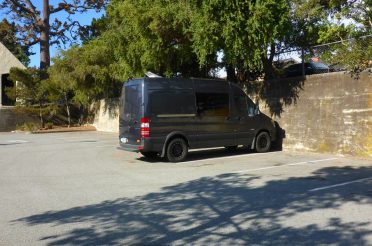
Showering outside or finding a shower while on a trip is not always an option, so we came up with an indoor shower idea for our Sprinter van. It is portable, collapsible, and rather inexpensive to build.
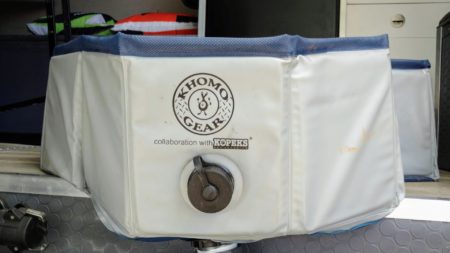
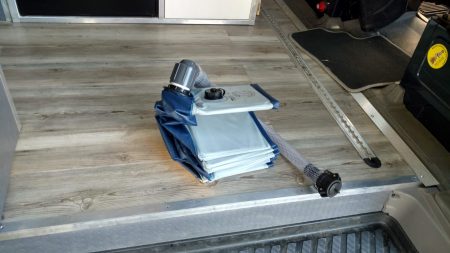
First, we started with the shower pan. It needed to take up little space when stored, but be big enough to catch the water when showering. We used a Kopeks Outdoor Swimming Pool Bathing Tub, sourced from Amazon. We bought the medium size, which is 32″x8″.
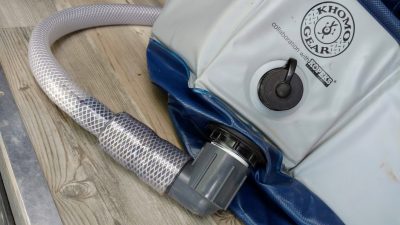
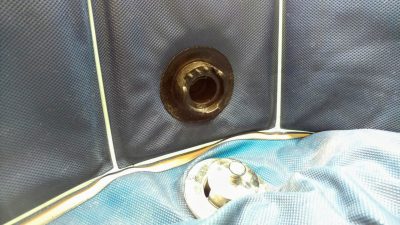
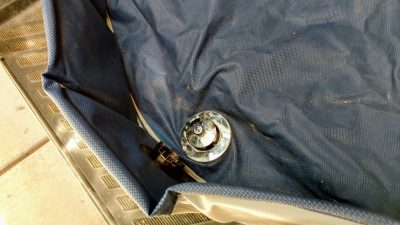
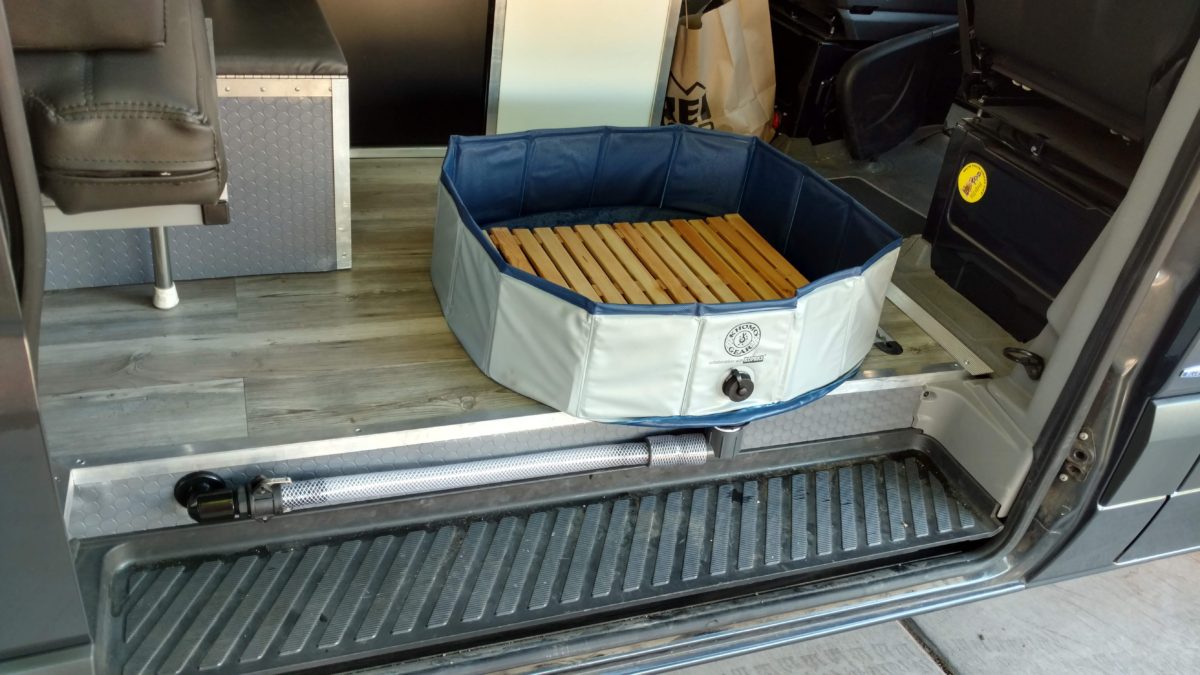
The drain that comes with the pool is located on the side, about an inch from the bottom. That wasn’t going to work for us so we bought a 1½” threaded bathtub drain and installed it at the bottom of the pan. This was very simple to do with a couple of careful slits with a sharp razor knife and then screwing the drain fitting onto the pool bottom using the seal that came with the drain kit. After the drain was installed we attached a 90 degree, 1½” barbed elbow and a section of braided, clear hose sourced from a local hardware store. We reduced the hose to 1″ with a reducer/coupler since a 1½” bulkhead drain would not fit where we would be installing it (the next step).
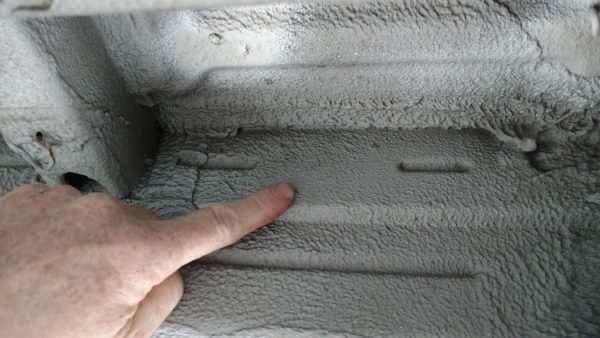
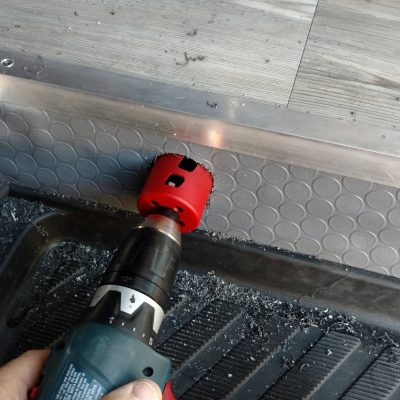
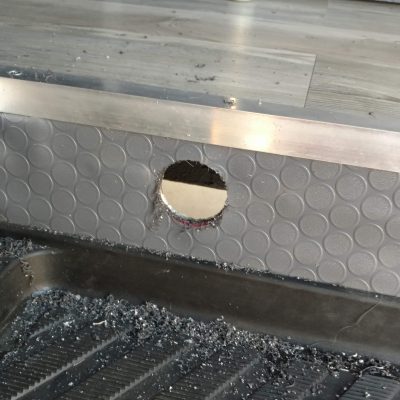
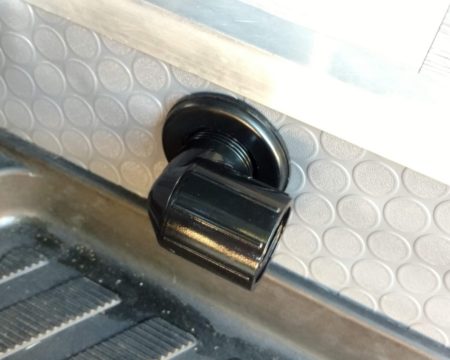
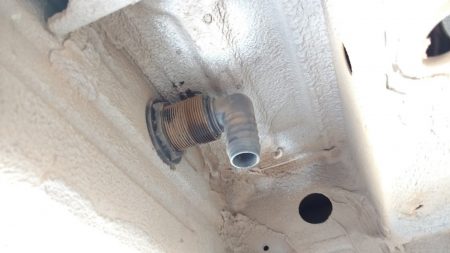
We located a spot in the side of the slider step area that would accept a double-threaded bulkhead fitting. This is where the water will drain to the outside of the van. I found a nice flat spot that was out of the way and drilled a hole using a hole saw. I figured this spot was great because if I ever needed to patch it back up, it would be very simple to access, weld in a plate, and cover it with trim or vinyl matting.
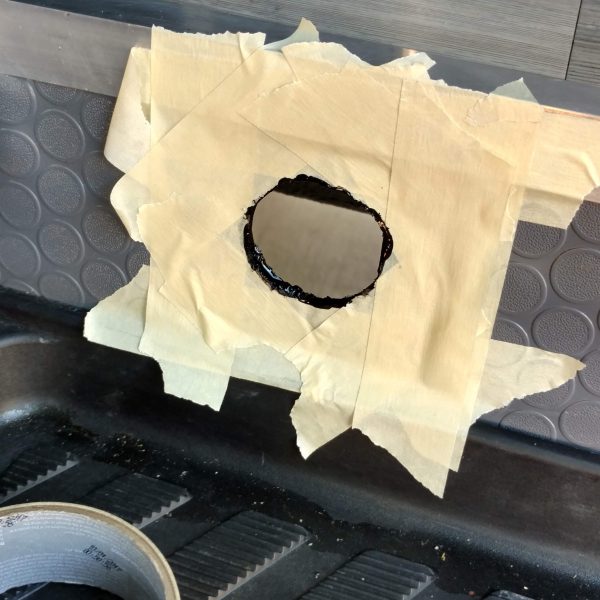
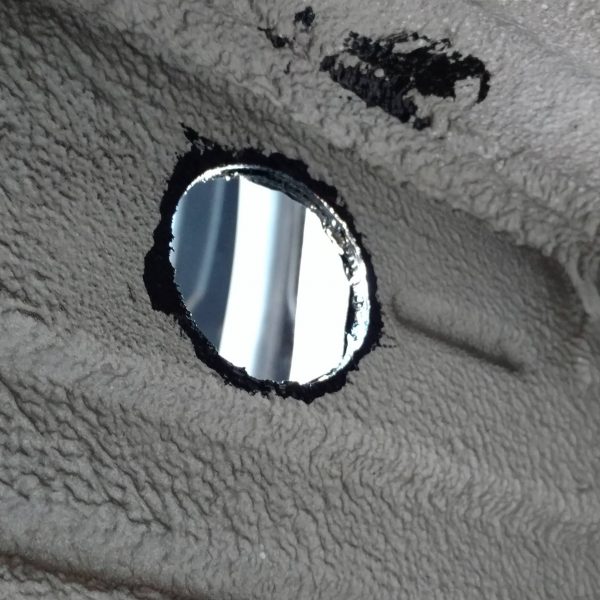
After the drain porthole was cut, I primed the edges with Rustoleum oil-based paint to prevent rust.
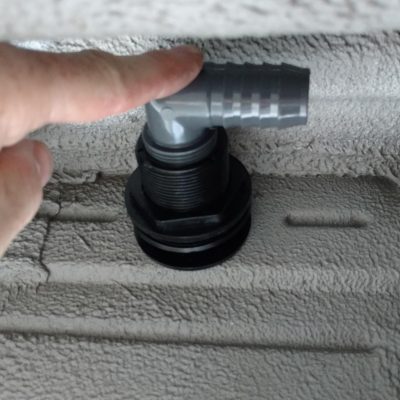
The bulkhead fitting fit nicely along with a 1″ PVC style elbow on the inside. It came white, but I spray painted it black to match. I also added a 1″ barbed elbow fitting outside to direct the water straight down. Originally we were worried the water would puddle up near the slider area of the van causing us to track mud in. We were going to add a section of hose and divert the shower drain water to the other side of the van, but it didn’t drain very fast. We found that the amount of water that drains out from a normal shower doesn’t even cause a problem near the slider door, therefore we just let it drain straight down from the fitting.
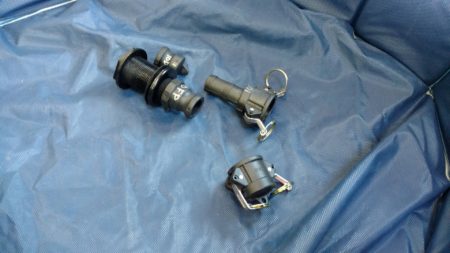
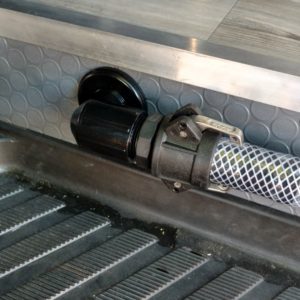
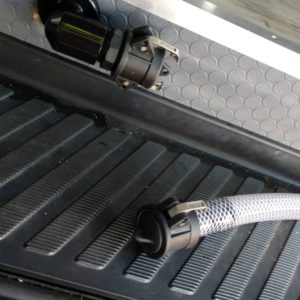
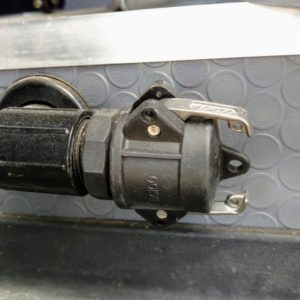
To keep the setup and teardown time to a minimum, we used cam-locking couplers to attach the hose to the drain port.
- Double-threaded bulkhead fitting
- 1″ female cam coupler with male barb
- 1″ male cam coupler
- 1″ male cam coupler cap
- 1″ cam coupler female dust cap
The couplers make it quick and clean to hook up and disconnect. We purchased caps to seal off the drain port and the hose from the shower pan to keep things dry and tidy.
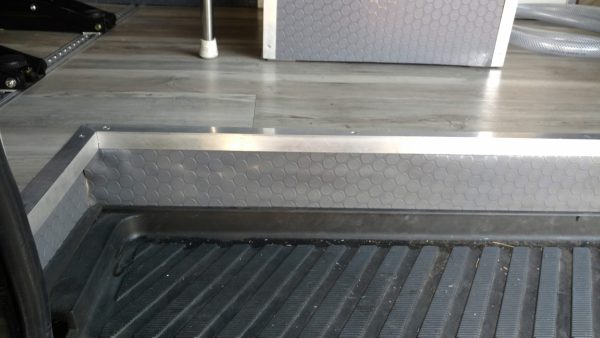
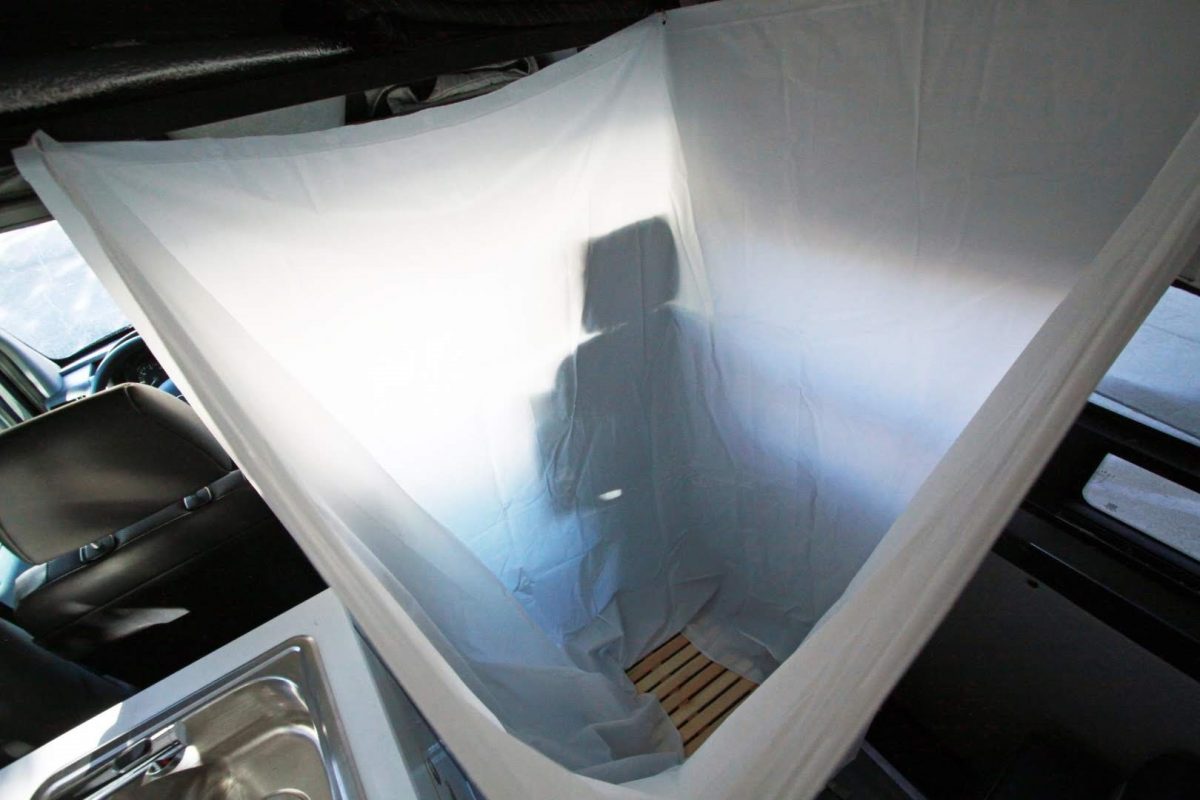
Once the shower pan is all hooked up, we set a foldable bamboo shower floor inside and let the drain hang over the slider step area.
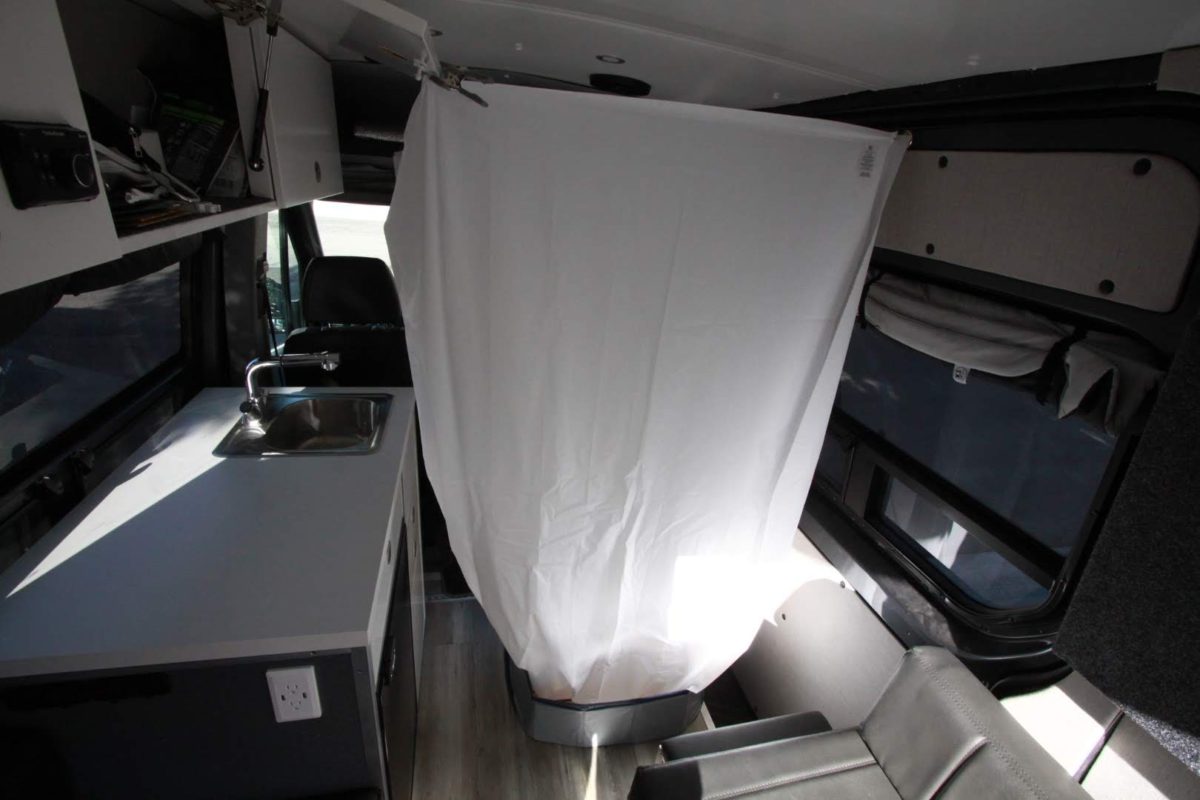
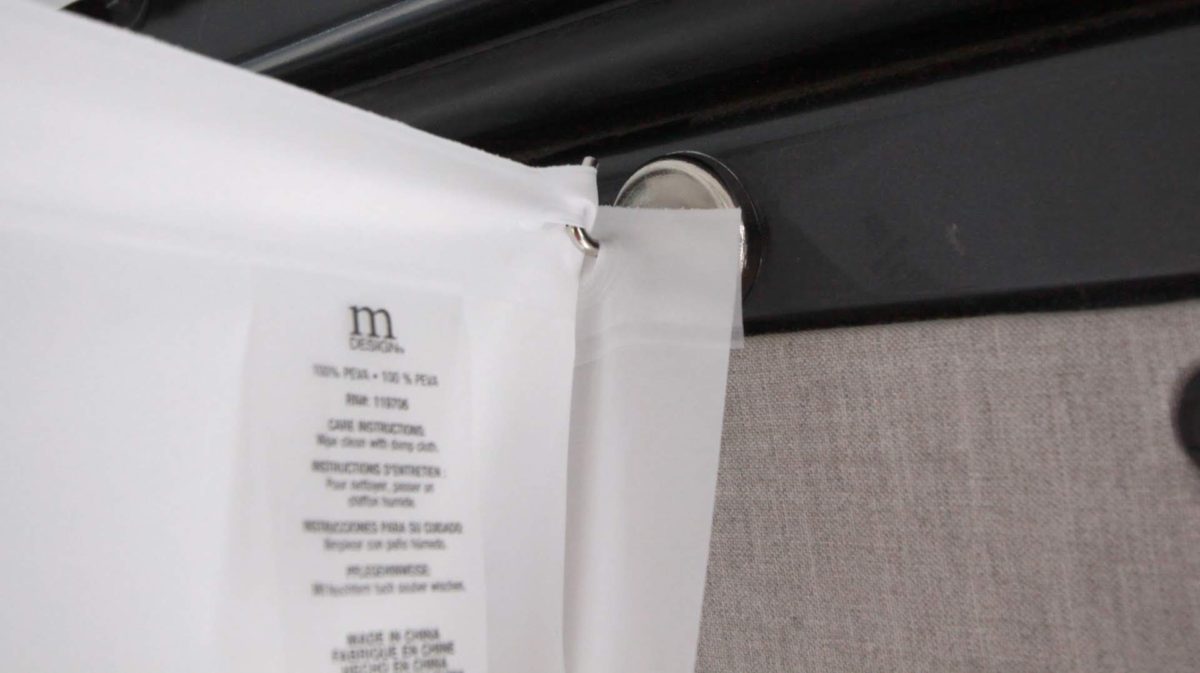
So I bet you’re wondering how the heck we keep all this shower water contained while showering right? Easy. We just hang up two shower curtains on magnetic hooks and squeeze clamps. The shower curtains with the weighted magnets keep it inside the shower pan, but a squeeze clamp is sometimes nice insurance to keep the floor dry. This only takes a few seconds to do.
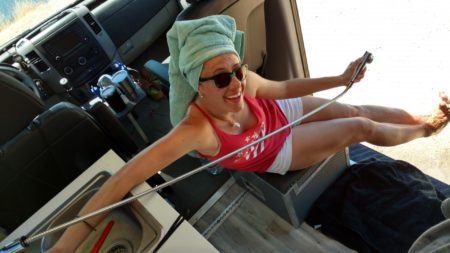
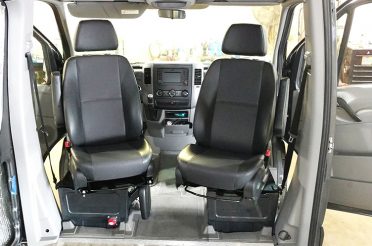
For water supply, we use the Ambassador kitchen sink faucet. It pulls out 6 feet and has hot water thanks to a Bosch water heater and our plumbed-in waterpump. It even reaches outside the slider for hosing off your feet on a hot day. More on our water system here.
Success!
“We did it!”
We tested our portable shower a couple of times on a recent trip. It worked out great and the van floor never even got wet!
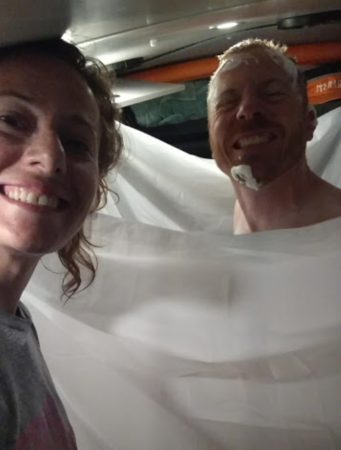
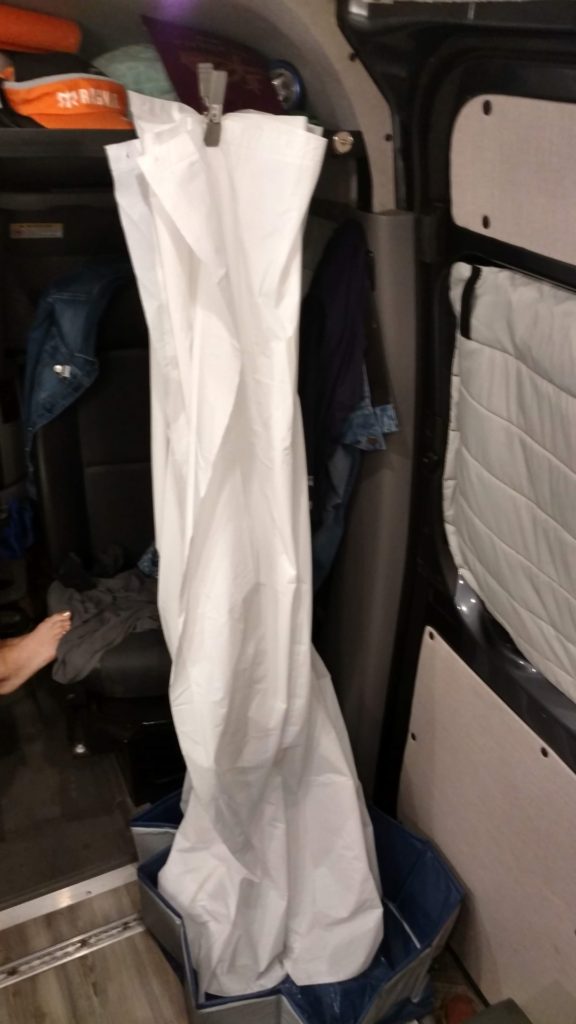
Some have asked us what we do about the wet shower curtains afterward. We just bunch the shower pan up in the corner and let them drip dry into the pan overnight. In the morning we fold everything up and hit the road.
Storage
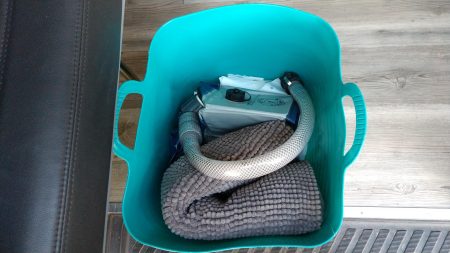
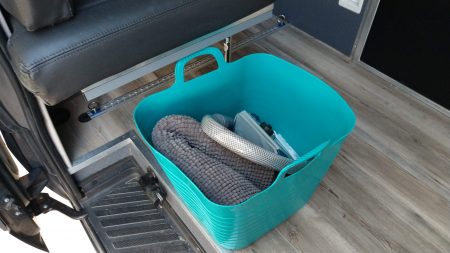
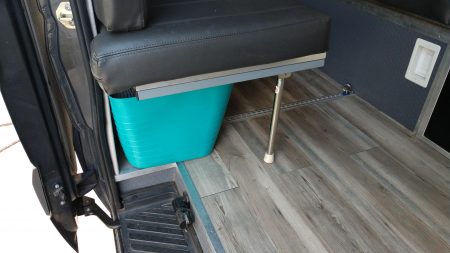
Stowing away the shower pan is easy. We either shake out any excess water outdoors or wipe it down real quick with a towel before folding it back up. We stow it away in a rubber bin/ tote, along with the shower curtains and a bath rug, underneath our bed/ couch.
Don’t Forget to Be Earth Friendly!
Some soaps and shampoos are not good for the Earth.
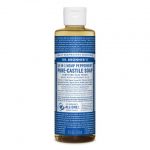
So we use Dr.Bronner’s Peppermint Castile Soap when showering.
Parts List
- Shower Pan/ Outdoor Pool
- 1½” and 1″ braided clear hose sourced from a local hardware store
- 1 to 1½” reducer
- 1-1/2″ threaded bathtub drain
- 90 degree, 1-1/2″ barbed elbow
- double threaded bulkhead fitting
- 1″ PVC street elbow (much cheaper at Lowes/Home Depot)
- hole saw
- Rustoleum oil-based paint
- 1″ barbed elbow fitting
- 1″ female cam coupler with male barb
- 1″ male cam coupler
- 1″ male cam coupler cap
- 1″ cam coupler female dust cap
- foldable bamboo shower floor
- shower curtains with the weighted magnets
- squeeze clamps
- Magnetic hooks
Sept 2020 Update- Our Indoor Shower Got Even Better!
Check out my latest post, Sprinter Van Indoor Shower 2.0- Portable and Easy. I updated a couple of things like the shower enclosure and the drain. It makes setup and take-down that much quicker and easier.

9 Responses
steve
Looks awesome
Thanks for posting
Is there any risk of falling out of the van to the ground from inside the shower curtains? Is it really that close to the sliding door step?
Steve
steve
ps
love the cam locks !!
Pete
The slider door stays shut. The only part of the shower pan that hangs over is the edge where the drain is. So no, you are always standing on the van floor. There is plenty of room to shower.
Warren Ruiz
Hi, Pete, Great post. That’s well thought out, nicely done. You have really killed it on your entire van build! Thanks for the sharing this.
Pete
Thank you Warren. Thanks for following along! Much more to come too.
David Moody
Looking for some guidance… you have me headed in the right direction
Pete
Glad to hear that David. 🙂
Alain Machtelinckx
Very nice !!!
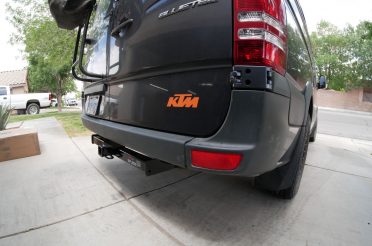
Do you also carry your KTM on the van?
Pete
Yep! In the van.