 Having a designated “house” stereo for the back of the van was important for us for a couple of reasons. First off, we didn’t want to dump a bunch of money into the van’s (dashboard) stereo. That factory MB Audio 15 stereo isn’t the greatest, but it’s good enough for driving down the road and getting to our destination. Second, if our only stereo was in the dash it would require the van’s ignition to be on causing battery drainage issues. Since the house stereo is powered off of our house batteries and solar, we don’t ever have to worry about draining down our vehicle battery. In addition, our house batteries automatically disconnect from our vehicle’s battery/ charging system after shutting it off.
Wiring
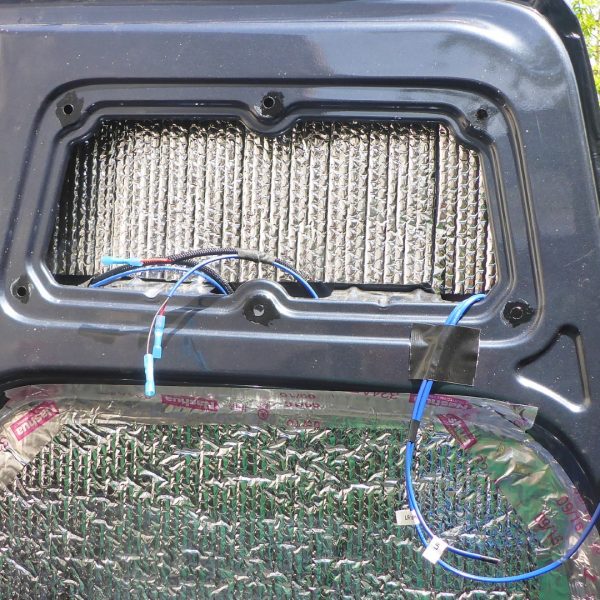
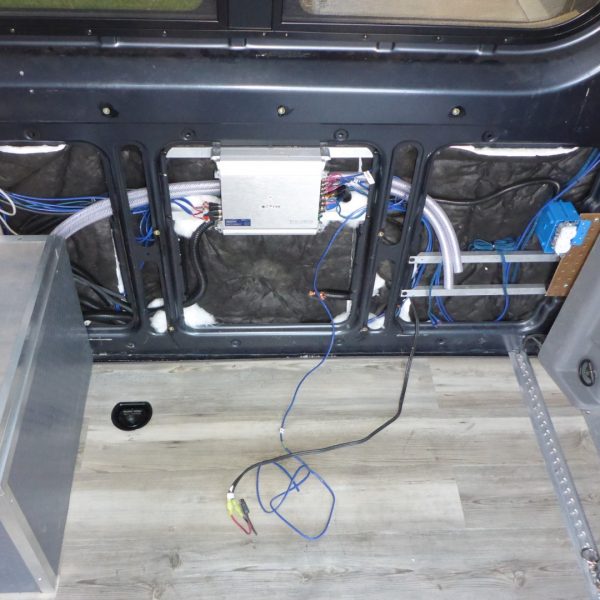
Before we even started building anything in the van, I pre-wired it. Just like a house, you need all your wiring in before walls go up. I used 16GA jacketed 2 conductor wire and fished them through the smallest of spaces using a fish tape. The ceiling speakers were easy, but the rear doors took a little more time. I had to run the wires through the factory wire boot in the door jam. All the wiring would go to the center of the van where the amplifier would be mounted.
Speakers
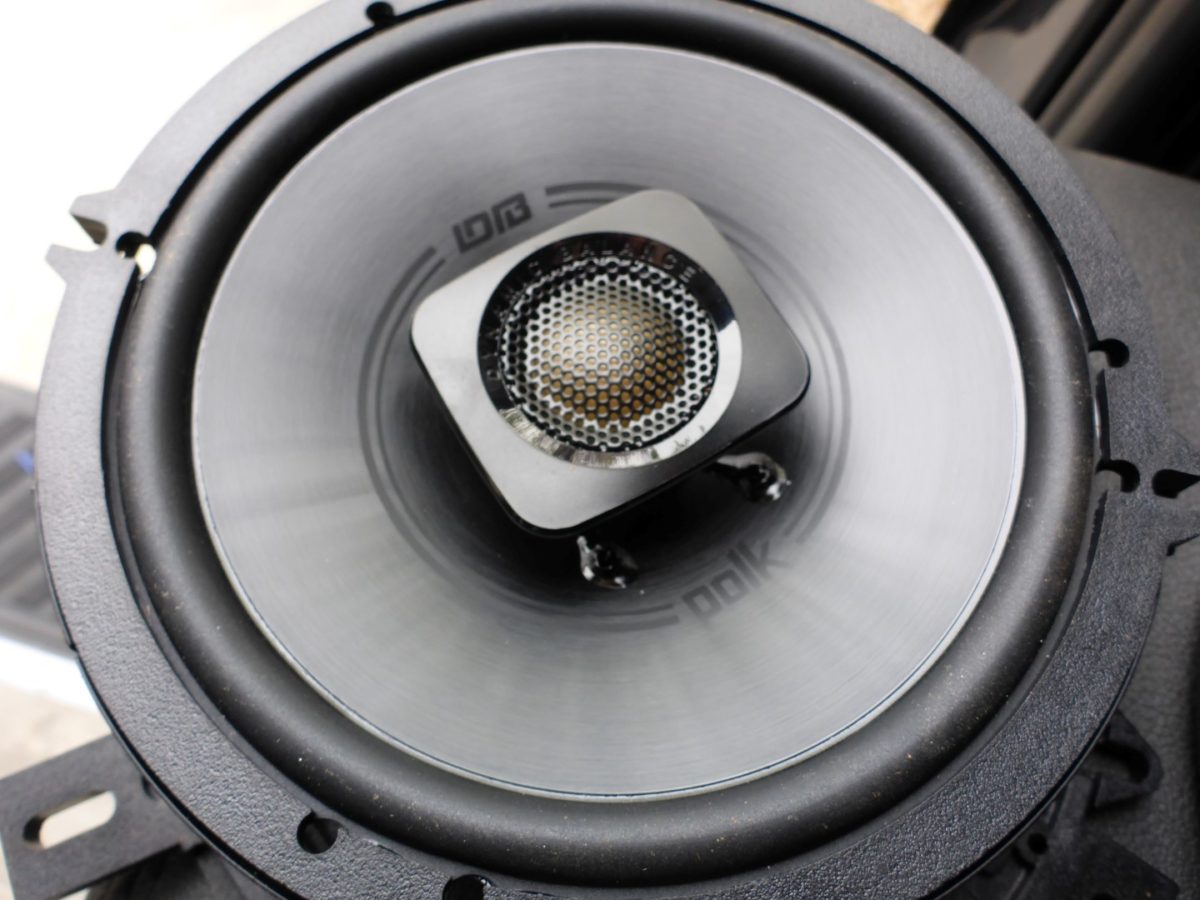
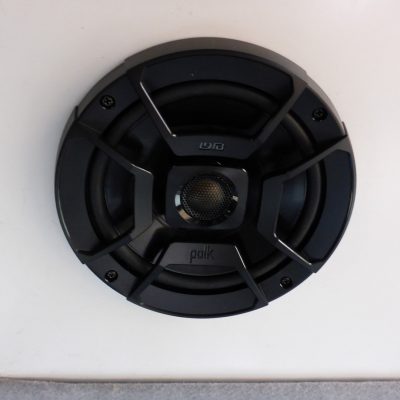
Quality stereo components are much less expensive than they used. I would love to pump some JL audio gear into the van, but we’re not trying to win any awards with this van. We just wanted some good sounding tunes with some moderate bass. I chose to go with four 6.5″ Polk UltraMarine speakers. They have waterproof surrounds and are UV tolerant.
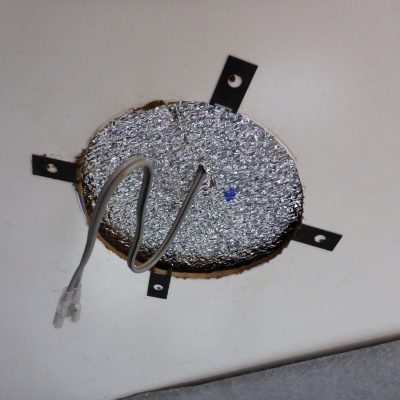
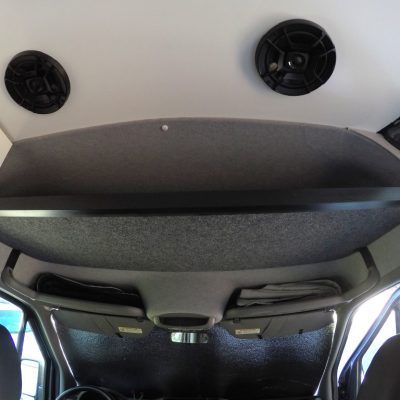
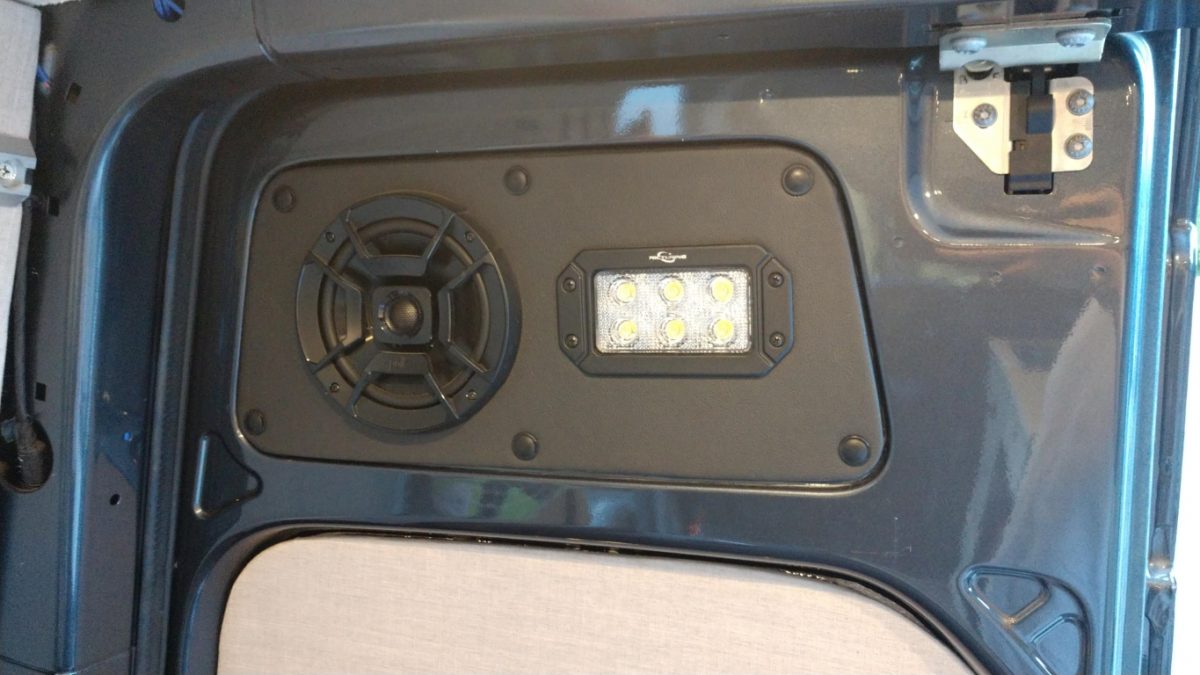
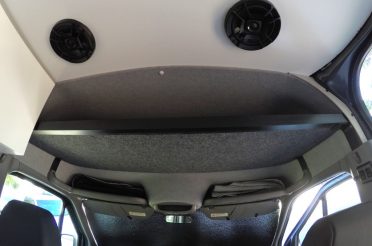
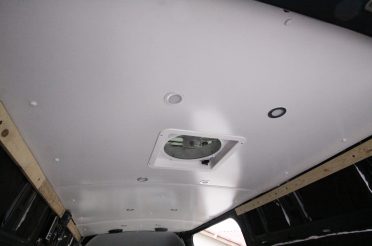
Two were installed in the ceiling just behind the front seats and two were going in the rear doors. The nice thing about using the rear doors is they can be opened and the speakers can be redirected outside depending on the position of the doors. Installing the ceiling speakers in our headliner was a piece of cake. By using some speed nuts, these shallow speakers mounted directly to the headliner material and fit perfectly in the small space we had to work with.
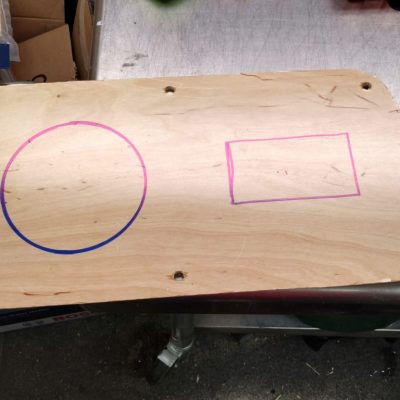
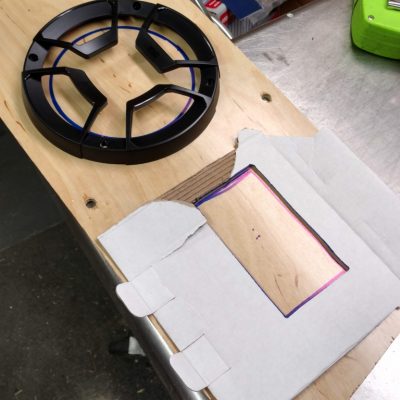
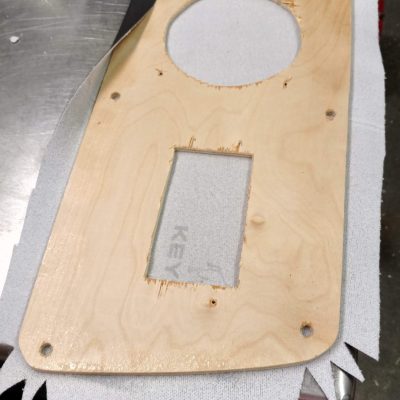
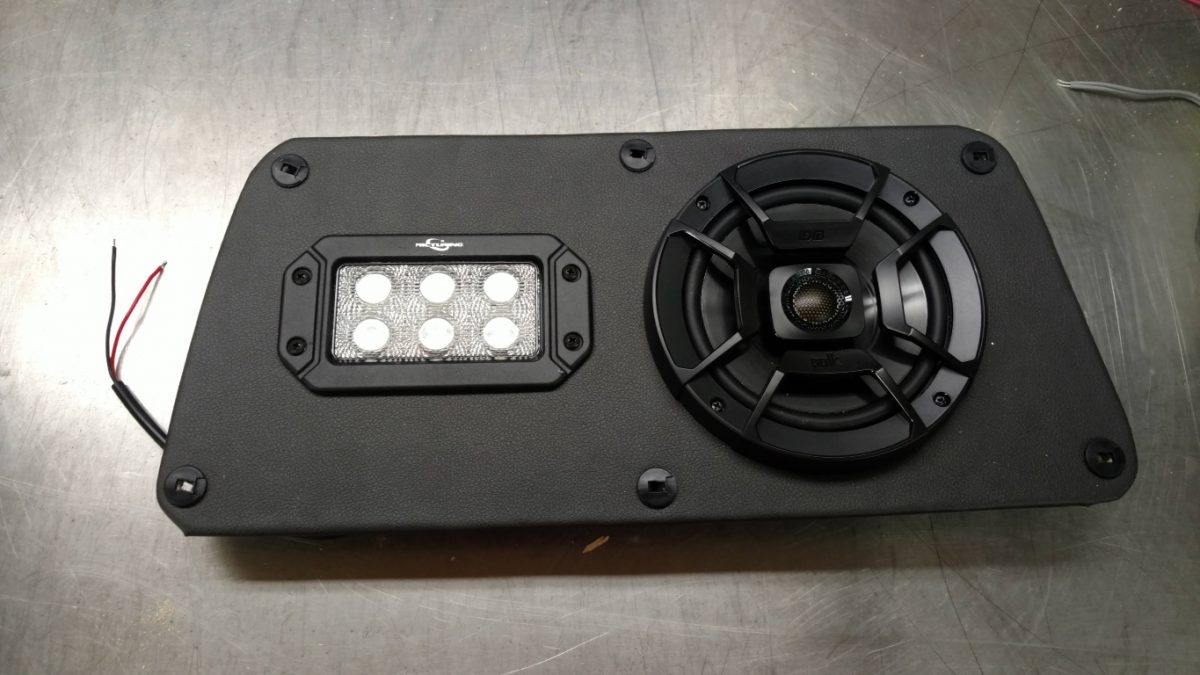
For the rear doors, I built panels out of 1/4″ plywood to house the speakers as well as some LED lights. Once I got the holes cut, I covered them with some vinyl using 3M spray adhesive and stapled the edges on the back.
I marked and drilled out the holes and installed them using some door panel push pins. The pins were a tight fit and the door holes required a little bit of drilling with a larger drill bit, but they fit and look like factory.
Subwoofer & Amplifiers
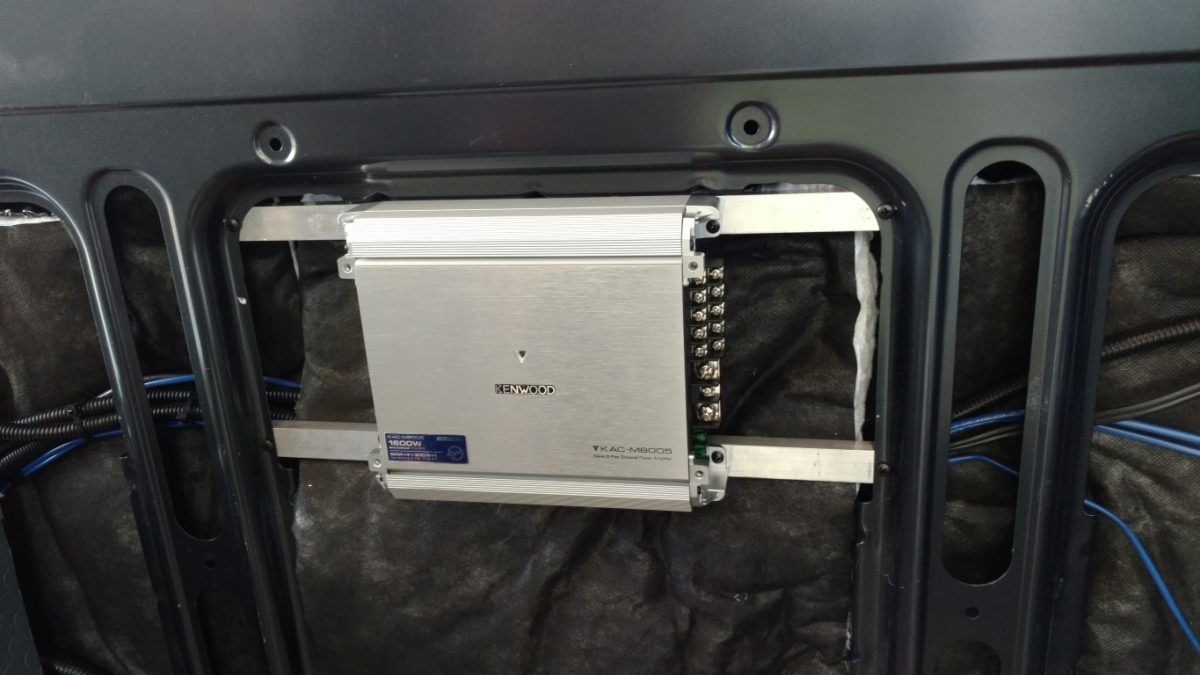
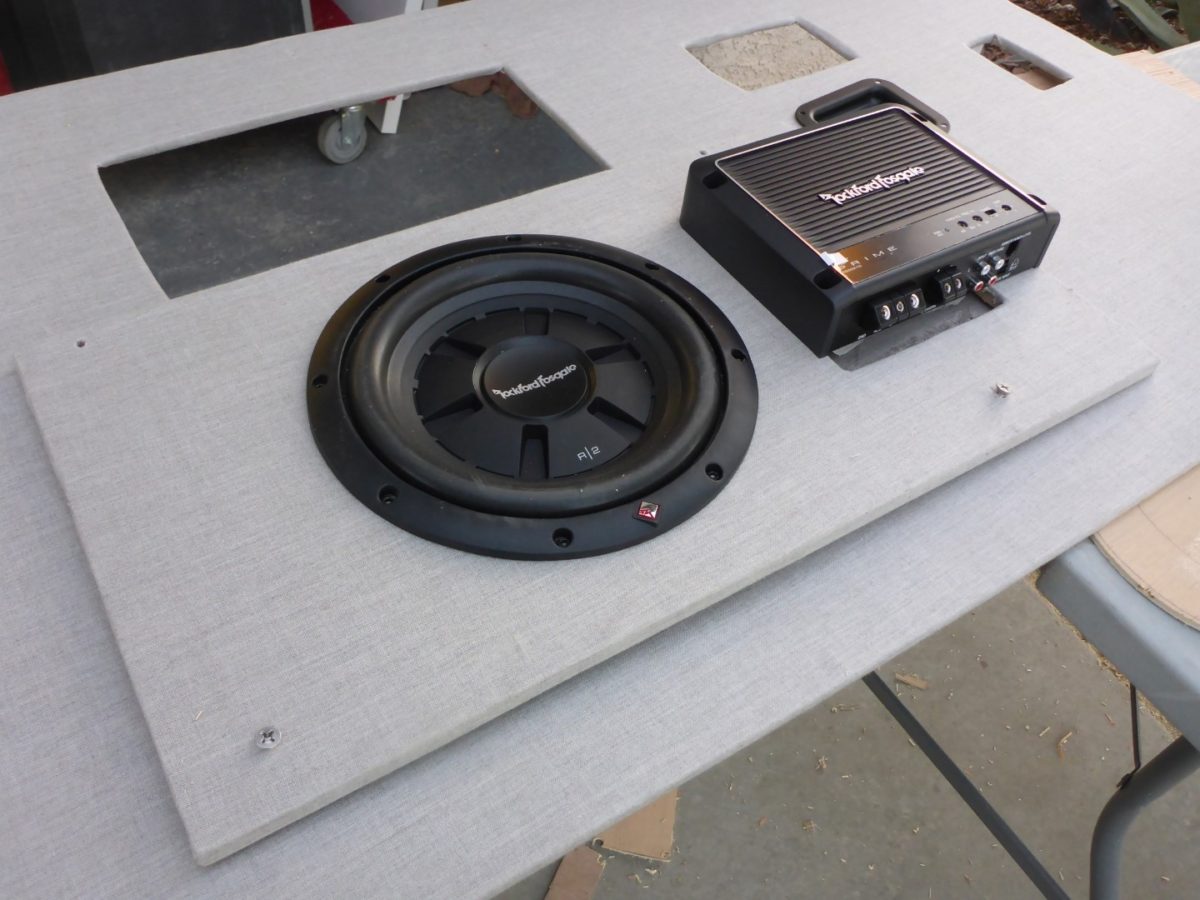
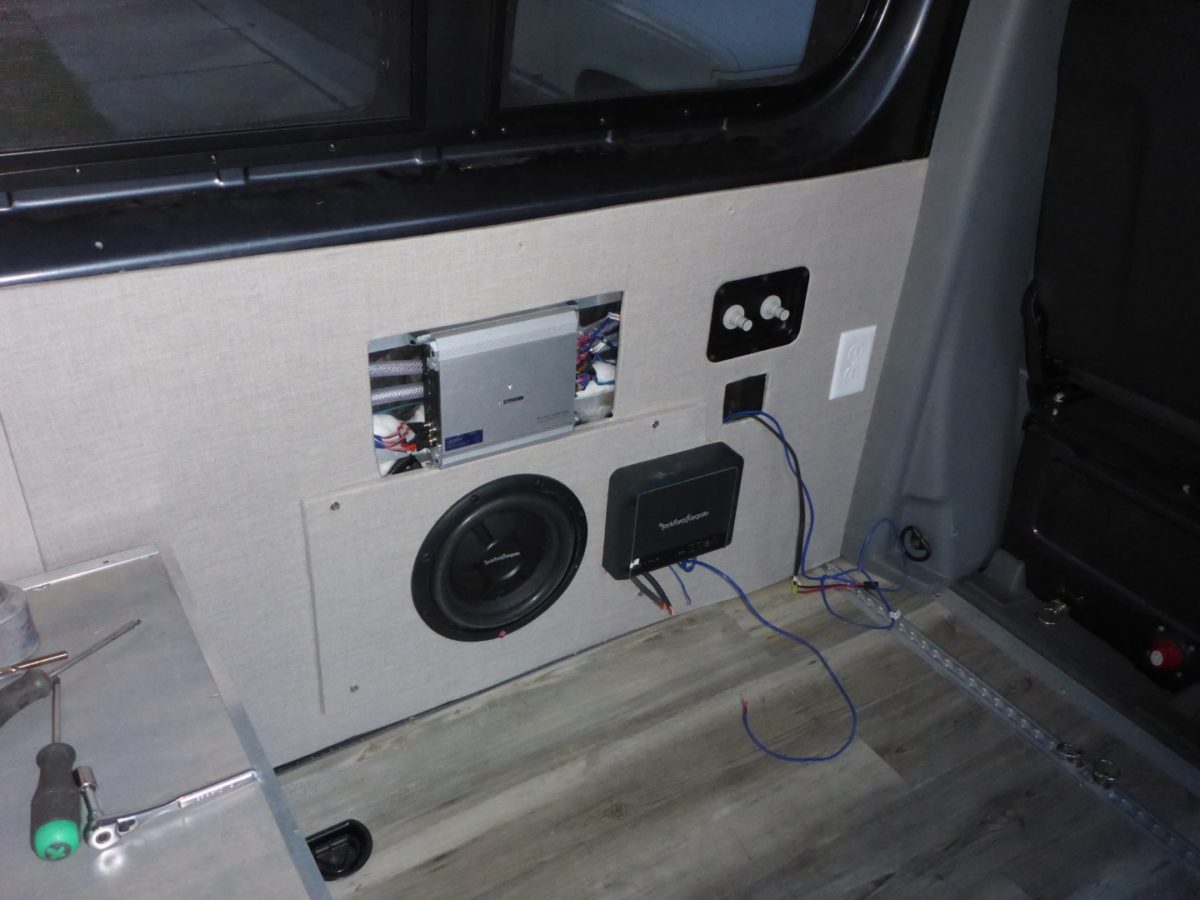
Originally I only wanted to run one amplifier, but I ended up adding a second one for our subwoofer. The good thing is they are both class D amplifiers, meaning they draw less power than other amps. The first amp, a Kenwood Marine amp, powers the four 6.5″ Polk speakers and the other, a 1 channel Rockford Fosgate, is solely for the 10″ shallow mount Rockford Fosgate subwoofer. With everything on and cranked up, the system is still only drawing a few amps (4-6) from our batteries. Making that wall panel was a pain in the butt, but it worked out well in the end. One amp mounts with aluminum C channel mounted to the structure of the van. The second one mounts with the subwoofer to a 3/4″ panel. Subwoofers need a solid mounting surface to minimize the vibrations.
Head Unit / Receiver
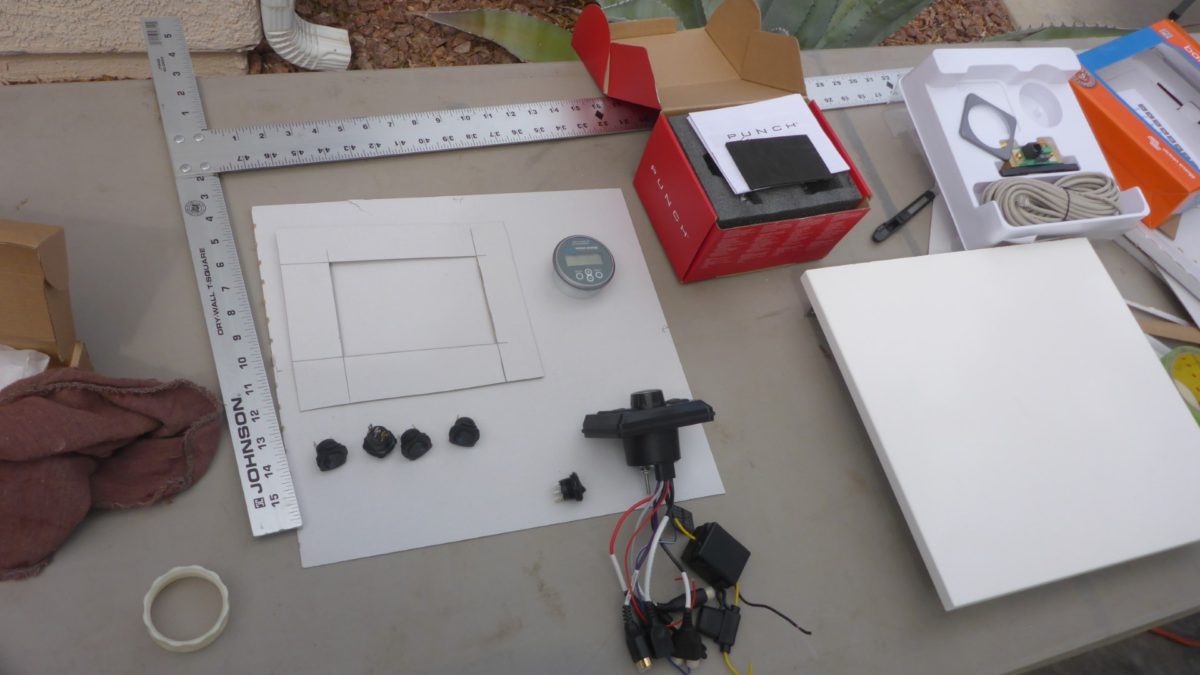
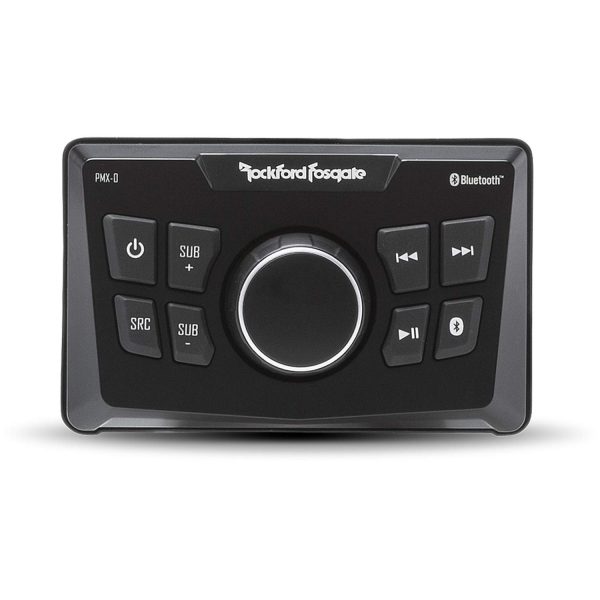
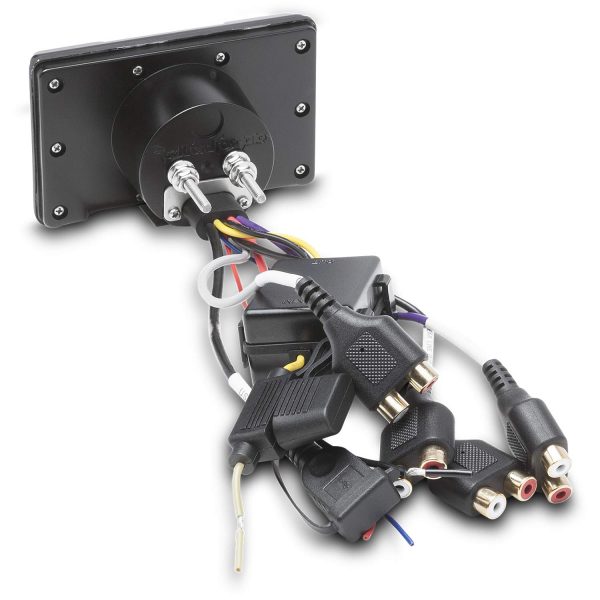
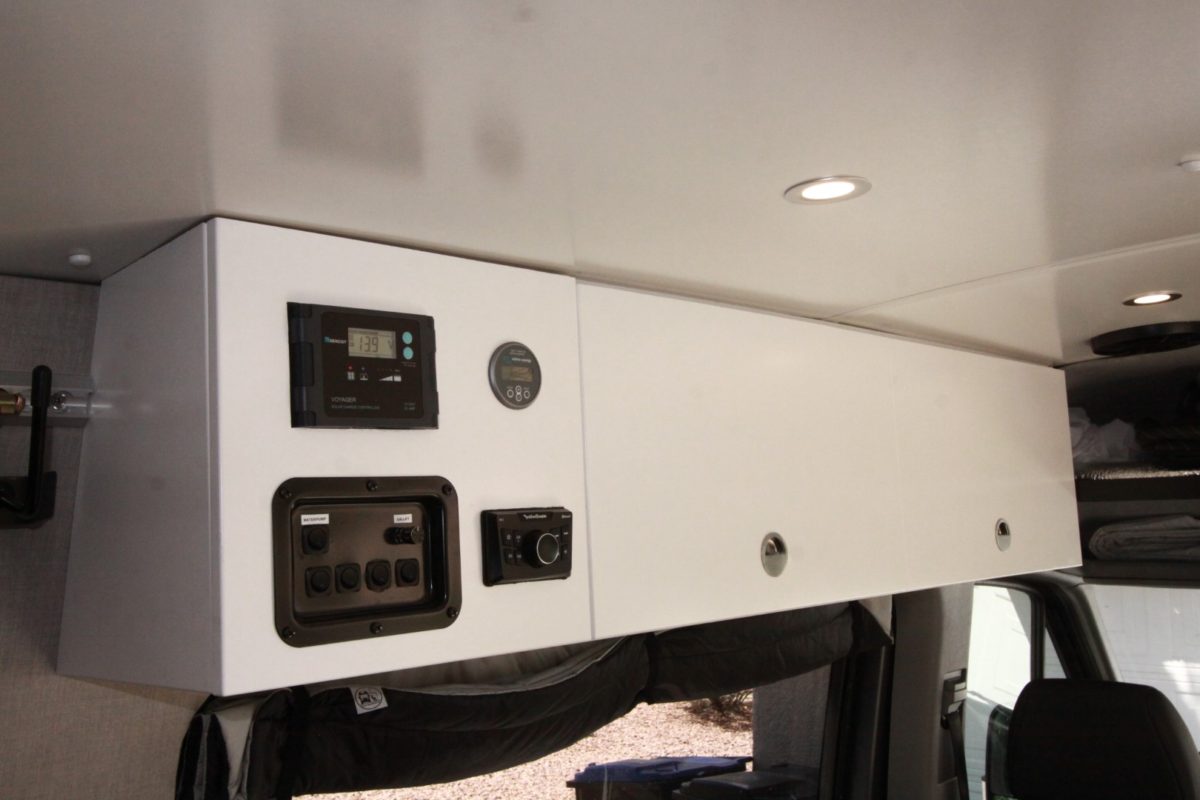
Now that all the speakers were in and the amplifiers were wired up, all I had to do was mount up a head unit and plug everything in. I kept it very simple and went with a Rockford Fosgate PMX-0 Receiver. It is basically only there to control whatever input and volume you want. It has a 3.5mm aux jack input as well as Bluetooth. We only ever use our phones or tablet to listen to music so there was no reason to mess around with an AM/FM/MP3, etc stereo. It is also very small and only takes up a little of our limited cabinet panel space. These units are commonly used in boats and UTVs because of their size and also because of their limited power draw. There is no fancy display, just an easy to use volume knob, AUX/Bluetooth button and also a subwoofer volume adjustment which comes in very handy!
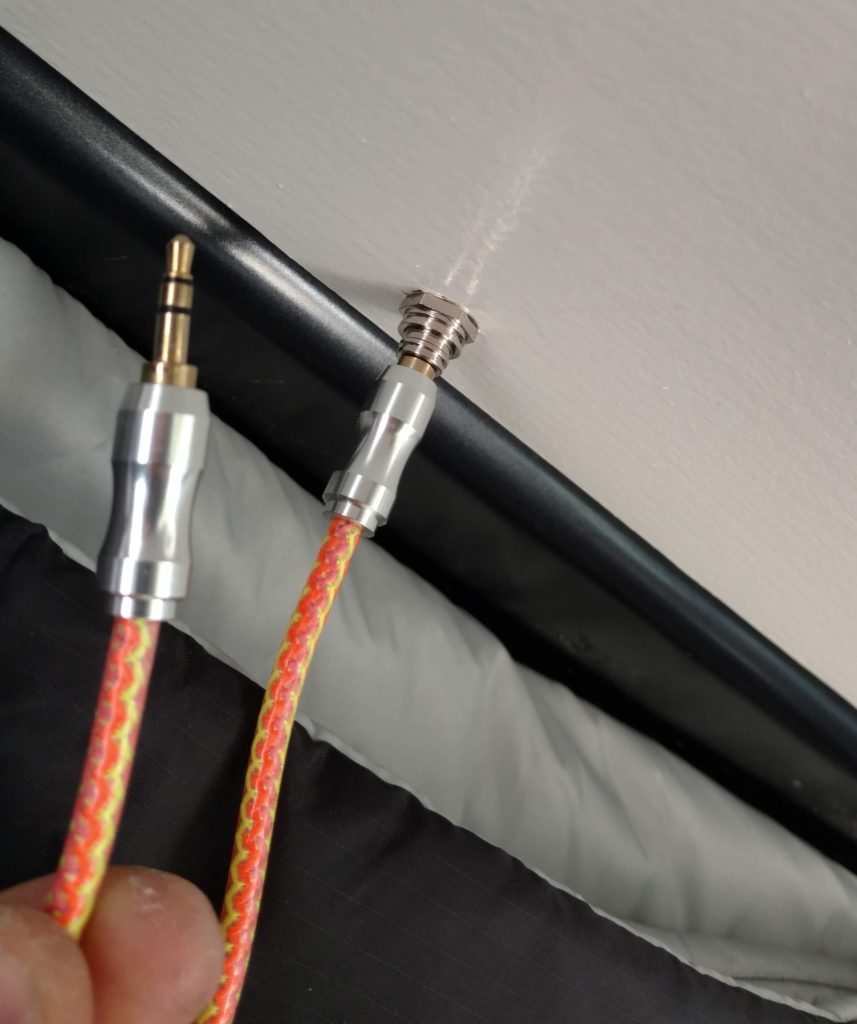
Since the head unit has an AUX jack, I mounted a pass-through 3.5mm jack under our cabinet near our countertop so it was easy to access.


Leave a Reply