When designing the layout for our van, the bed was the most important part. With me being 6’2″ and Anna being 5’8″, laying sideways in our van was not an option. We would need to build a bed that ran lengthwise and would also fold up out of the way to load motorcycles. We also wanted it to turn into a dinette area for hanging out and eating. This posed some challenges, but I was determined to make it work.
Wheel Well Box
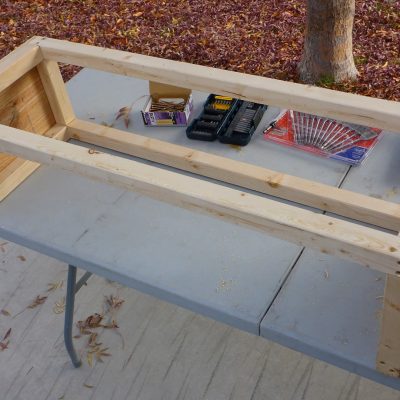
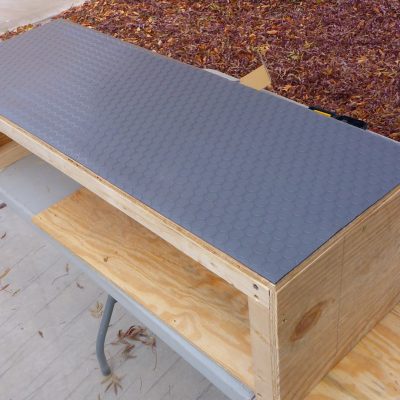
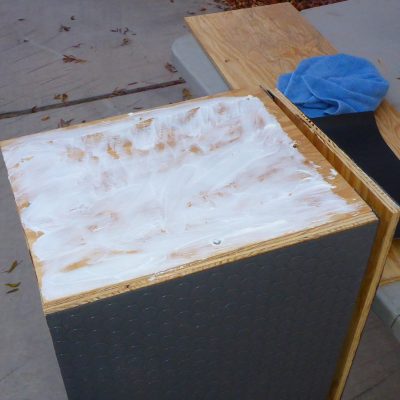
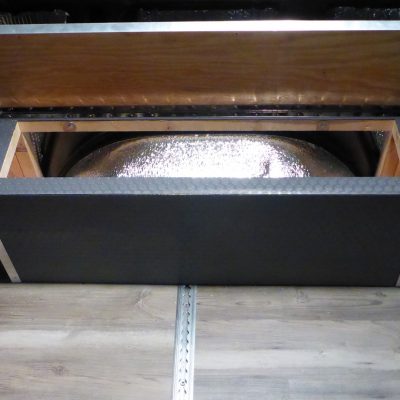
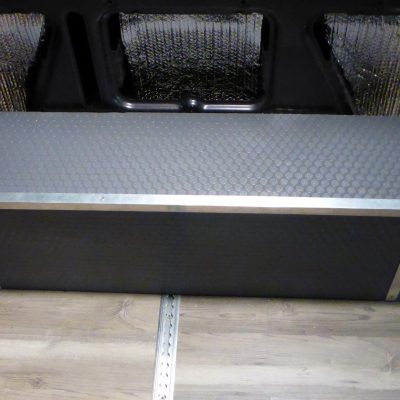
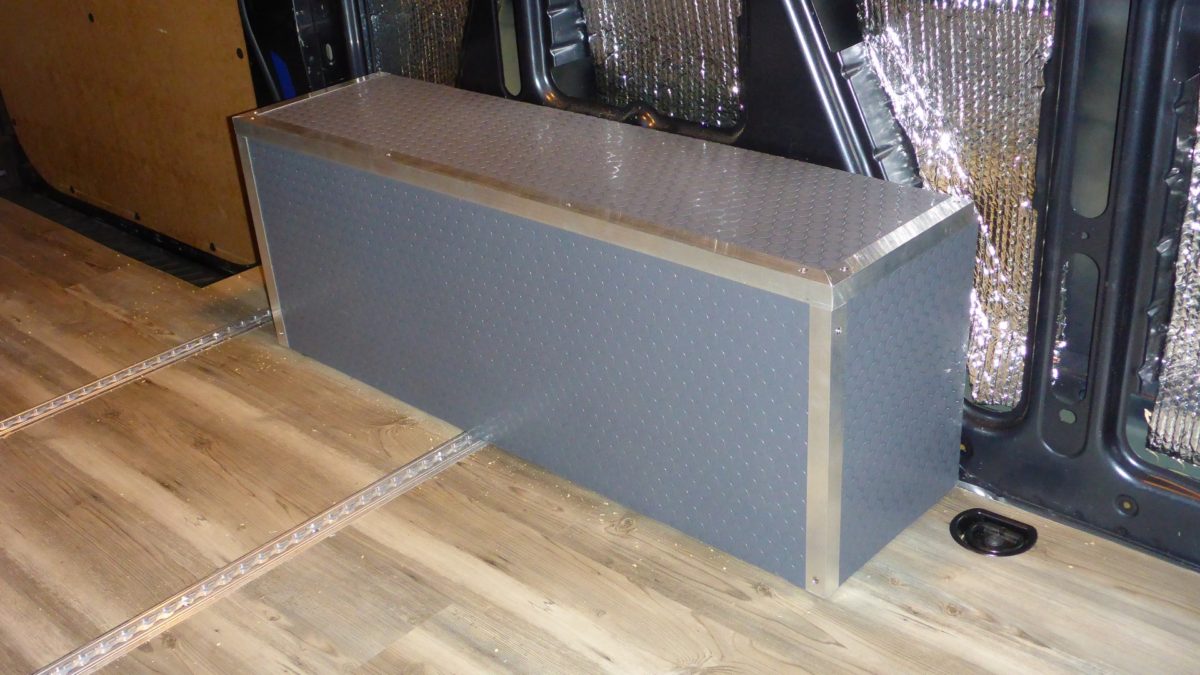
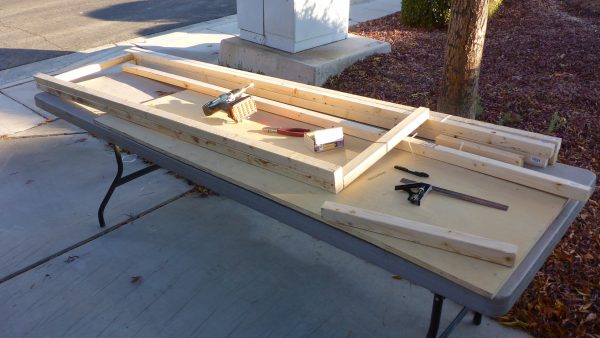
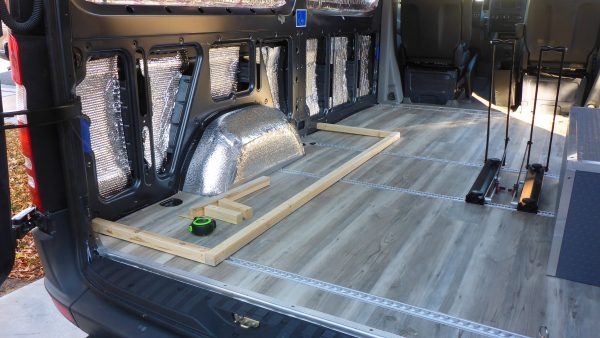
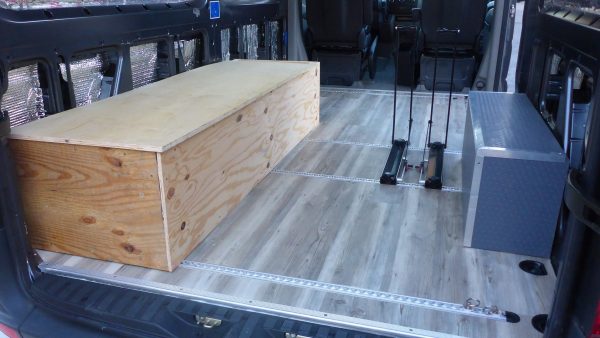
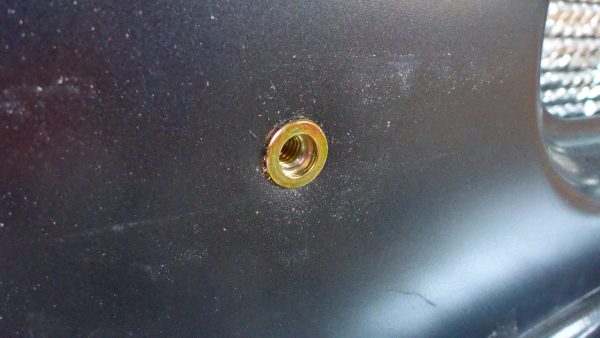
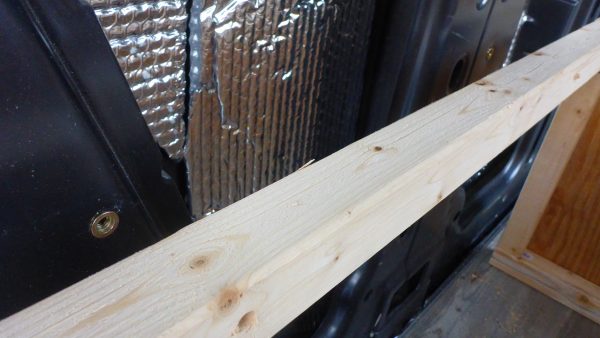
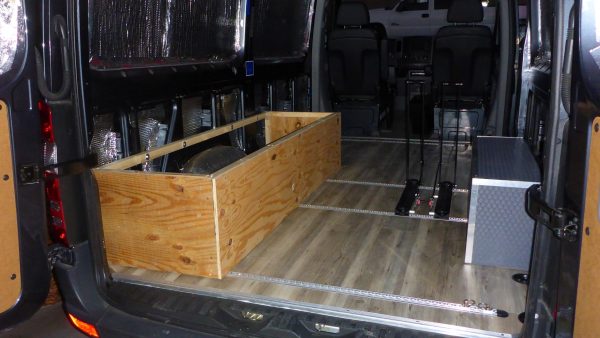
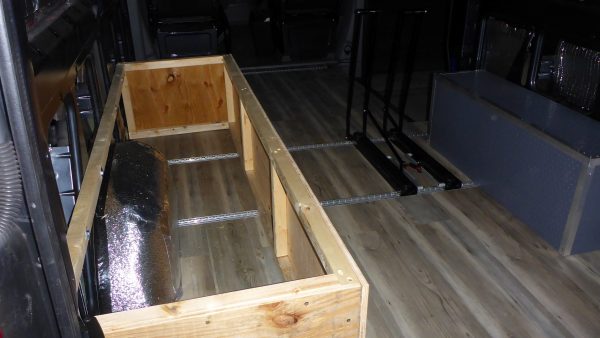
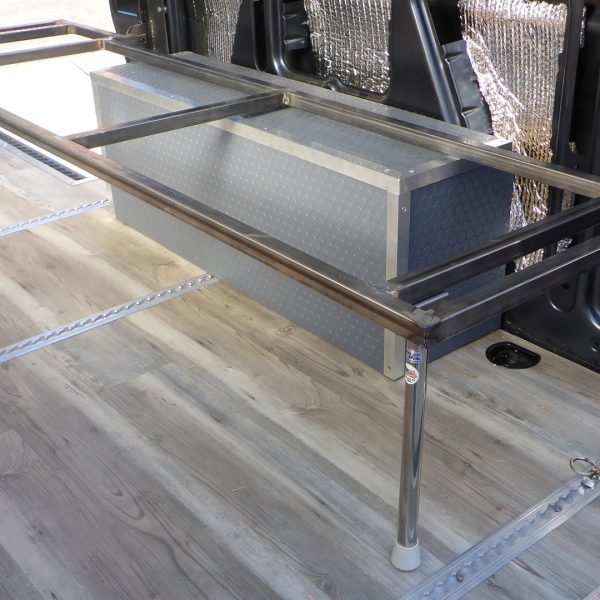
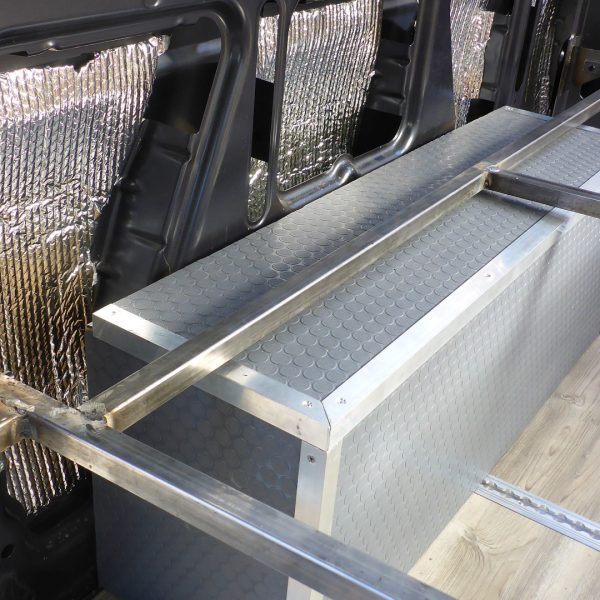
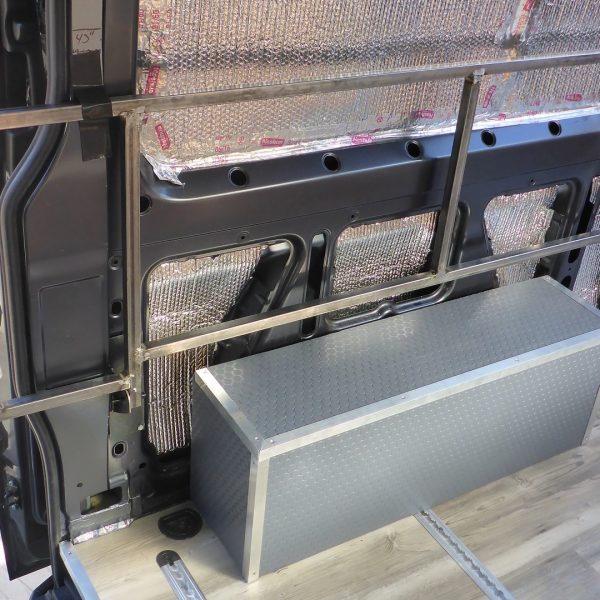
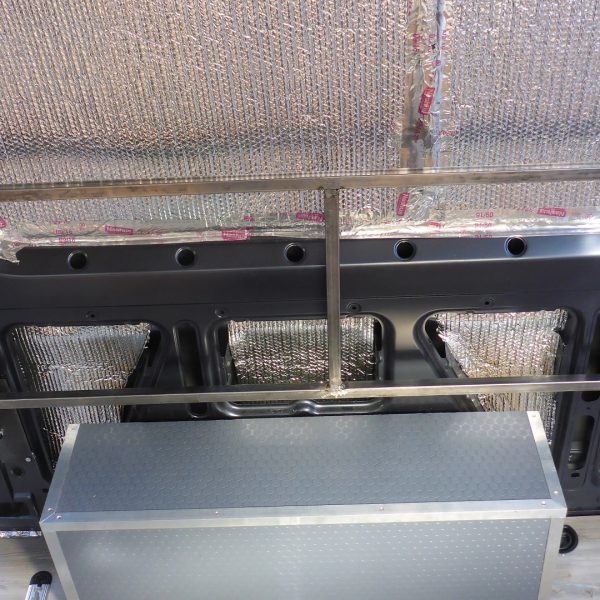
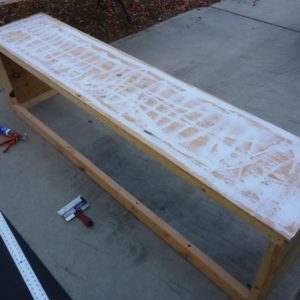
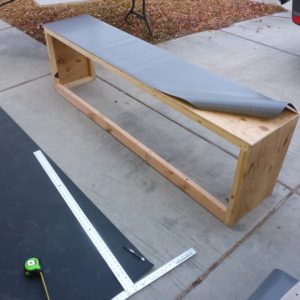
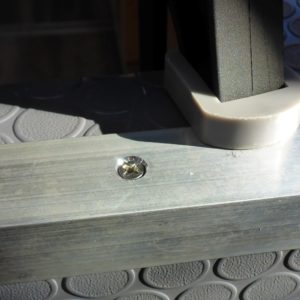
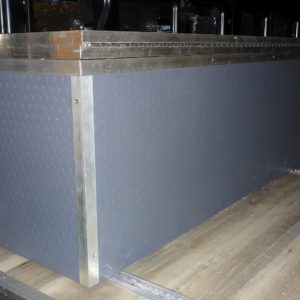
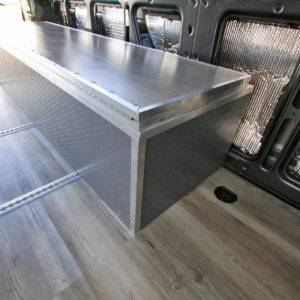
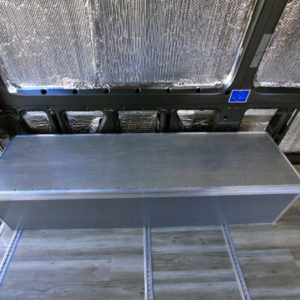
One of the first things that were made was a box to cover the right side wheel well. It would double as a storage box for tie-downs and miscellaneous items. I chose to frame it out with 2×2 pieces of wood. Aluminum 80/20 would have been super cool to use, but it would not have been very cost-effective, would have taken more time, and also has more thermal transfer than wood. After framing it out, I covered it with 1/2″ plywood and added a hinged lid. Rubber Coin matting (flooring) was used to finish the outside along with some thin, 1-inch, 1’16” thickness, aluminum angle. I countersank the screws to give it a nice finished look. 3M 90 spray adhesive did not want to stick to the vinyl very well for some reason, so I ended up using polyseamseal adhesive caulking which bonds well to the wood and vinyl. It was installed and secured the box to the van using bolts and rivnuts in the walls and carriage bolts in the L track on the floor.
*Update Feb 2021: Vinyl Adhesive Alternatives
After years of use and temperature swings, some of the vinyl has pulled away from the wood and is not sticking very well anymore. The aluminum edging is basically what’s holding it on at this point. The adhesive caulking was not a good choice. I will be regluing it with either 3M Vinyl Adhesive or using flooring adhesive. The 3M vinyl adhesive worked great on our galley and has held up well. I’ve heard even better things about the flooring adhesive though.
Materials
Left Side Utility Box and Couch
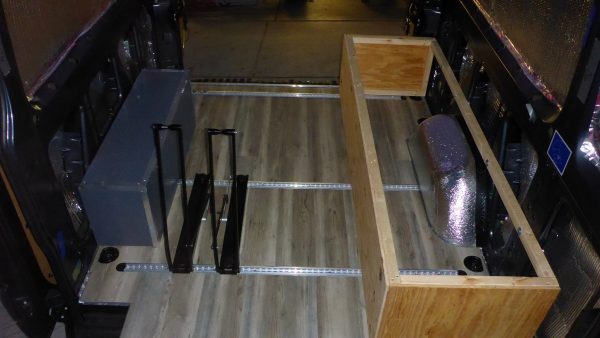
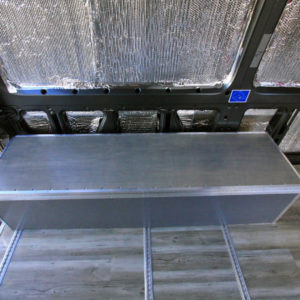
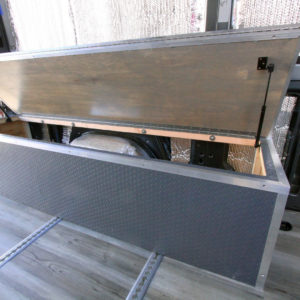
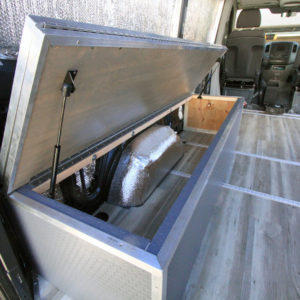
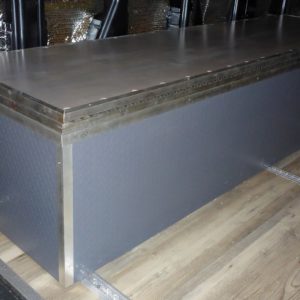
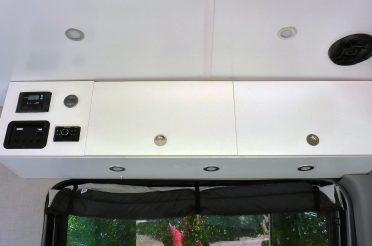
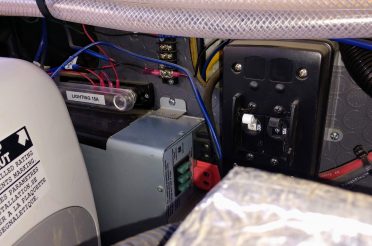
It was time to start on the left side box. This box would serve many purposes. It would cover the left-side wheel well, house all of the electronics and plumbing, and be our left-side couch/folding bed system. I used the same materials and methods as the right-side wheel well box.
The frame was built, test fitted, and secured the same way using rivnuts in the walls and anchored to the L track in the floor. Anytime you add anything to a van, it needs to be secured extremely well in the event of an accident. This is very important.
The sizing of the box took a ton of planning and engineering. There were many things I had to take into consideration. It was a flashback to my architecture and geometry days in high school.
- It had to be a comfortable seating height.
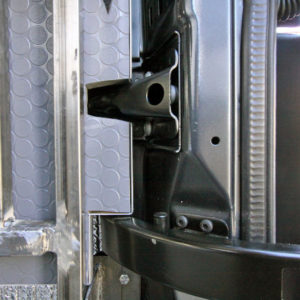
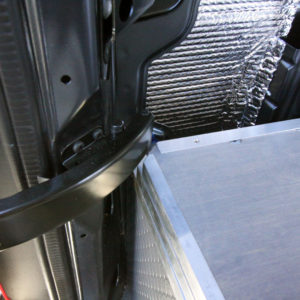
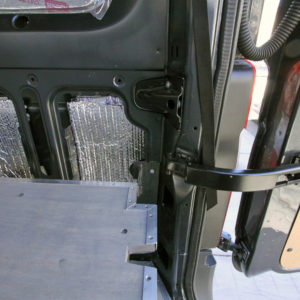
- It had to clear the rear door hinged and stop mechanism in the wall.
- The depth (and height) had to be enough to house our 20-gallon water tank that would eventually go in there.
- The depth also had to be deep enough for a same-sized hinged top to fold over to the right-side bed and fit perfectly.
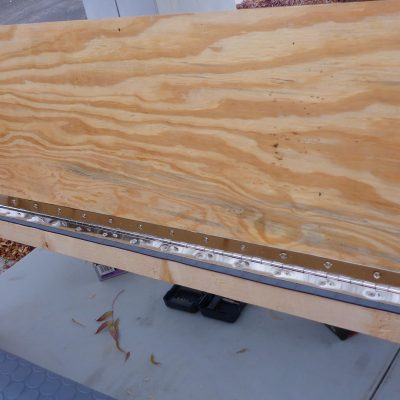
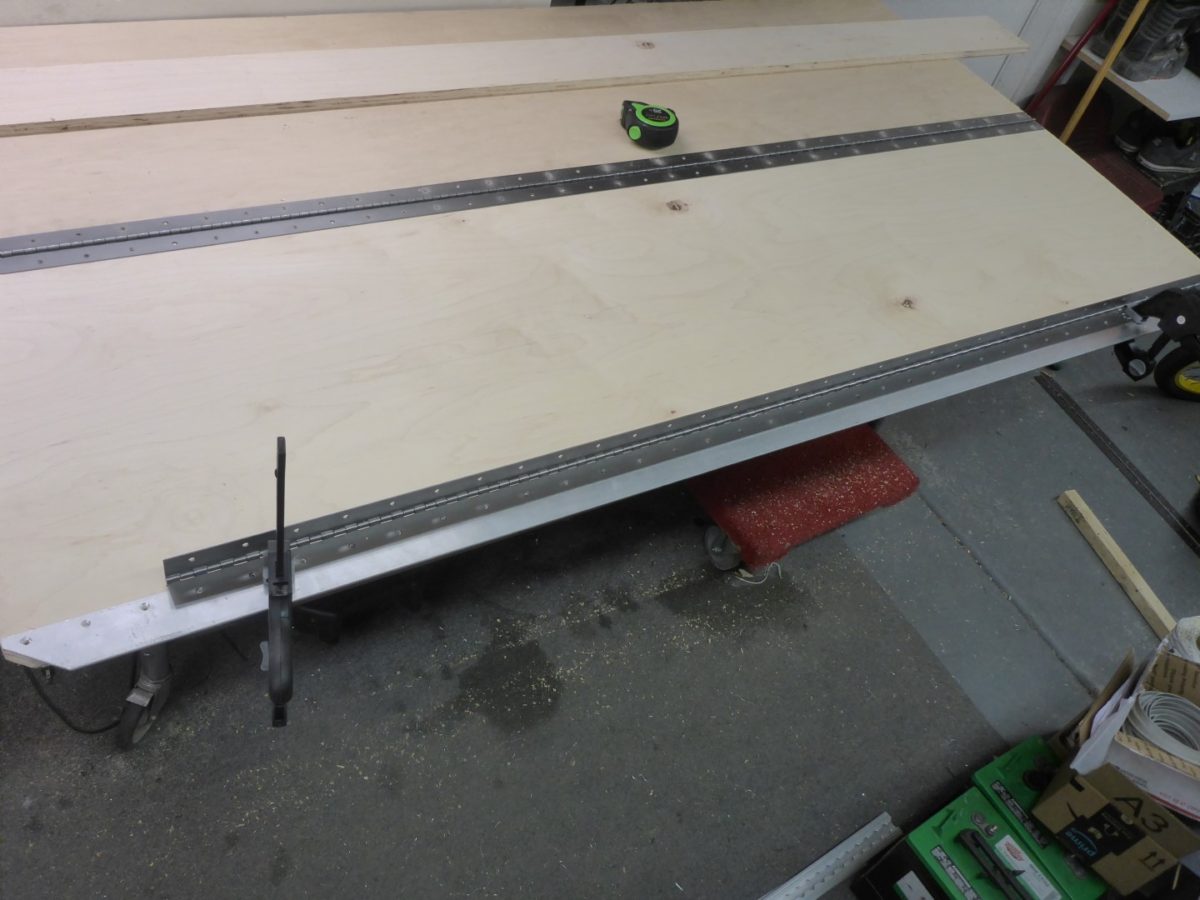
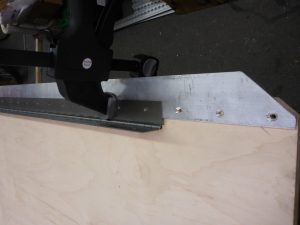
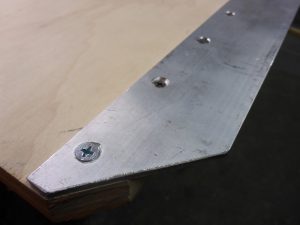
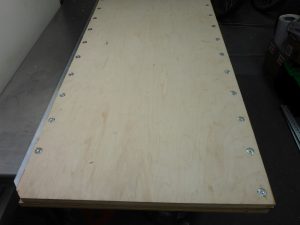
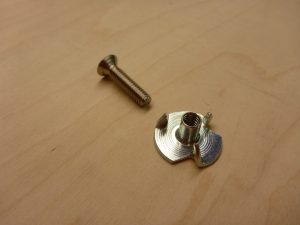
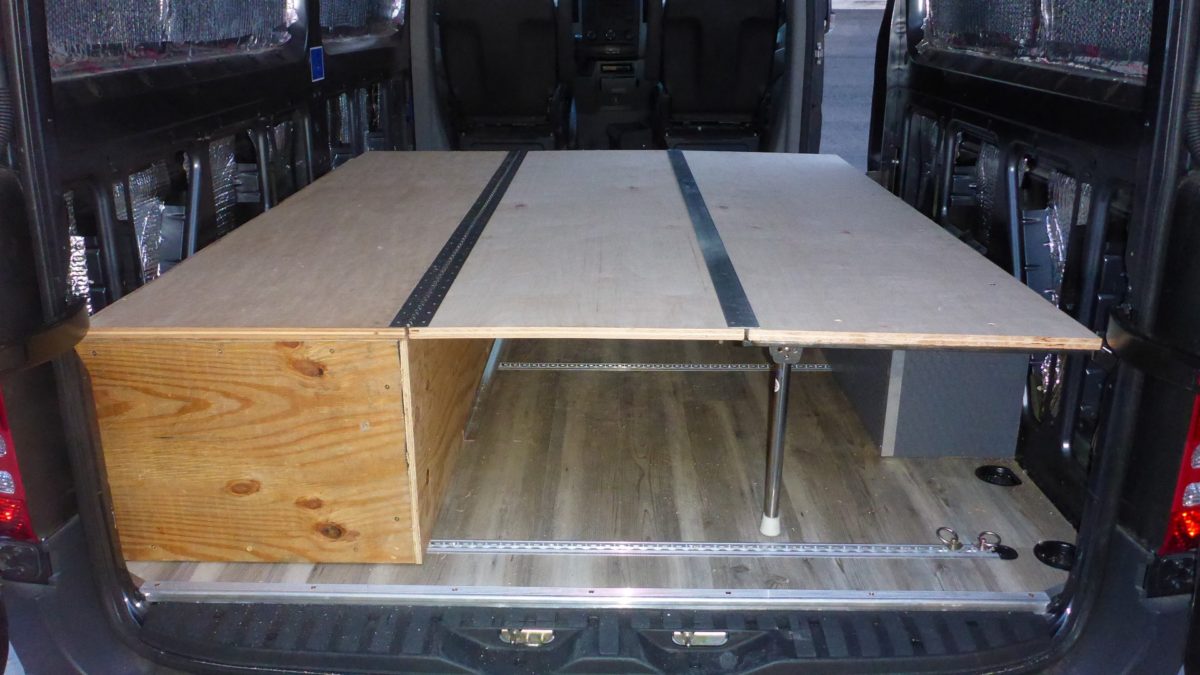
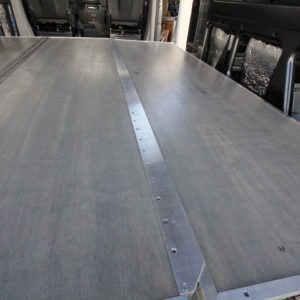
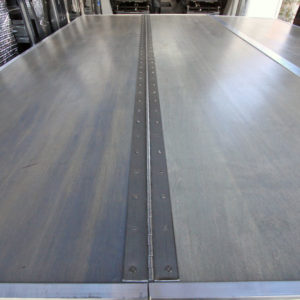
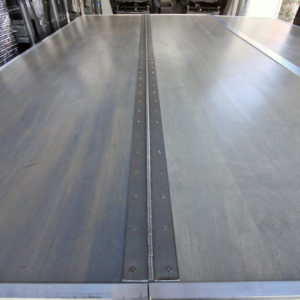
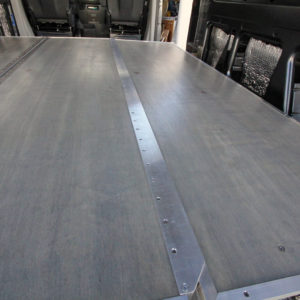
A hinged lid for the box was cut out of 3/4″ maple plywood for added strength and rigidity. It was attached to the box with a heavy-duty piano hinge (sourced at a local hardware store) at the back, then a second lid or panel was attached and hinged at the opposite side. This panel will fold over and connect to the passenger side bed forming a full-size bed. A thick strip of 1/8″ aluminum was screwed to the edge to rest on the edge of the other bench. I used the piano hinge as a template to mark the holes so they were evenly spaced. The hinges were fastened to the plywood every other hole with 8-32 stainless T-nuts and screws. Wood screws were used on the rest. This was a time-consuming process, but necessary to keep it free of bulky hardware which wouldn’t allow a flush fit and finished look as well as support our weight.
- 8/32 Zinc Plated Pronged Tee Nuts (Box of 100)
- 8-32 x 3/4″ Flat Head Machine Screws
- Piano Hinge in Stainless Steel,1-1/2″ x 72″
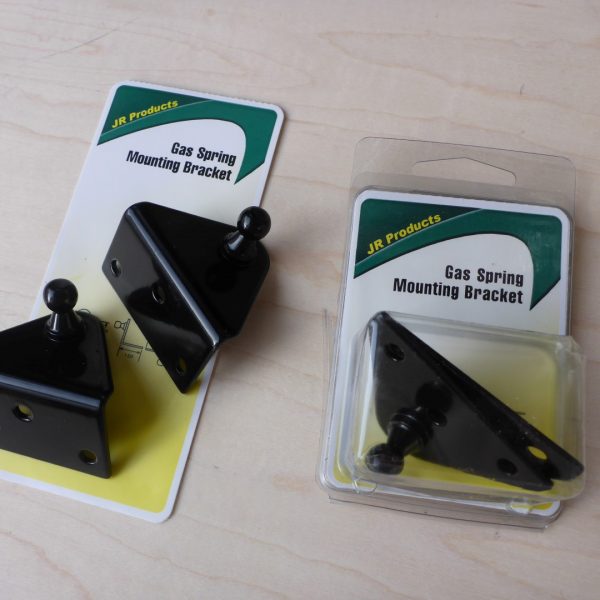
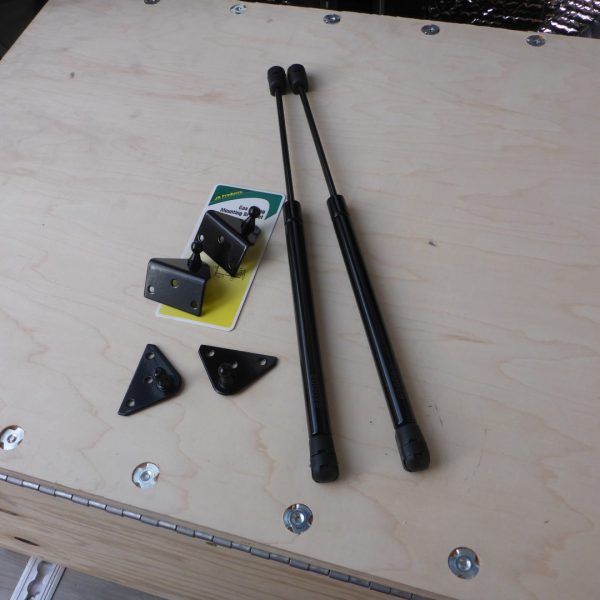
50lb gas struts and brackets were installed so it would open easier and stay up on its own.
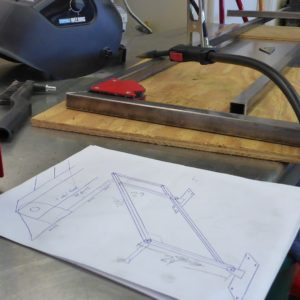
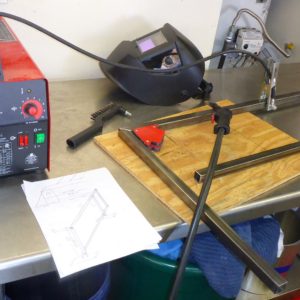
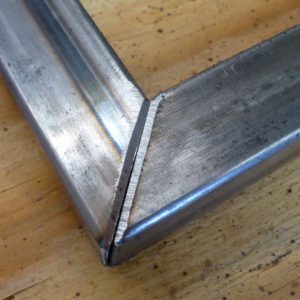
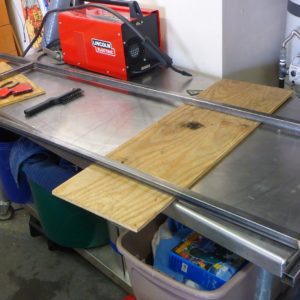
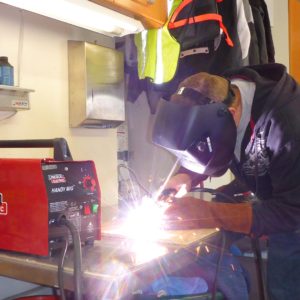
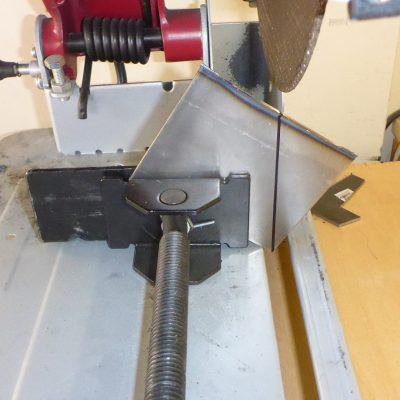
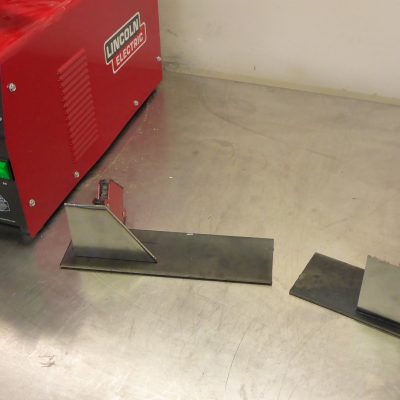
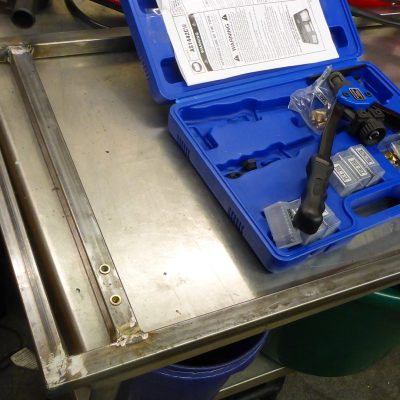
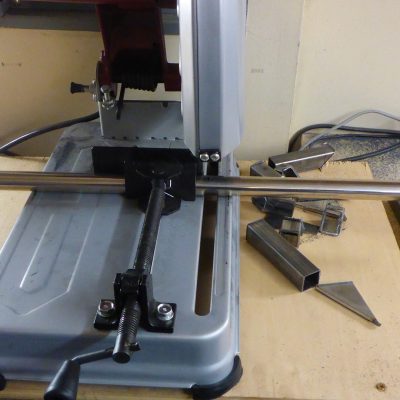
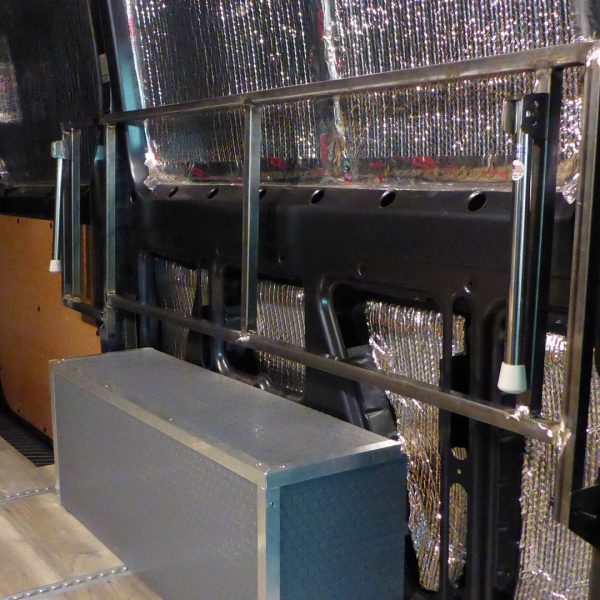
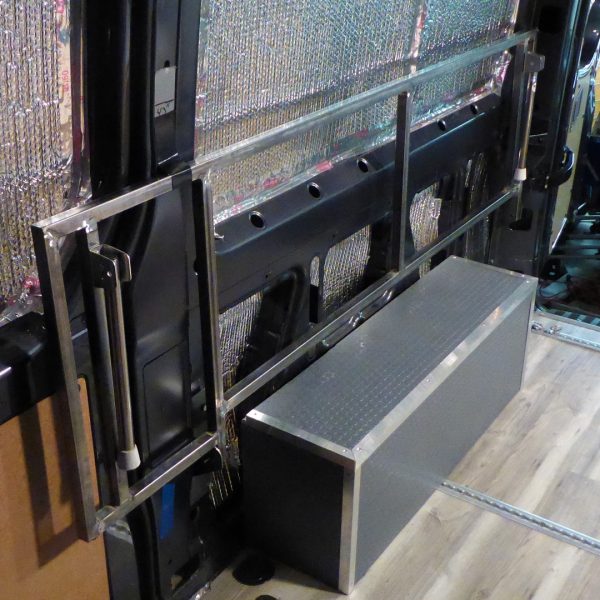
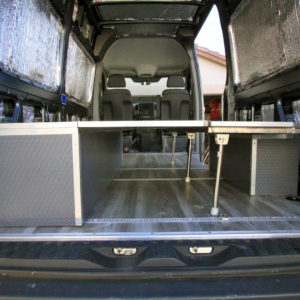
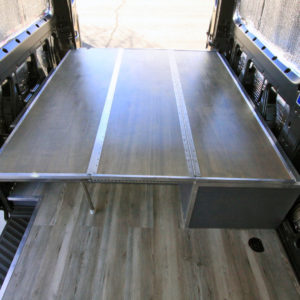
It was then time to fab up the passenger side bench. This side would be a bit trickier because it had to allow for the wheel-well box to still be able to open, yet remain the same height as the other side. Oh, and this side would be a metal frame because it would be hinged to the wall. I went out and bought a little Lincoln Handy Mig welder and did a little bit of practicing. It didn’t take long and I was welding up the bed frame for the van. I used 1″ thin wall steel and used a chop saw to cut everything.
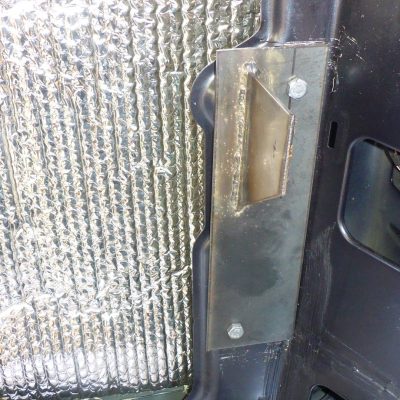
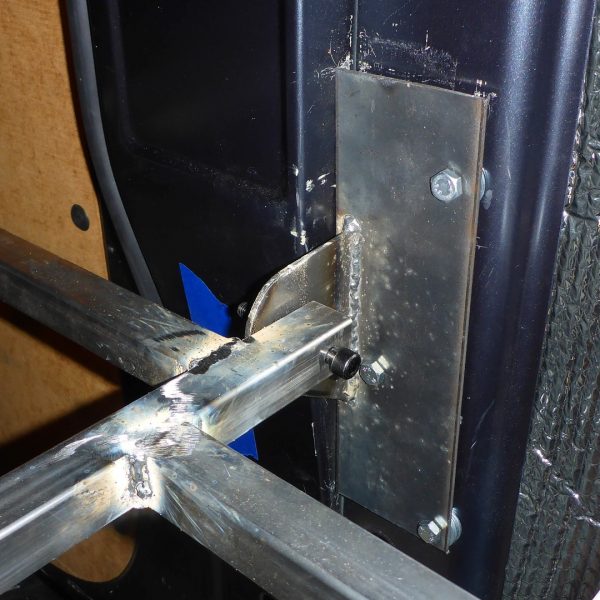
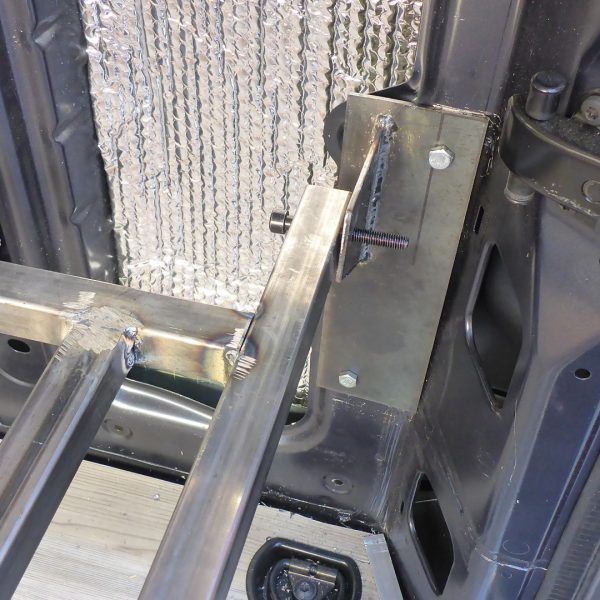
Once the basic frame was all welded together, I made some brackets and bolted them to the walls
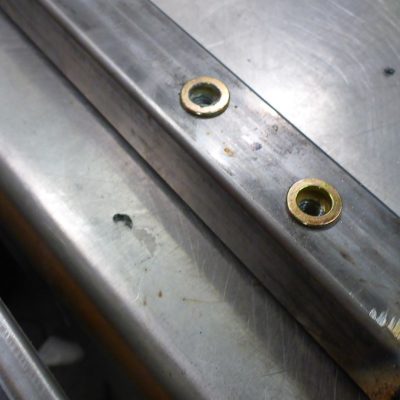
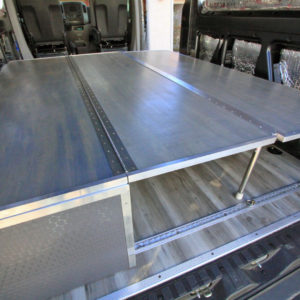
I found some really nice stainless folding legs on Amazon. I cut them to the length I needed and attached them to the frame using rivnuts and a rivnut tool.
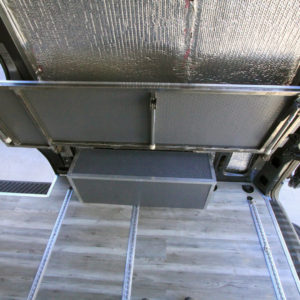
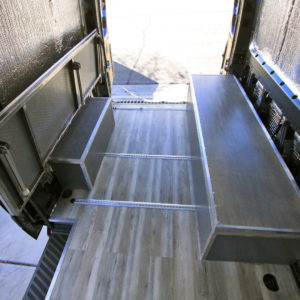
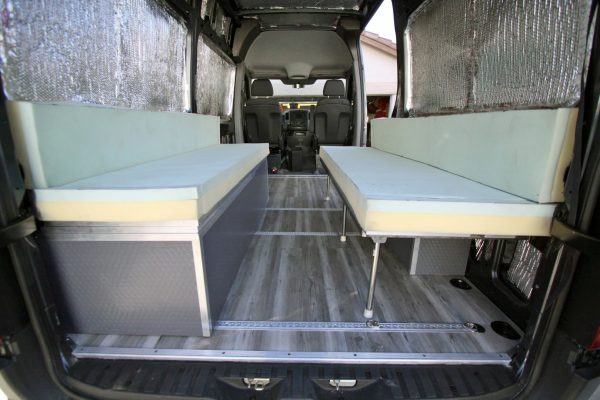
The frame was bolted in and it fit just how I wanted it to. It folds up out of the way to load bikes but also functions as a bench or bed.
Time for a test fit. It works!
Driver’s Side Box Measurements
Left side box: 78″ long x 23″ deep x 16 1/4″ tall
Box: lid panels: 78″ x 21″ These are 3/4″ thick.
Right side panel/ bed: 78″ x 22″ deep. It is 17″ tall.
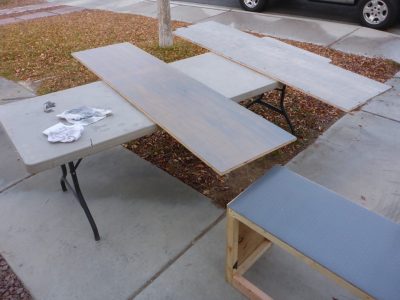
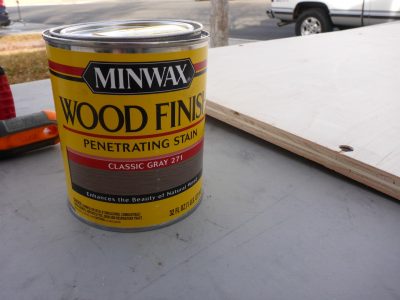
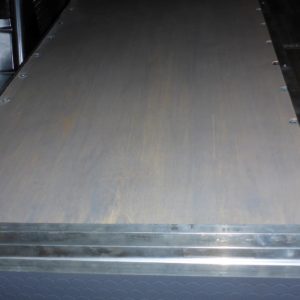
Time to pull everything back apart to put the finishing touches on it. A couple of coats of stain and urethane were applied to the top panels to give it a durable and finished surface.
Rubber coin floor mat was glued to the panels and 1″ aluminum angle finished off all the edges. The edges of the beds were also clearanced to allow for the rear door stops to pass through.
Cushions and Upholstery
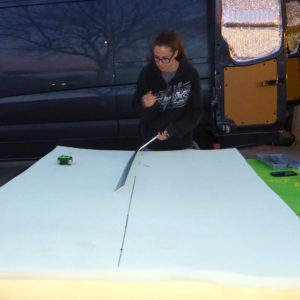
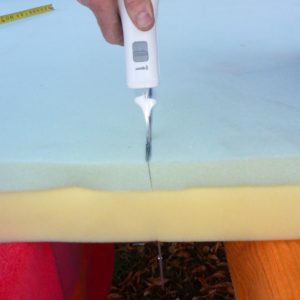
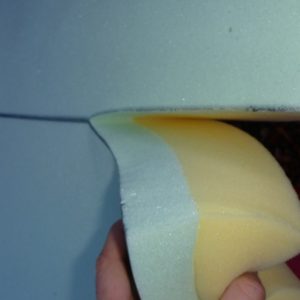
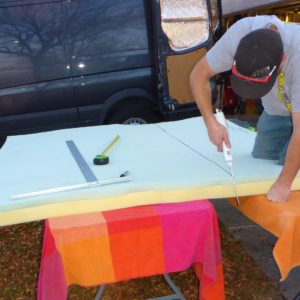
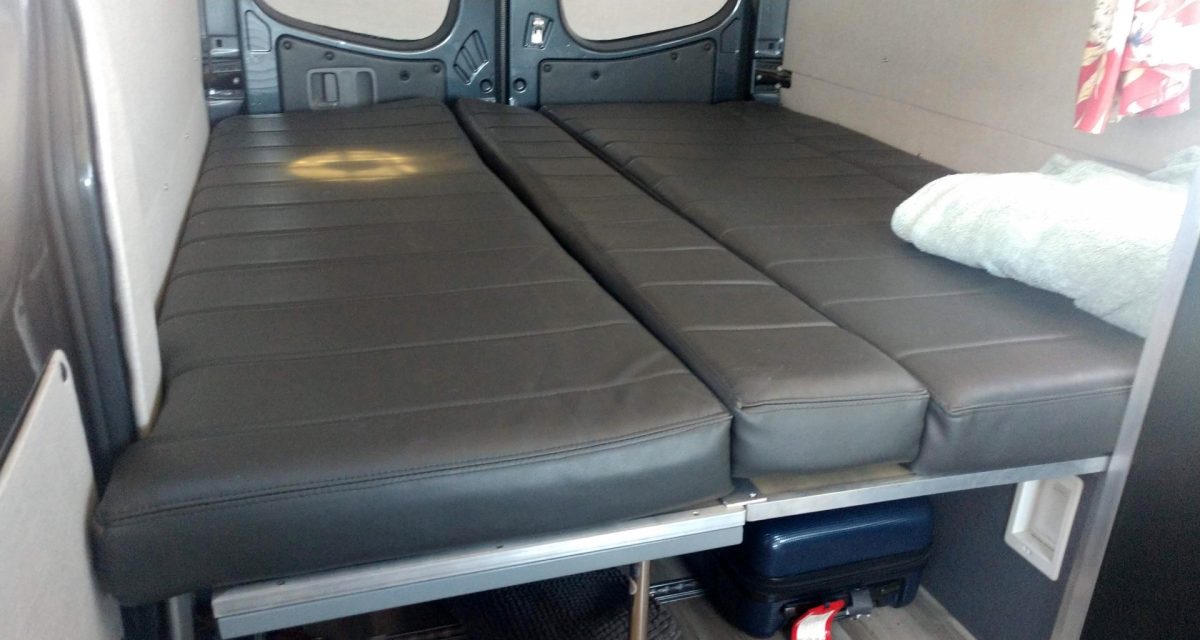
A 4″ foam mattress topper was ordered up off Amazon and cut to fit. It is a combination of 2.5″ high density and 1.5″ memory foam. It’s a bit on the soft side for the dinette, but as a mattress it’s awesome. We used an electric kitchen knife to cut and it was a breeze.
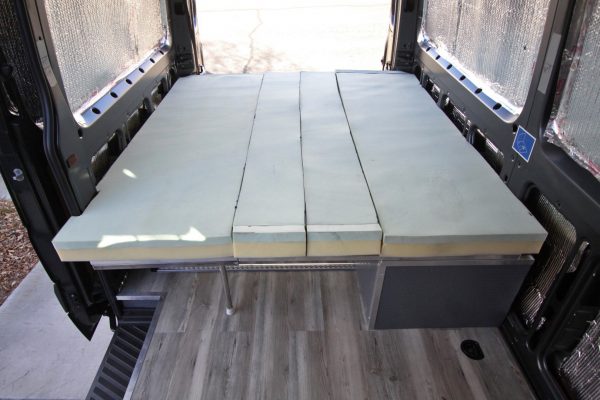
The cushions were set in place for a test fit and then sent off to a local upholsterer to be covered. A few people asked me if we could feel the separations in the cushions in bed form. We do not. They fit tight enough that it’s not an issue.
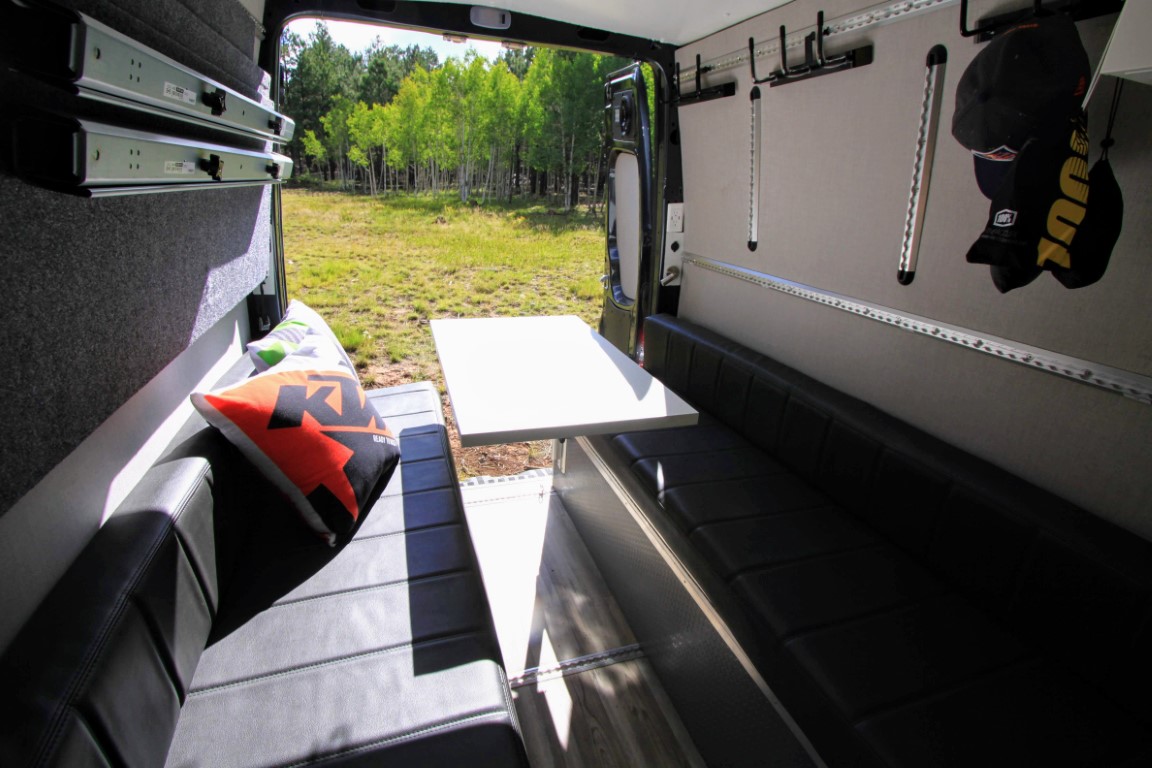
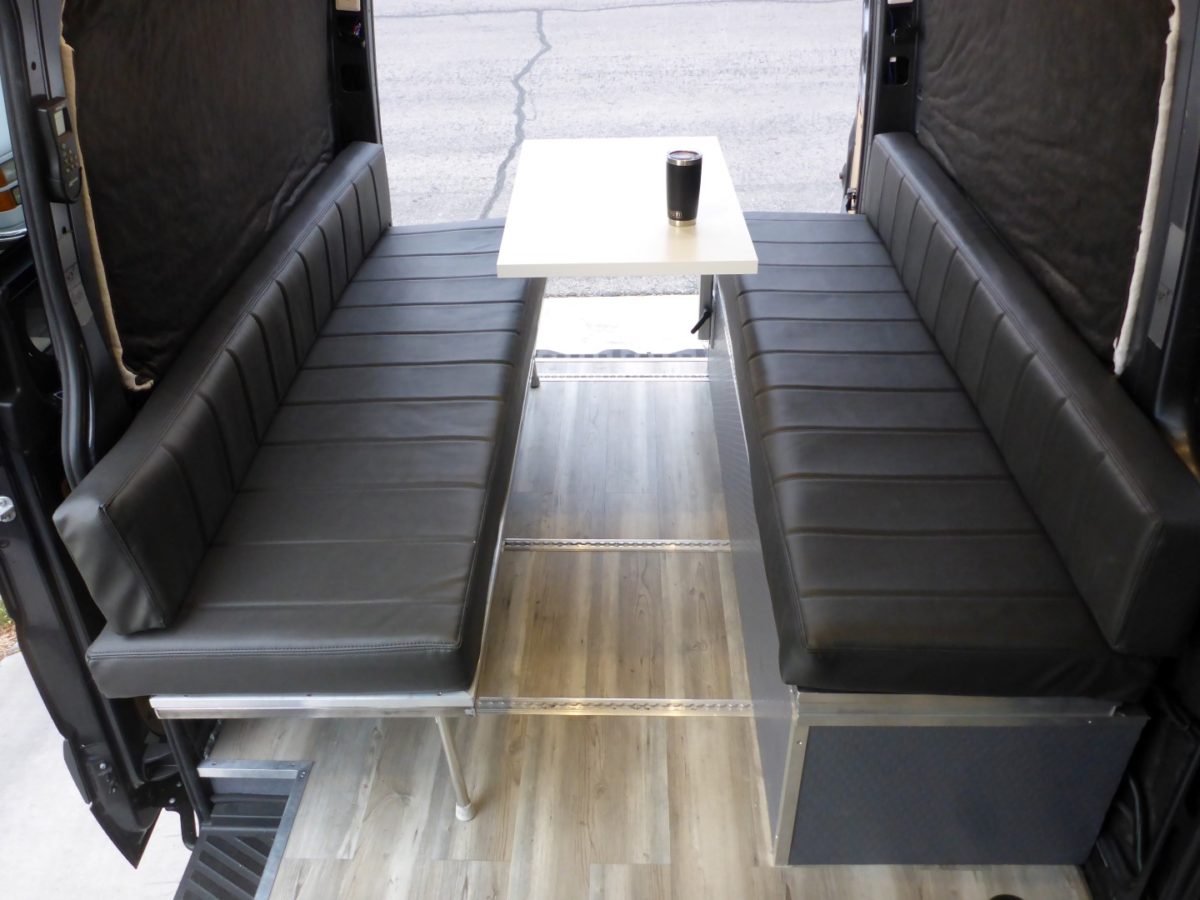
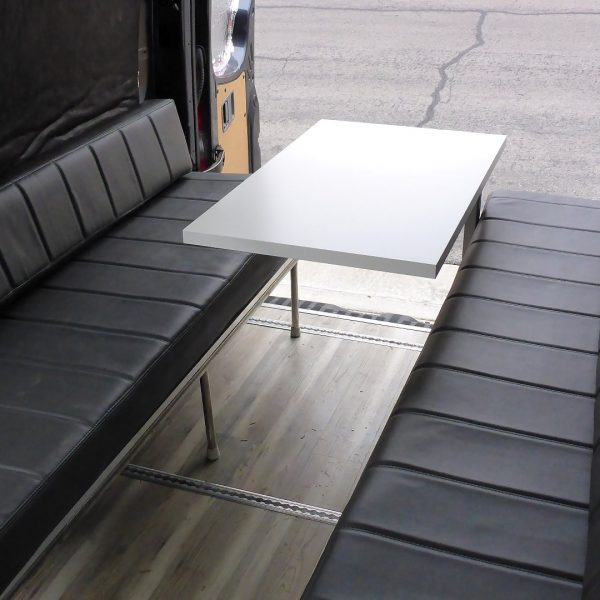
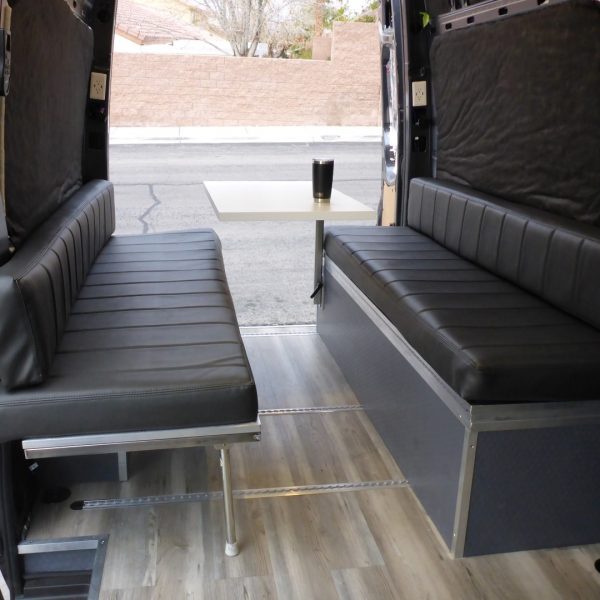
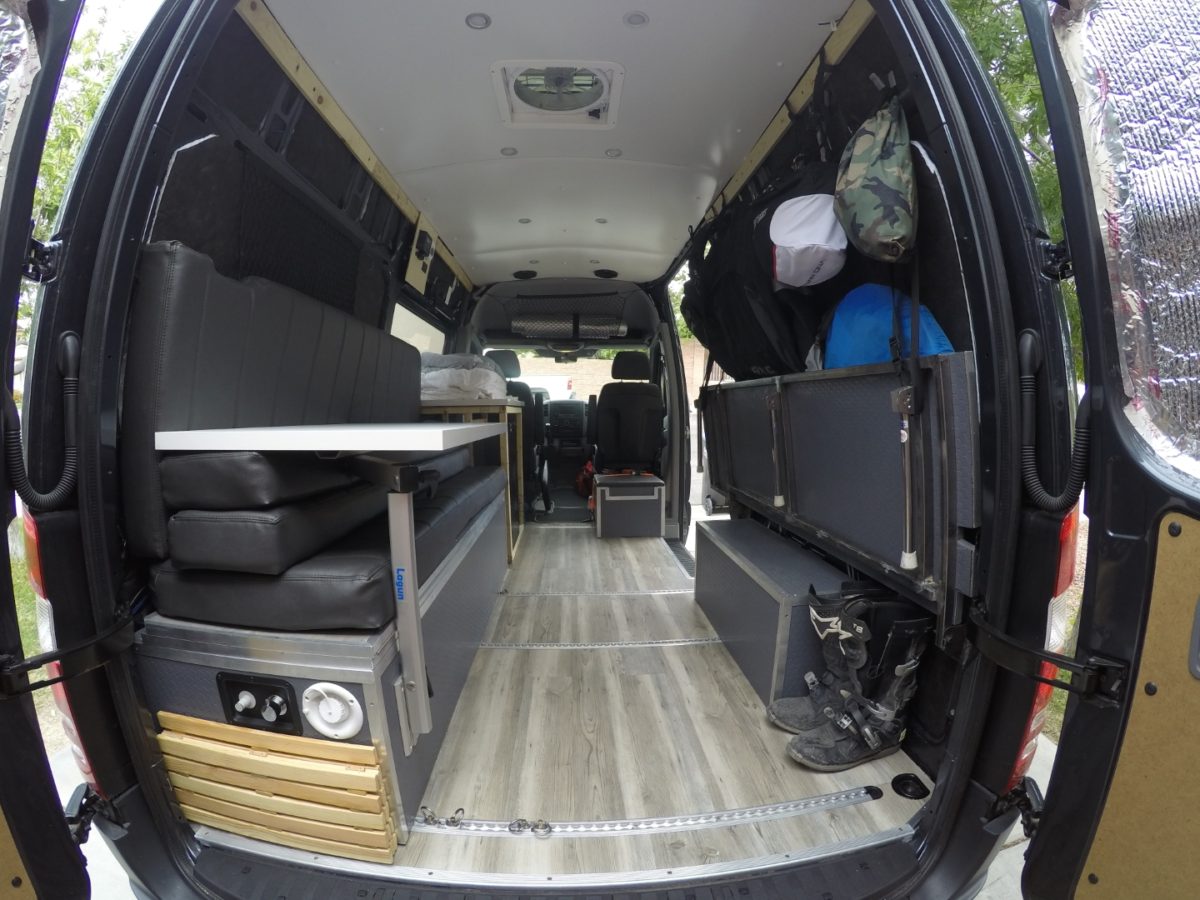
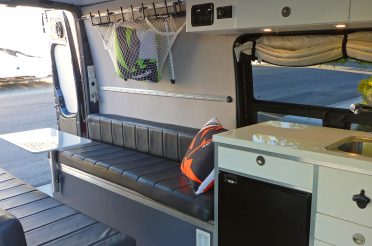
The cushions came out awesome. We added a dinette and Ikea tabletop ($9) mounted to a Lagun marine table mount. We love the adjustability of this table. It can be swiveled to the side and locked away during transport or it can be quickly slid off the mounting plate and stowed away for when it’s time to go to bed.
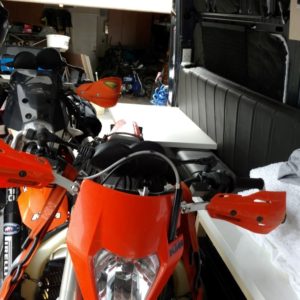
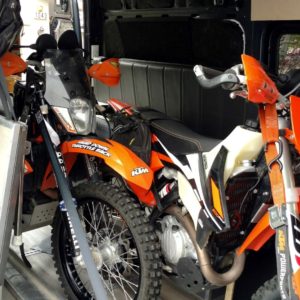
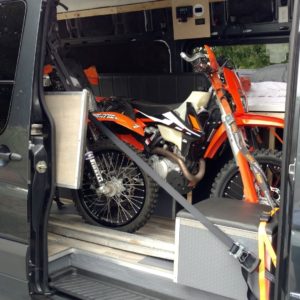
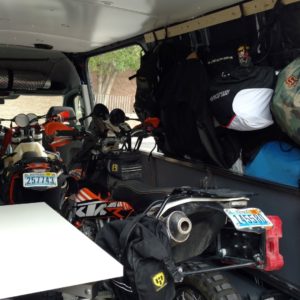
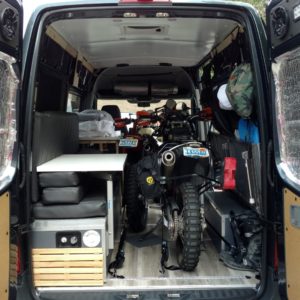
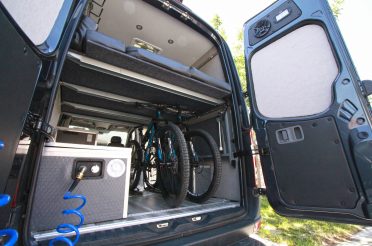
When all folded up, there is plenty of space to load up bikes and still hang gear on the wall.
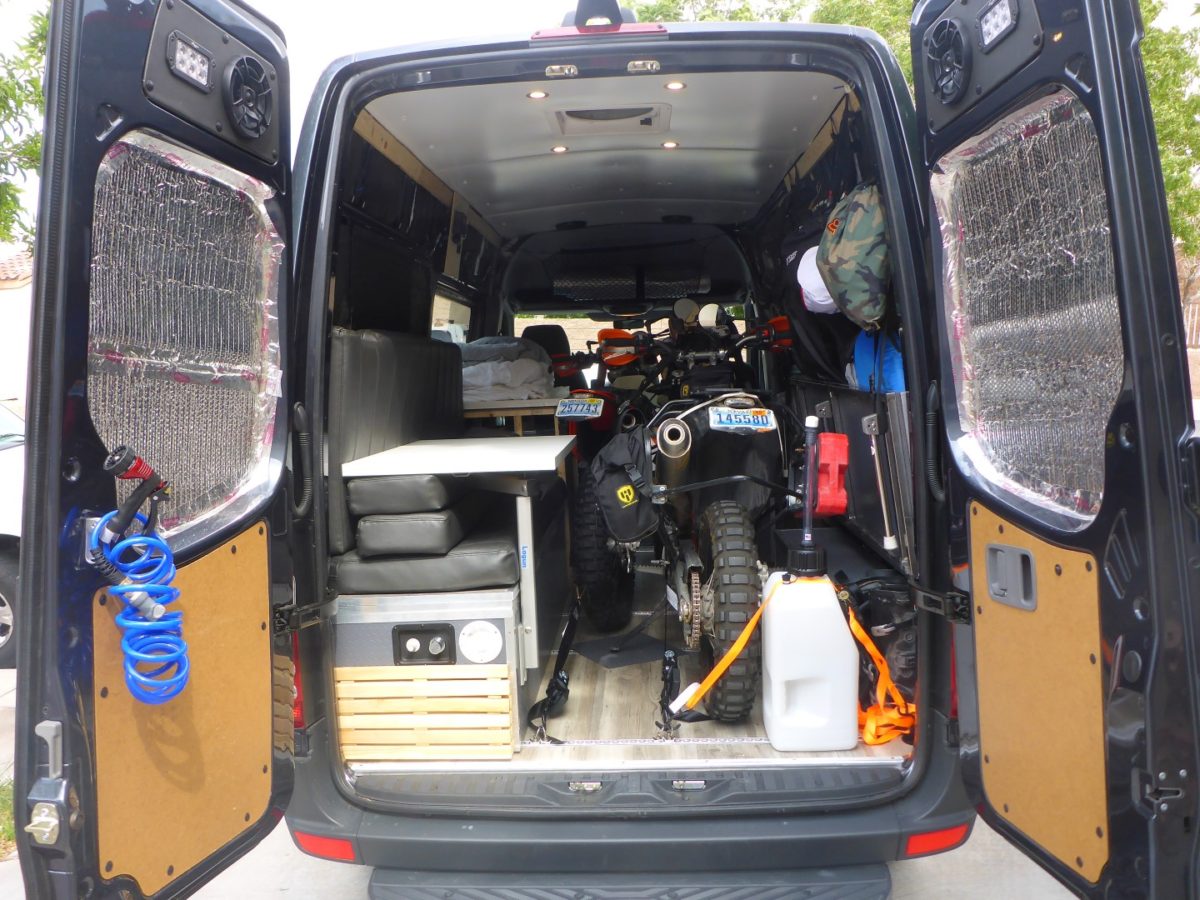
Shown here is the van all loaded up with two full-size adventure bikes (one KTM 500 EXC-F and one KTM 690 Enduro R).
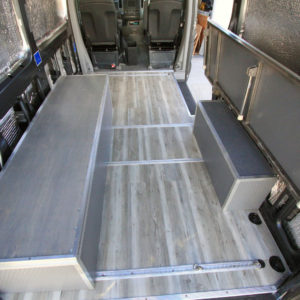
After the bikes get unloaded and it’s time to go to bed, we have a big comfy bed that measures almost as big as a Cal King. It’s 71″ wide by 78″ long.
After the build was finished, the dinette was complete with some throw pillows.

14 Responses
Cliff
I keep changing my mind between a platform bed and a dinette for my build. I have a platform bed now and am thinking of changing it to a dinette. I like the idea of not having to make up a bed every night. But since I also have a 144″ van I like the idea of the dinette so you have a table and a seating area.
Do you find setting up the bed each night to be a pain?
I have also considered buying a small teardrop trailer to sleep in and leaving parked at camp sites while I explore in the van. However that kind of defeats the purpose of a camper van. Being able to camp where and when you want.
I do stay put for about a week at a time sometimes so not having to set up camp each night would be nice.
Just wanted to hear your thoughts.
Thanks
Really like your build.
Pete
Hi Cliff. Setting up the dinette bed is a breeze. We have only been on a couple trips so far using that bed configuration and it wasn’t very difficult or time-consuming unless we have bikes with us. Our van also has a platform bed that is removable. It’s much easier for those types of trips and we use our swivel seats and a small table up front when we don’t have the dinette to use and hang out at. I’ll have a couple new posts up soon for that part of our build. I would say stay flexible and try to incorporate both into your build. Keep everything modular. It’s really nice to have options! 🙂
Jenna P.
We just came across your post today and are so excited about this dinette build! We were finalizing a build that was much less flexible with two benches like your non-foldaway one but having the foldaway option is brilliant. We have the same 144 van that you have and would love to know the dimensions of the three panels if you still have them? And maybe the dimensions of the boxes? We see you have the folding panel on the main box a bit shorter than the one under it – is this to accommodate for the strip of 1/8″ aluminum you have on it to support the connection between the two parts? We are in love with this!
Pete
Hi Jenna! Here are the dimensions.
Left side box: 78″ long x 23″ deep x 16 1/4″ tall
Box: lid panels: 78″ x 21″ These are 3/4″ thick.
Right side panel/ bed: 78″ x 22″ deep. It is 17″ tall.
When folded into the bed, the panels are all even. When in bench form, the left side bench is 3/4″ taller, but you don’t even notice.
The panels on the main box are the same size. The top one just sticks out slightly more because that’s just how I made it work with the piano hinge. There needed to be a slight gap so the panels didn’t bind when opened. I could have made them flush, but then the hinge would have to stick out some and I didn’t want that.
Dave Ness
Hey Pete, thanks much for this. Good design and you did a great job explaining it. Just enough detail without being too long. I have a 144 and wanted the same. I’m looking at the RB Components similar solution on Friday and then will decide whether to buy that or build. I like to build things so may go that route. Did you build your platform bed piece too? Is it adjustable to different heights? If you don’t mind a couple more questions: Are you going to have a gray water tank? I trying to decide between a 5 gallon removable H2O tank that I can carry to a faucet to fill, or a built in tank. For gray, when in campgrounds, I’m thinking of just having a discharge hose out the bottom that I put a Five Gallon bucket under to catch. Thoughts?
Pete
Hi Dave. Thanks! Yes, I built our platform bed too. There’s a post on they part as well. It is not adjustable. It’s fixed at about 42″ which is the sweet spot for storing our bikes inside while we sleep. We currently use a 5 gallon gray water jug for the sink. We don’t plan on adding any more gray water storage. The bucket outside was our thought as well IF we need it for places like you mentioned but so far we haven’t needed it. Our shower drains outside and it’s not an issue.
Dave Ness
Thanks Pete. Sorry about asking a question that you’ve already adequately answered in other blog posts. Thanks for all you info, it’s really helping me. I just discovered your blog this morning and the way you’ve built out is almost identical to what I’ve been thinking of. Not dirt bikes any longer but other toys. You really do a great job of explaining things.
Pete
No worries! Glad my blog has helped you out. Let me know if you have anymore questions.
Patty
Hi Pete, Love your van! I just got a ford transit and am planning to build it out very similar to yours. Do you find that the van is heavy on the left side with all the electrical, plumbing, and kitchen? Do you have any issues when driving or handling rougher roads? Thanks!
Pete
Thanks Patty! Yes, the van is definitely a little heavier on the driver’s side, but there’s no getting around that because of our layout. I have never noticed any issue with how it handles when driving. If you bust out the tape measure or take a close look, it has a slight lean to it, but it has never been an issue. Most of the weight is our batteries at 280 lbs! If we went with lithium it would help a bunch, but like I said it’s not even been an issue so far. It is far from hotting the bump stops and the van is not overweight. It handles great.
Richard Korinek
Hi Pete, your blog has been a great example and help for me. Got 144 Sprinter, Ktm 525 exc-f and 350 exc-f. This is exactly the built i needed. Already working on it – building a box/bed at this point. Thx again
Pete
Awesome! Thanks Richard and you’re welcome. Good luck on the build and let me know if you have any questions.
Trevor
Hi Pete I appreciate the inspiration!…I’m looking to do a similar set up and wondering how much space you have between the 2 side boxes to load motos? I see side by side is a little tight and I’d like to be able to do this w/ similar sized bikes of yours.
Looks like you 3-4′ so please lmk thanks!
Pete
Hey Trevor. I just measured and I have 35.25″ between the wheel well box and the couch/bed box. I usually just stagger the bikes, but last trip out with the 300 and 500 I put them side x side. It was a little tight but very doable and opened up the front of the cargo area near the kitchen. This video shows how I load 2 bikes especially when one of them is the big 690. I works great either way. Good luck on your build!
https://youtu.be/kHdYxi-LlRA