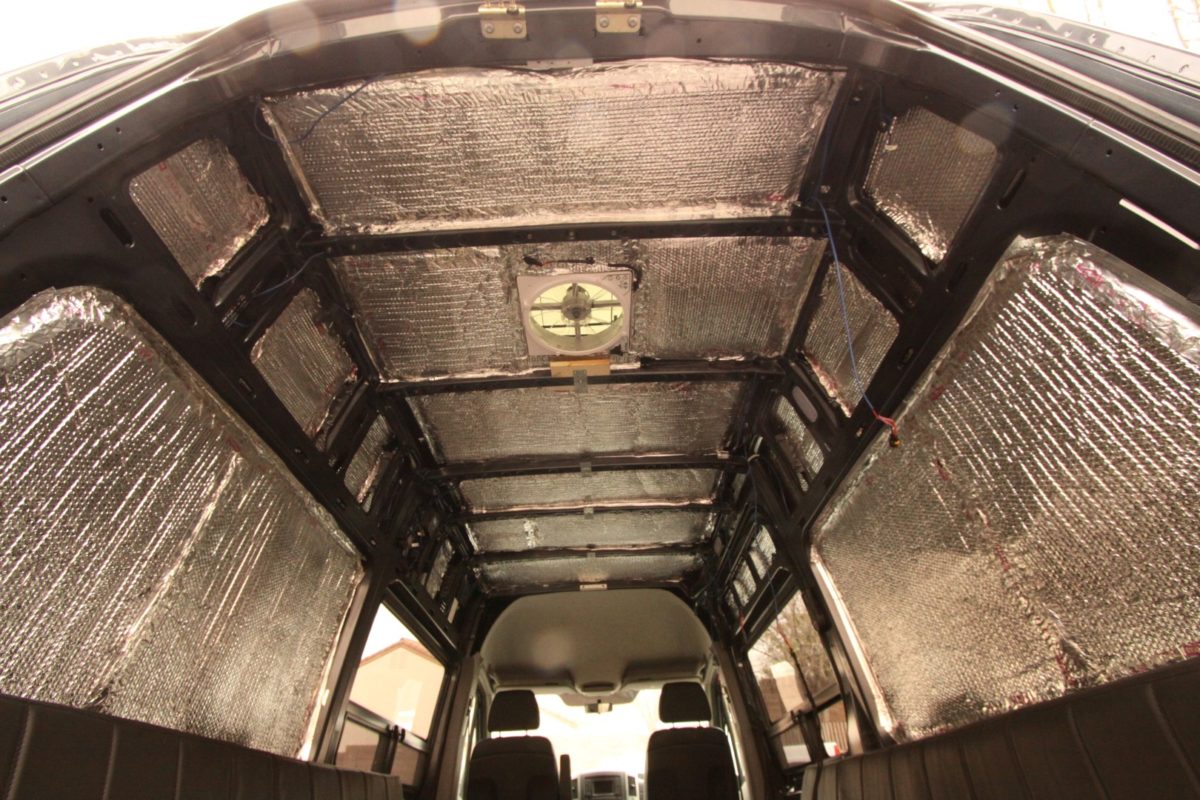
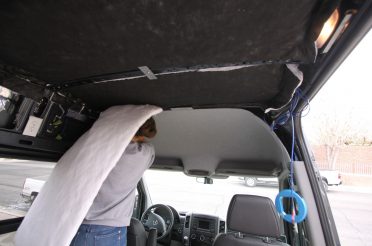
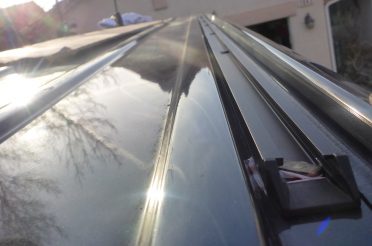
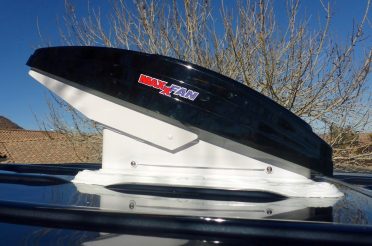
After installing 3 layers of insulation, the Maxx Air roof vent, Rhino-Rack roof rails, and running all our wires for our solar and lighting, it was time to get our Sprinter ceiling ready for some paneling.
We wanted to keep it simple and clean so we went with white hardboard paneling from Lowes. Some call it dry erase board, but it’s basically prefinished hardboard. It’s inexpensive and has a moisture resistant surface.
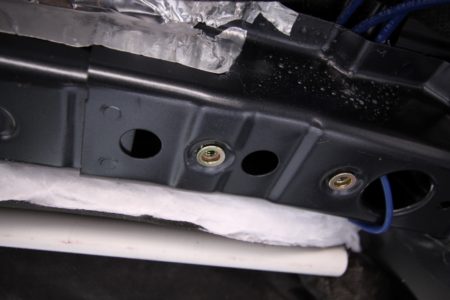
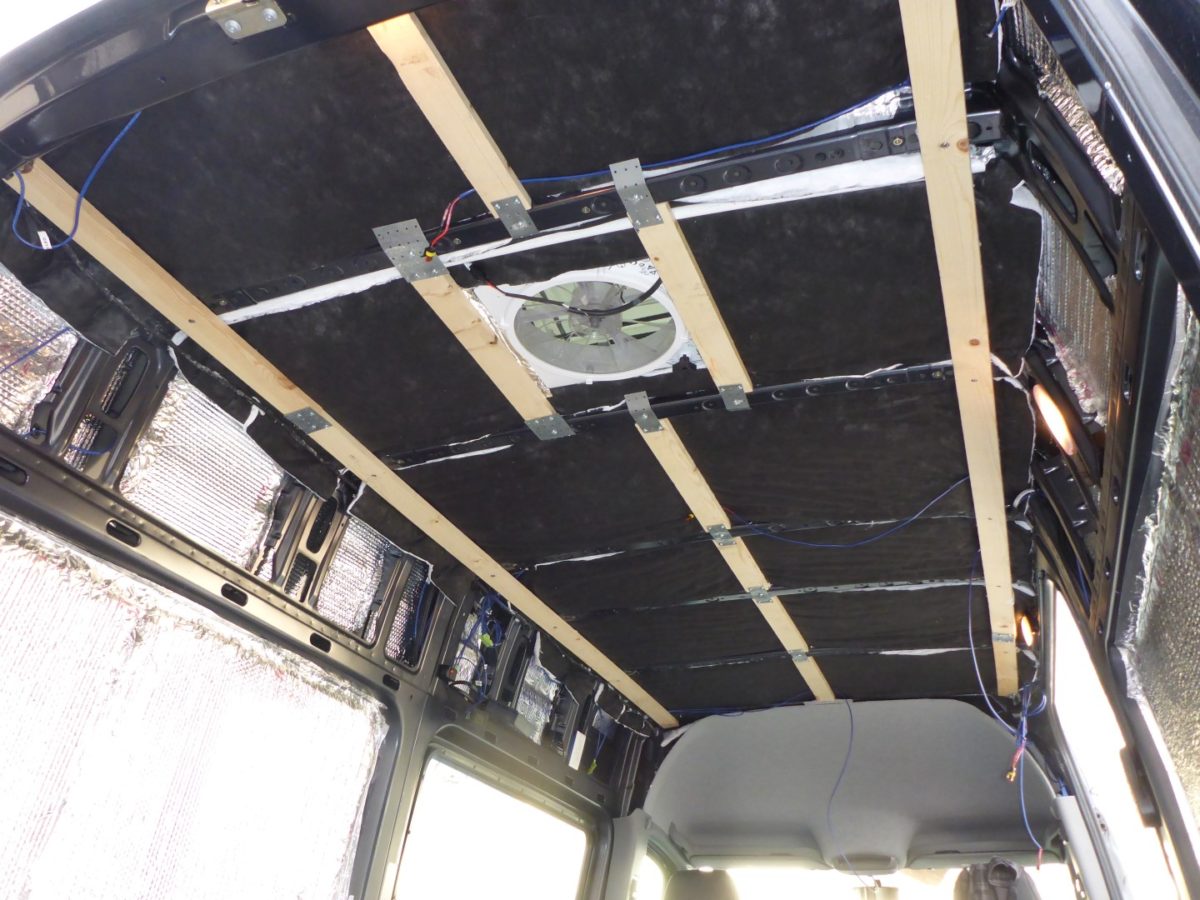
Before the panels could be installed, we needed some sort of furring strips. I wanted to keep the ceiling height as high as possible because I’m 6’2″, therefore I put the center furring strips, or braces, in between the factory metal roof braces. I attached them using tie plates. The tie plates were then fastened to the metal ribs with screws and rivnut inserts.
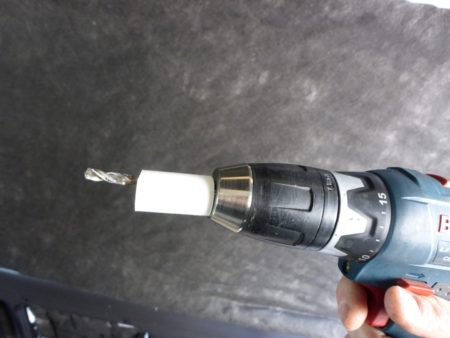
Don’t EVER forget your drill stop!
You’ll pay the ultimate price with an ugly outie dent on the outer panel of your van!
Rivnuts installed
The panels attach with a row of screws down the center and one down each side.
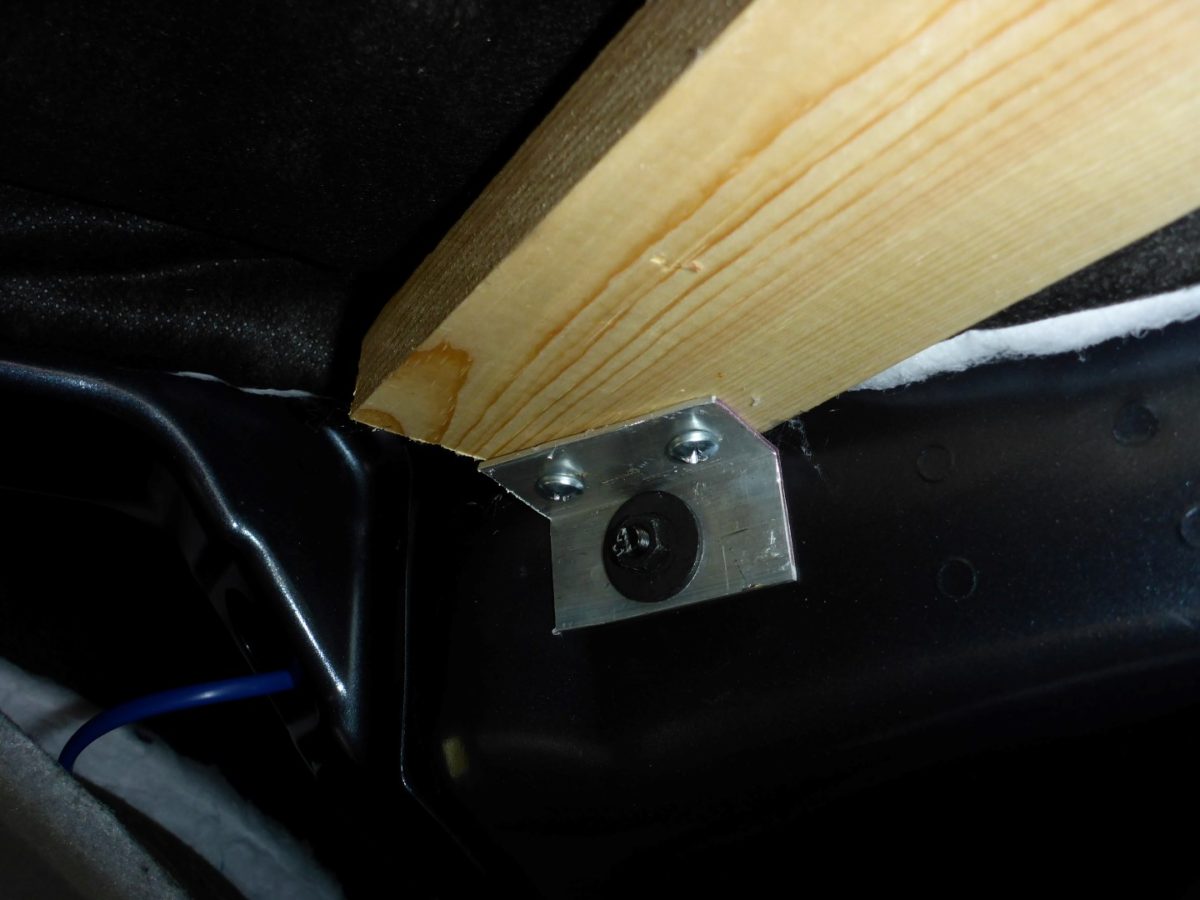
The curved area of the ceiling above the slider was a little tricky so I made a little bracket out of aluminum to attach the furring strip.
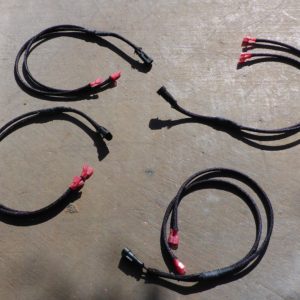
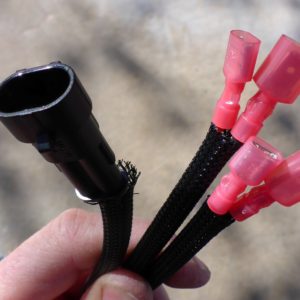
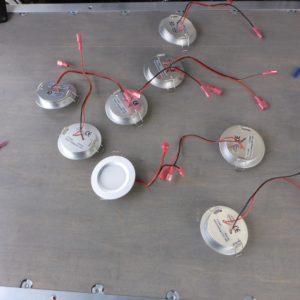
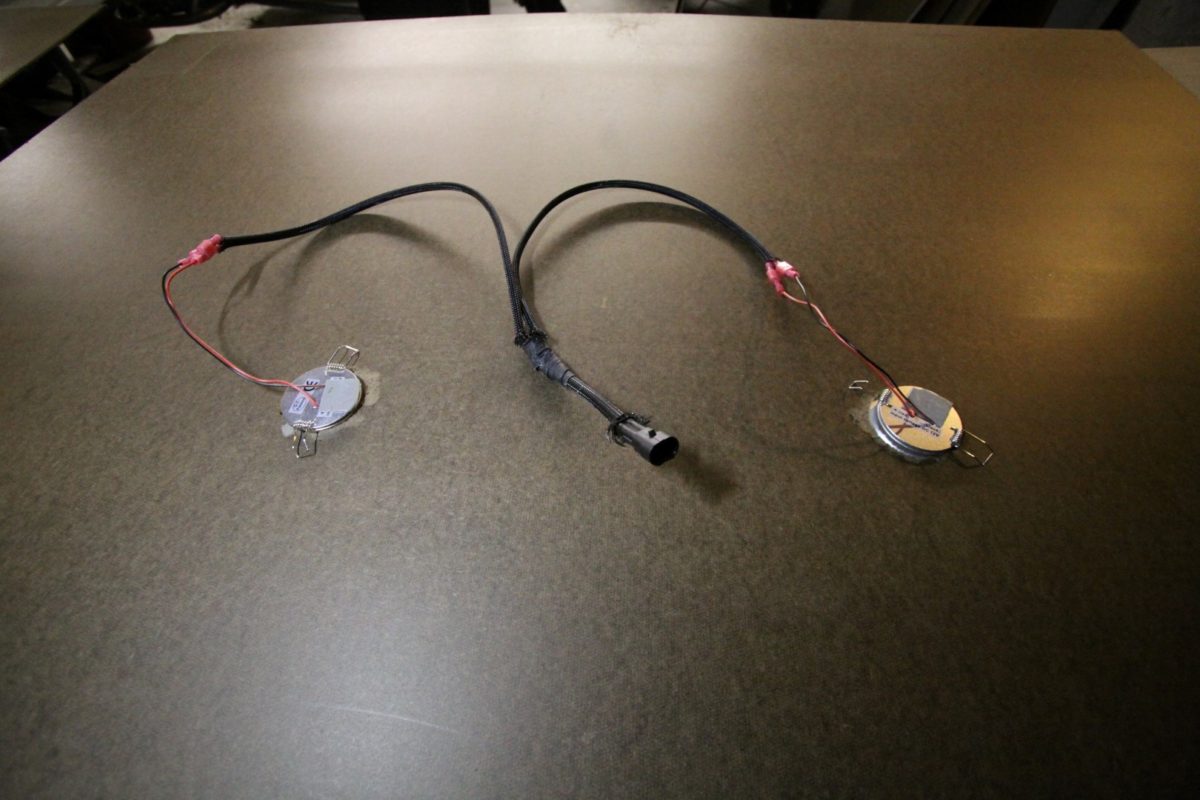
I made up some wiring harnesses for the warm LED lights so it would be quicker and easier to plug them in when the panels went up. It took some time, but I figured it would be worth it in the end especially with the quick connectors.
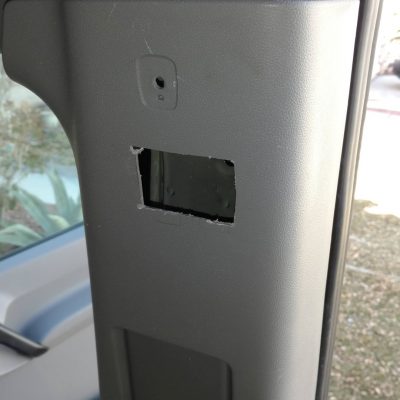
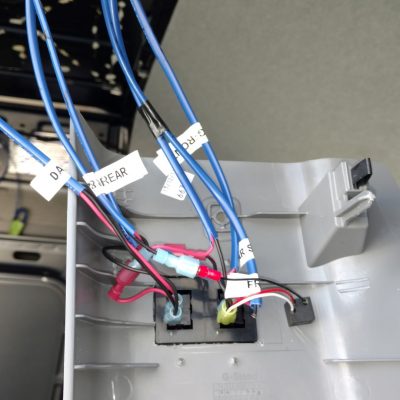
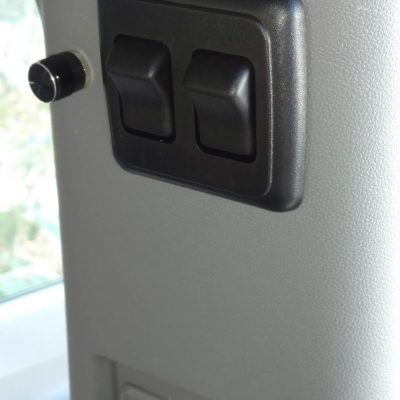
The lights are in two zones, (4) front and (4) rear. I wired them on a dimmer and put RV-style light switches at the front in the B pillar and rear corner of the van. 16 Gauge speaker style wire was used. This is basically what I used for most low-power-consuming devices and outlets in the van. The dual conductor wire and jacket makes things much easier to run wire.
The wire harnesses were installed in the panels before putting them up.
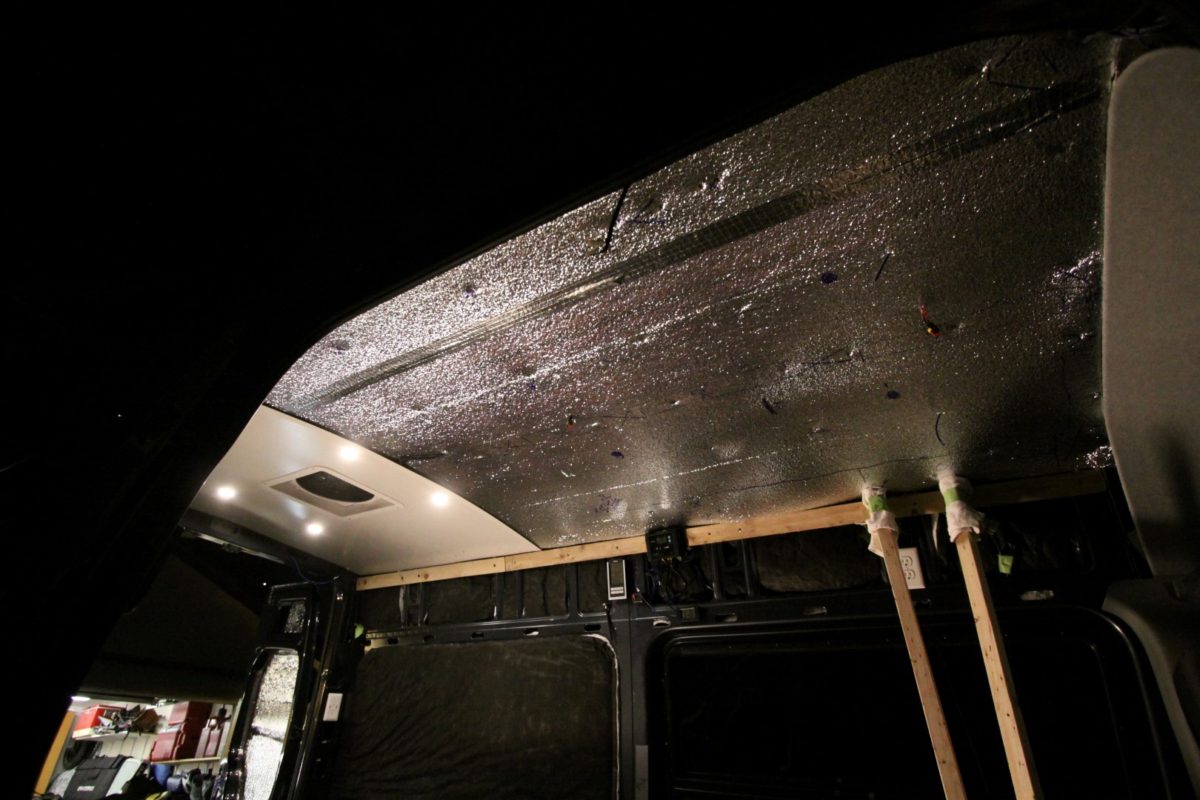
A couple of 2×2 boards with rags taped to the ends worked well to keep them in place so I could take my time planning out where to put the screws.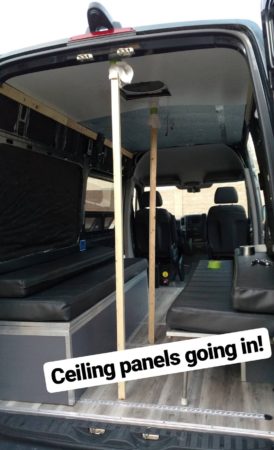
What a difference a single panel makes.
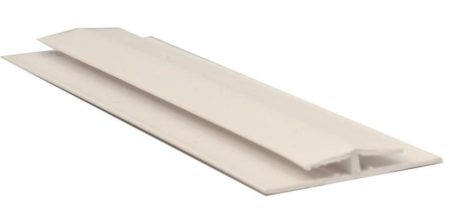
To connect each panel, I used vinyl connectors, sold at Lowes.
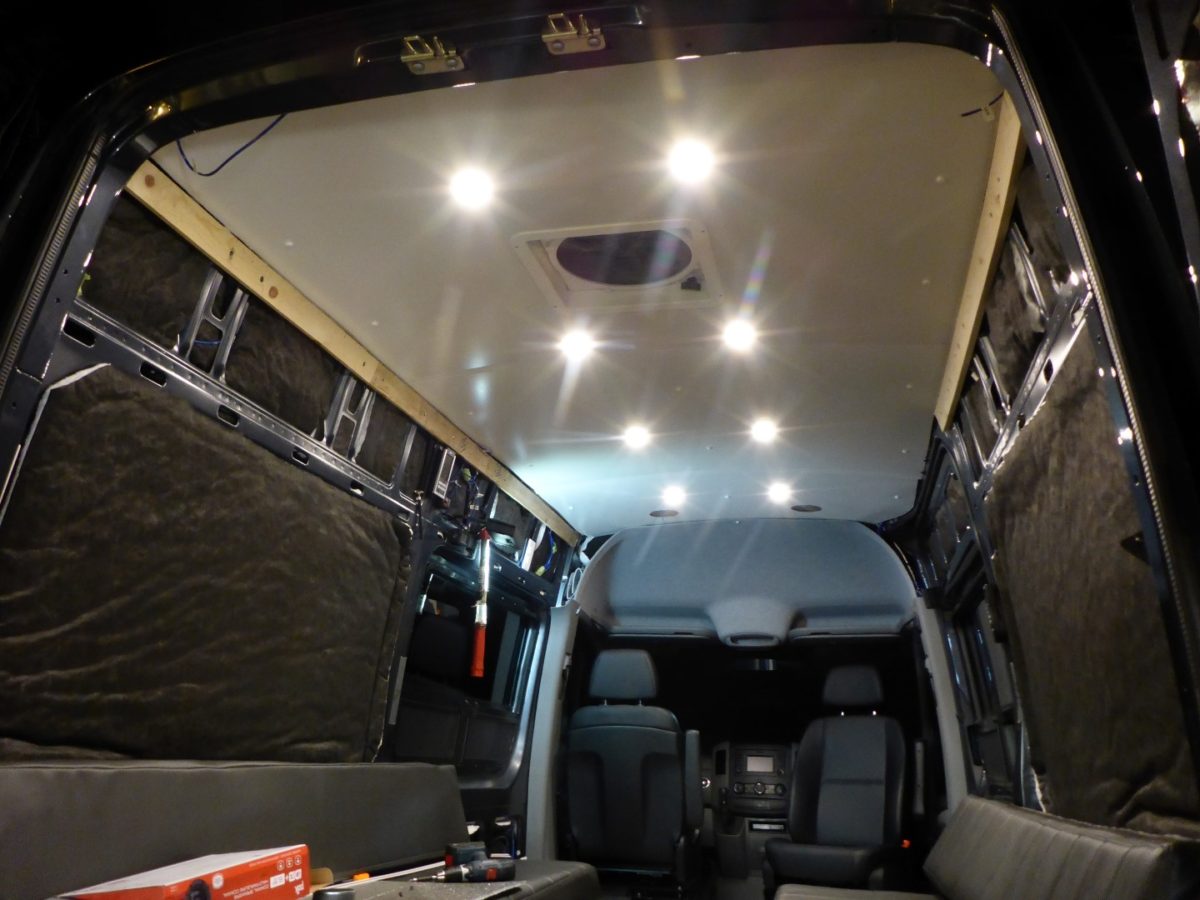
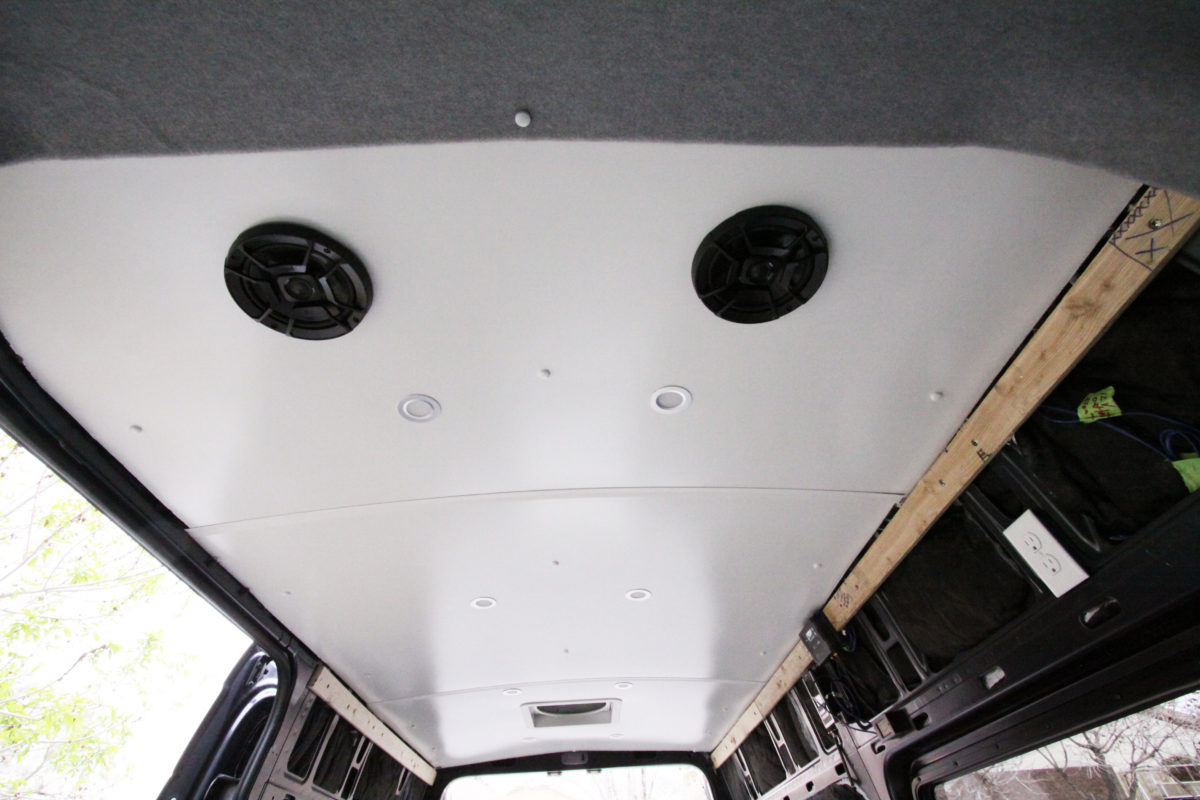
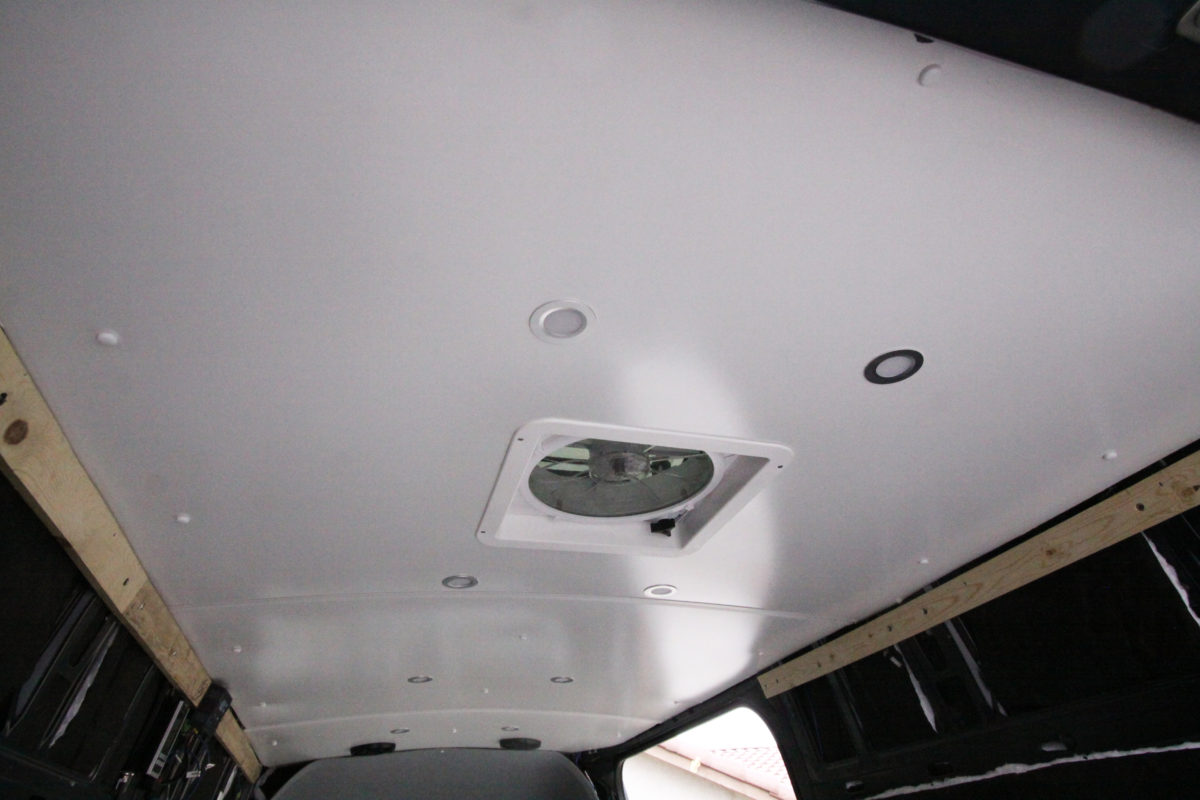
The van started to take shape with all 3 panels up and all the LEDs in.
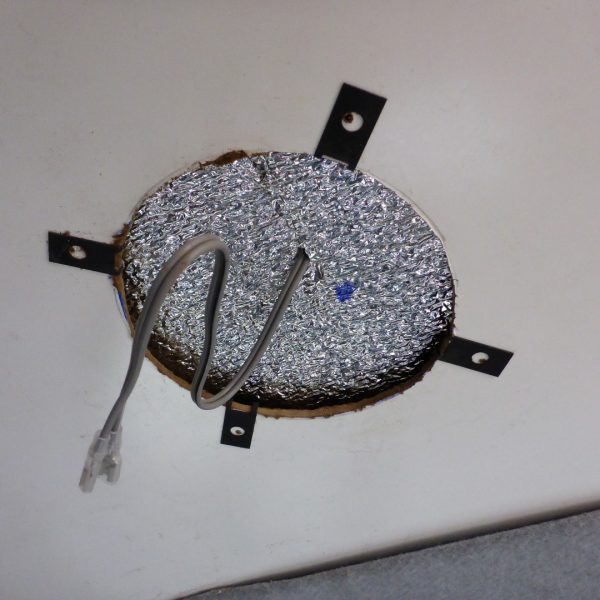
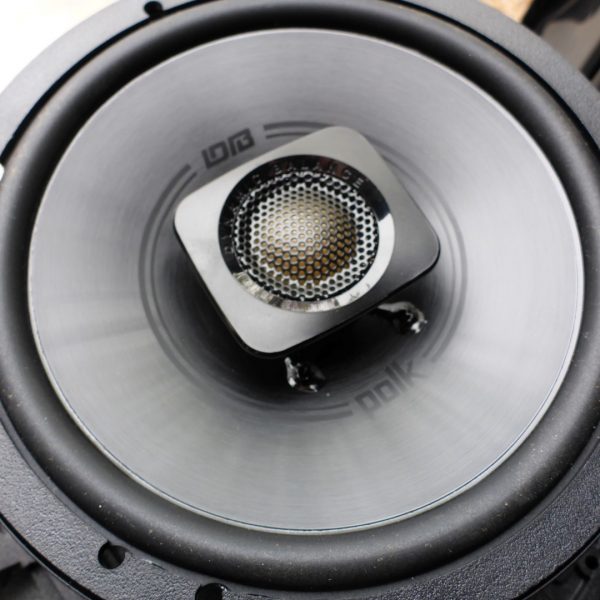
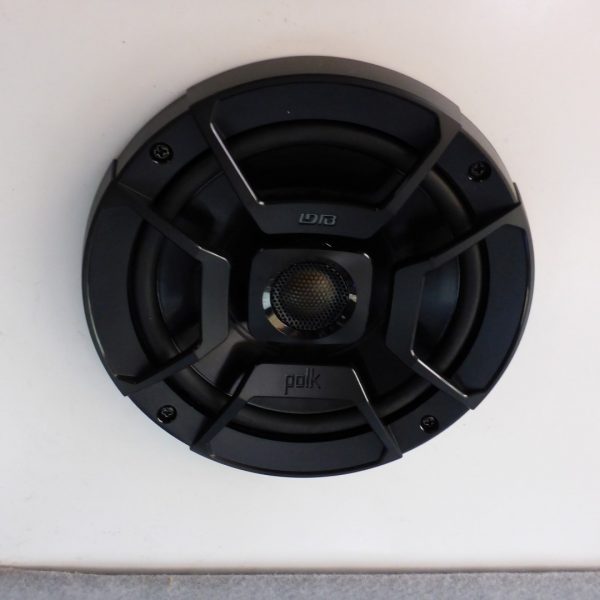
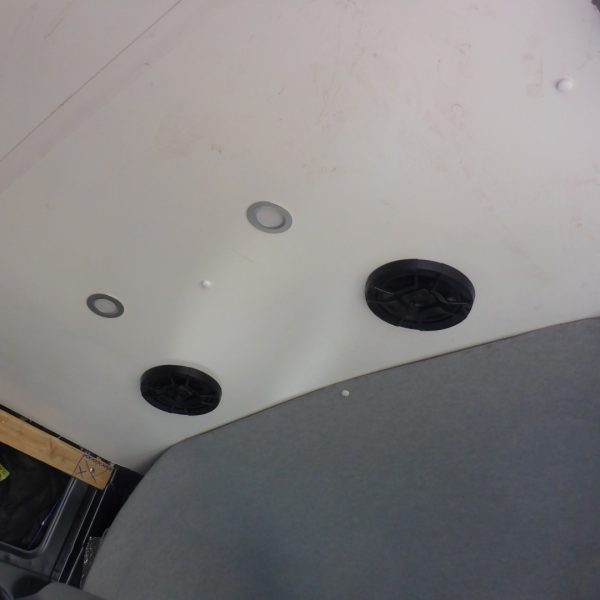
Up front, there was just enough room between the paneling and the Thinsulate to install a couple of Polk DB652 Ultramarine 6.5″ speakers.
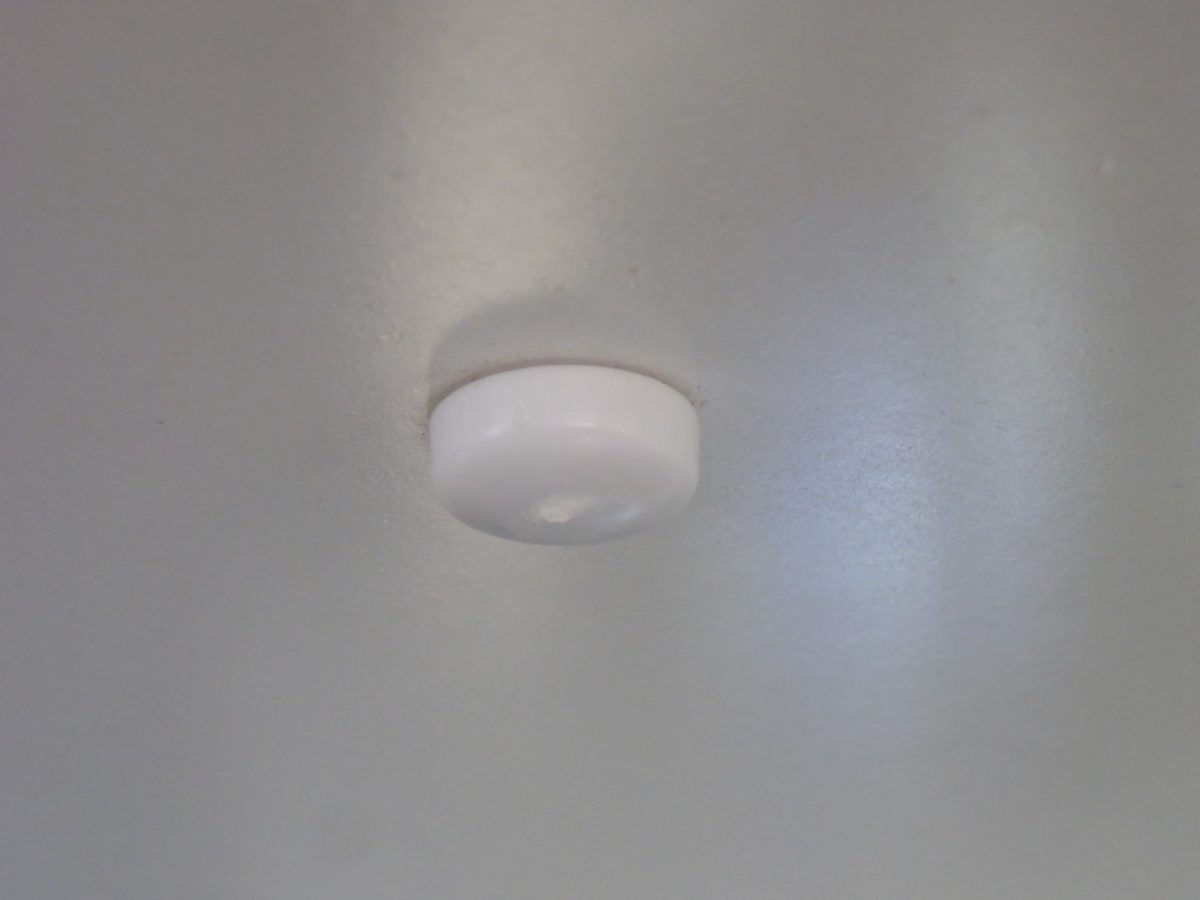
To give the screws a much more finished look, I used these screw covers I found on Amazon. CR Lawrence, the same company that makes the side vent windows, is who makes these. They worked great for #8 screws.
After the speakers were installed and all the screws were tightened up, the ceiling was done! The rough edge sides will get mostly covered up by the walls and we also plan to install back-lit valences eventually.
Parts List
CRL White Countersunk Large Snap Cap Screw Covers – Package of 100
Polk DB652 Ultramarine 6.5″ speakers
6 Responses
Chad
Hey Pete, like many others have said, thanks for showing your build here. I have been starting my build and it’s been so helpful to see. I do have a question for you. What kind of wizardry did you use to get those vinyl connectors to go together on the headliner while holding it in the air? I’m having some trouble with that. Seems like it should be straight forward but it’s really hard. Any tips would be appreciated. Thanks again!
Pete
Hey Chad. Glad the blog is helpful to ya! Yeah, those connectors are a bit of a pain. After some finesse of putting the connector on one panel by had, I used a ~12″ piece of wood wrapped in a towel and used a hammer to get the second panel seated all the way in. The last panel was a royal pain in the butt because I had no room to swing the hammer, but I pulled the headliner down just enough and got it in.
Jay
I haven’t been able to find these vinyl connectors anywhere. Are they normally sold for floor transitions?
Thanks for the great write up!
Pete
Thanks Jay. No, they are normally sold near the wall paneling at Lowes. Here is a direct link. https://www.lowes.com/pd/Sequentia-1-42-in-x-8-ft-Prefinished-Vinyl-Wall-Panel-Moulding/3060129?cm_mmc=shp-_-c-_-prd-_-mlw-_-google-_-lia-_-128-_-interiorwallpanels-_-3060129-_-0&store_code=1537&placeholder=null&gclid=Cj0KCQjwoPL2BRDxARIsAEMm9y89lcsDx3y4F-6d9E92q9kBsYufNNcZhmvNA4z78ViBX-IumORPXs0aAhKVEALw_wcB&gclsrc=aw.ds There are many different profiles.
Michael
Great idea on using the tie plates! What did you use for the ceiling panels?
Pete
Thanks! They are just white hardboard panels from Lowes. They are linked in the parts section of the post (at the end).