In my recent van tweaking, I discovered how valuable the rear doors of our Sprinter can be for storage. We already have tons of L track hanging on our van walls and it has proved to be extremely useful when traveling. We use hooks and carabiners to secure bedding, jackets, gear, hammocks, chairs….you name it. Keeping stuff off the bed and dinette helps us get our gear in and out of the van much easier. It’s also nice to have everything up and out of the way when it is time to set up our bed. Safety is another reason we keep everything secured while driving. You don’t want your stuff to become projectiles when cruising down the highway.
Installing Rear Sprinter Door L Track Strips & Anchors
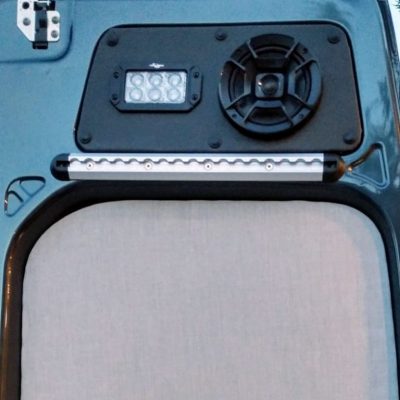
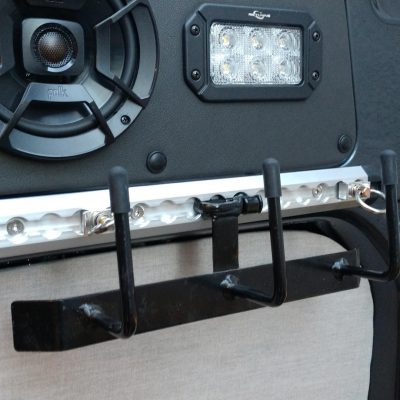
The first step was to add L track to the upper area of the rear doors. I cut mine from a long strip, but you can buy 12″ sections from US Cargo Control. I used the angled/ flush mount style.
Step 1: Mark & Drill the Hole
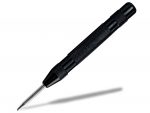
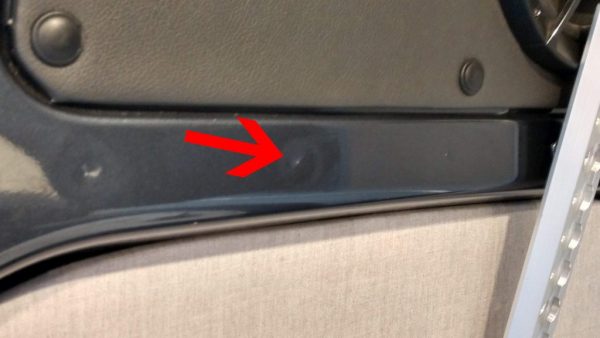
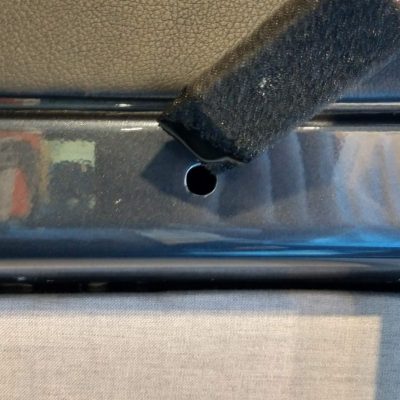
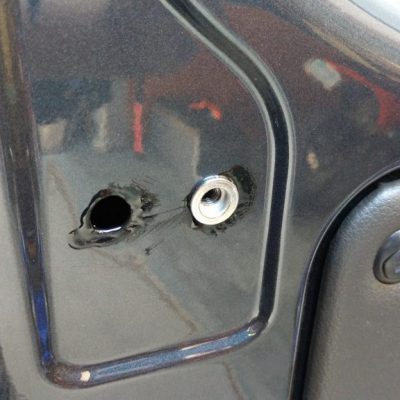
Using a center punch, mark your hole so your drill bit doesn’t walk. Then drill out a 23/64″ hole.
Step 2: Prime the Holes & Install your Rivnuts
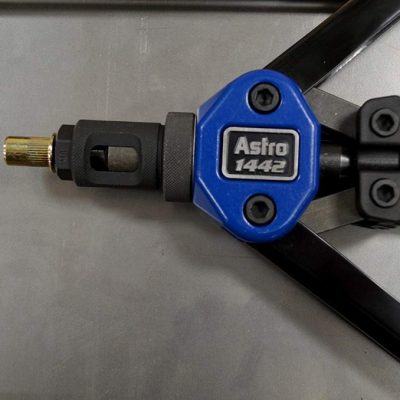
First, prime the hole with some paint to prevent any rust from forming. Then install your rivnut. Some people use 1/4-20, some use M6 size, but they are both very similar in size and work for the fasteners needed to fit with the L track hook and mounts. Using an Astro rivnut tool, attach the rivnut to the end, stick it in the hole and compress it. Walla! You have threads!
Step 3: Bolt up the anchor and L track
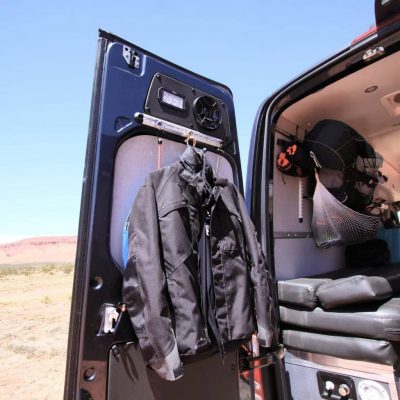
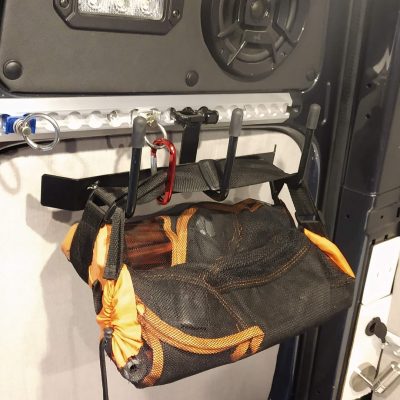
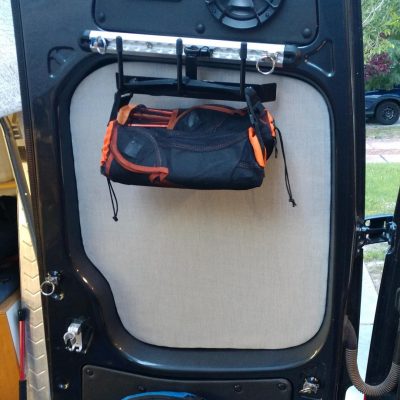
Bolt up the anchor plate or angled L track with some nice stainless hardware. Finish off the L track strips with end caps for a nice look. Then simply add L track hooks or a 3 hook hanger to hang or mount whatever it is you want to put there. US Cargo makes some awesome 3 hook hanger or small hooks as well. The rear doors are a great place to hang things like jackets, portable chairs and other stuff up and out of the way.
DIY Rear Sprinter Door Cargo Bags
Ever since I finished off our interior, I have been very tempted to spend the extra money on some nice RB Components rear door stuff bags. I’m all about spending the money if it saves me tons of time or if it’s something I can’t make. I have never tried using a sewing machine. Who knows, maybe I can figure it out. Not today though! I want this stuff done now. I don’t have the patience or time for that.
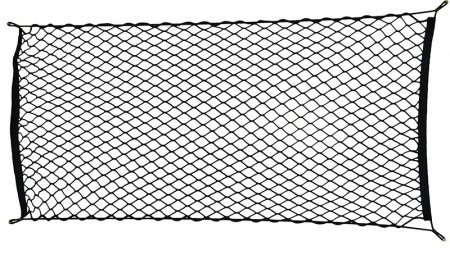
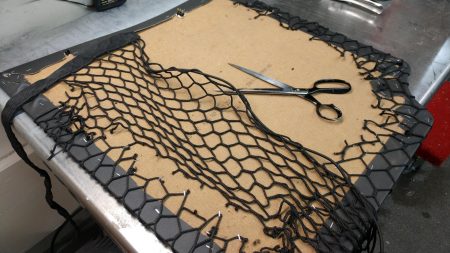
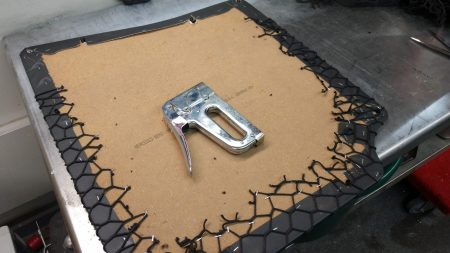
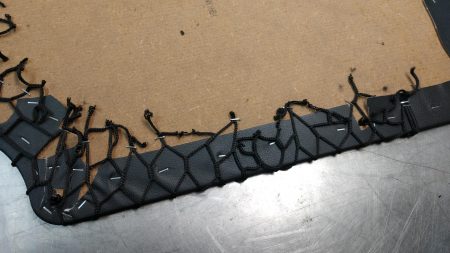
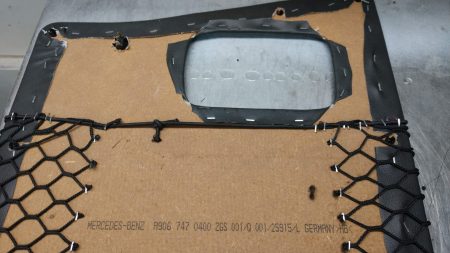
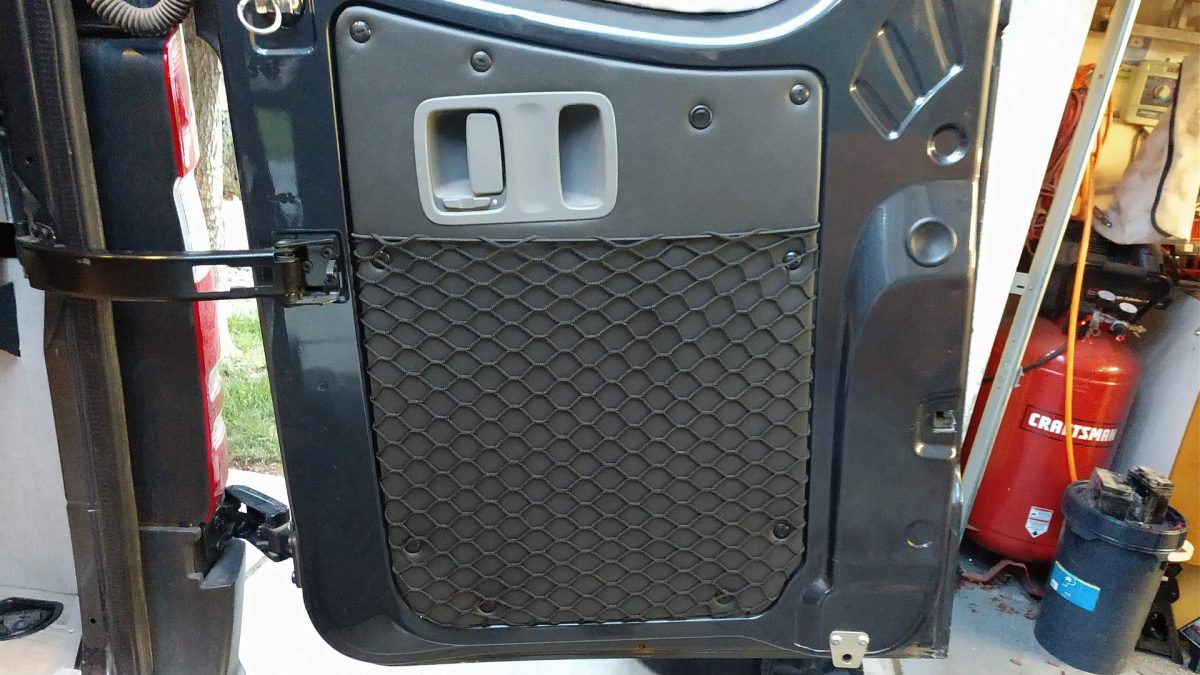
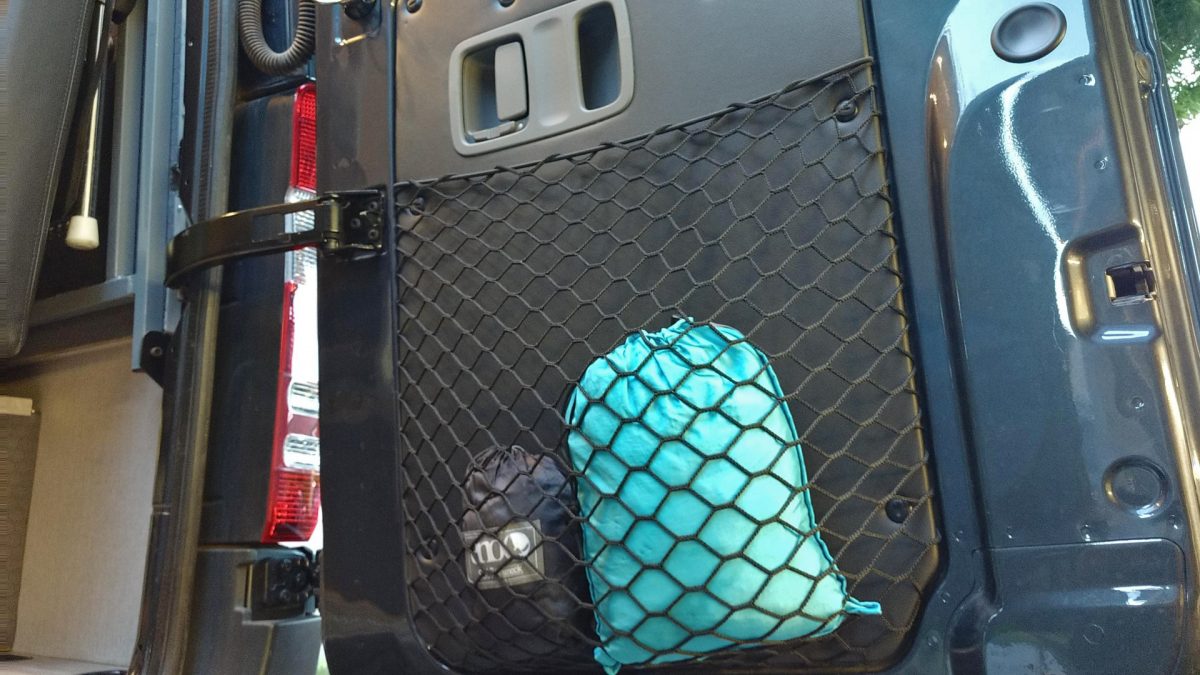
I was about to pull the trigger on those fancy RB bags and drop $250 when I came across something in my garage…cargo nets. I pulled the rear door panels off and started setting it all up to see if it would work. Yep! It did! I simply took some cargo area nets with elastic ends like these and wrapped the rear door panels with them. I trimmed the excess netting off and stapled the netting about every inch or two. Note: I used 1/4″ staples so I didn’t blow through my door panel. After it was all said and done, walla! Rear door storage.
The Finished Product
Driver Side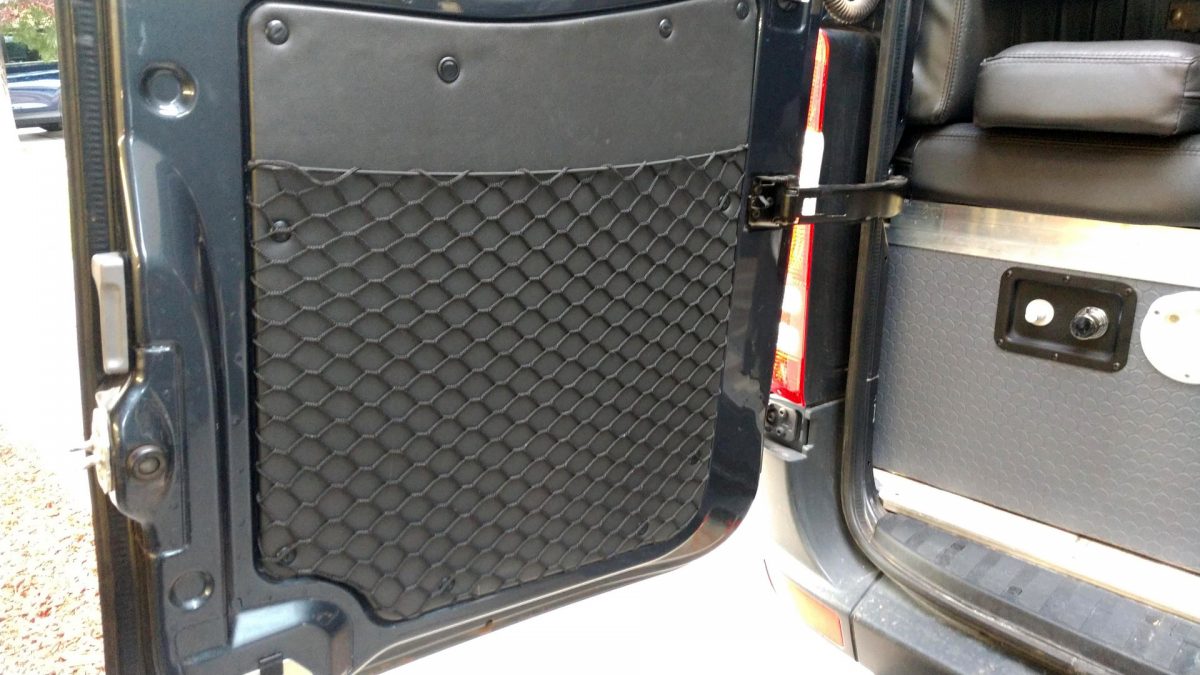
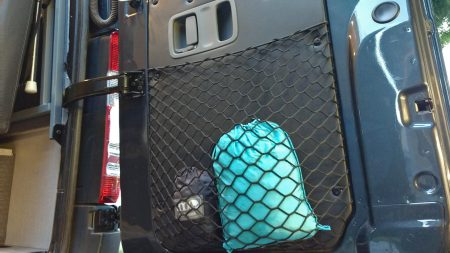
Passenger Side
The rear cargo door storage bags work great to store things like our outdoor shower setup or hammocks!
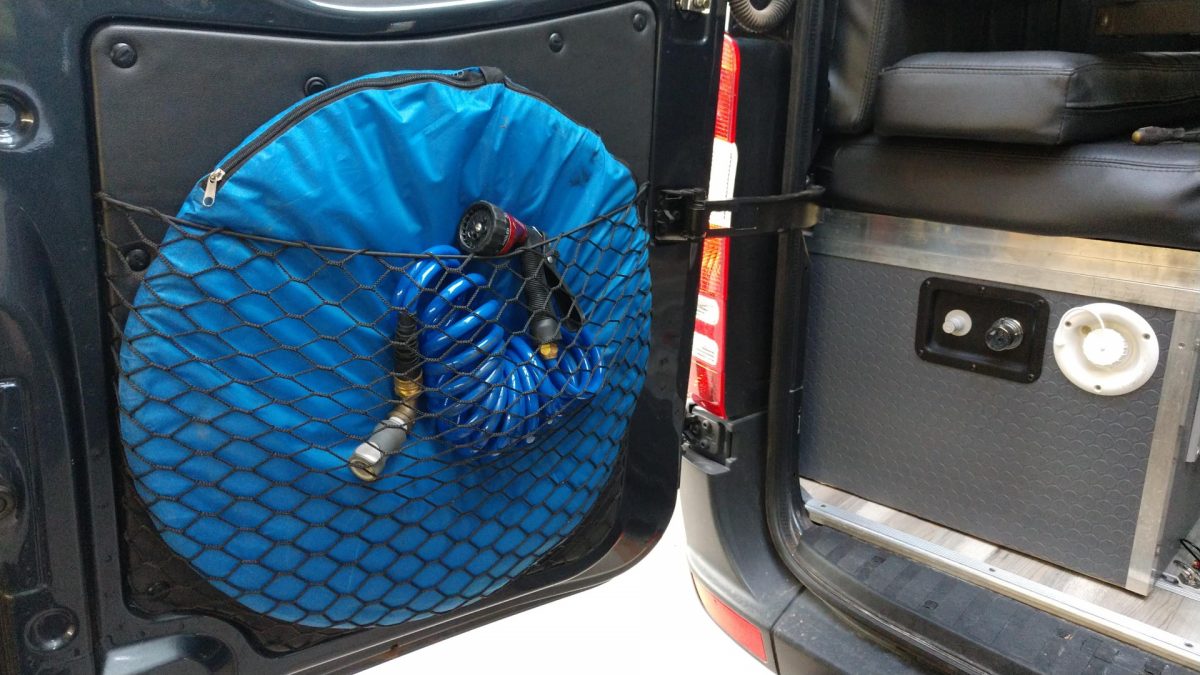
There are tons of cargo netting products out there.
Pick what style of netting suits your needs and get creative.
Parts & Tools Used
- center punch
- paint
- foam brush
- M66 rivnuts
- Astro rivnut tool
- M6 stainless hardware to mount L track
- angled L track
- L track end caps
- L track hooks
- 3 hook hanger
- Cargo netting like these
- T50 1/4″ staples
- staple gun
Pin This Post to Pinterest




One Response
Sam Uncle
It’s more than useful, and beautiful.