Which is best? The Great Insulation Debate
There are many options for insulating a campervan. Many of them work well but pose some issues. These are some of the products we chose NOT to go with and why.
- Denim: Easily soaks up moisture which causes rust and is also treated with chemicals
- Wool: Expensive and also holds moisture
- Fiberglass and rock wool: Great R-value and sound reducer, but irritates skin, eyes, and lungs if not properly sealed off. It also holds moisture.
- Polyiso rigid foam: This has the greatest R-value, but it is very time-consuming to install and nearly impossible to get into small openings in the walls.
- Spray Foam: An absolute mess from what I have seen in other people’s installs and it’s permanent
3M Thinsulate: The standard for campervan insulation

After months of internet searching and getting input from just about every person’s insulation install, I learned why 3M Thinsulate has been labeled as “The Standard” for insulation in a campervan. It is probably one of the most expensive products, but it is the clear winner for several reasons.
- Moisture Resistant: It’s hydrophobic fibers resist moisture, mold, and mildew
- Easy to Install: All you need is a pair of decent scissors and some 3M90 spray adhesive for larger panels.
- No harmful fibers like fiberglass
- It also works extremely well at reducing noise.
Layer 1: Sound Deadening
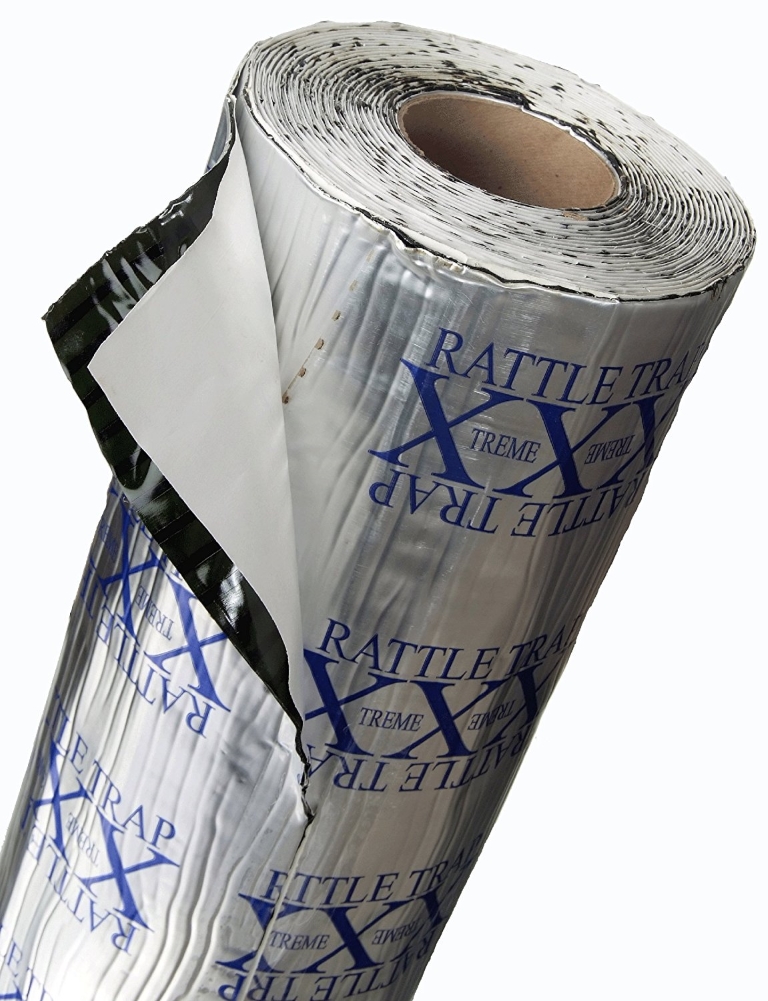
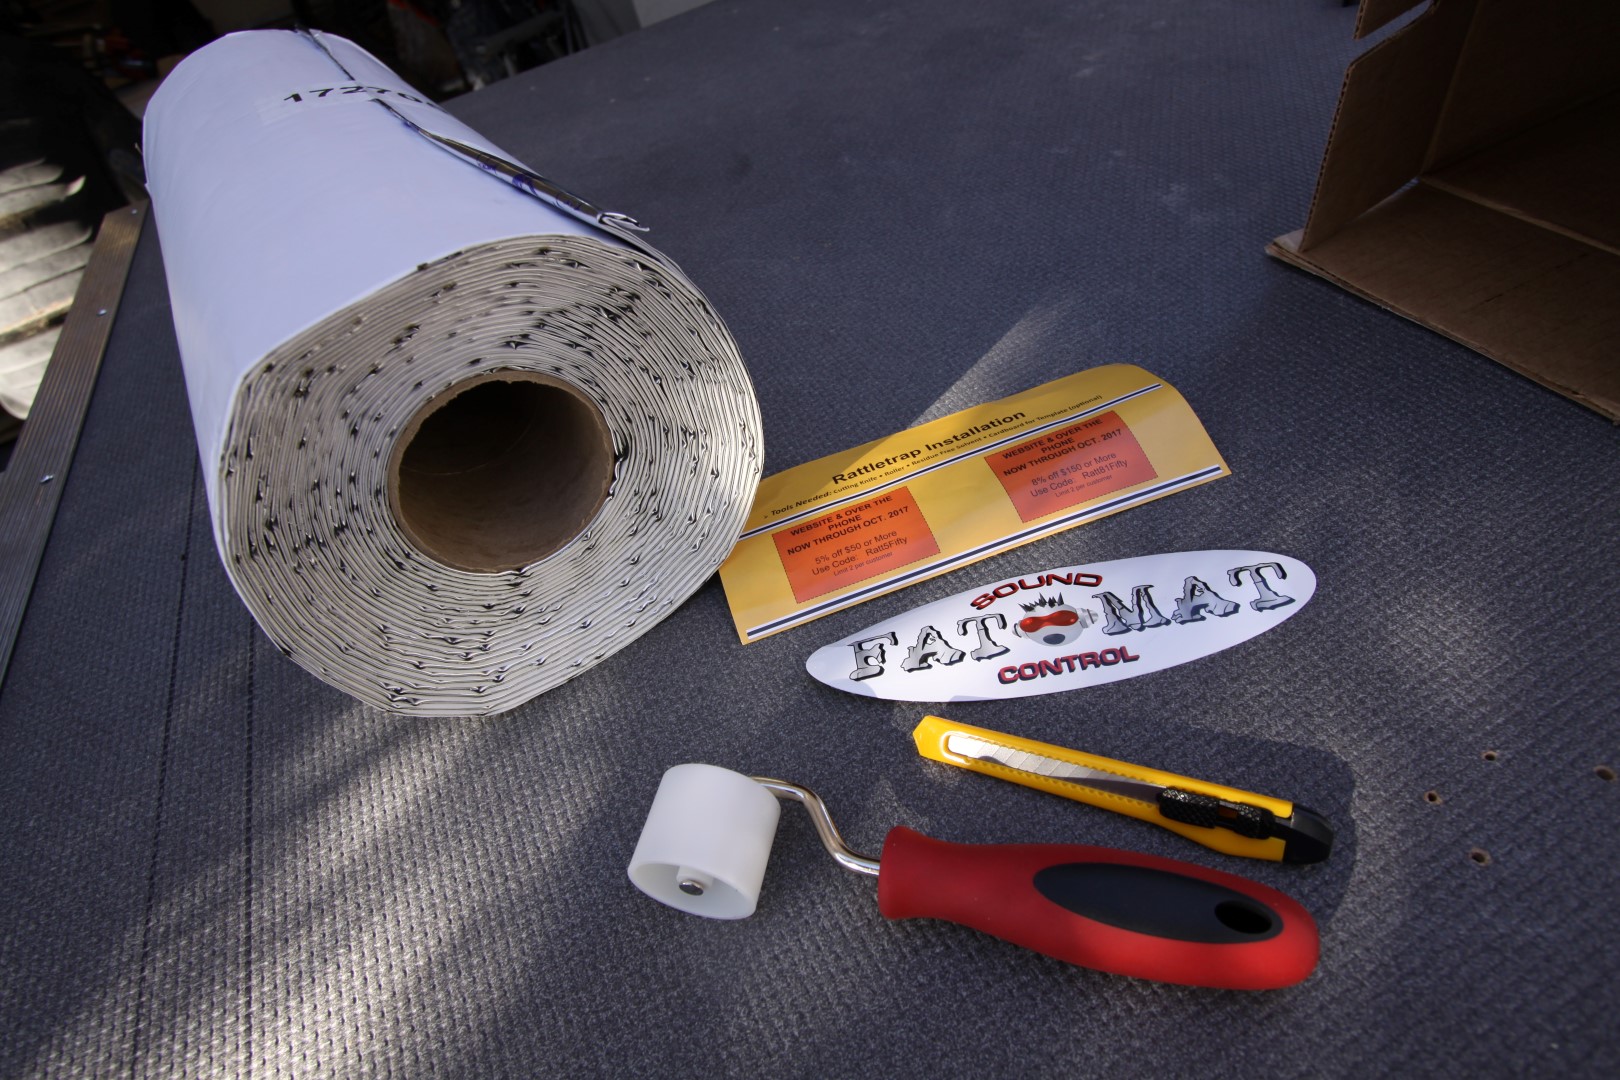
FatMat Rattle Trap
The first part of insulating the van was to sound deaden it. It is essentially a metal box going down the road and very noisy. I used 80 mil Fatmat Rattle Trap on the metal van walls. I decided against using any on the roof since the roof is already corrugated and doesn’t resonate like the walls do. The main reason for sound deadening the panels is because the flat steel panels vibrate and produce a level or frequency of noise. If the panel doesn’t move, it doesn’t make noise. FatMat Rattle Trap stops or dampens these vibrations. I only used Fatmat on our floor (also corrugated like the roof) to try to eliminate road noise and because it didn’t take up any space to roll a layer on. Was it worth it and did it work? It’s hard to say how much it made a difference since our floor is a hard surface (vinyl plank faux wood) and naturally transmits some noise. I’m happy with how quiet it is though. One thing to note here is how little Fatmat is required to sound deaden a panel. You only need about 50% coverage to do the job. Covering a panel 100% only adds unnecessary weight and cost.
Layer 2: Radiant Barrier
Reflectix
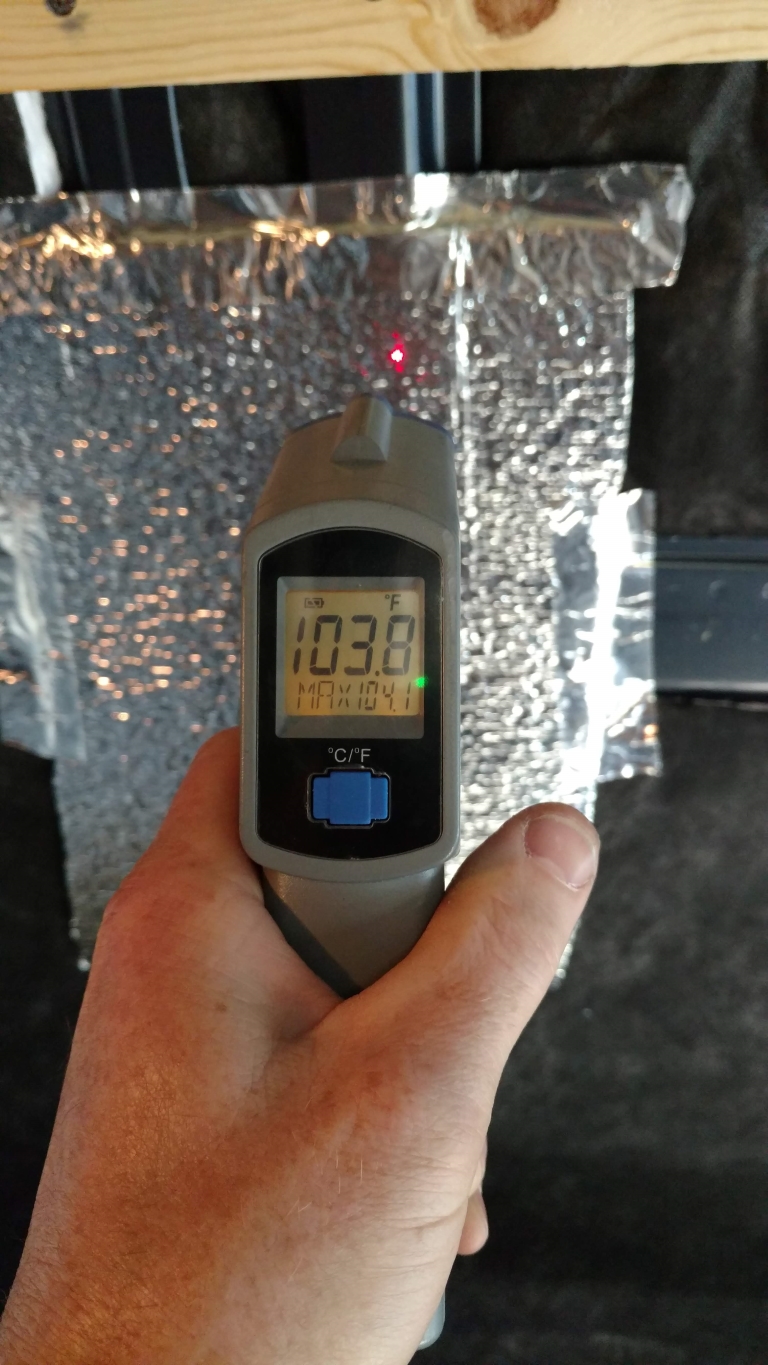
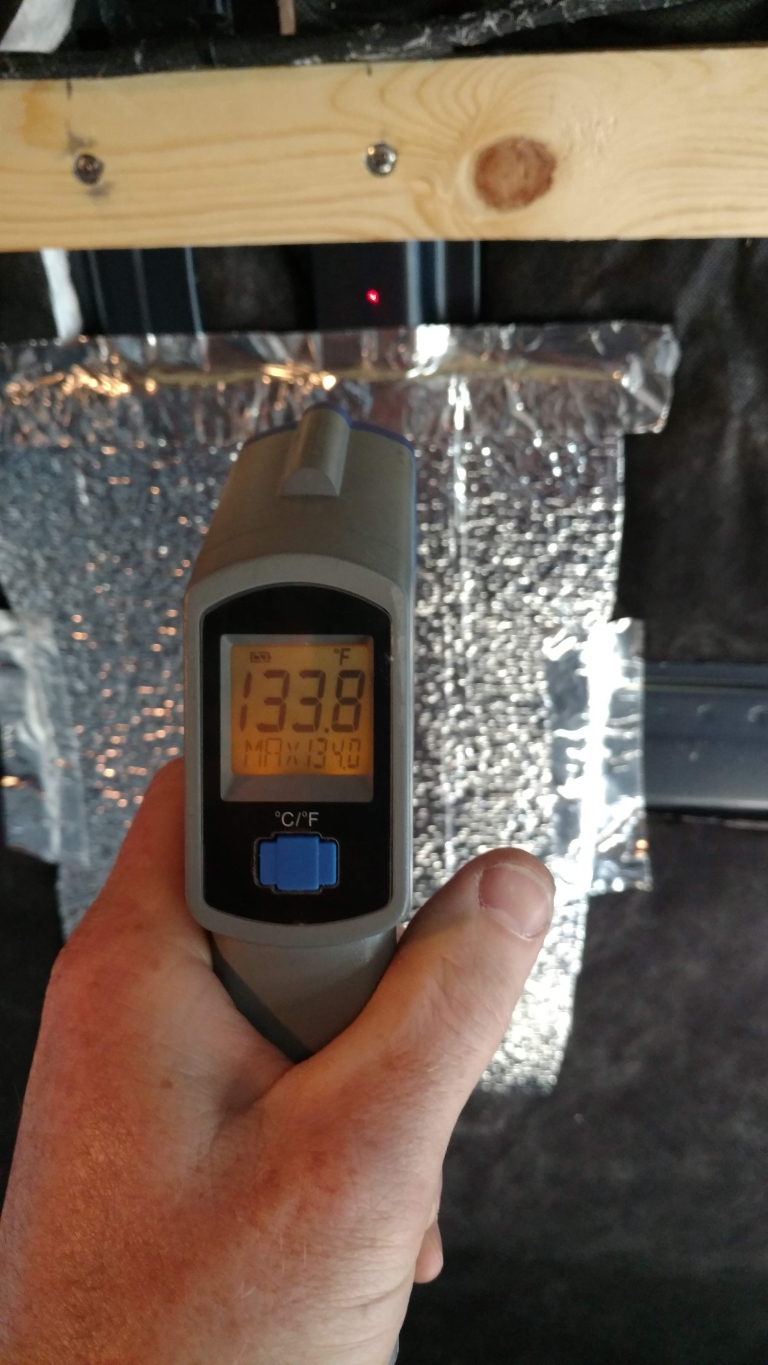
Our van walls and ceiling were covered almost 100% in Reflectix by the previous owner. Although we had to rip most of it off the wall to install our Fatmat, we reapplied it and taped it using foil tape. Reflectix and similar products like Low E EZ Cool foil faced foam, act well as a radiant barrier. It isn’t efficient enough on its own for insulation because of its small air gap, but I feel it blocks a great deal of the heat. I tested several panels in direct sunlight and it was over 30 degrees cooler to touch where Refelctix was installed versus not.
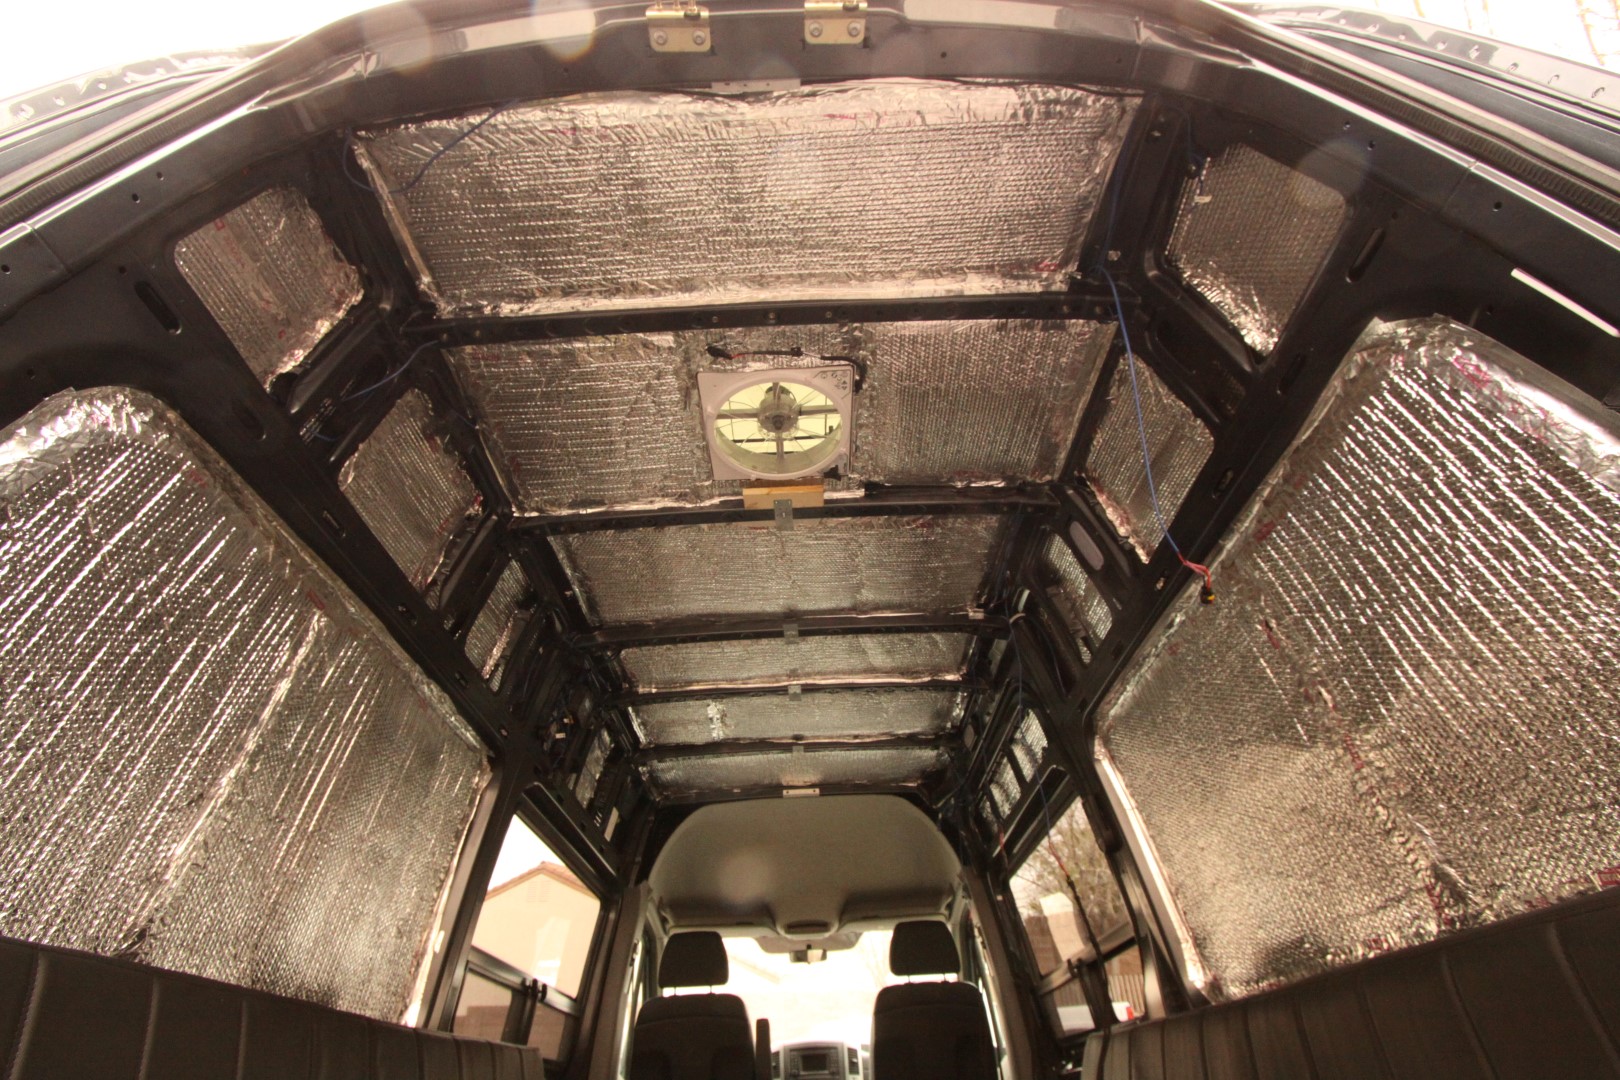
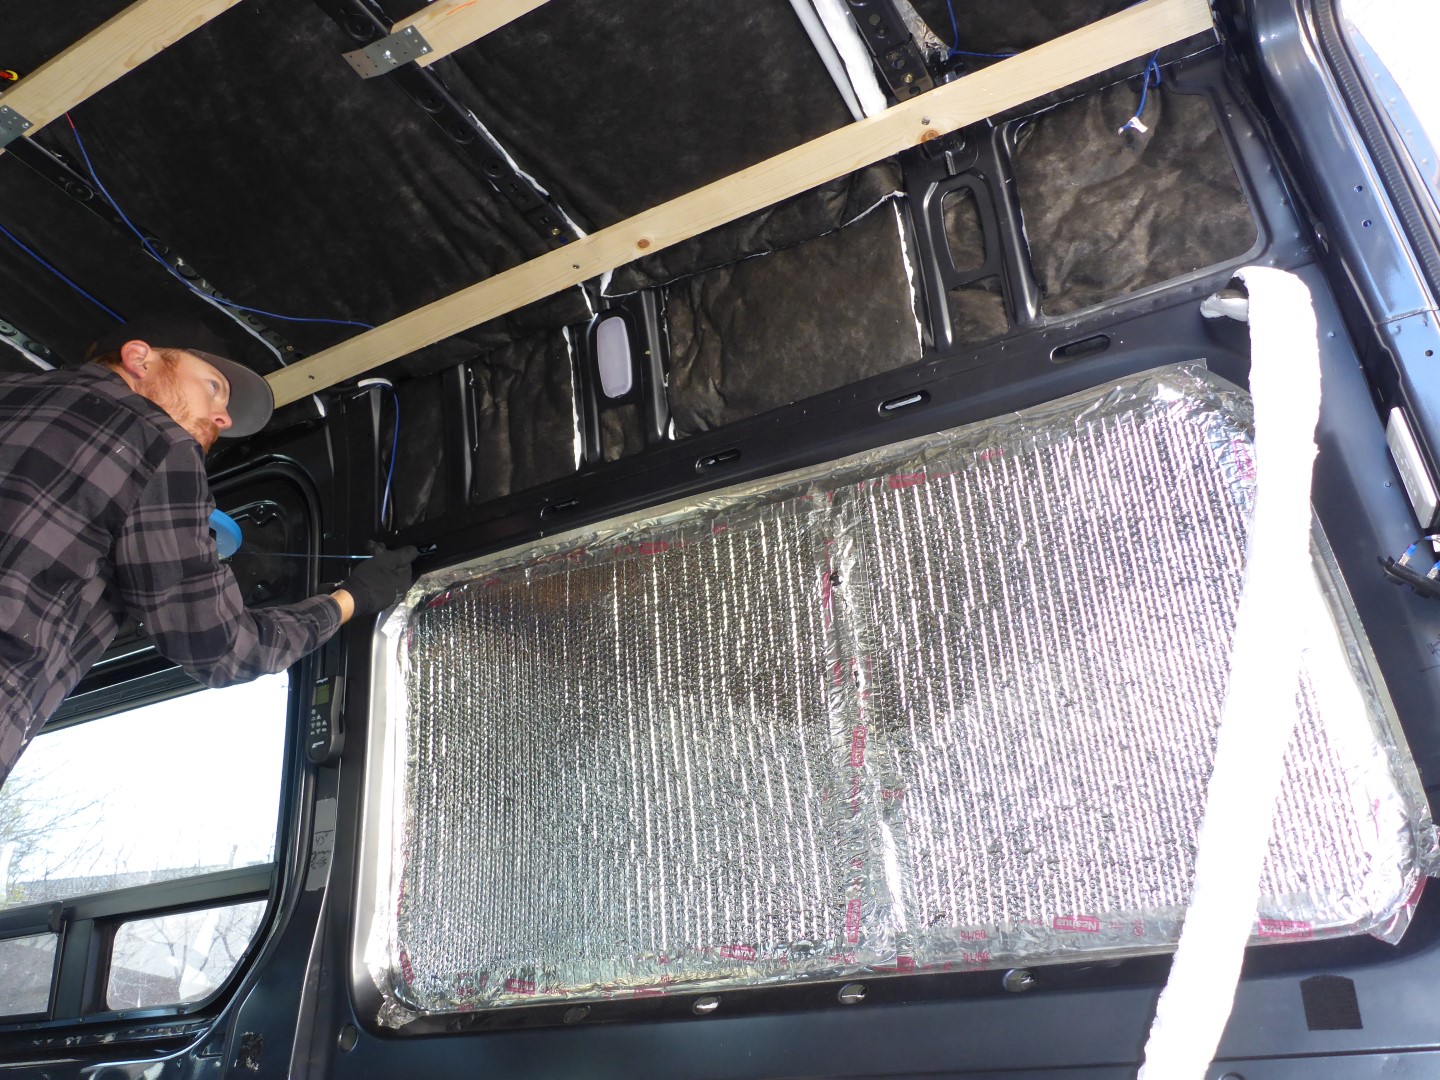
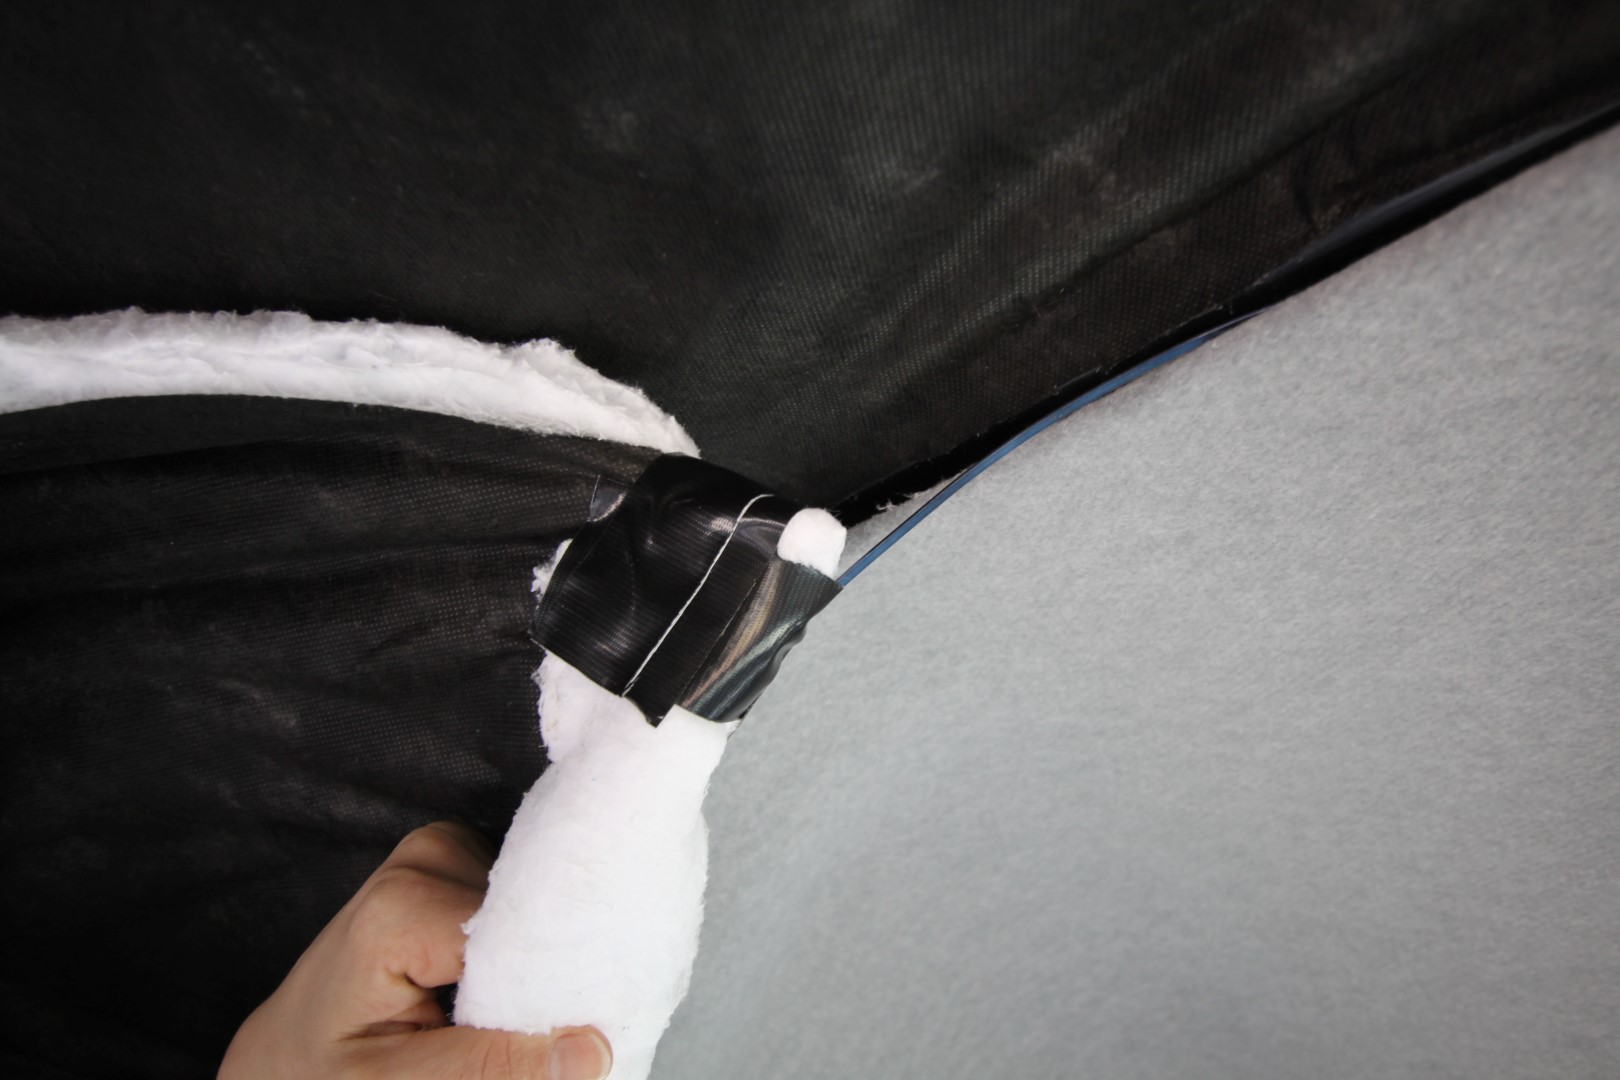
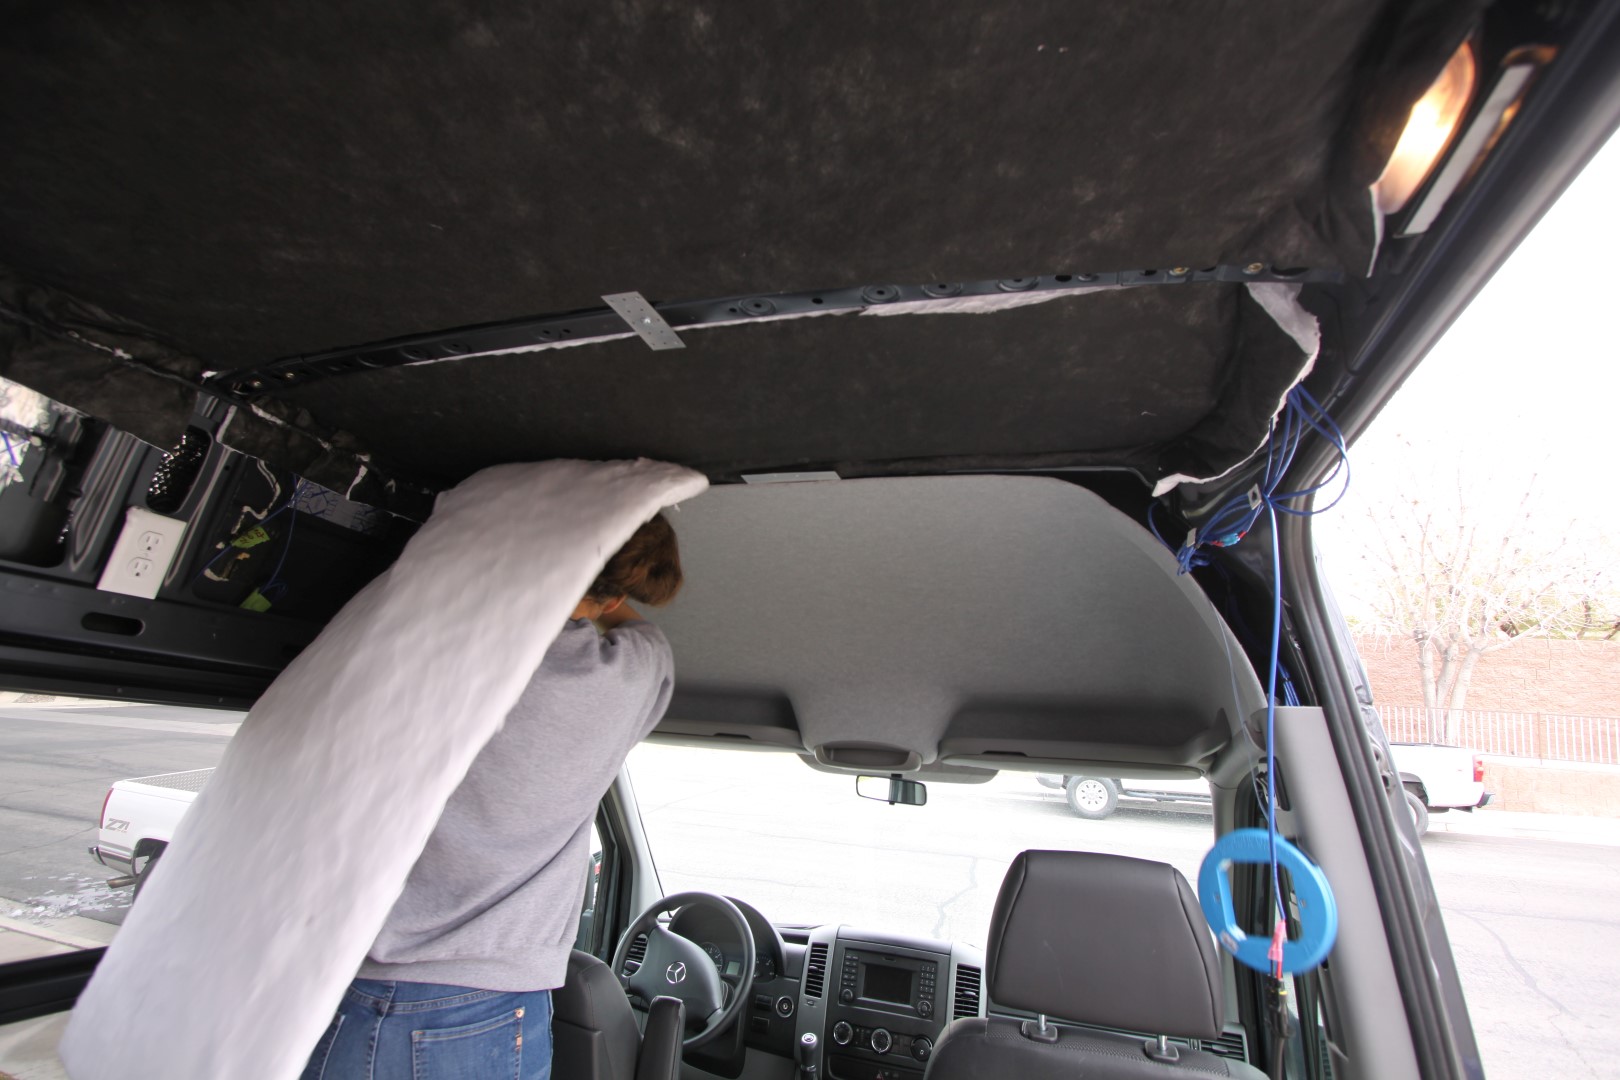
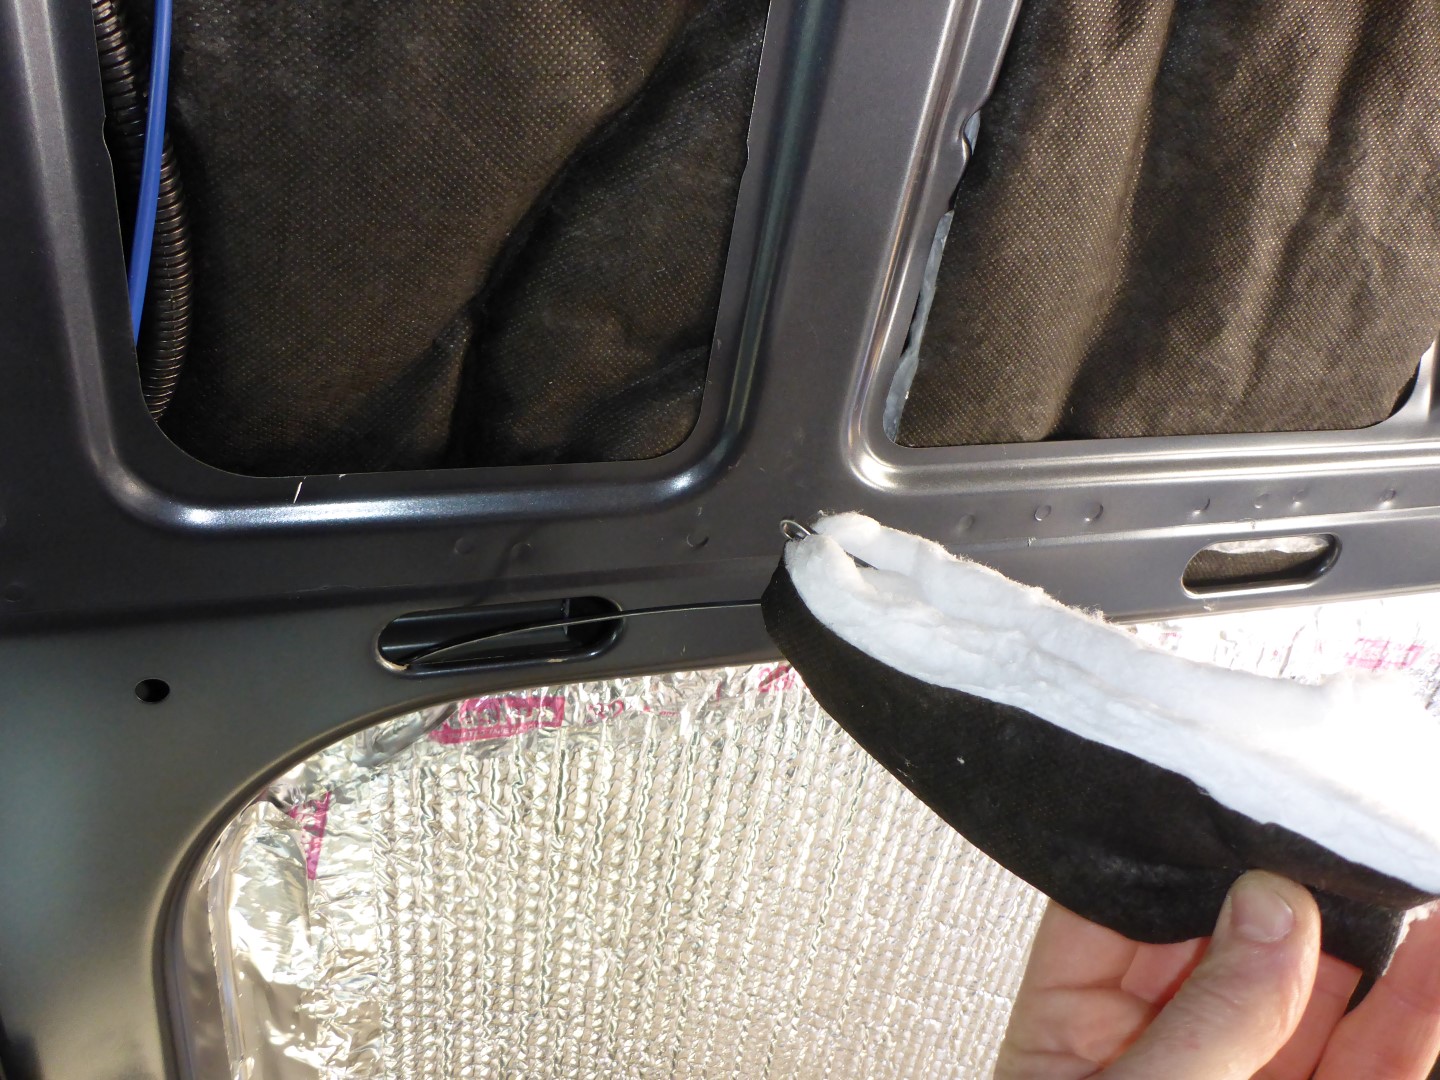
Layer 3: Main Thermal and Noise Insulation
3M Thinsulate
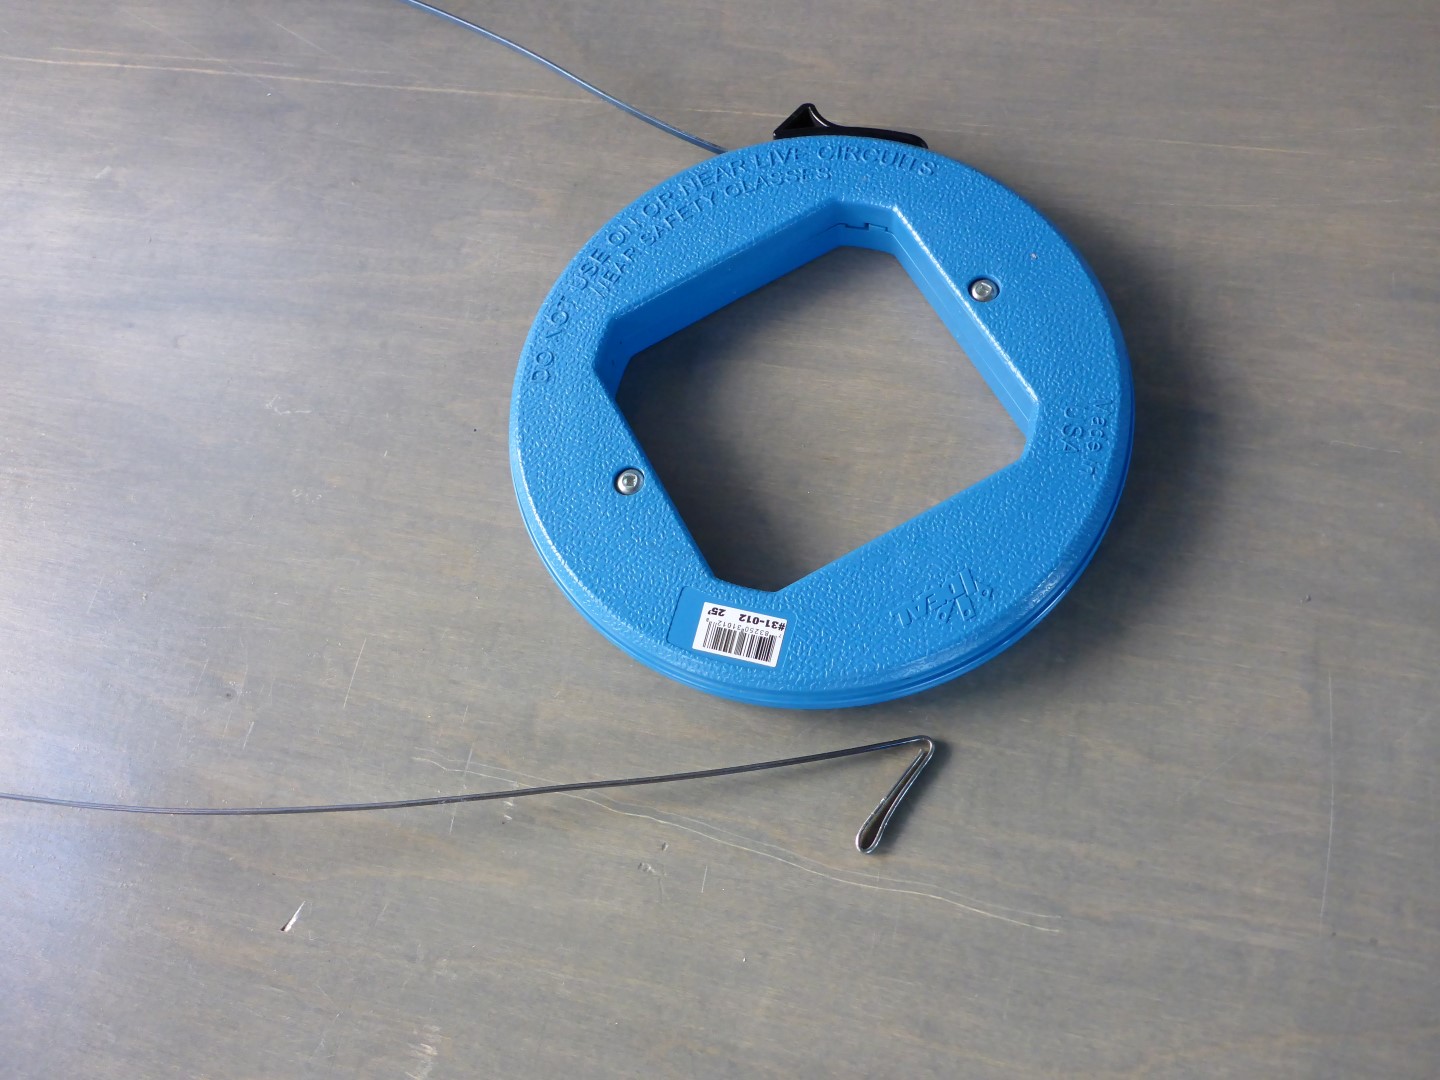
We ordered the 40′ roll off Amazon and it was enough for the most part, but I would have liked to have a little extra for overage. We barely had enough and there are a couple areas that could probably still use more. 50′, as mention by Hein or Impact Products, is 100% correct for a 144 Sprinter. We insulated all the walls, the ceiling, the rear doors, slider door and above the headliner. We didn’t pull the headliner but managed to stuff a few pieces in the important places. Tip: if you pull the dome lamp out you can access the forward part behind the headliner area. In the tight channels of the walls, we used a fish tape to pull small, skinny pieces into place. Every little bit does count in a metal box.

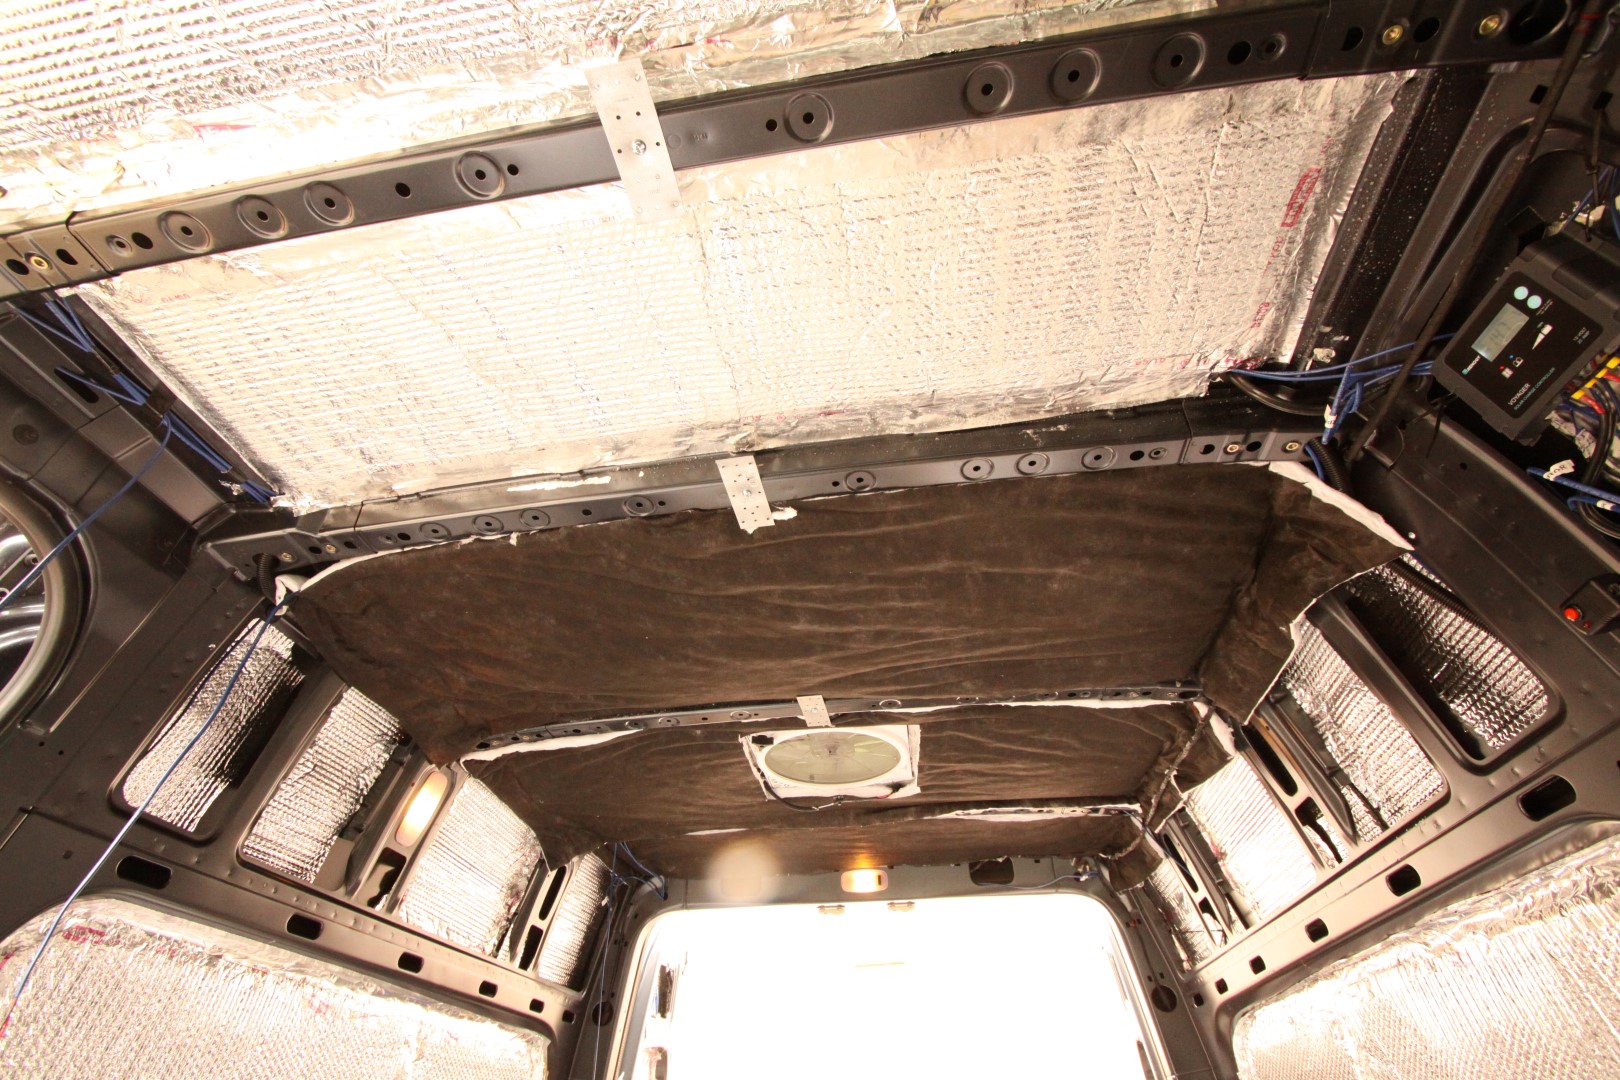


Layer 4: Thermal Barrier
Low E EZ Cool Foil-Faced Foam
Since the Thinsulate could not be stuffed in some areas of the walls and there was still some areas of exposed metal, I felt a layer of Low E EZ Cool would help block any last bit of heat that got past the other layers. It would be the last layer of insulation before the walls went up. So both the walls and ceiling got a full wrap of Low E foam.

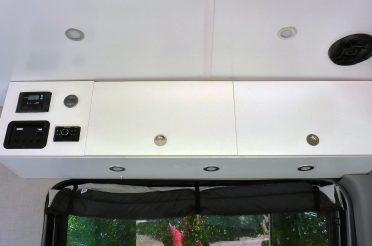
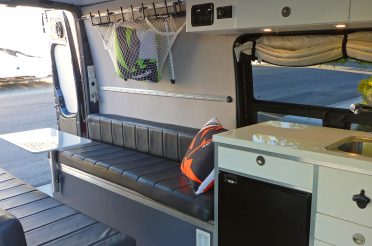
Layer 5: Walls (Final Layer of Thermal & Noise Insulation)
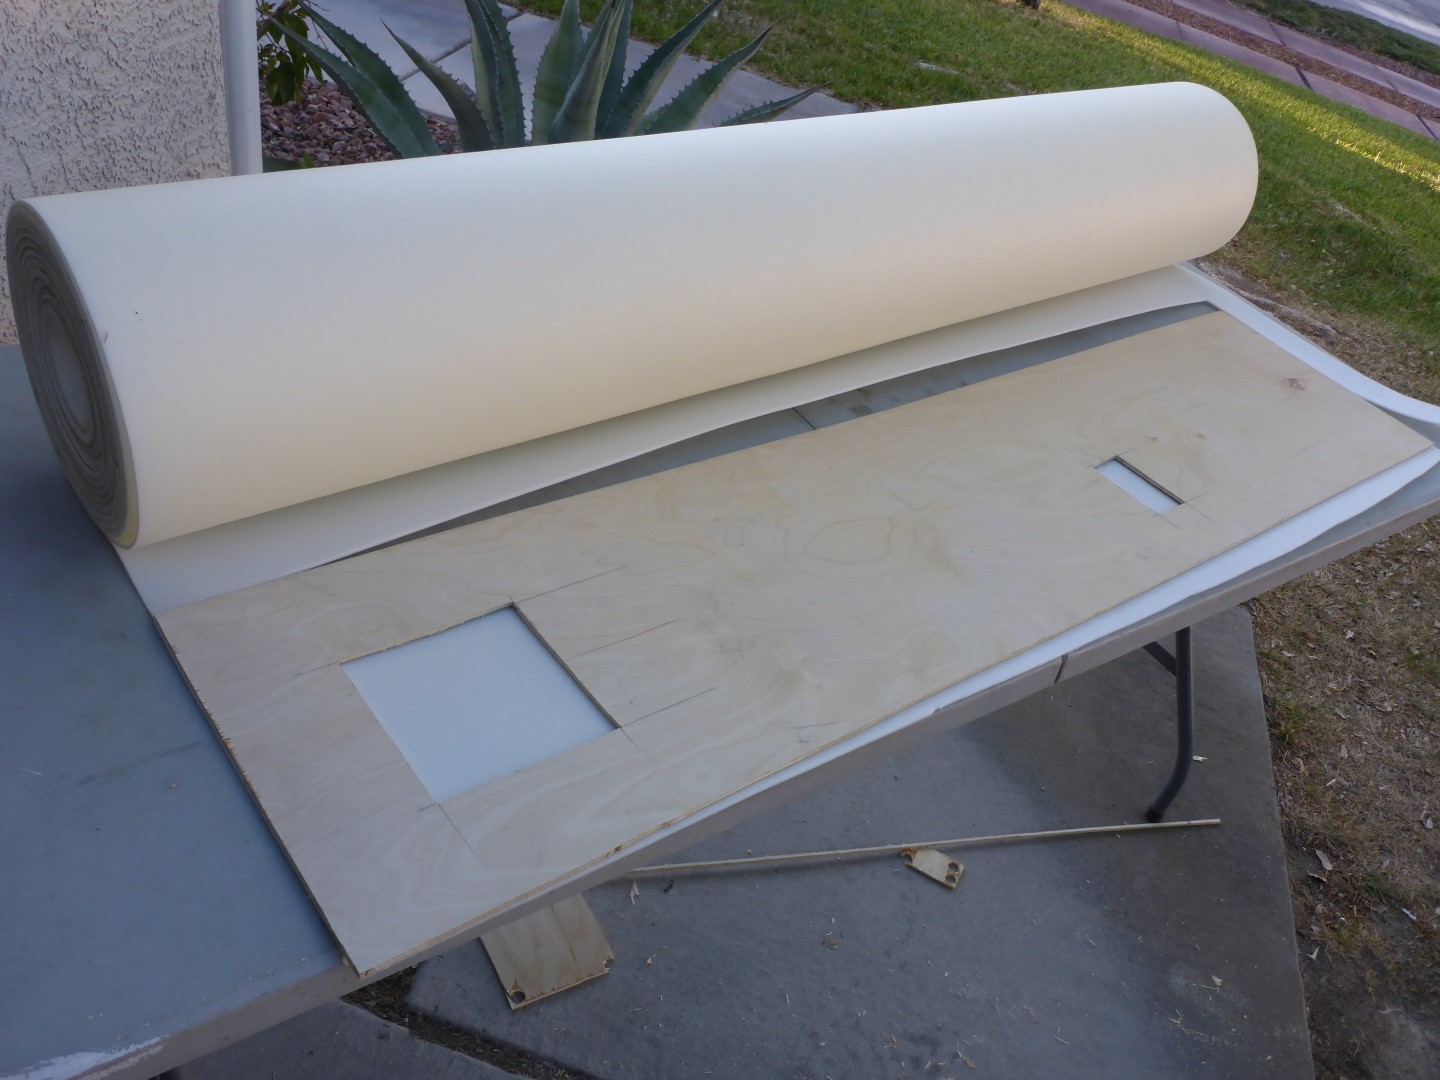
Closed Cel Foam & Upholstered Wall Panels
1/4″ plywood was used for the final wall panels. They were first wrapped in 1/8″, 4lb closed cel foam before being covered with fabric. I purchased a 50′ roll from Foam By Mail. https://www.foambymail.com/PR/polyethylene-foam-roll.html.
Although mostly cosmetic and meant to finish off the appearance of the van, the walls also help with insulating noise and temperatures.


Product & Tool List
- Fatmat Rattle Trap: https://amzn.to/2xRkDsl
- Reflectix: https://amzn.to/2Ma65an
- 3M Thinsulate: https://amzn.to/2M8ZuNl
- Low-E EZ Cool: https://amzn.to/2kUcgTv
- Polyethylene Foam Roll (50′ roll of 1/8″ thick, 4 lb, white): https://www.foambymail.com/PR/polyethylene-foam-roll.html
- 3M90 spray Adhesive: https://amzn.to/2Mabi1V
- Foil Tape: https://amzn.to/2sPdCTg
- Roller Tool: https://amzn.to/2sFDzoX
- Fish Tape Tool: https://amzn.to/2JiIMgS
- Utility Knives: https://amzn.to/2JnrKOz

Leave a Reply