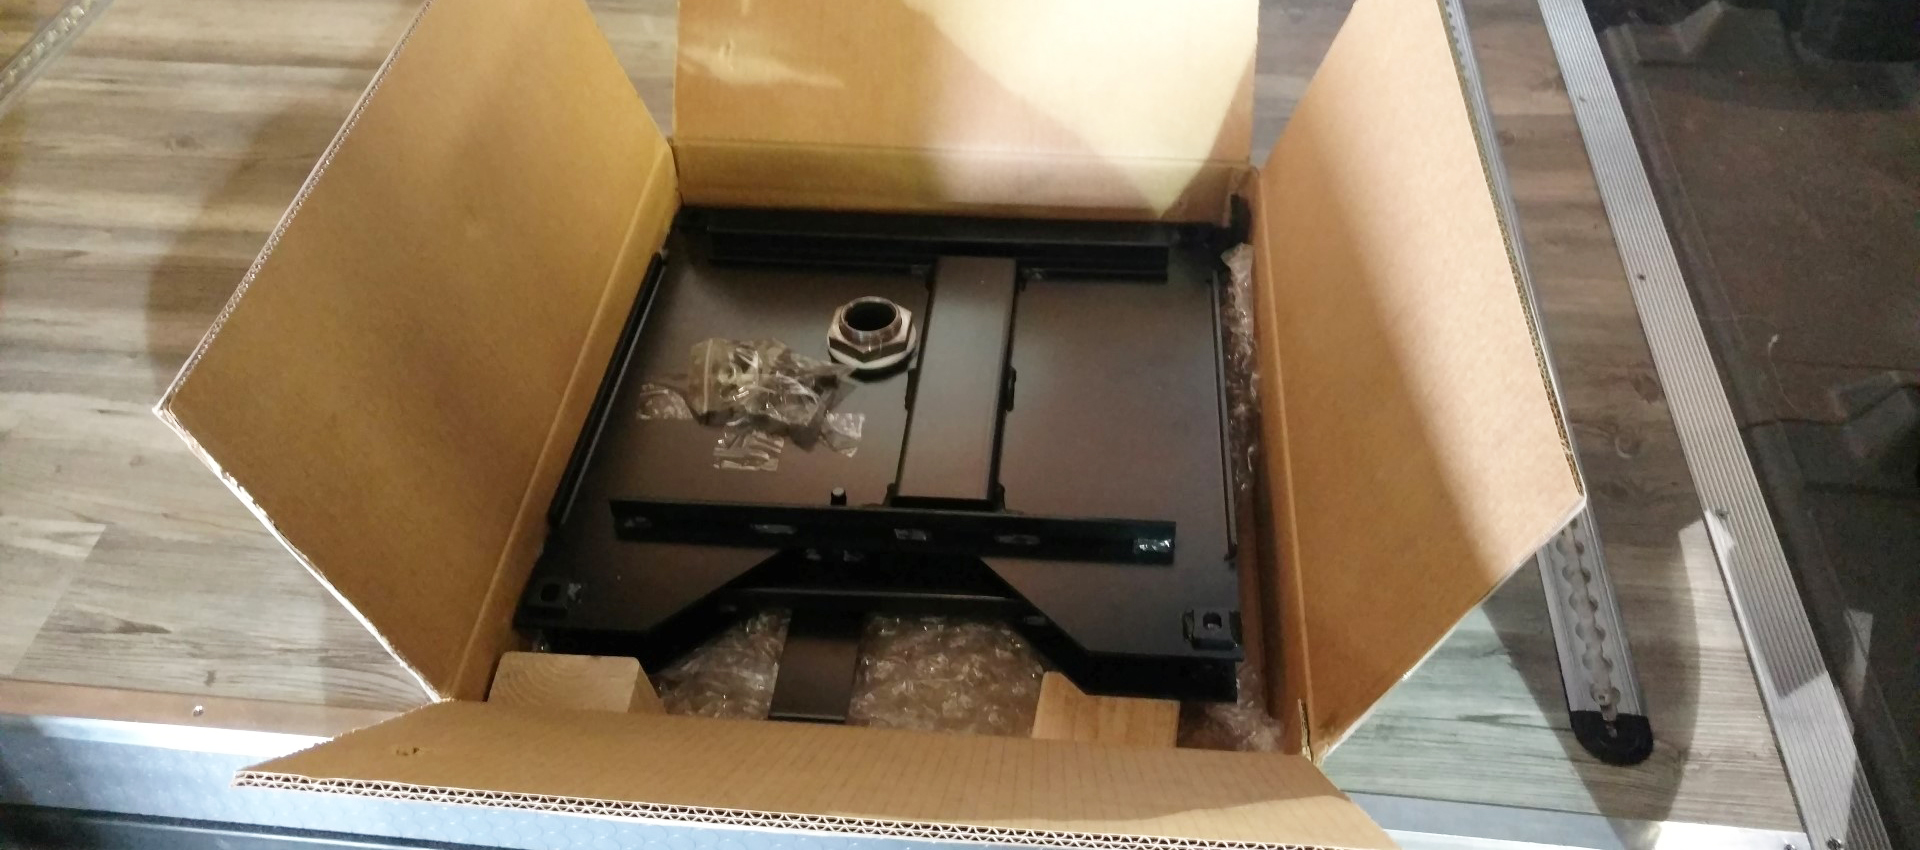
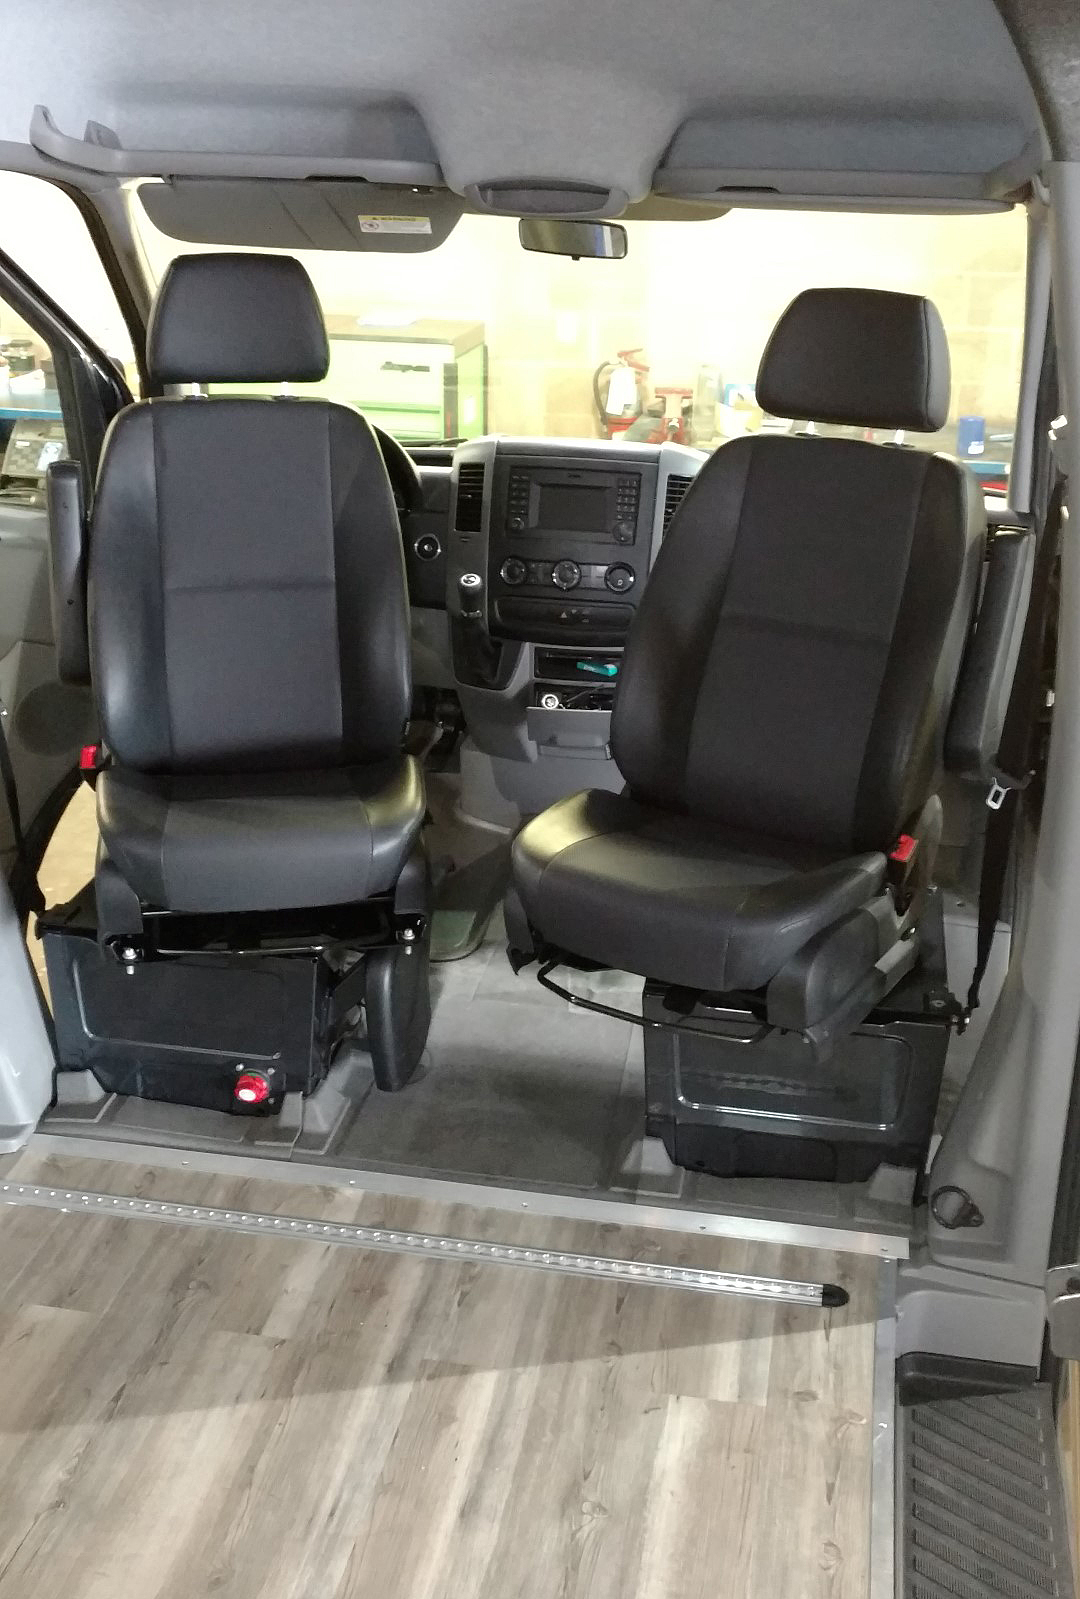
One of the best ways to add square footage to a van is to use the front seats as a living room by installing swivel seat bases. Although there are many companies that manufacture these, I did quite a bit of internet homework and decided on Sportscraft Swivel Adapters. They are made specifically for the Sprinter vans and not a universal mount. The craftsmanship is top notch and the fit is right on. They are a bit pricey, but I found EuroCampers.com to have the best price. I feel you get what you pay for and I am glad we went with the Sportscraft brand because they are heavy and solid. The last thing you want is to have an unstable seat rocking back and forth when you are trying to drive.
It was a very easy job and only took about 30 minutes for the per side. The instructions are very simple, yet clear. Here are some photos from the install.
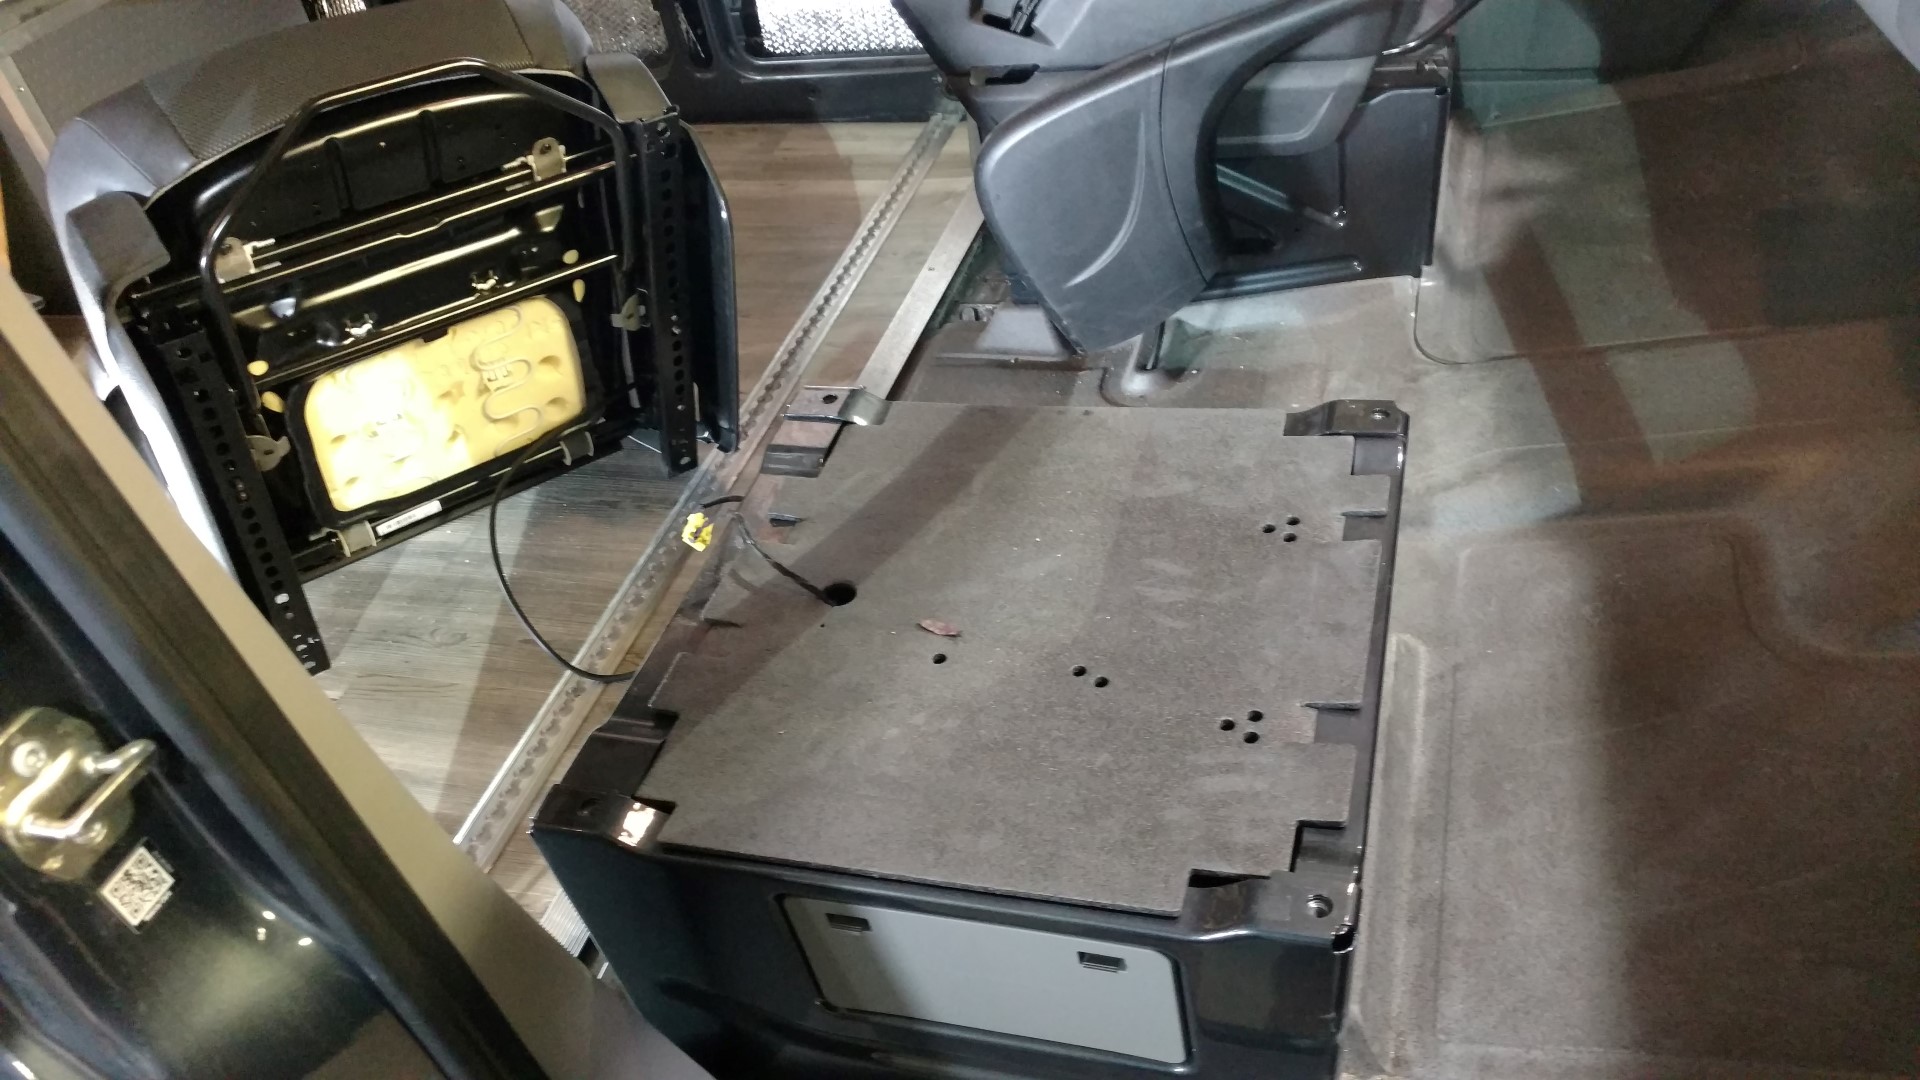
I started with the passenger side and removed the seat.
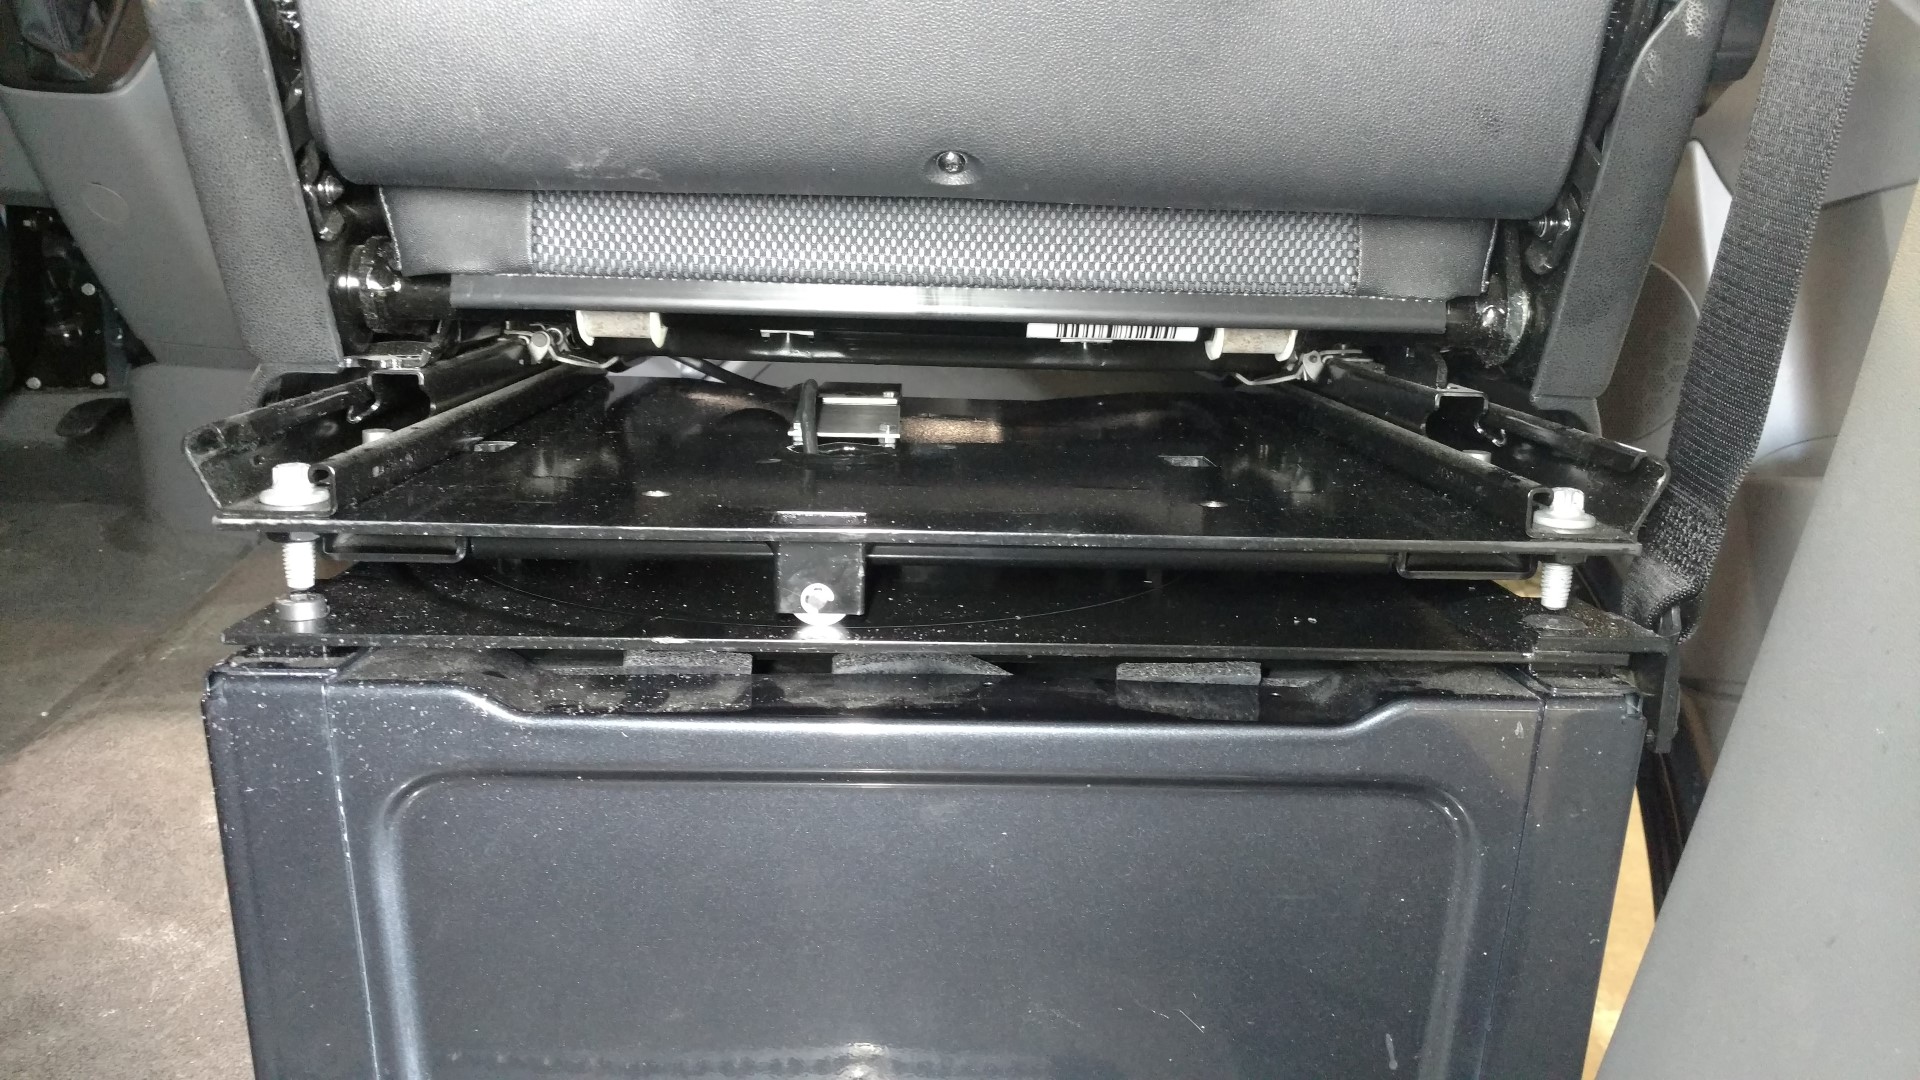
After removing the seat, I loosened the seat pedestal bolts. This allows the swivel adapter holes to line up better.
Installing the Swivel Adapters
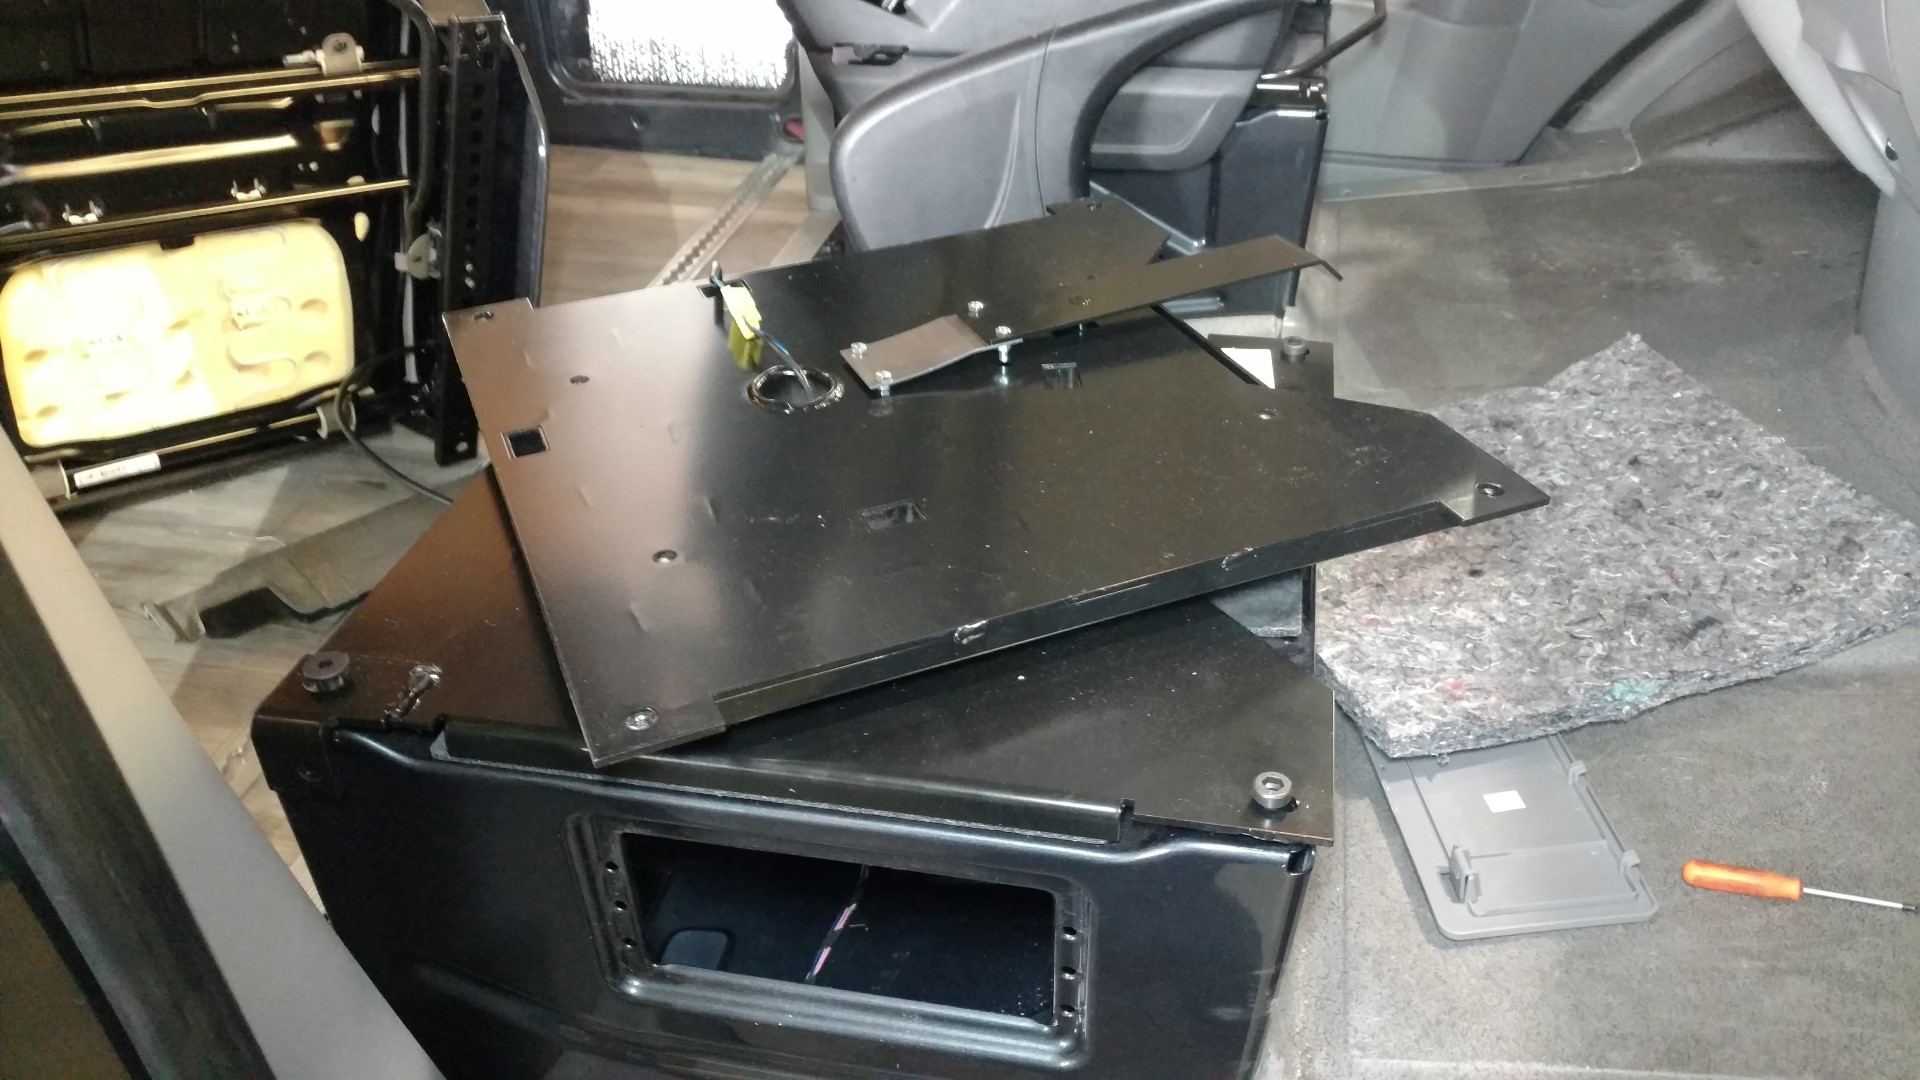
I set the swivel adapter on the seat pedestal and turned it 45° in order to install the mounting bolts. The seat belt wires run through the center hole of the adapter. After the swivel was tightened down, I made sure to go back and tighten the pedestal bolts. That’s sort of an important step and they make sure to remind you in the instructions.
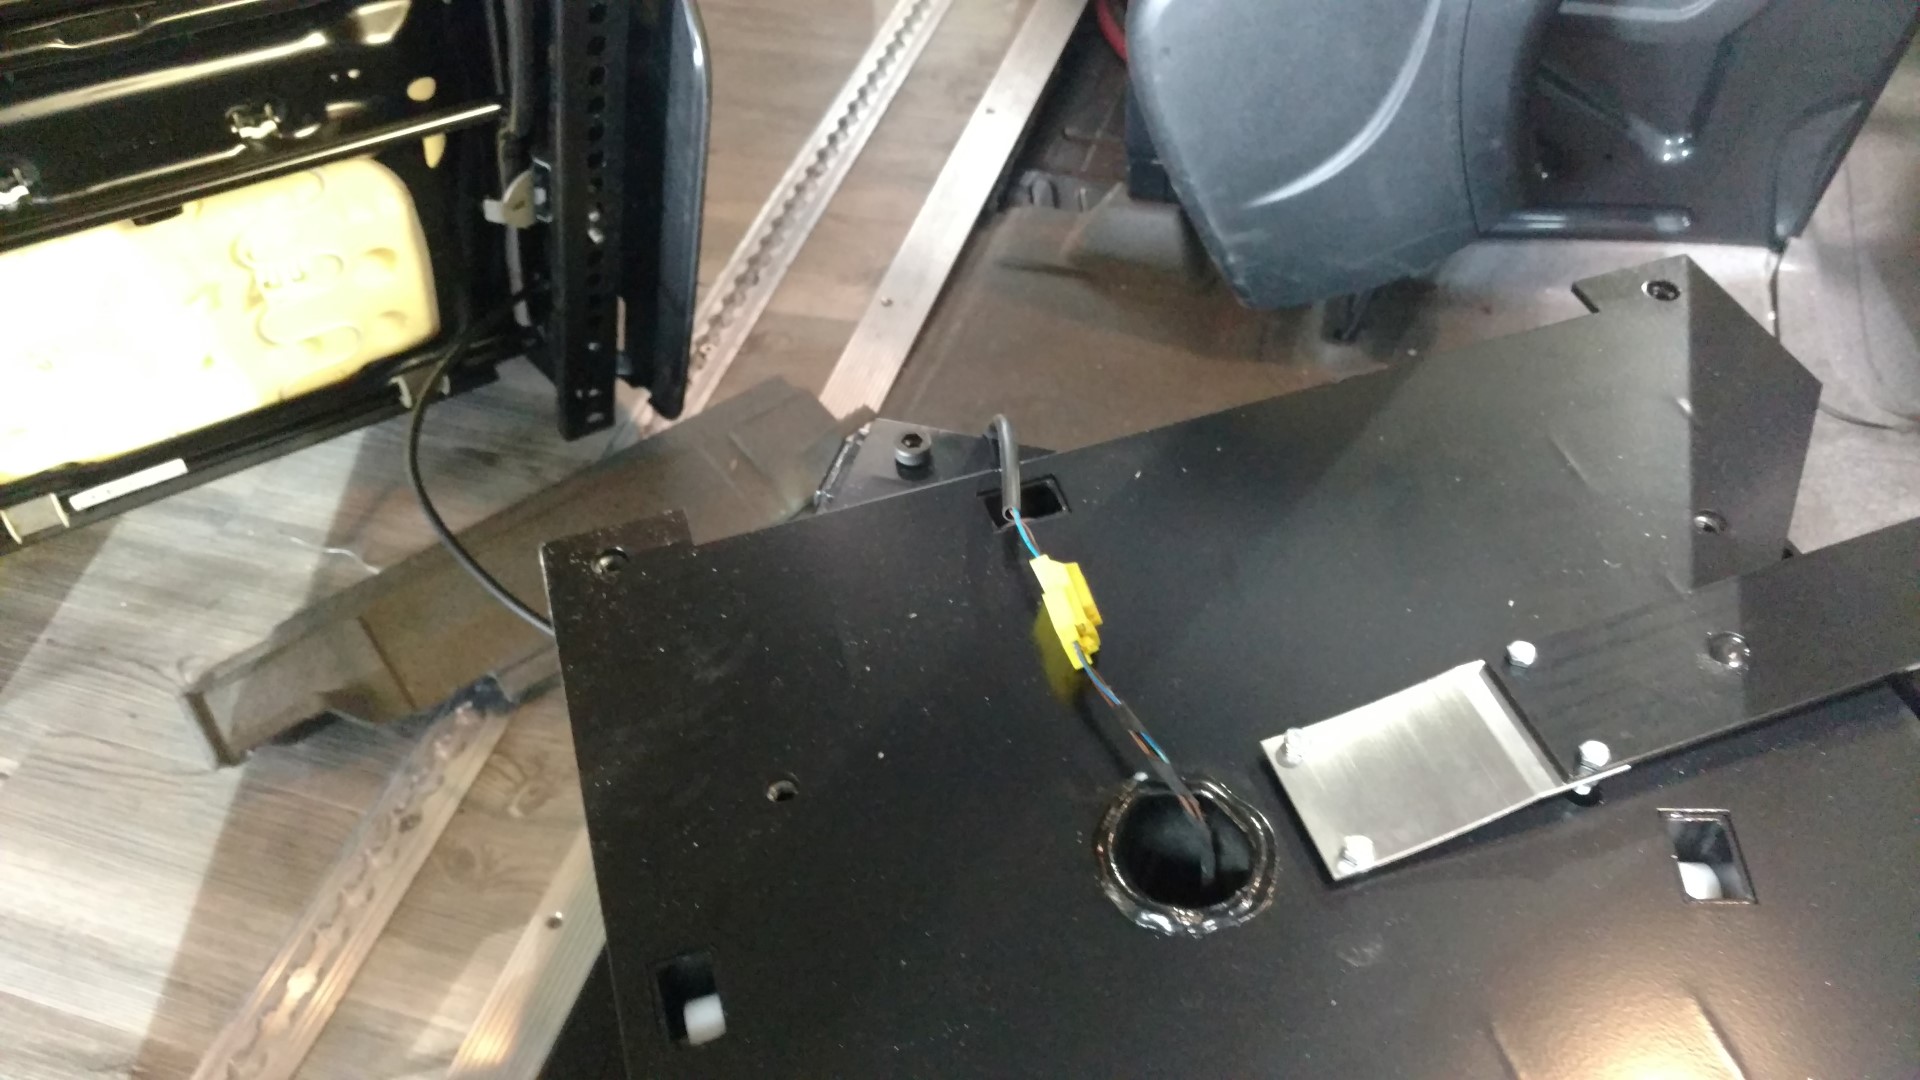
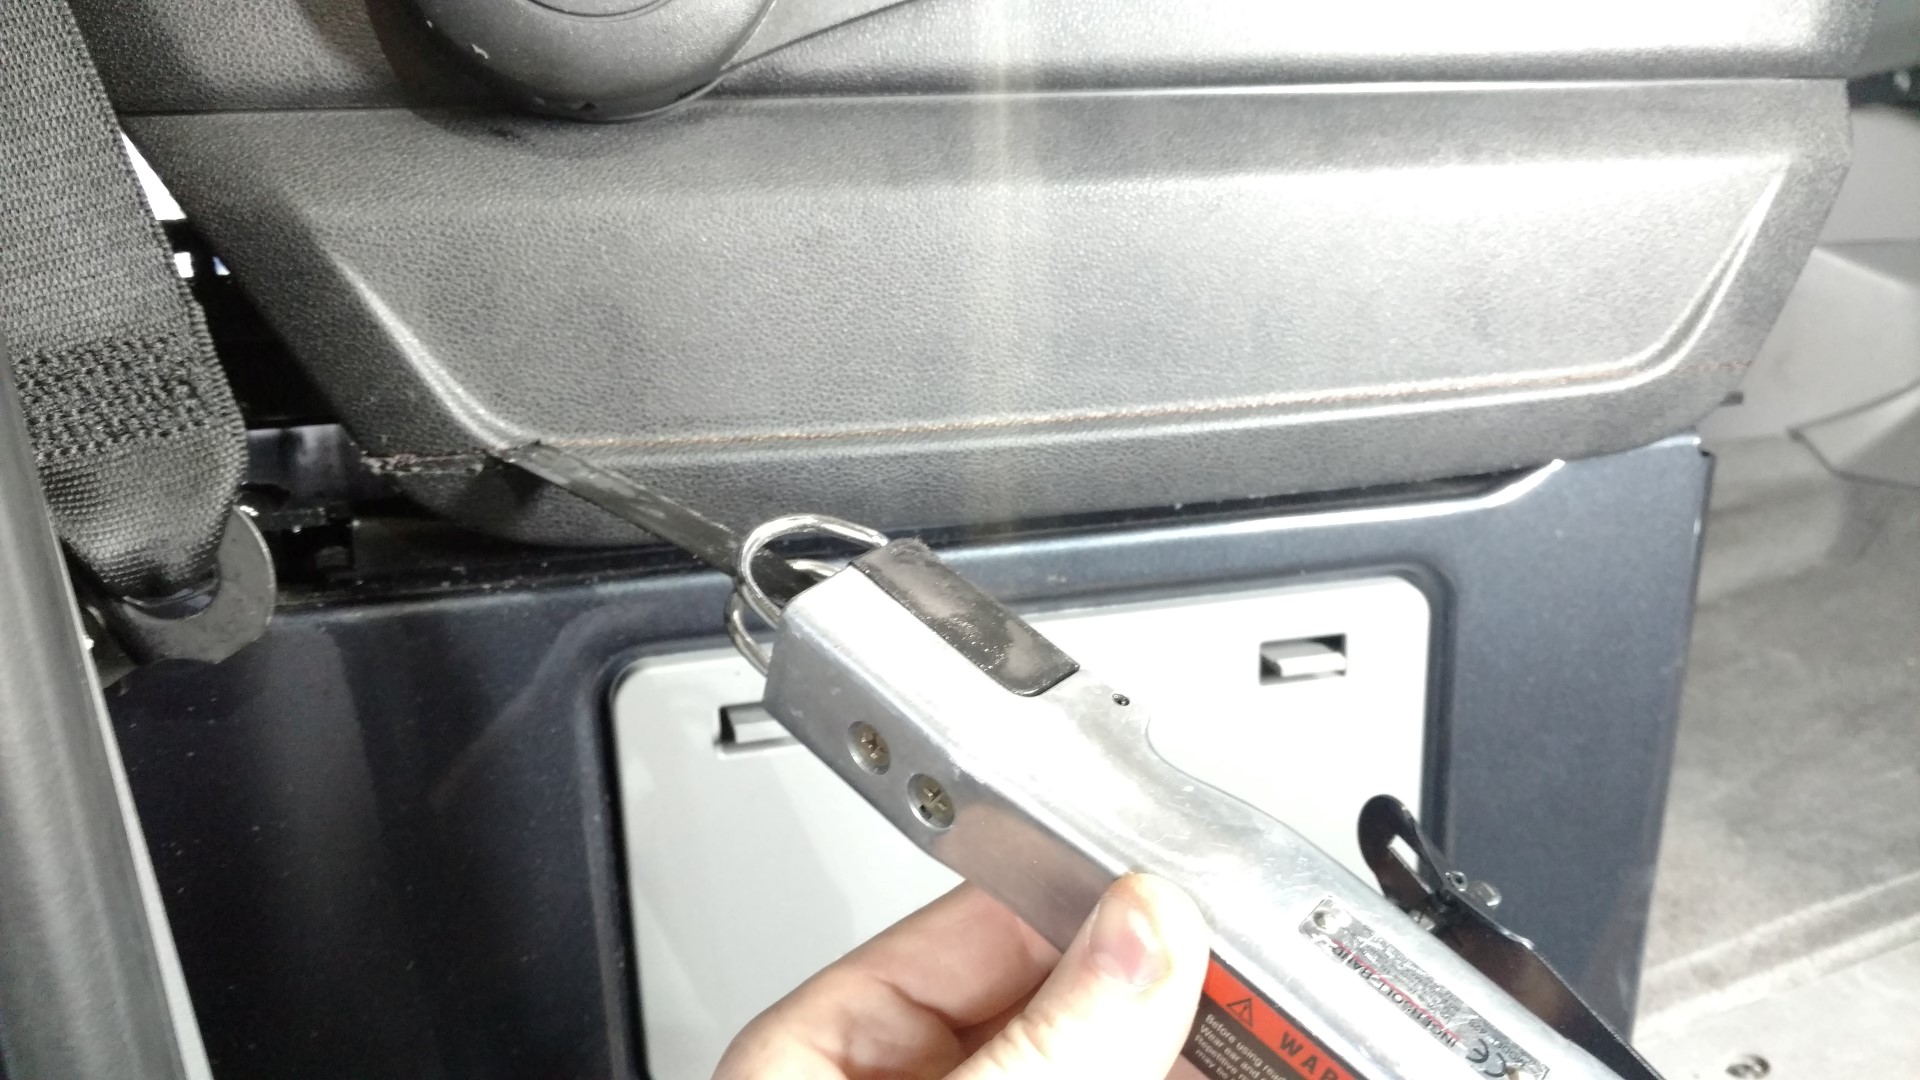
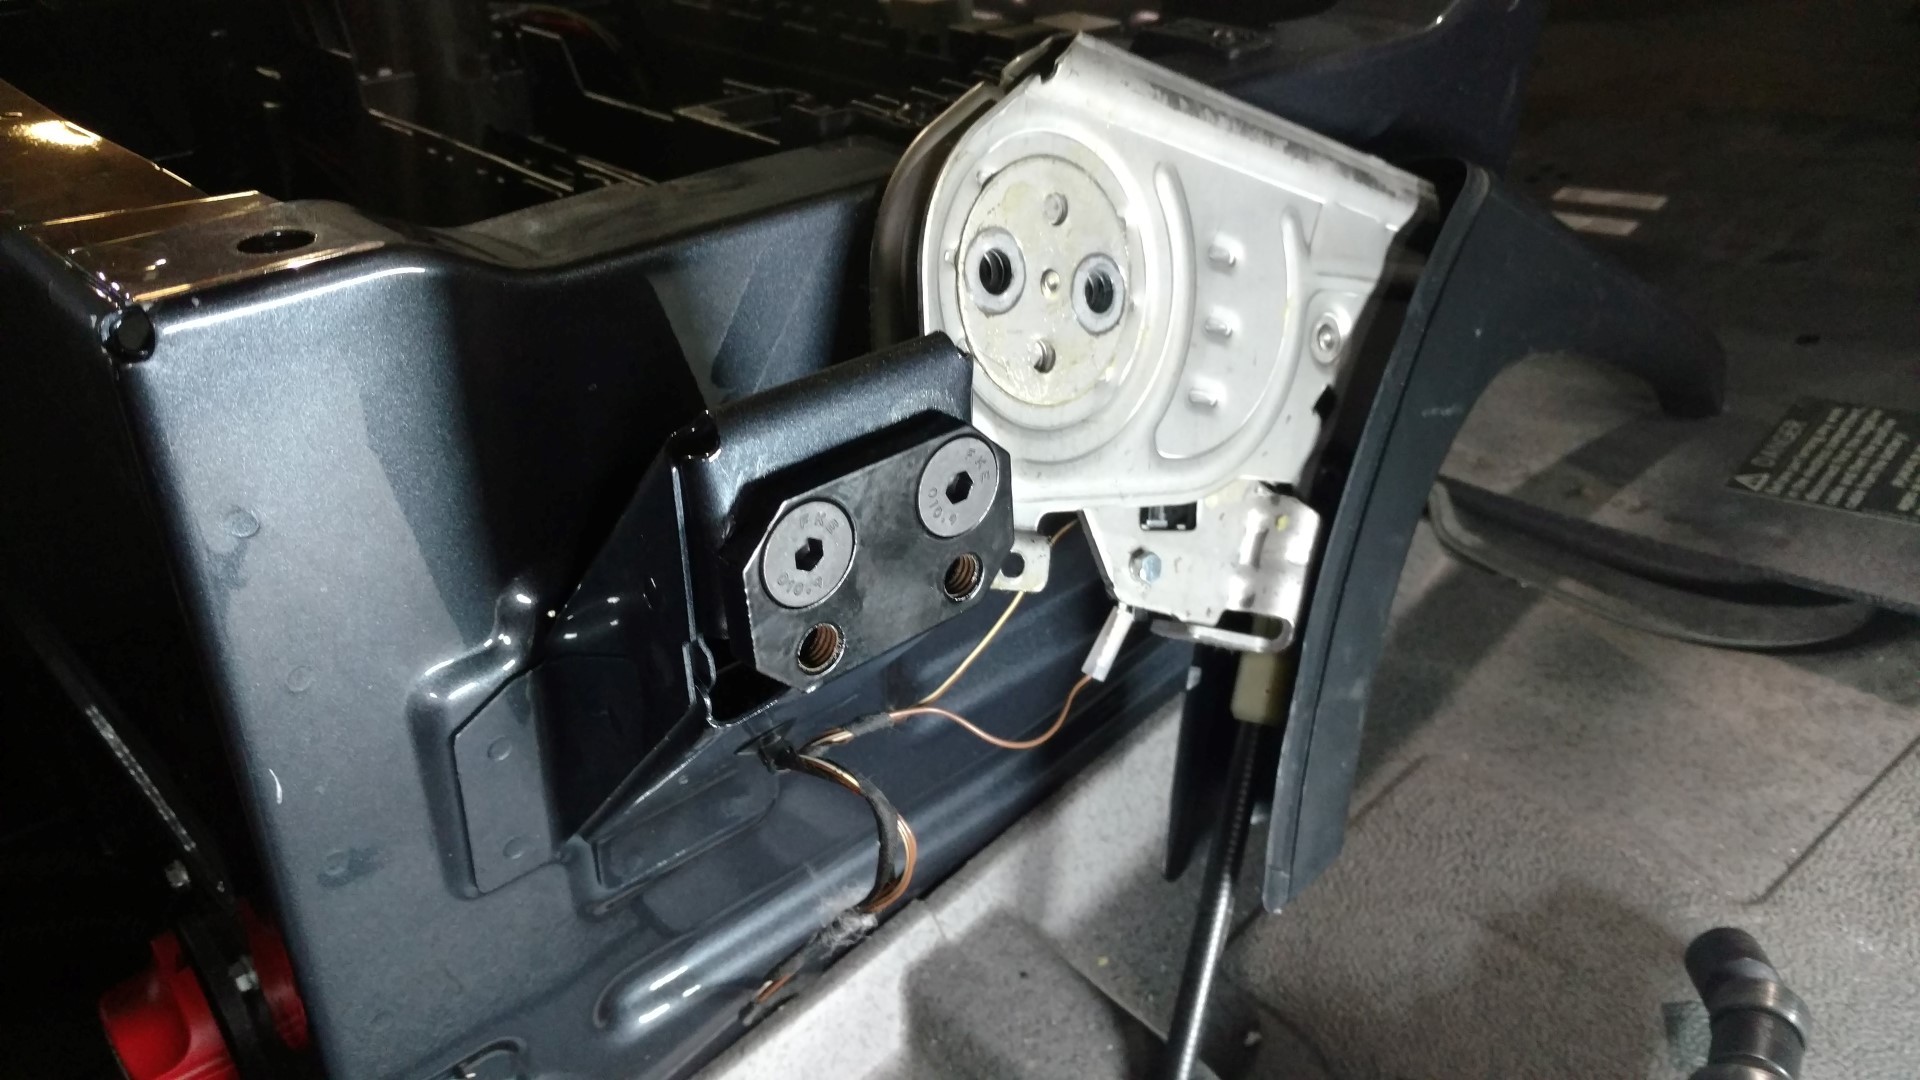
Relocating Seat Belt Mount
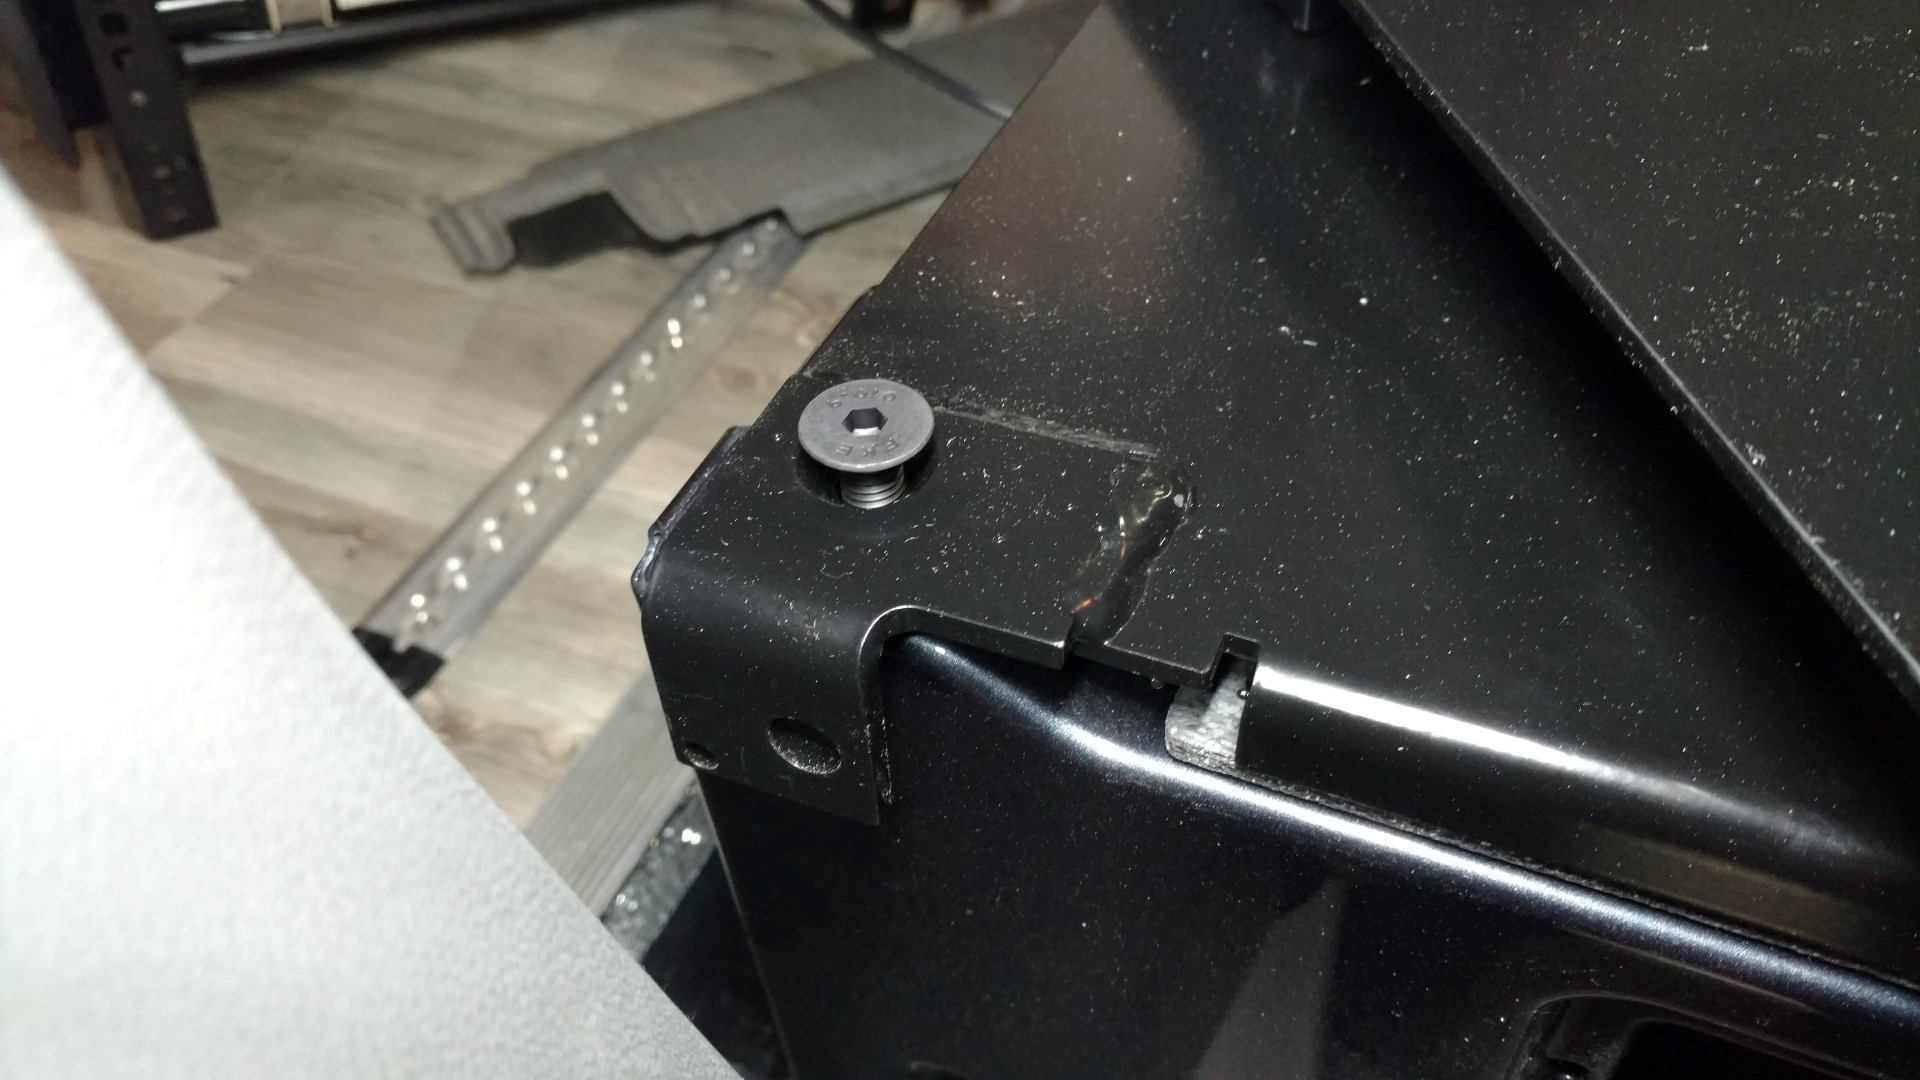
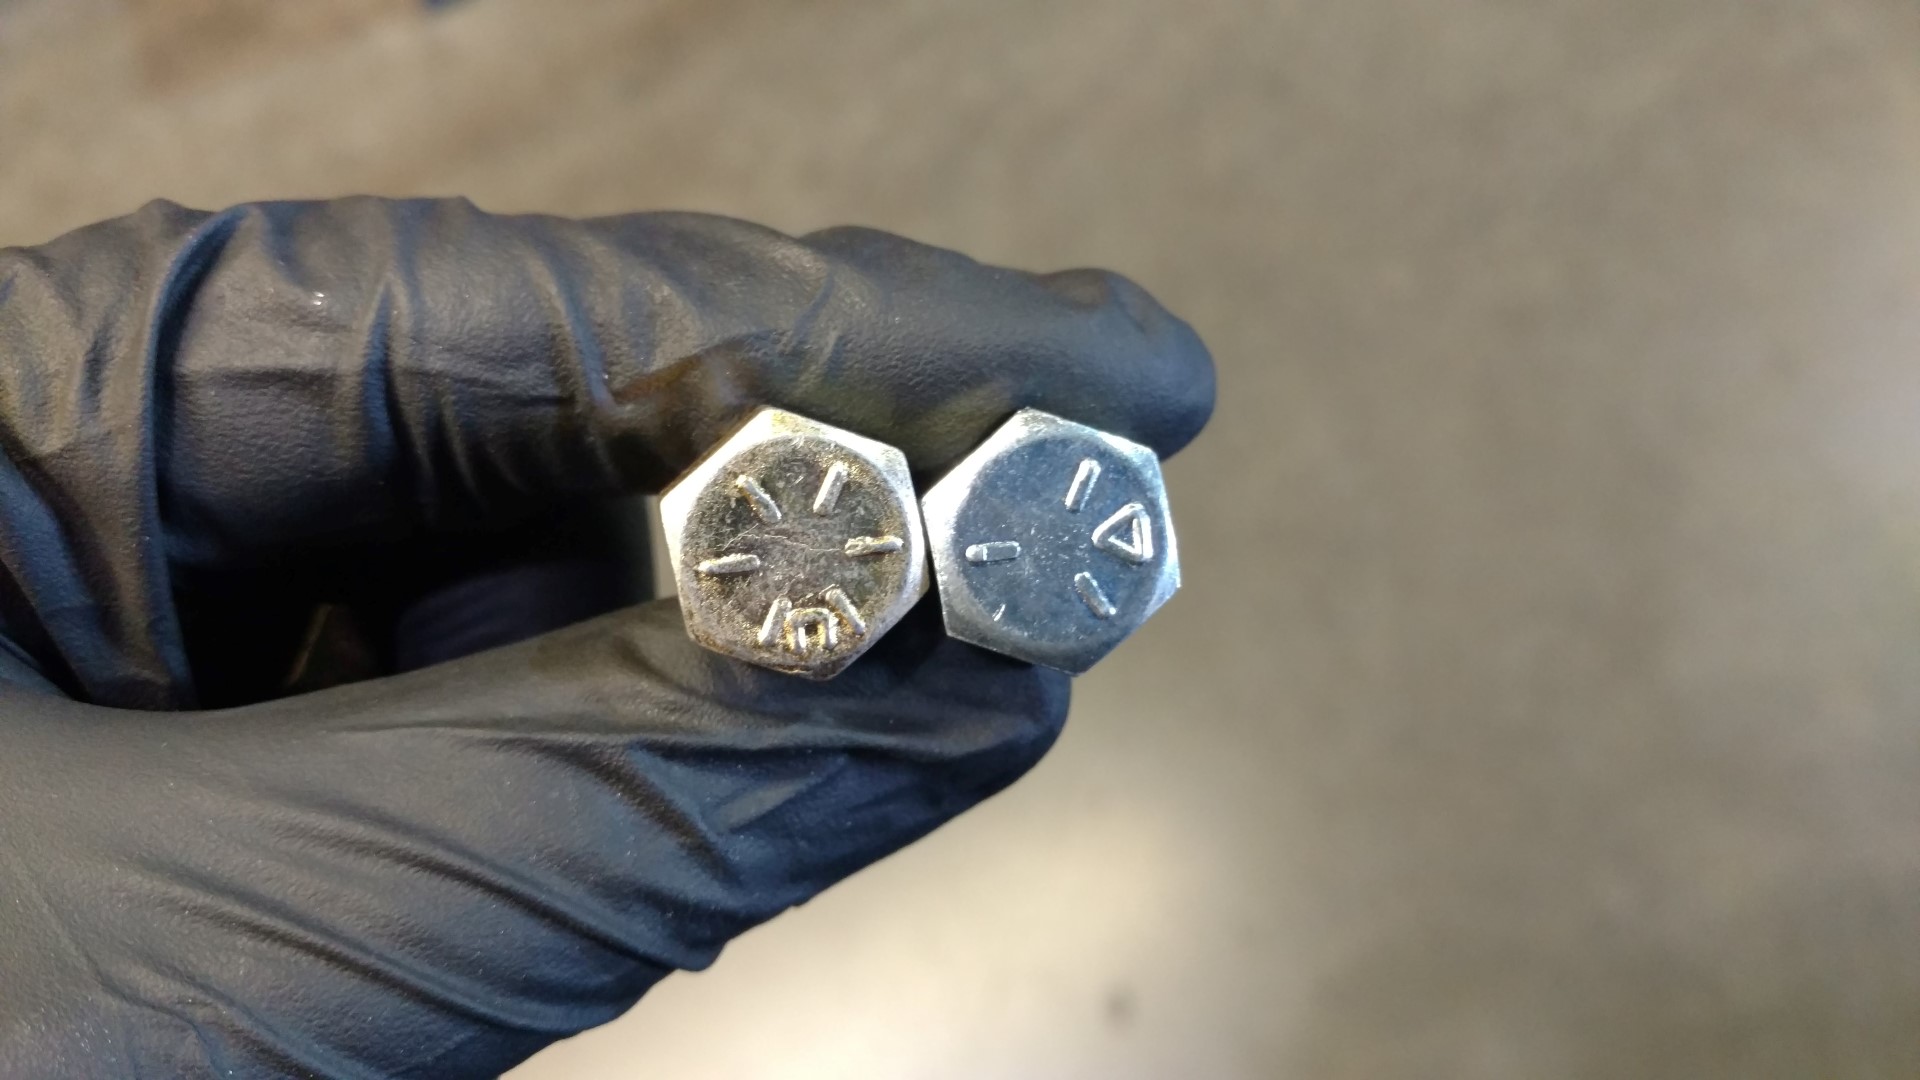
One cool feature with these swivels is the fact that the seat belts get relocated from the seat to the bottom part of the adapter. This way you can swivel the seat without having the seat belt going along for the ride and choking you out. The only thing I didn’t like was the swivels come with a grade 5 bolt to mount the seat belt. I was not comfortable with that so I installed a grade 8 bolt and nut.


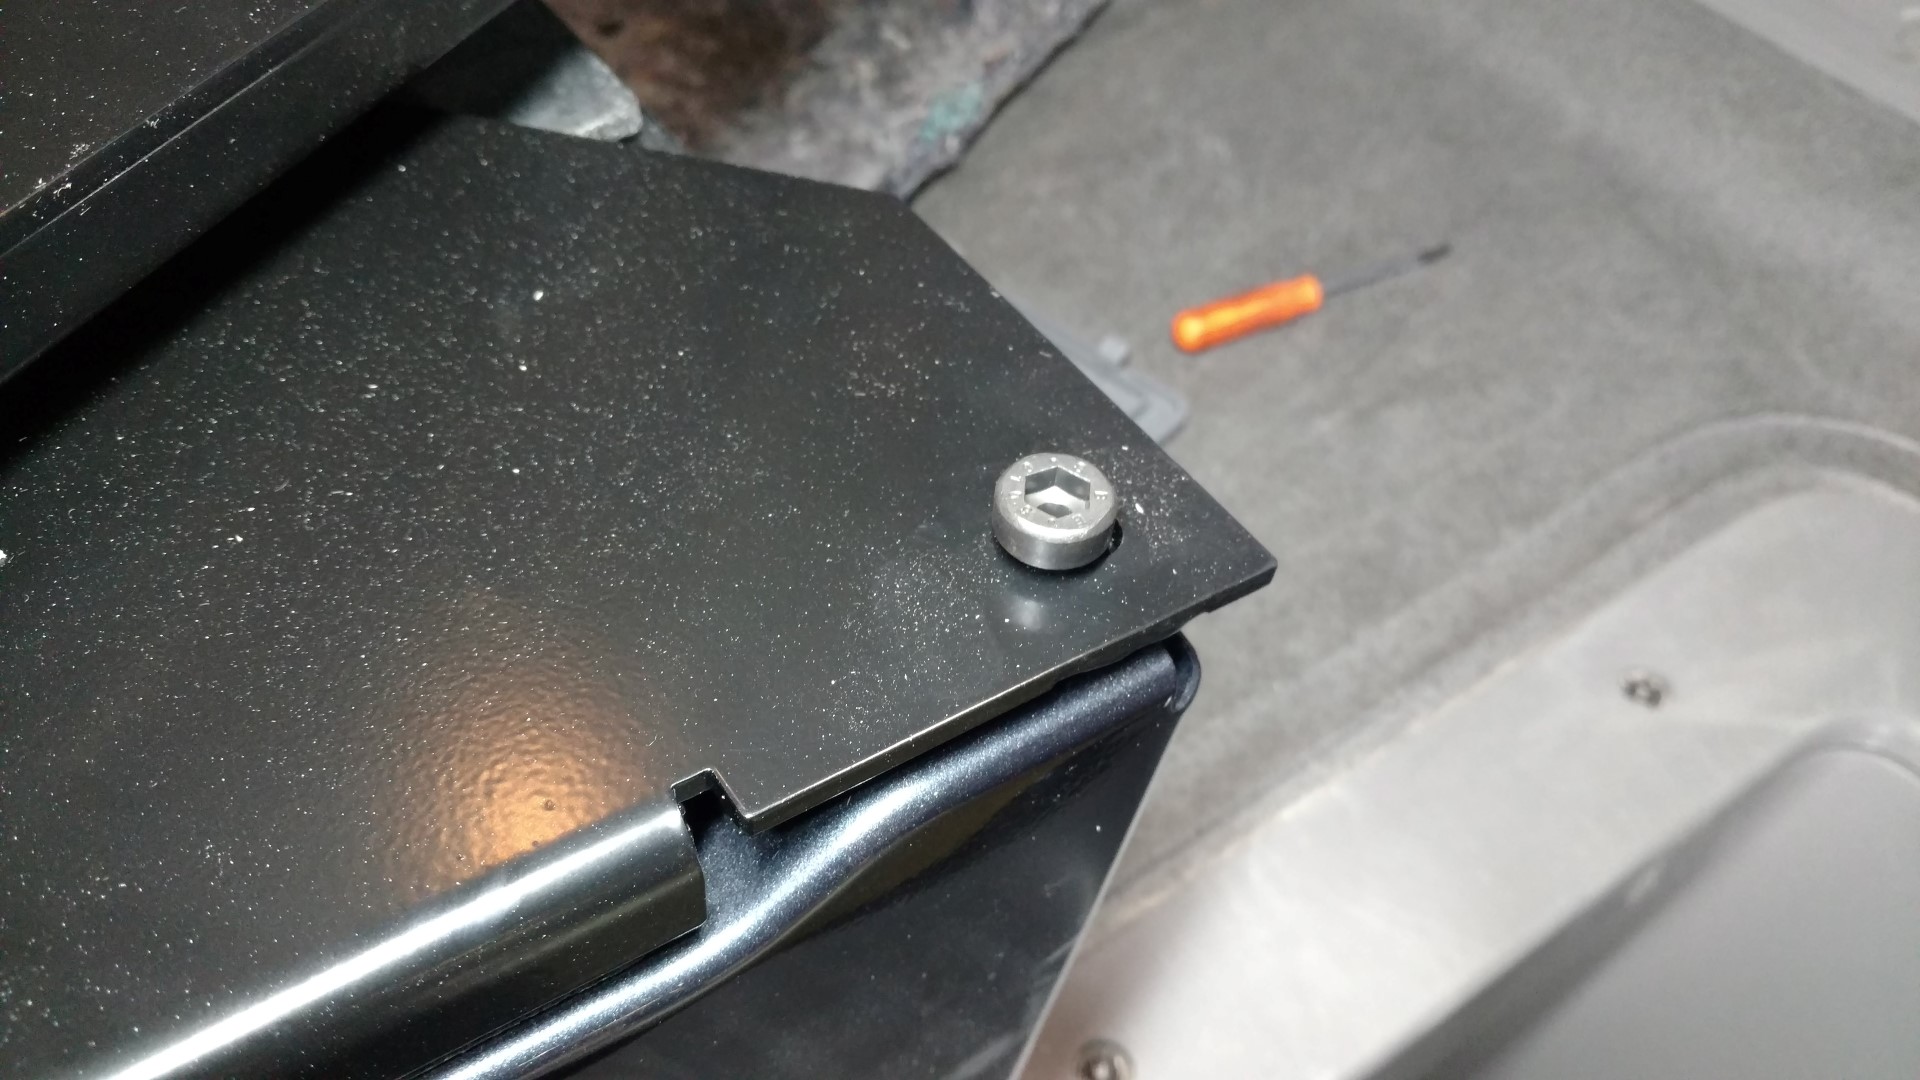
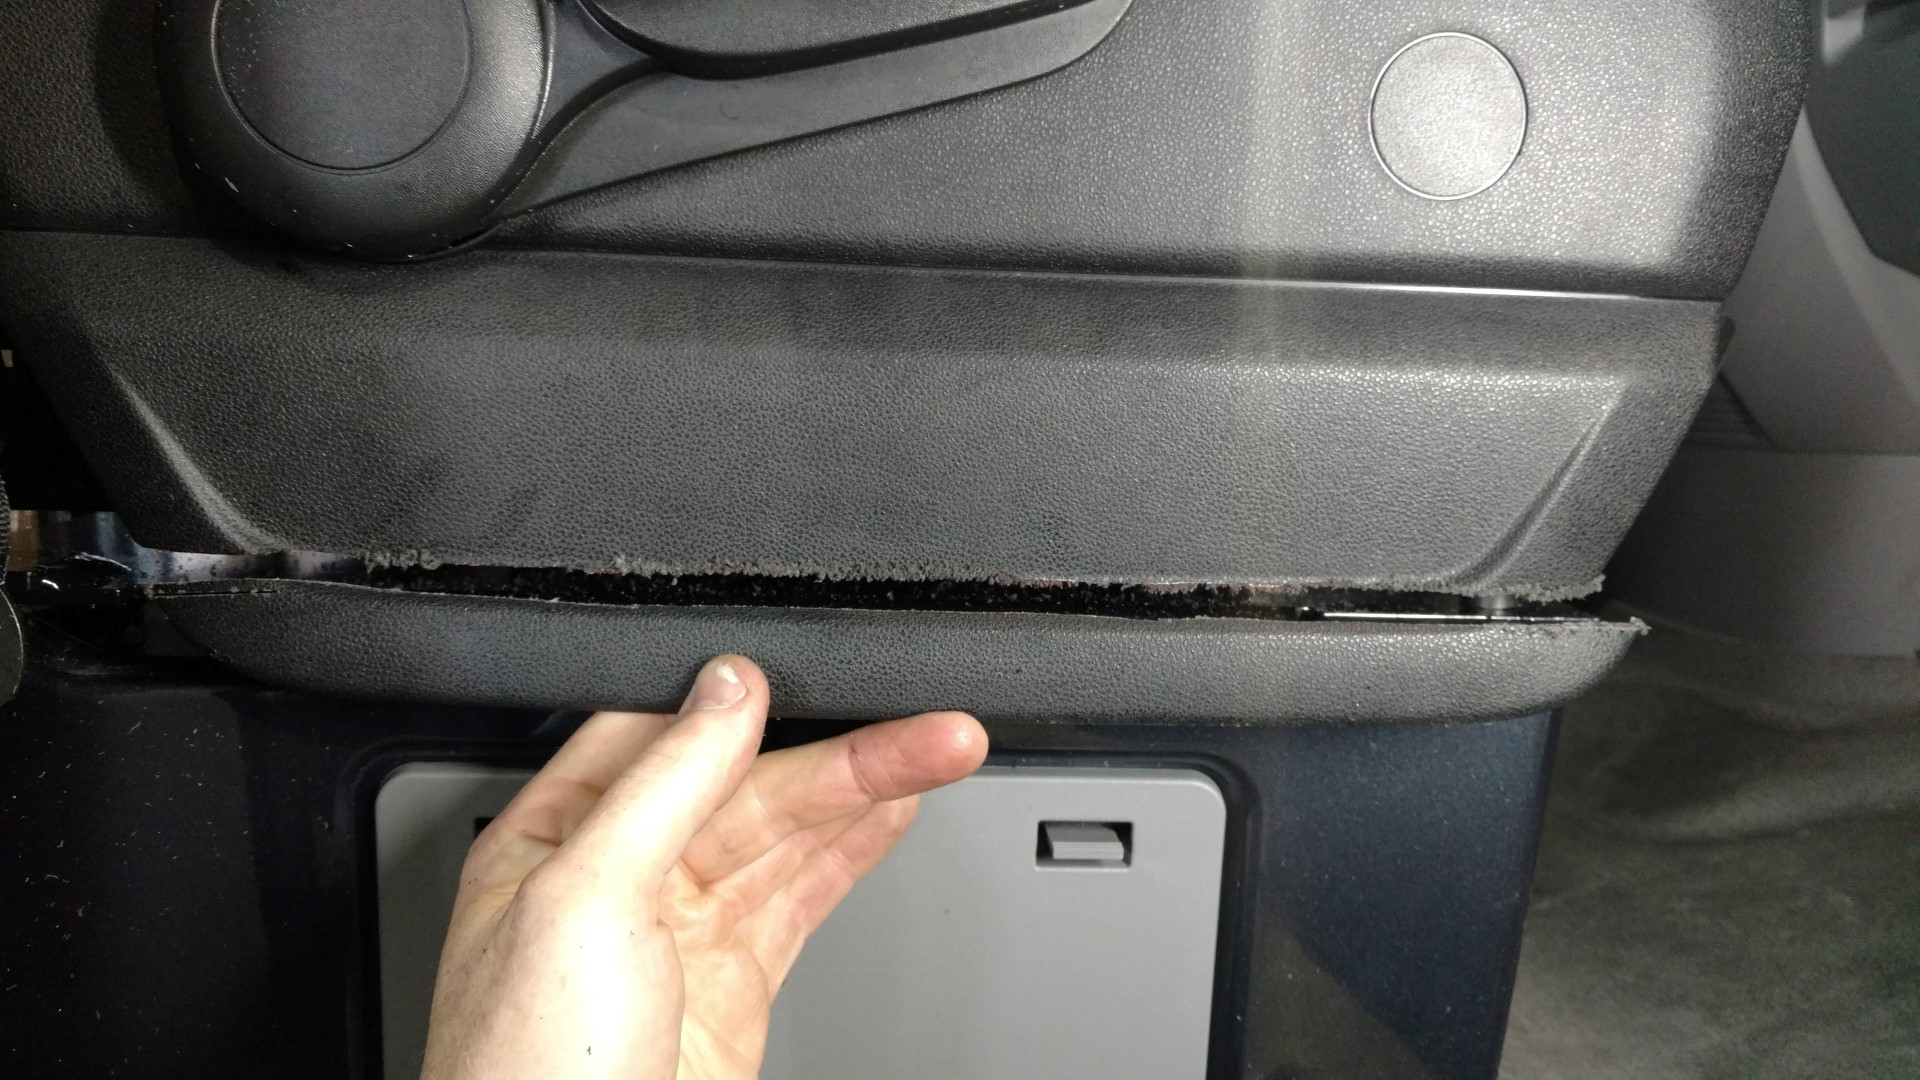
Clearancing the Seat Trim
When the seats are adjusted in the lowest position, they do not clear the mounting bolts. Therefore, they must be trimmed. This was an easy task with a reciprocating air saw. With a steady hand and a little finesse, I was able to cut off about 1 1/4″ of plastic from the seat trim. I then cleaned up the edges with a Scotchbrite pad. If you didn’t know it was cut, you probably wouldn’t even notice.
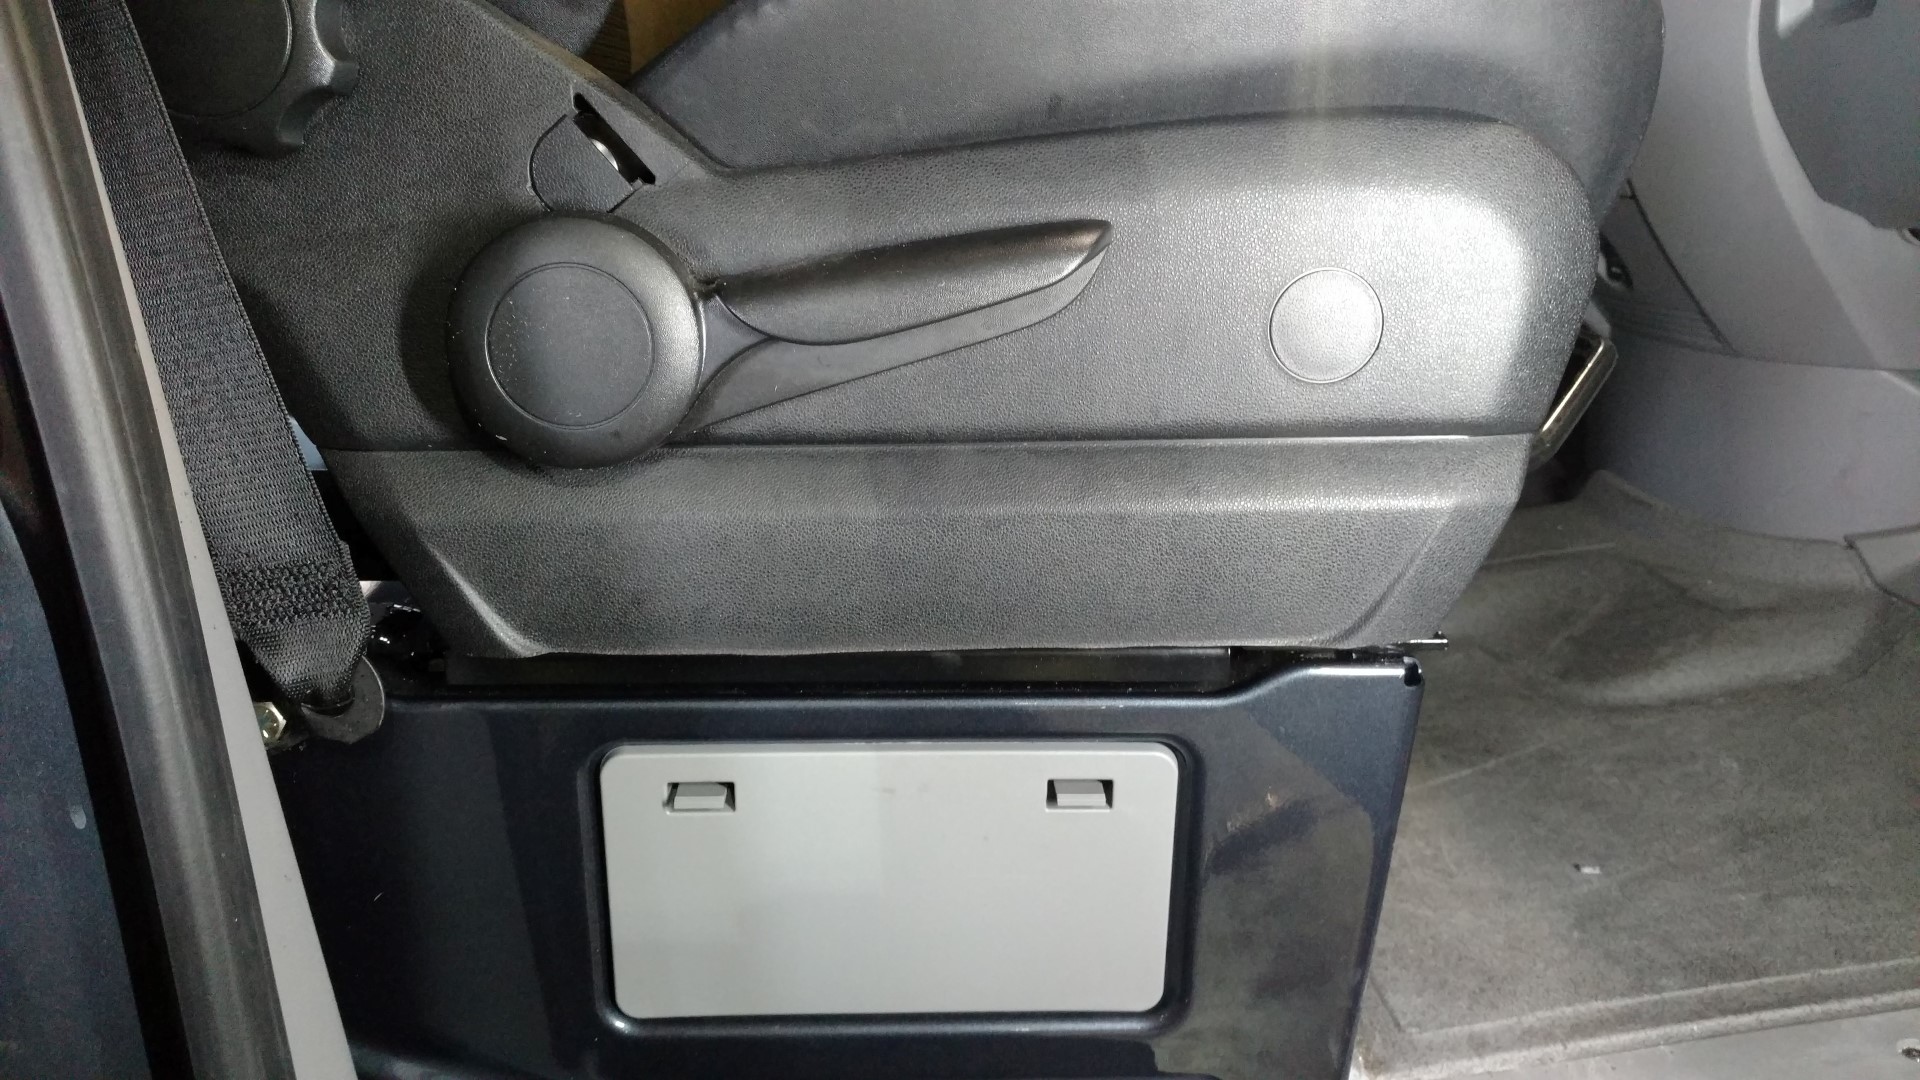

Seat Swivel Install Complete!

Driver Side Install
The driver side install is the same as the passenger, but with the additional step of lowering the parking brake. The kit comes with a bracket that mounts to the factory holes. This lowers the parking brake by about an inch and a half, allowing the seat to clear it when swiveled. I didn’t even have to readjust my cable when completed. Everything worked the same.


DONE! Both Our Seats Swivel!
What a cool feature to have in the van. This opens up a nice area to hang out when the bed is unfolded. We plan to install a table that mounts to the front L-track strip in the floor.


Leave a Reply