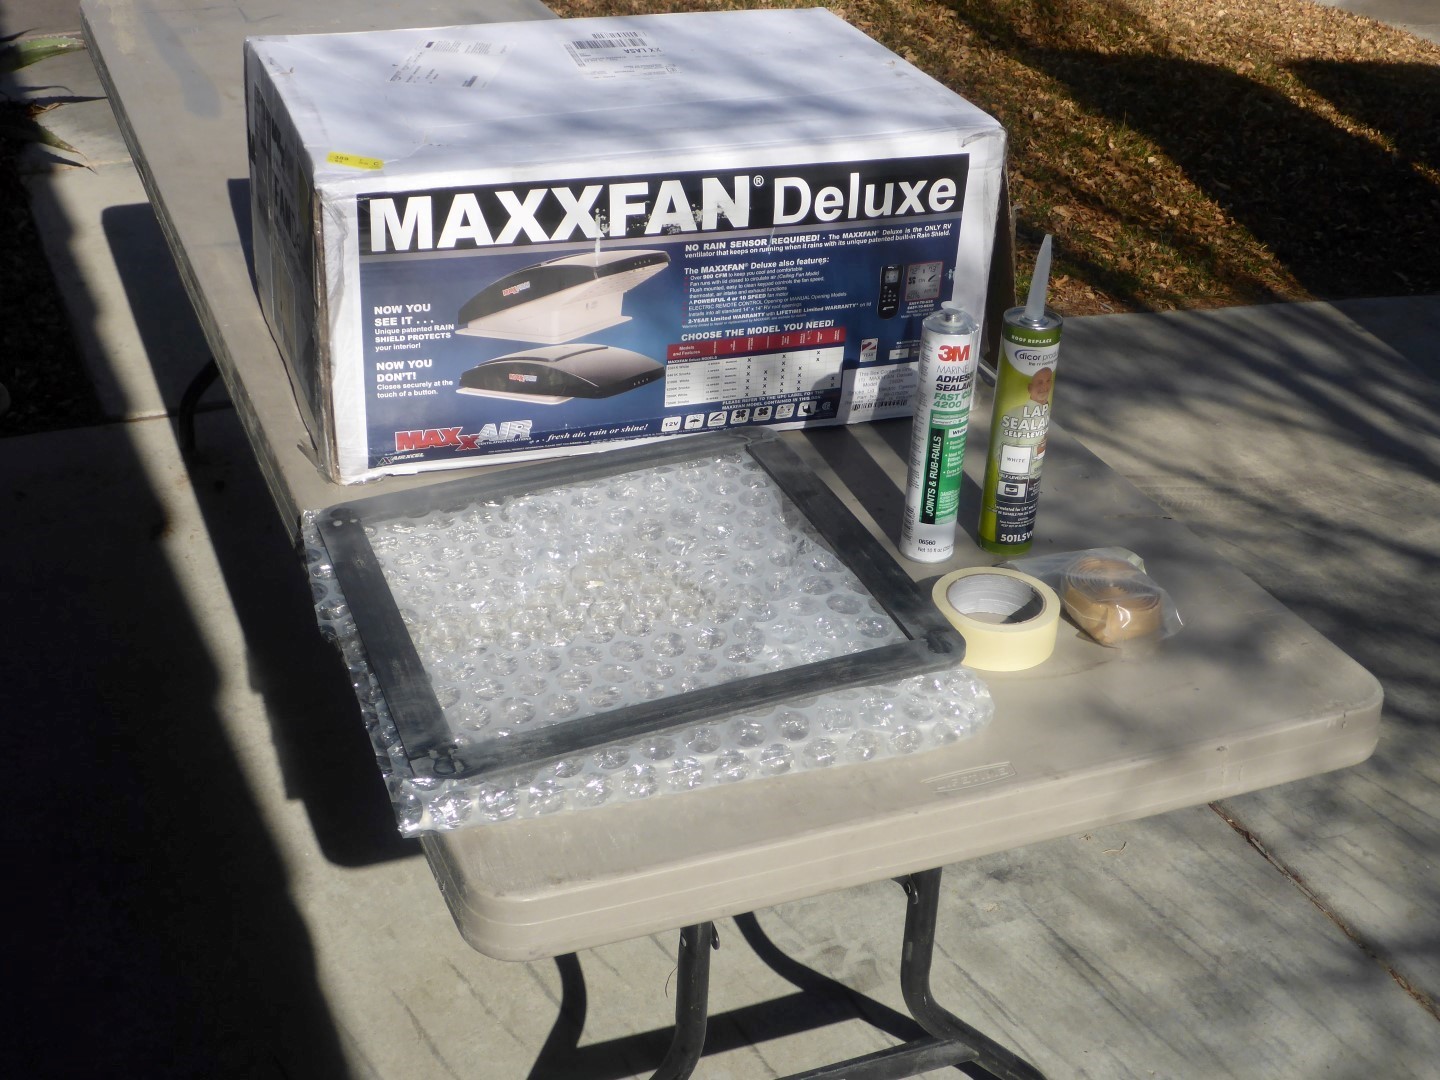
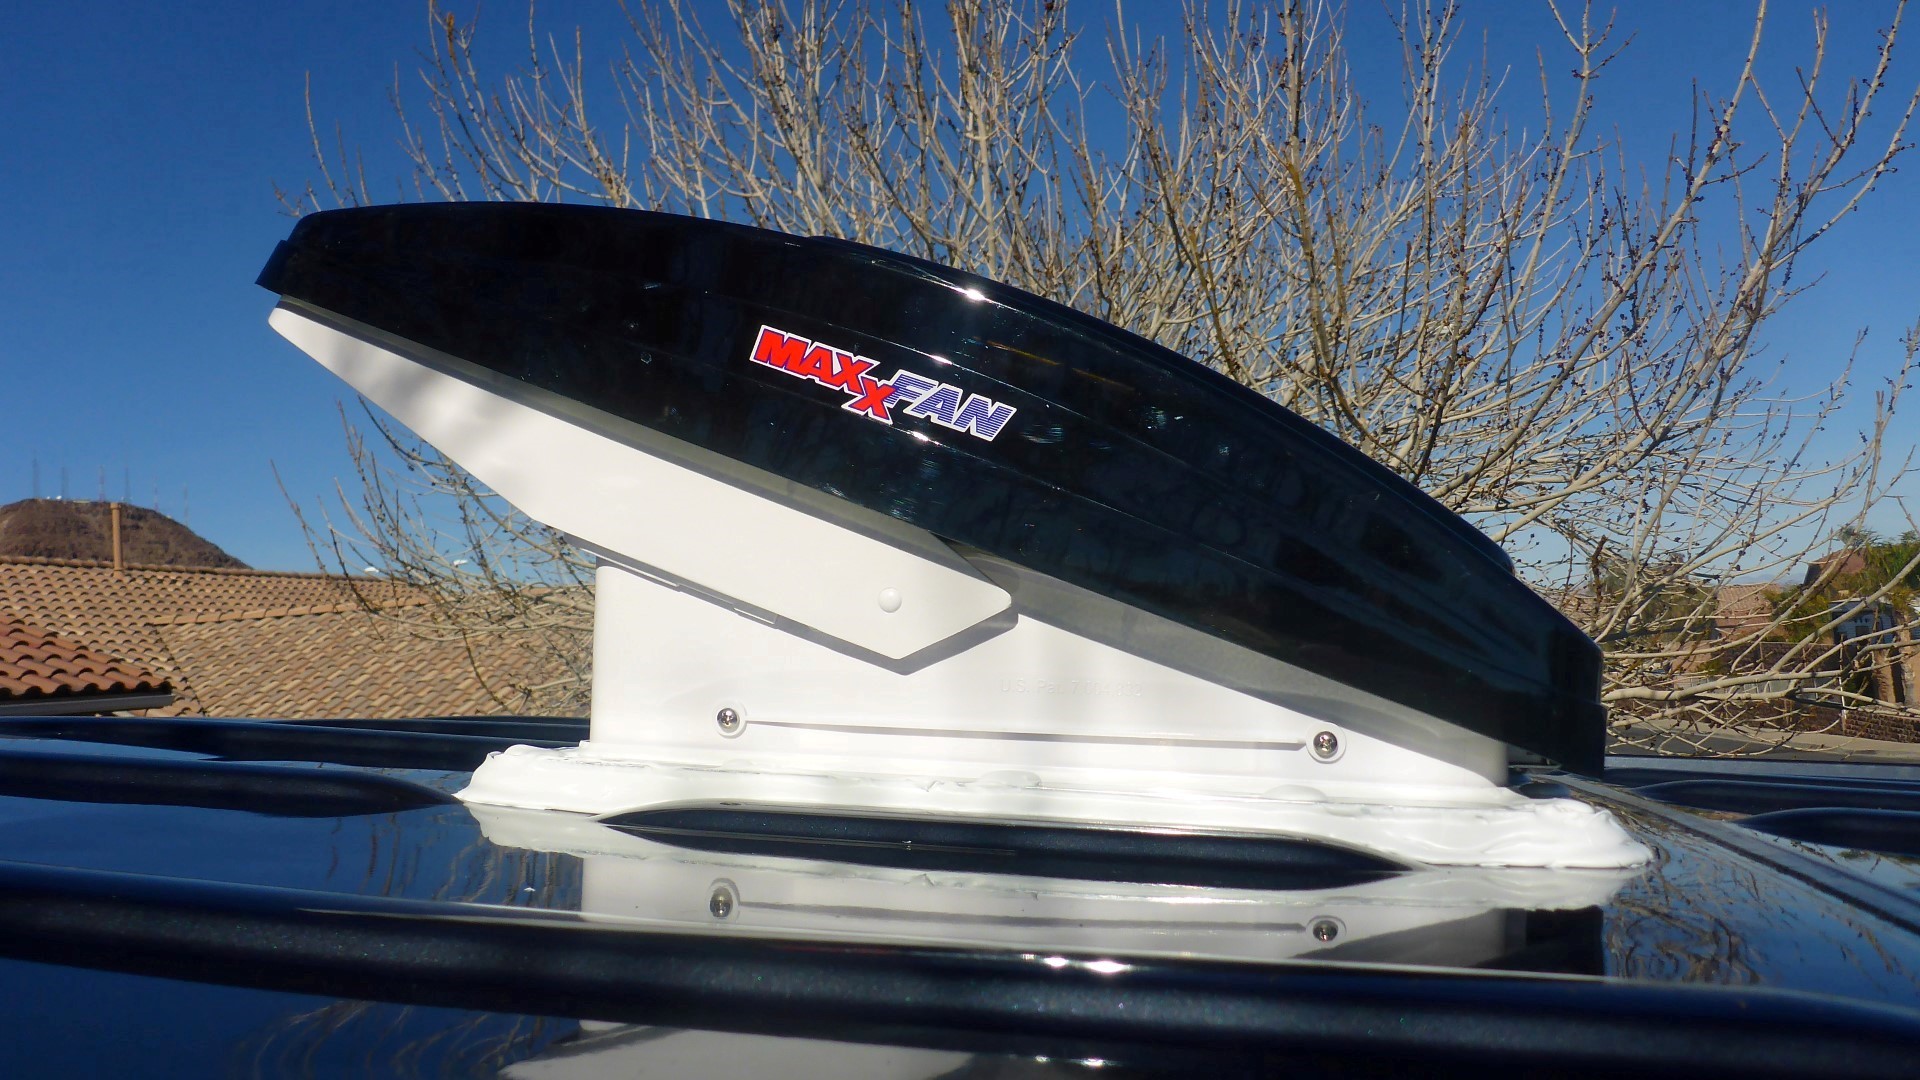
One of the first (and most important) things we did to our van was to install a roof vent. It’s important to keep the airflow moving in such a small space. A vent fan prevents moisture buildup and allows fresh air into the van. We decided on the very popular and very effective MaxxAir 7500k Roof Vent.
Fan Placement
The project began with picking out a location for the fan. We don’t plan on putting any windows in the back of our van so having the fan over the bed was the best place for us. Many van dwellers put theirs in the middle of the van because they cook in the “kitchen” up there, but we don’t plan on doing much of that and we’ll have adequate ventilation in the middle and front of the van via our windows. I also liked the idea of turning it into a ceiling fan when we go to bed on those warmer nights.

Buy the adapter!
Cutting a big hole in the roof of your expensive van is terrifying, BUT there is an adapter made by Hein at impact products on eBay that takes all the guesswork out of exactly where to cut your hole. It drops right into the roof ribs and allows for a perfectly square and flat install for your fan. I highly recommend spending the $62 on this adapter to make the install go easier and remain watertight for years to come.
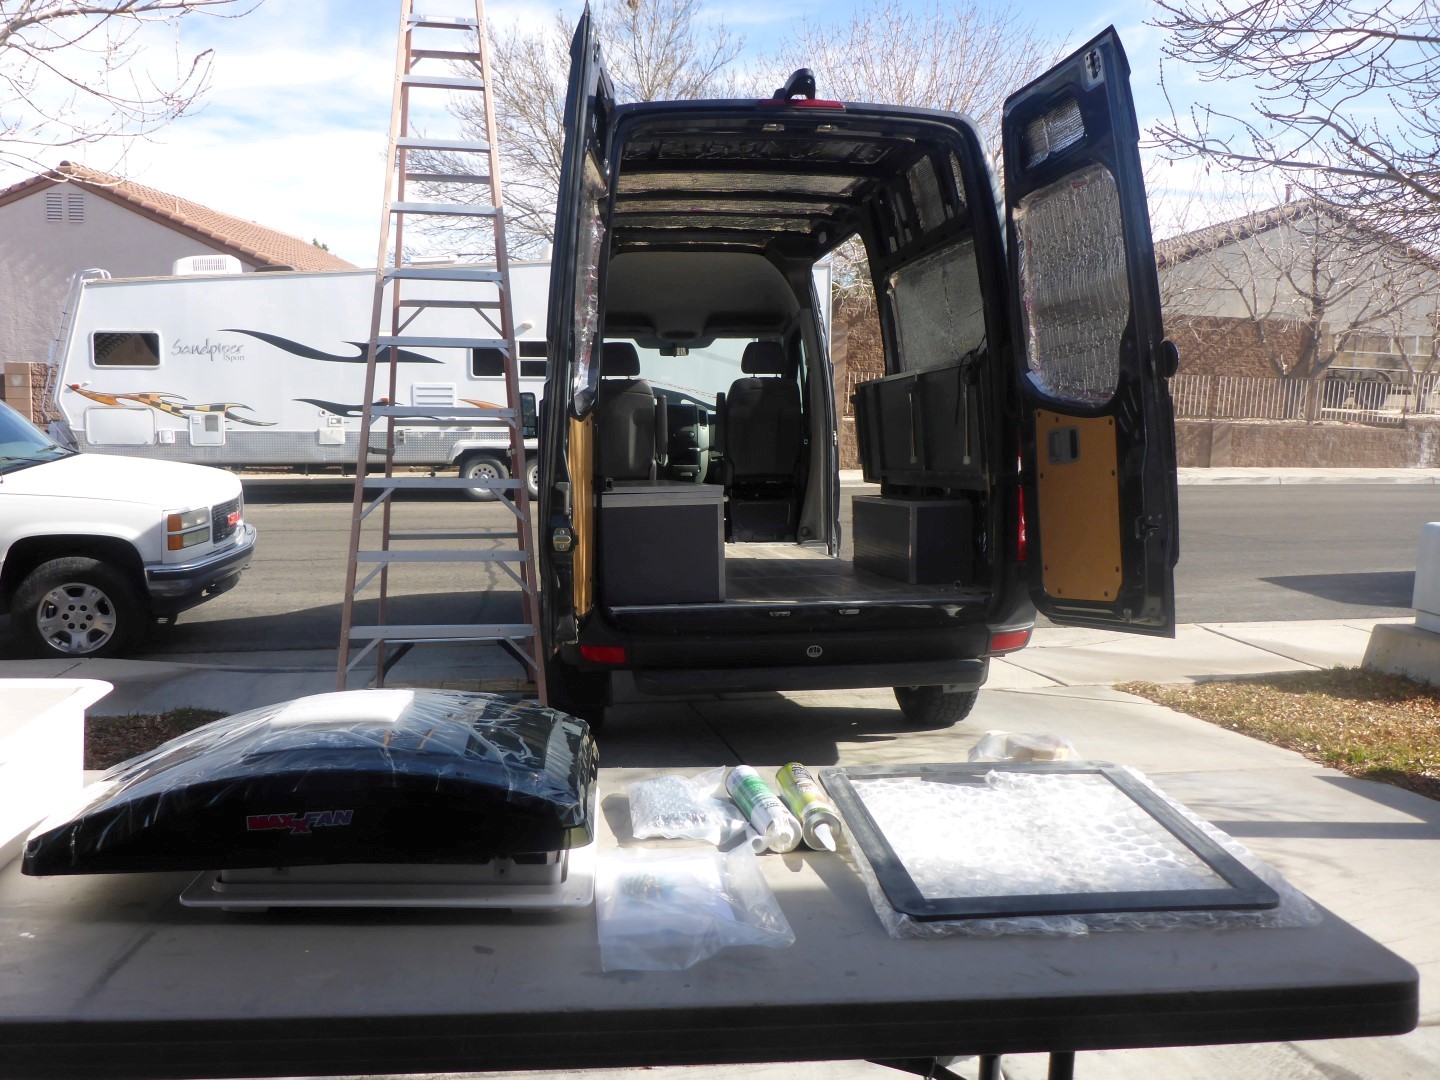
Tips Before Getting Started
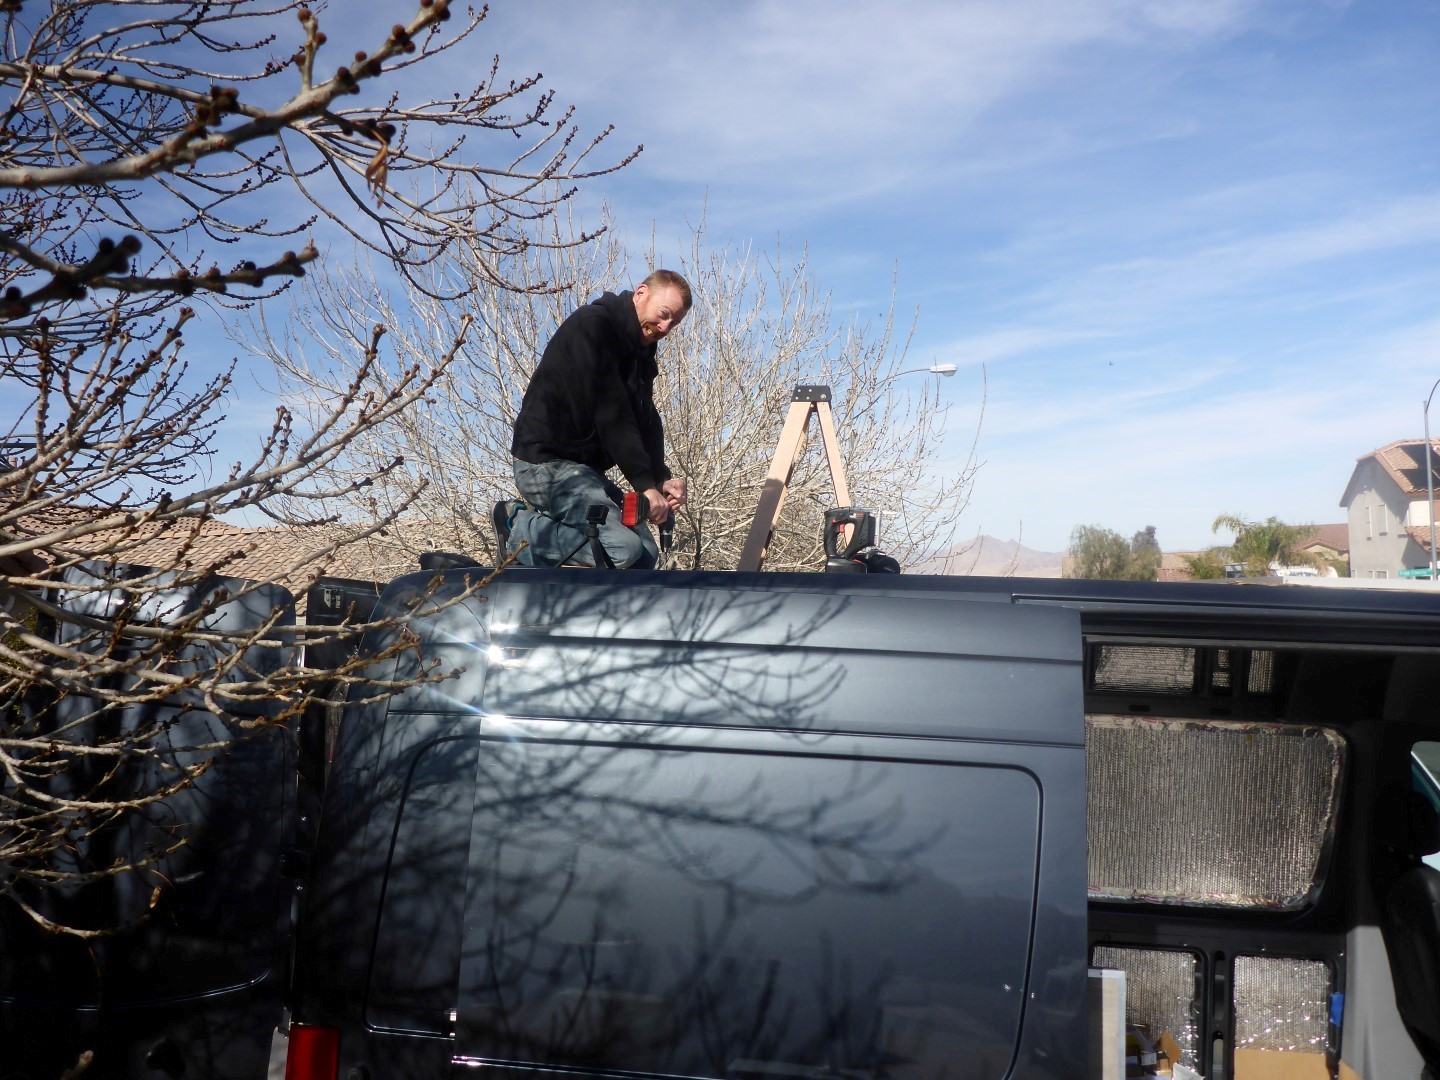
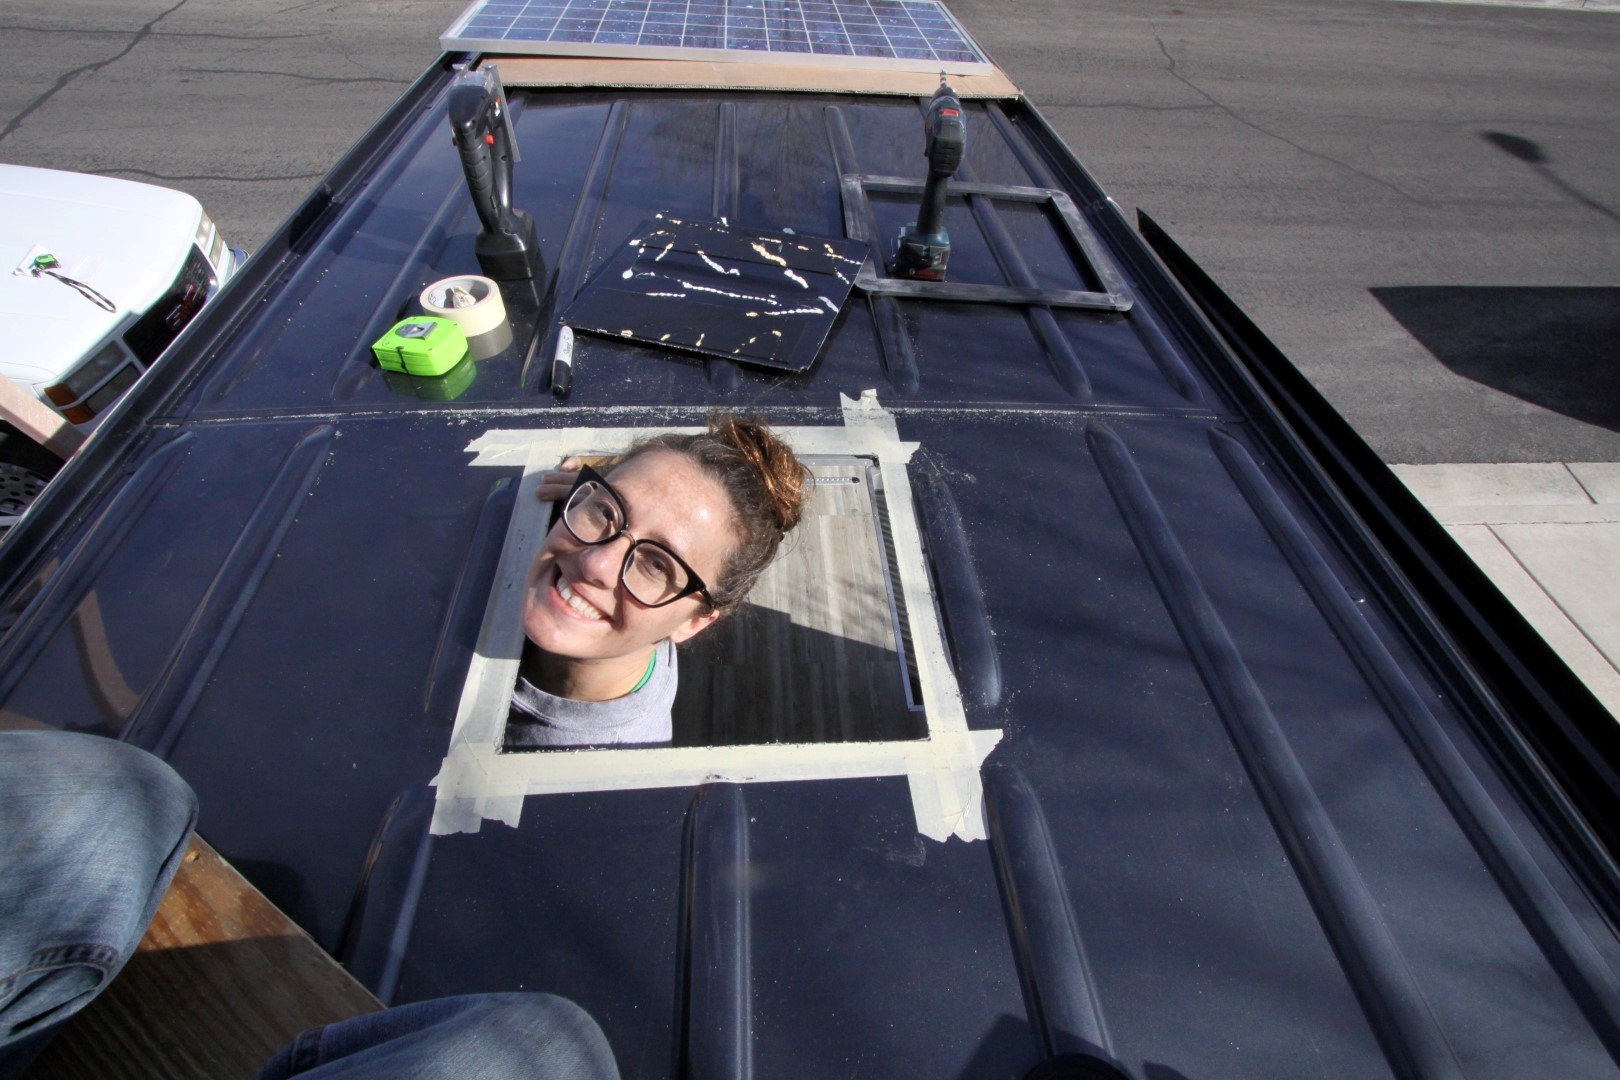
- Get a good, tall, sturdy ladder to get up and down from the roof of your van. The van is 9 feet tall and you can easily break a leg, or even worse, your neck if you fall. The worst part is you fan install project won’t be finished either. You could be laid up in the hospital with a big hole in the roof of your van. So play it safe and use a good ladder.
- Put a sheet of plywood down before standing or crawling around on your roof. The factory sheet metal dents very easily, even the raised support ribs.
- Allow a full day for install. You don’t want time constraints when doing this.
- Lay down a large towel or tape plastic under your ceiling to prevent metal shavings from getting everywhere inside your van.
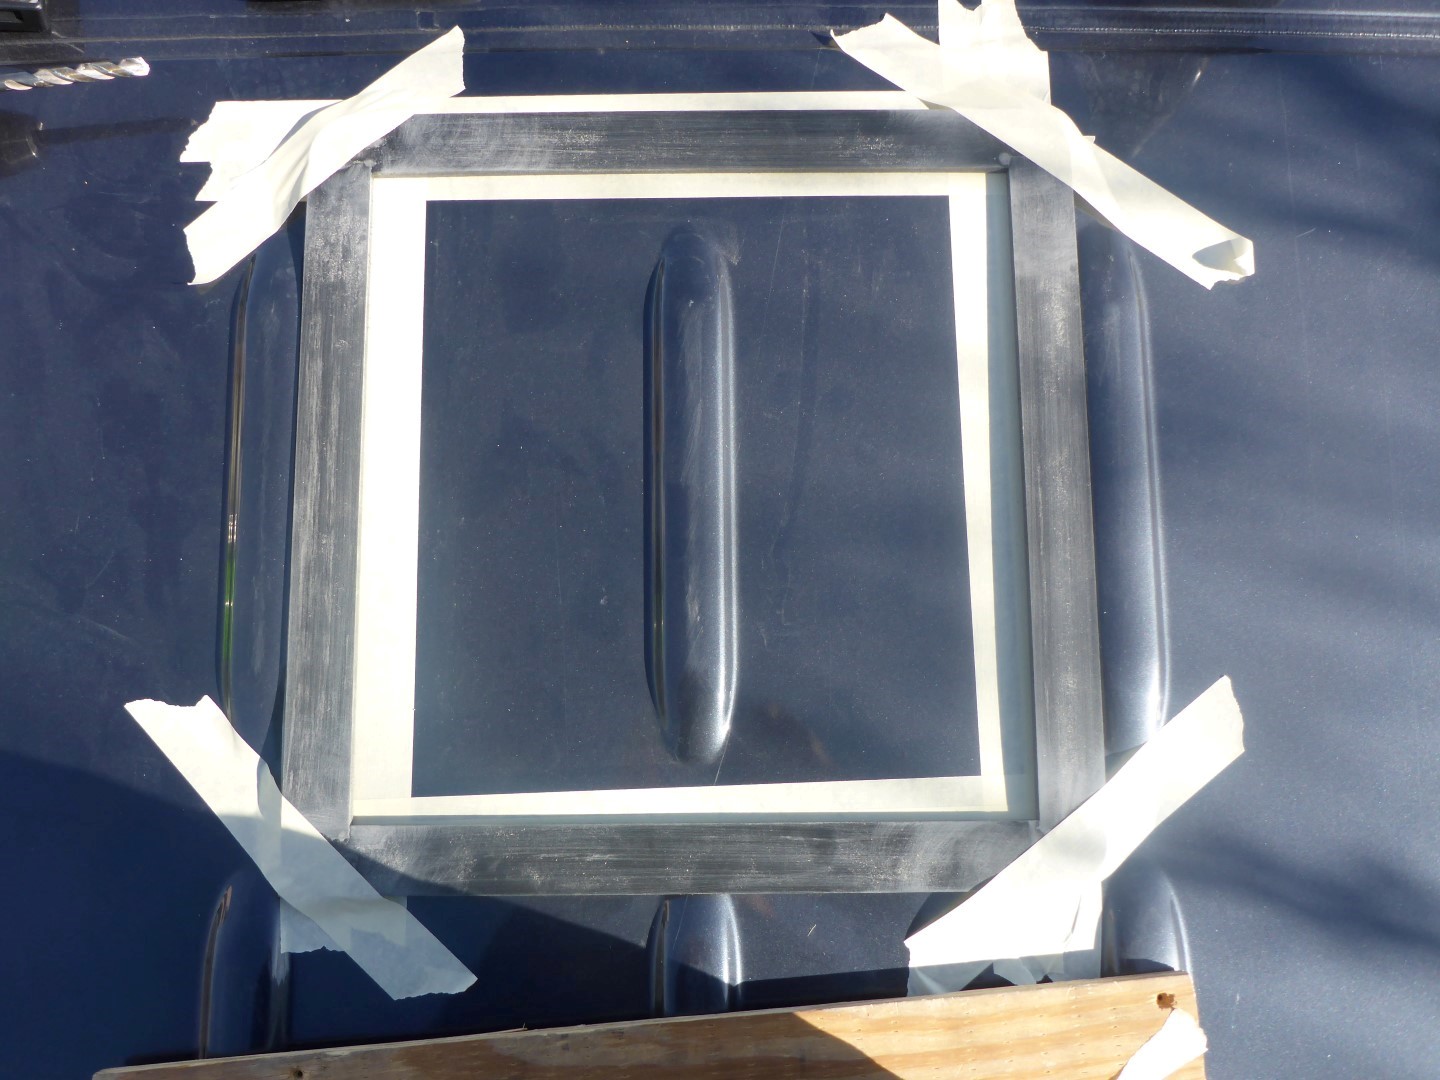
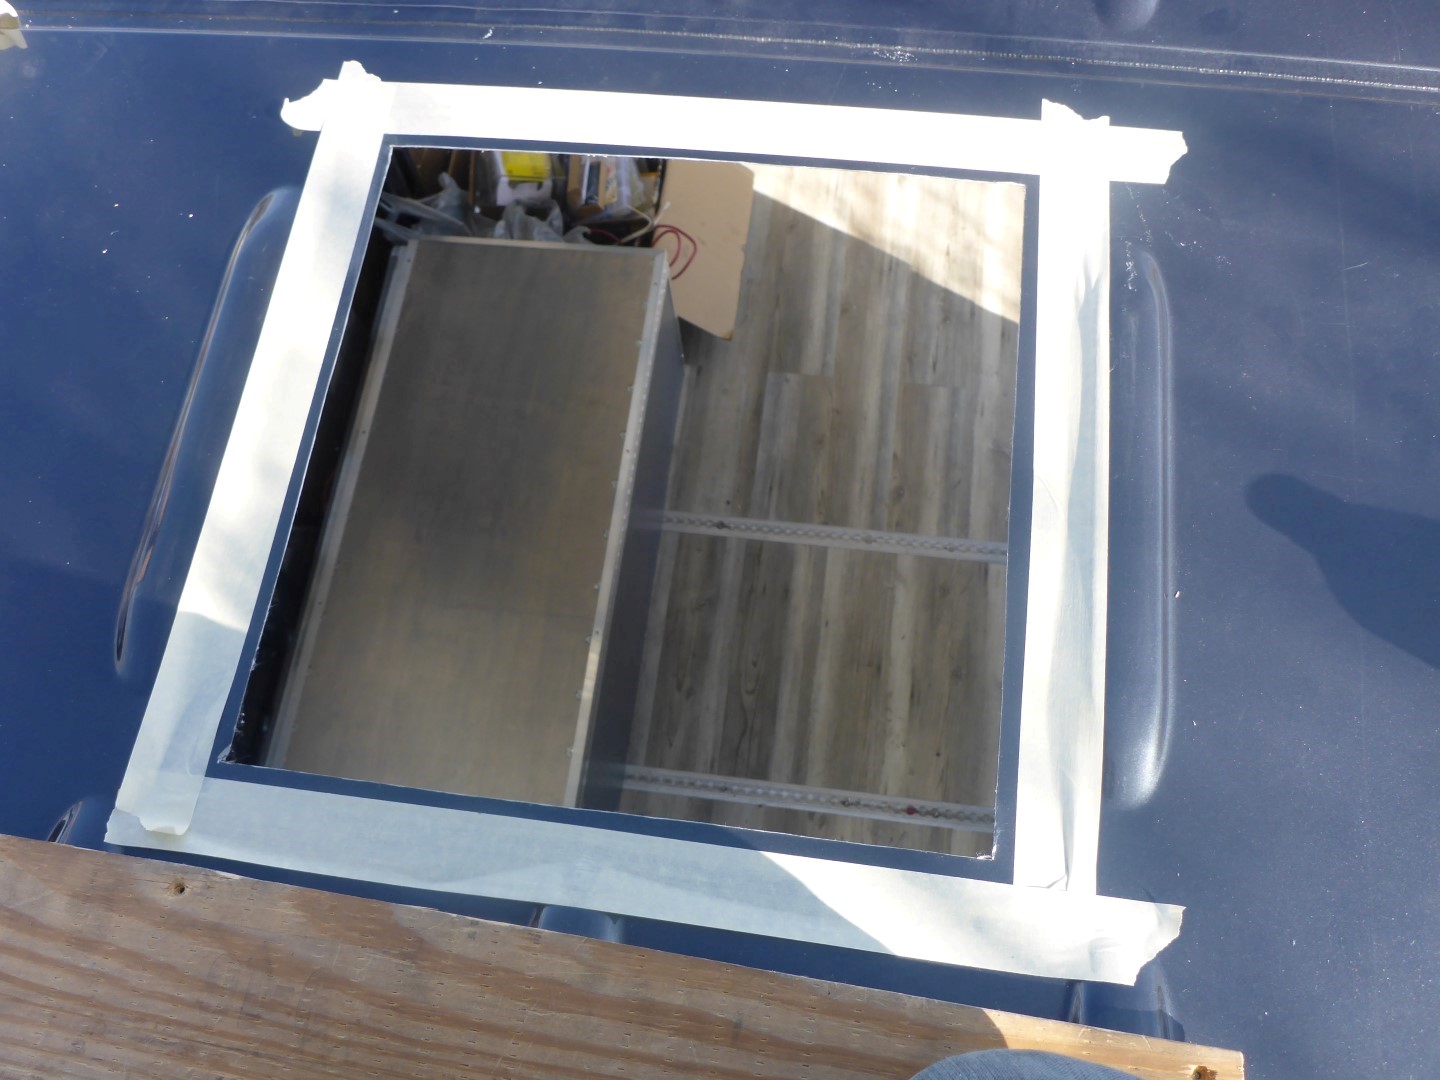
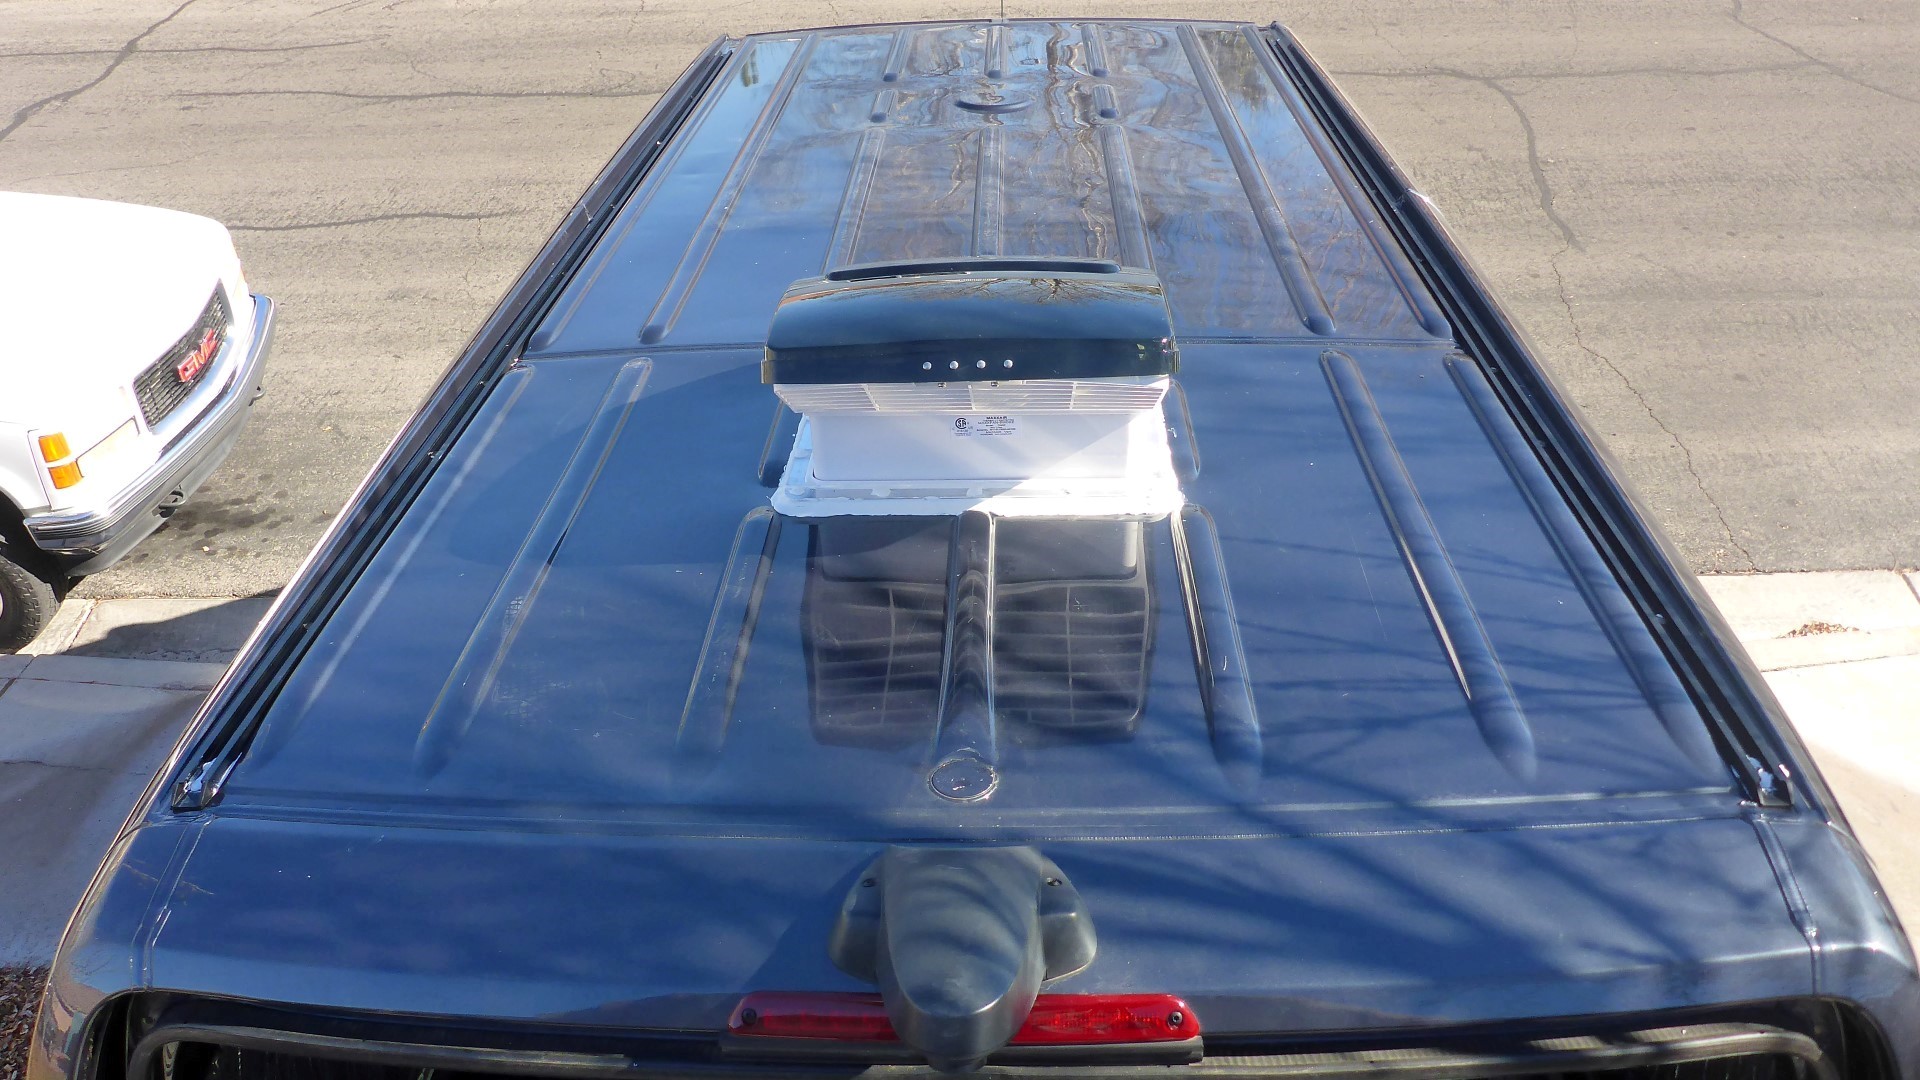
Measure, Tape, & CUT!
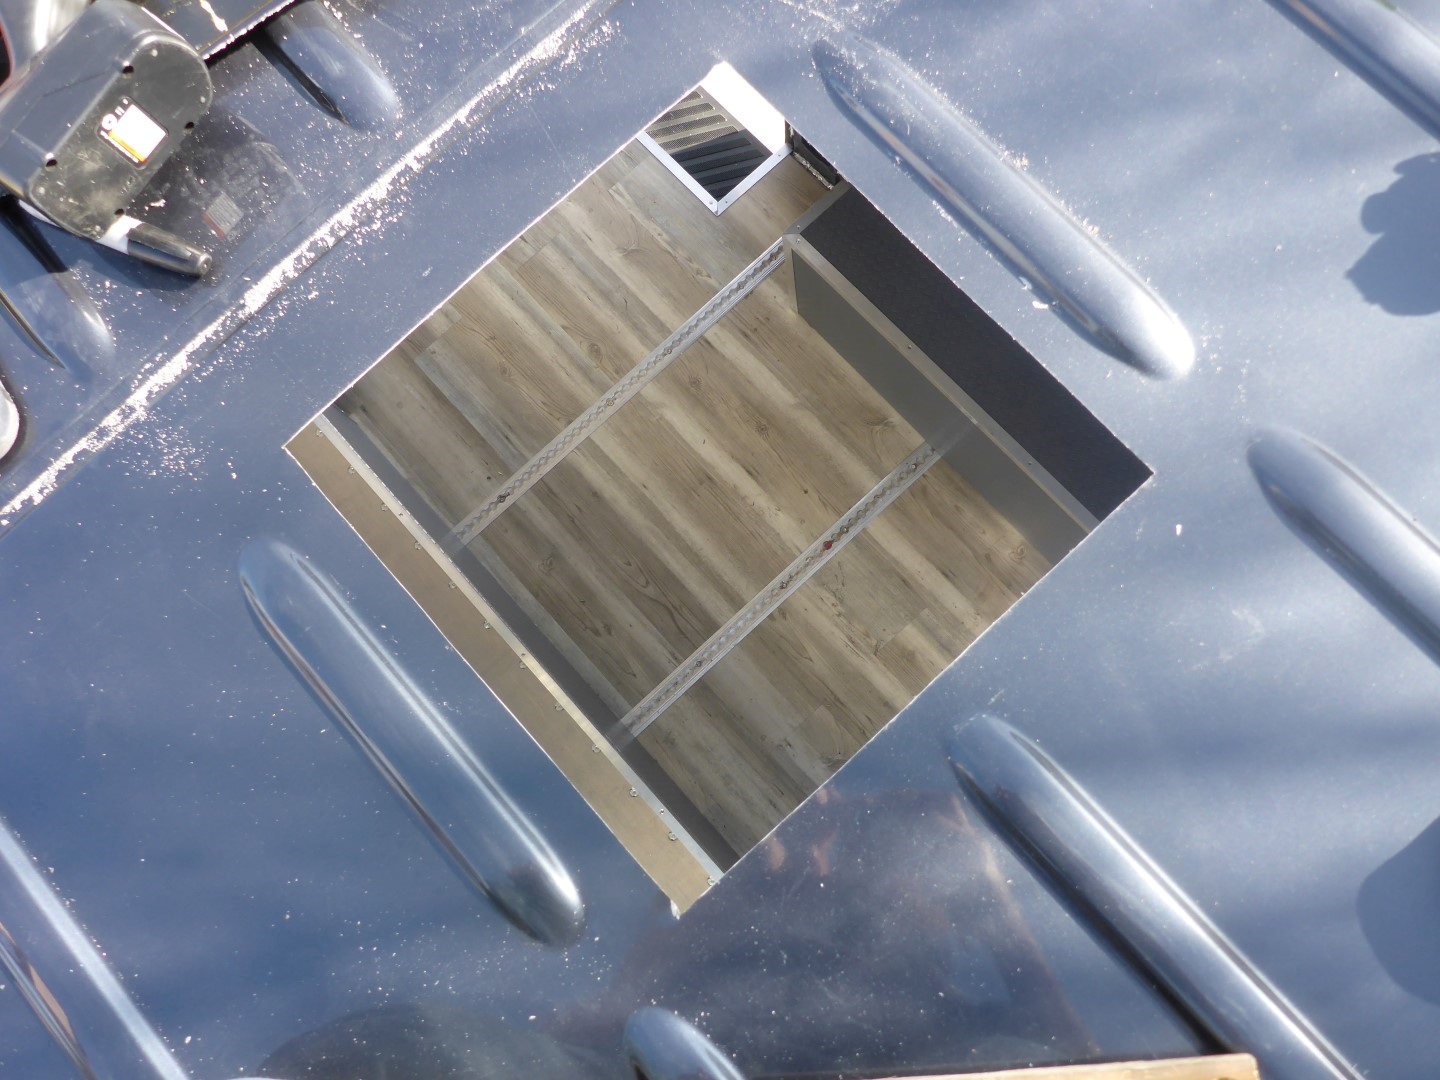
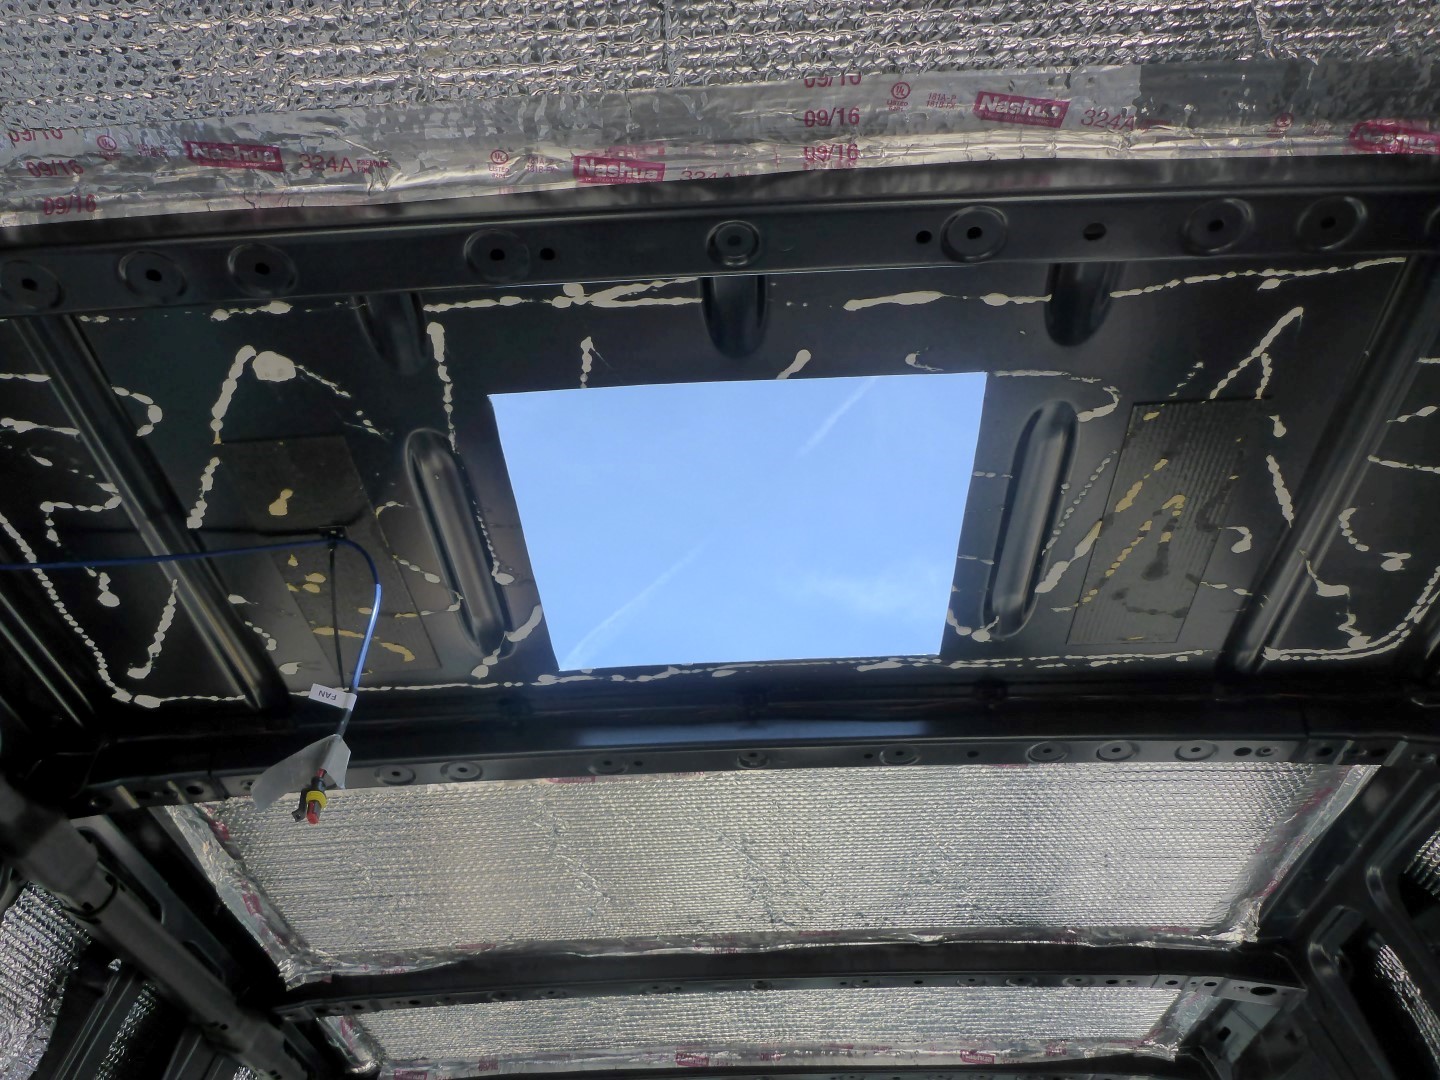
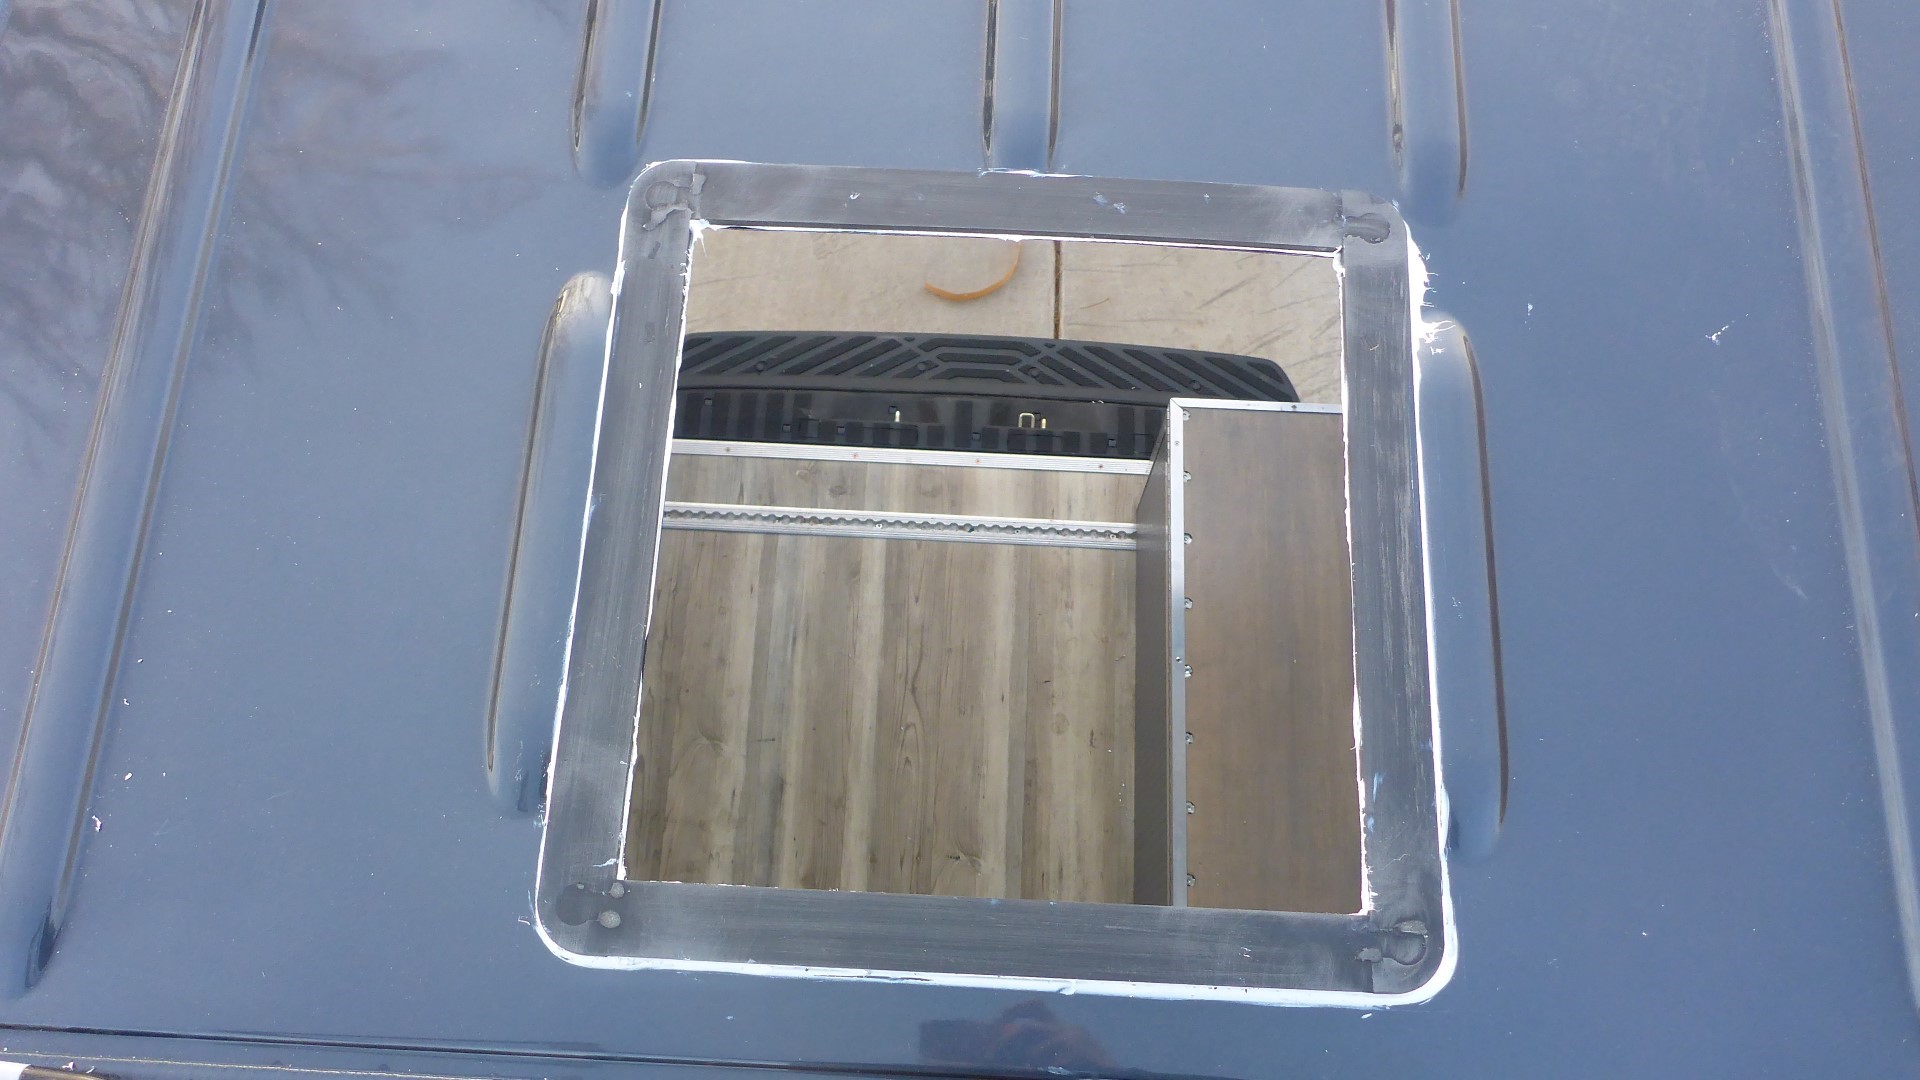
I located where the fan would go and taped the adapter in place. I went through every scenario of failure in my head and said out loud why we were installing it “right here” and checked for any reason why we shouldn’t do this. It’s now or never. CUT! I drilled 4 holes (one in each corner) and cut out the sheet metal with a jigsaw and fine tooth metal blade. Piece of cake. A little note for future van DIYers: once it was done, all the anxiety does go away.
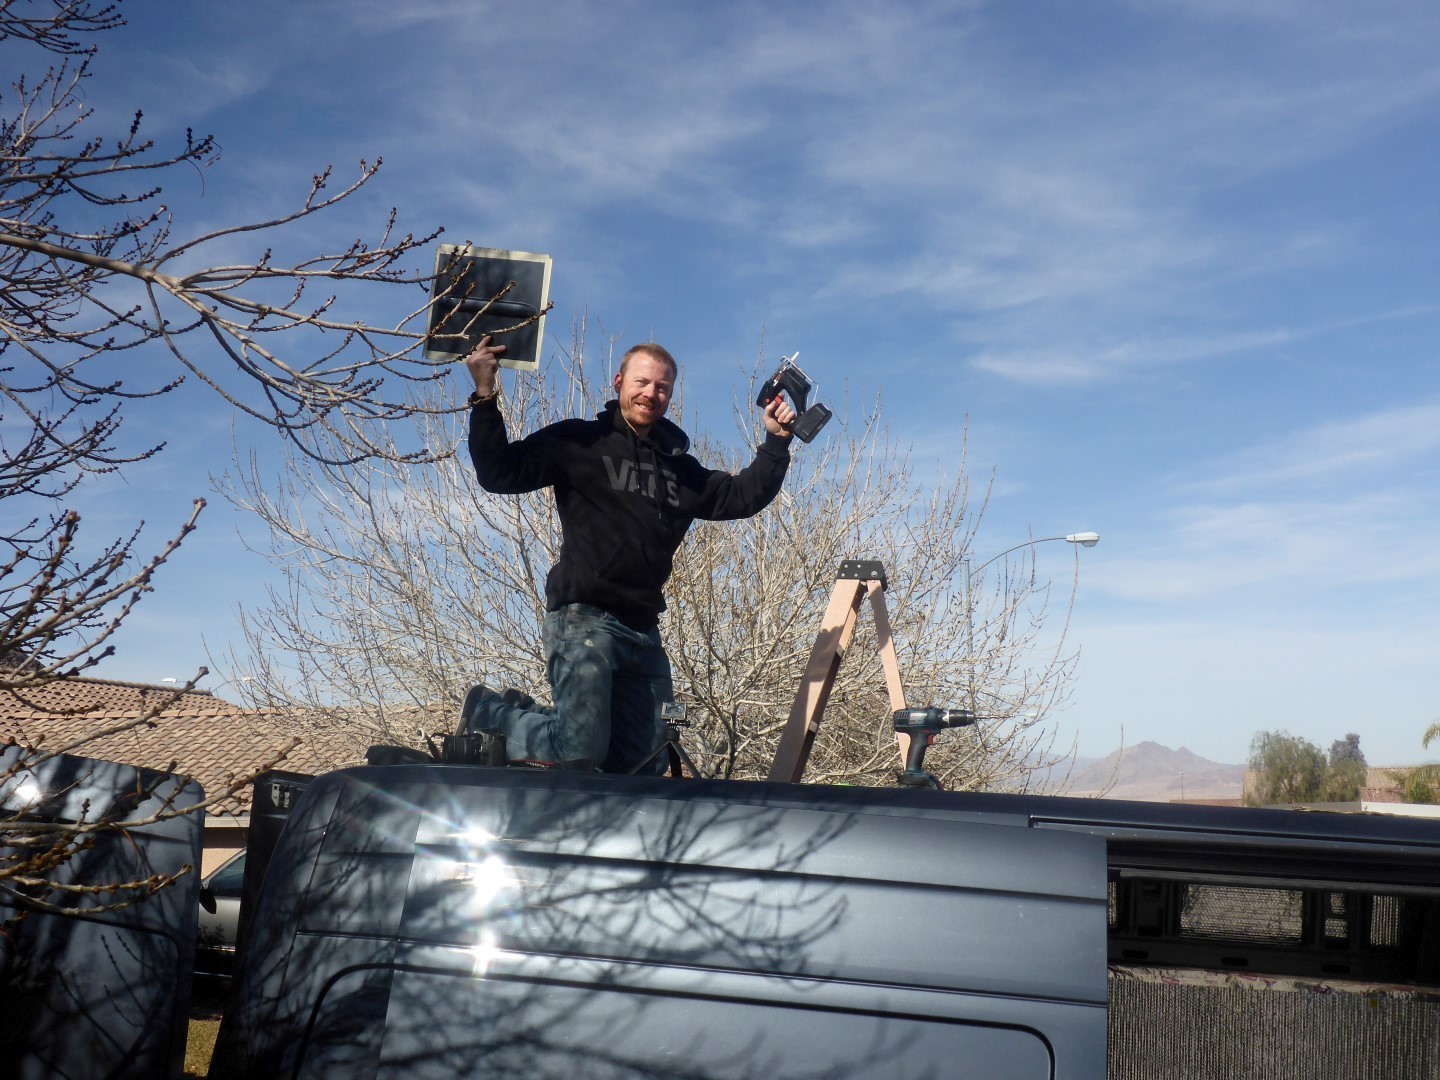
Woohoo, we have a giant hole in our roof!

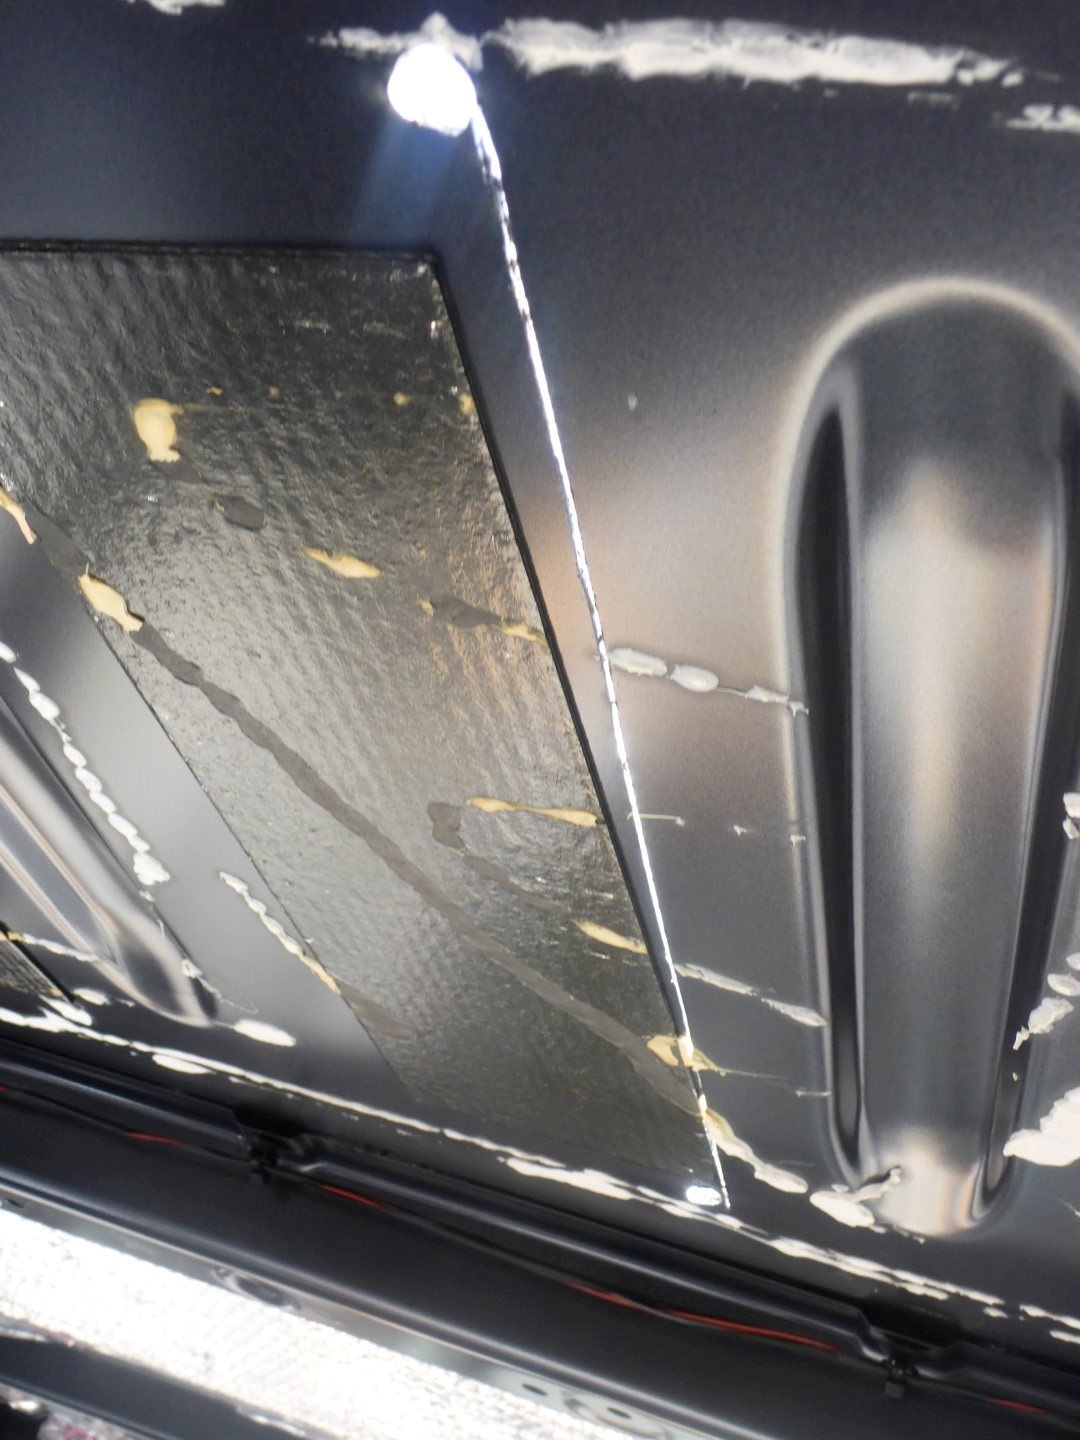
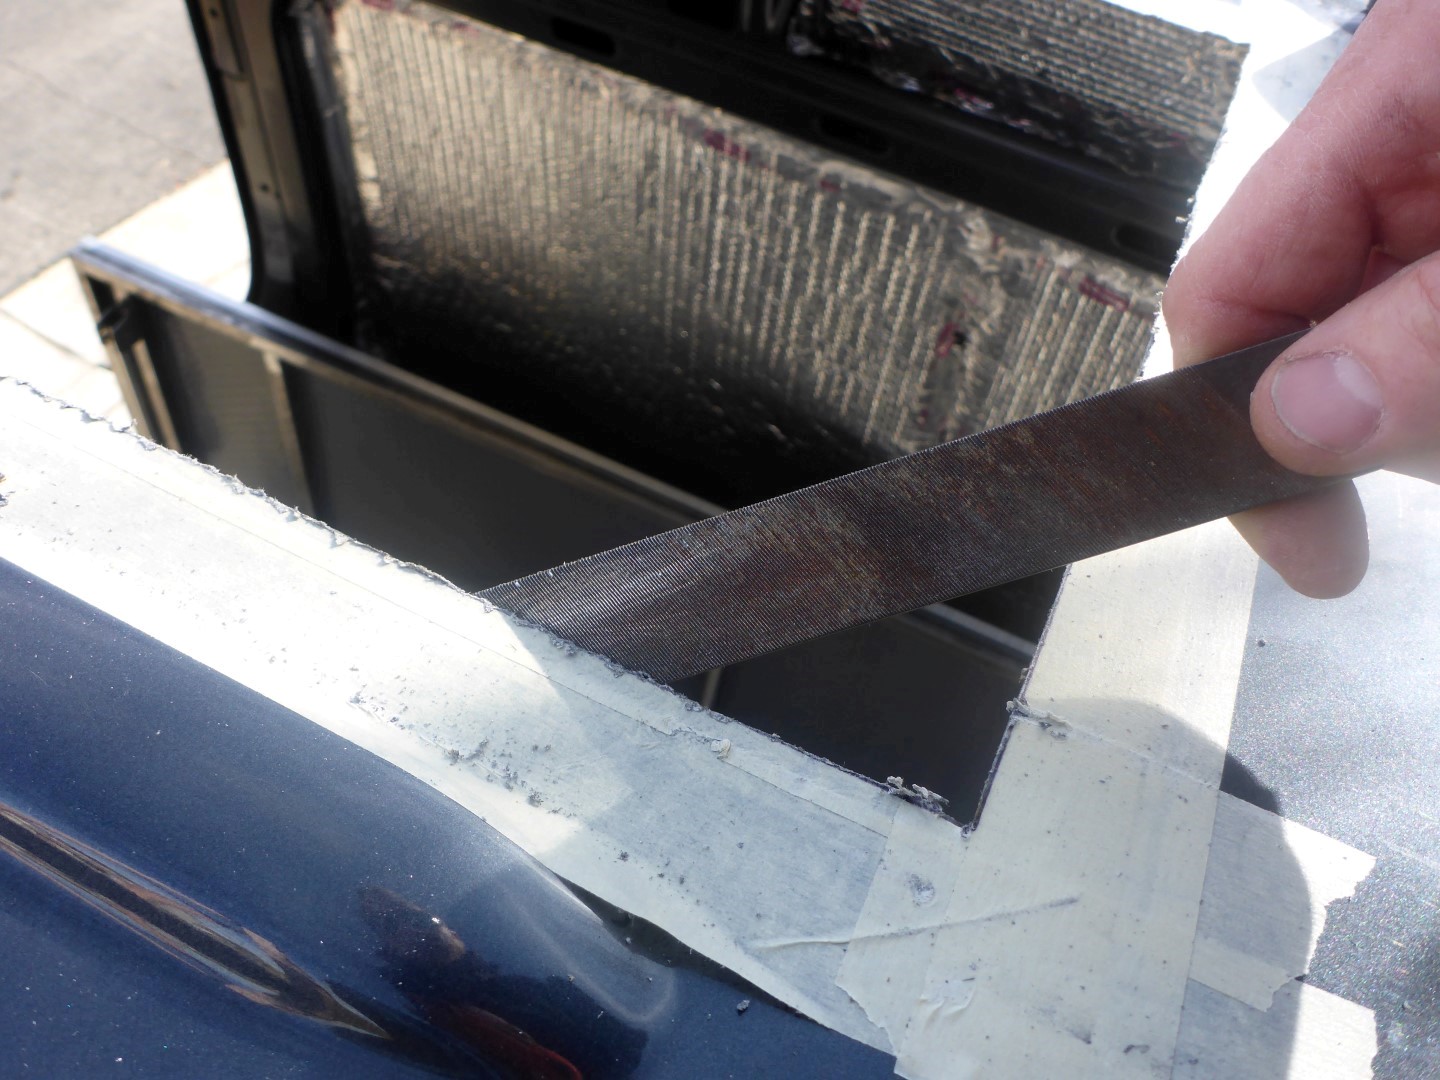
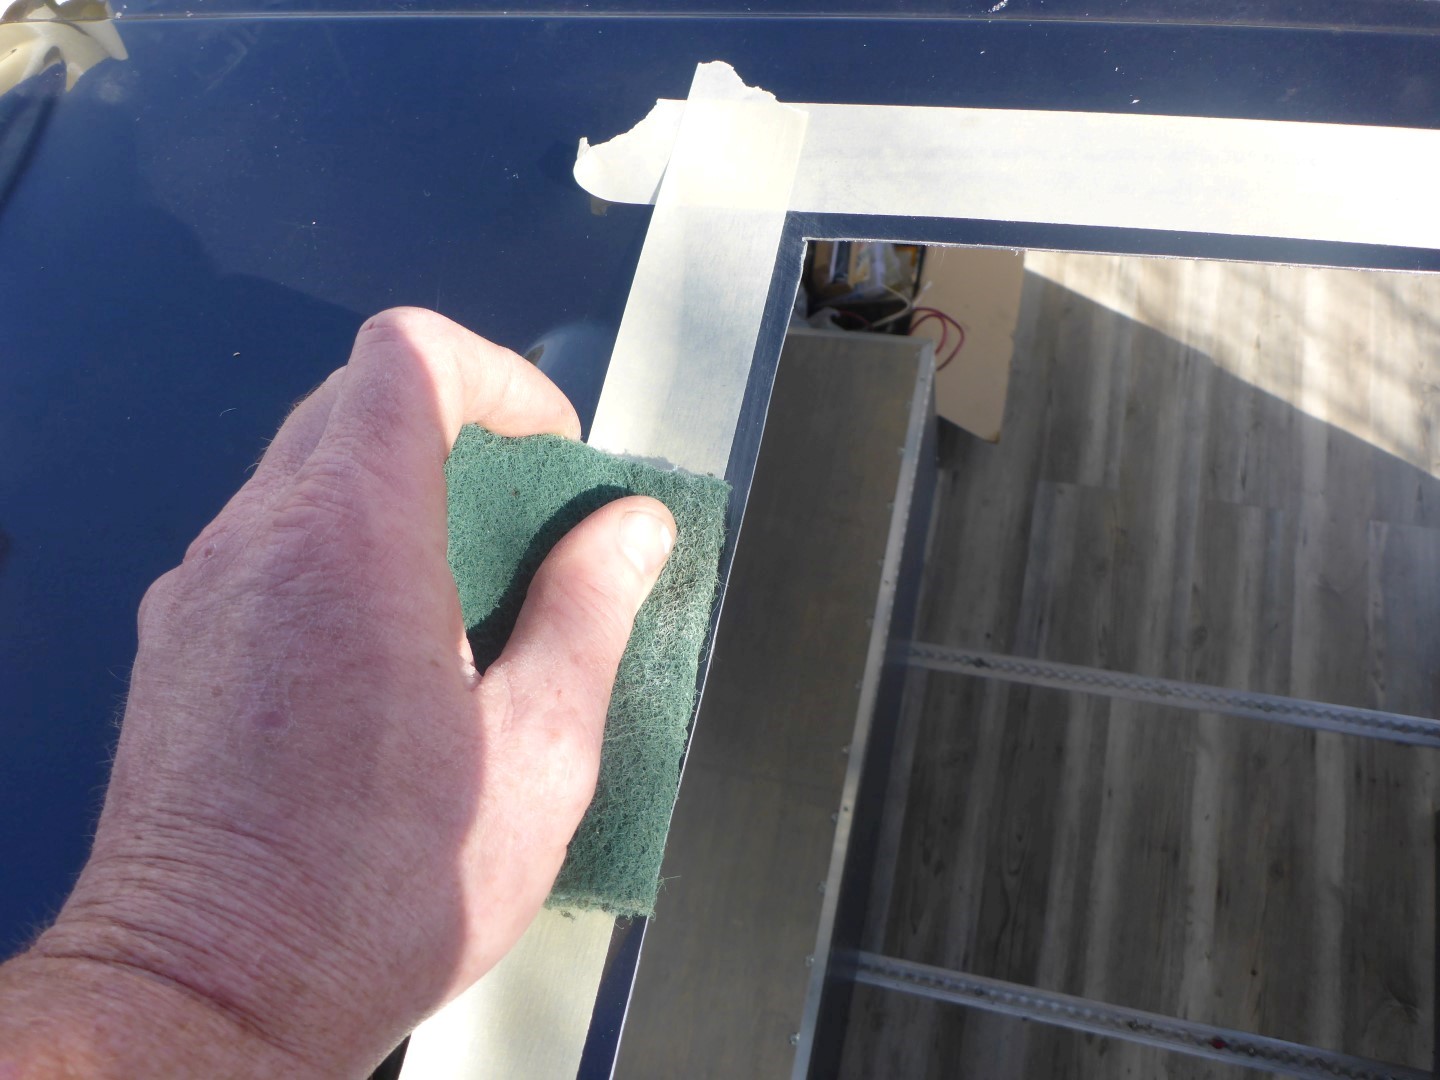
Roof Prep
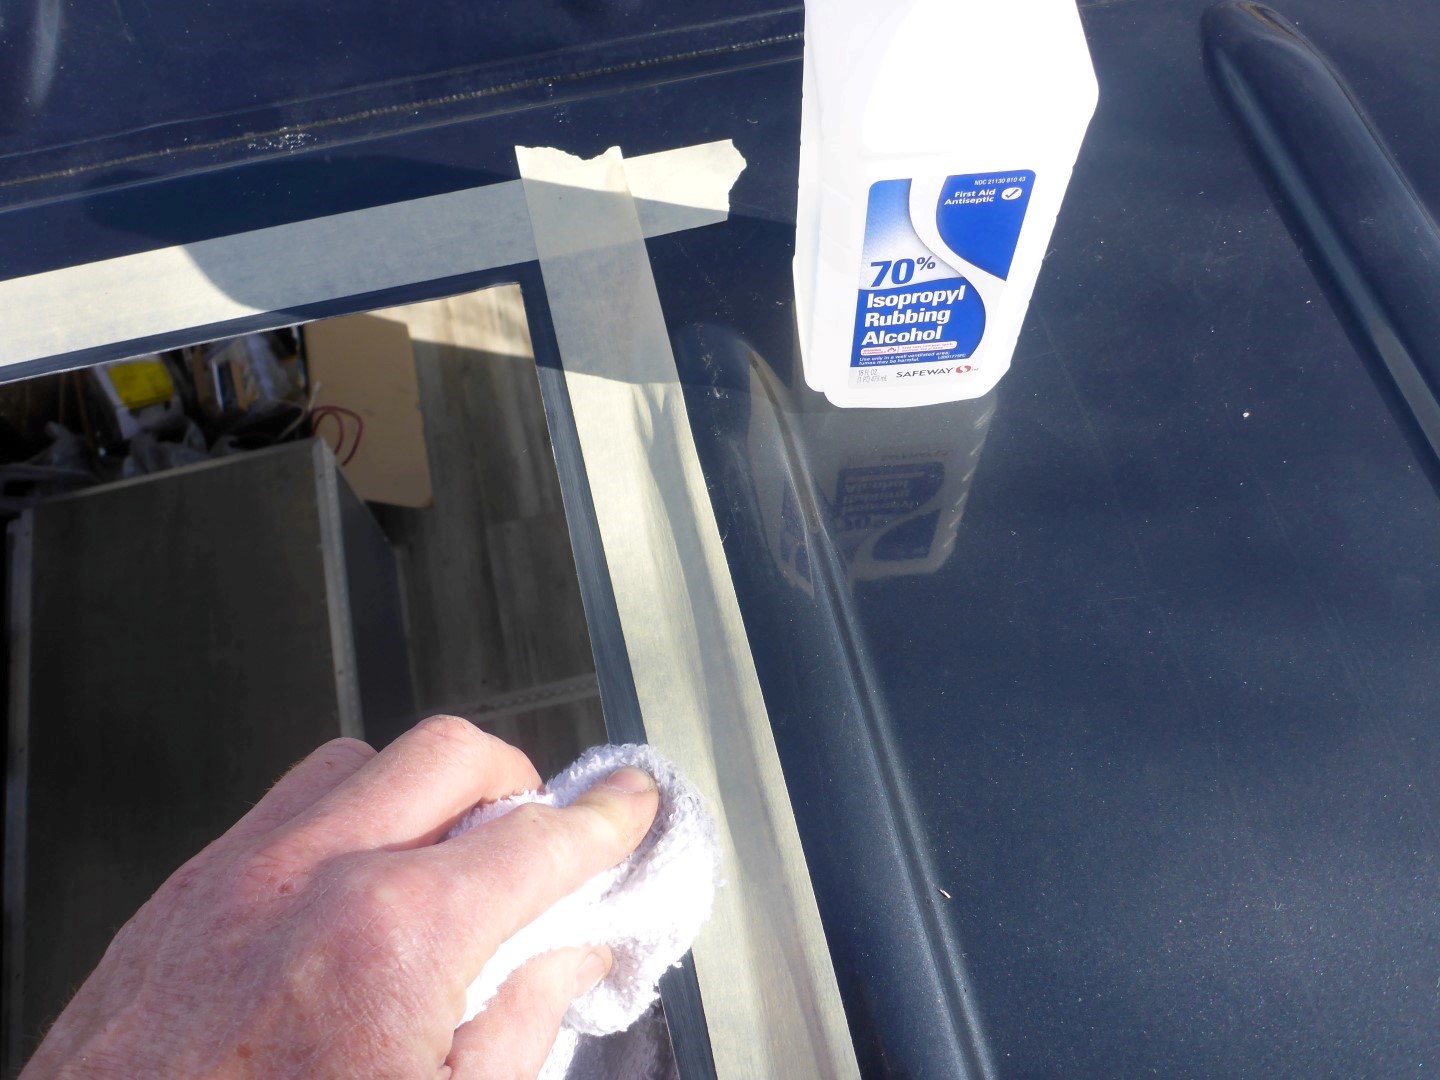
After the hole was cut, I did not follow the directions accurately enough (as seen in these pics) and taped 1/4″ from the edge of the hole. After realizing that was not enough and looking at the instructions a little longer, I taped off the roof about a 1/4″ from the edge of the adapter. The rough edges were filed down, the glossy paint was dulled with a Scotchbrite pad, and Isopropyl alcohol was used to clean the surface. Rustoleum oil-based paint was used on the bare metal edges to prevent rusting.

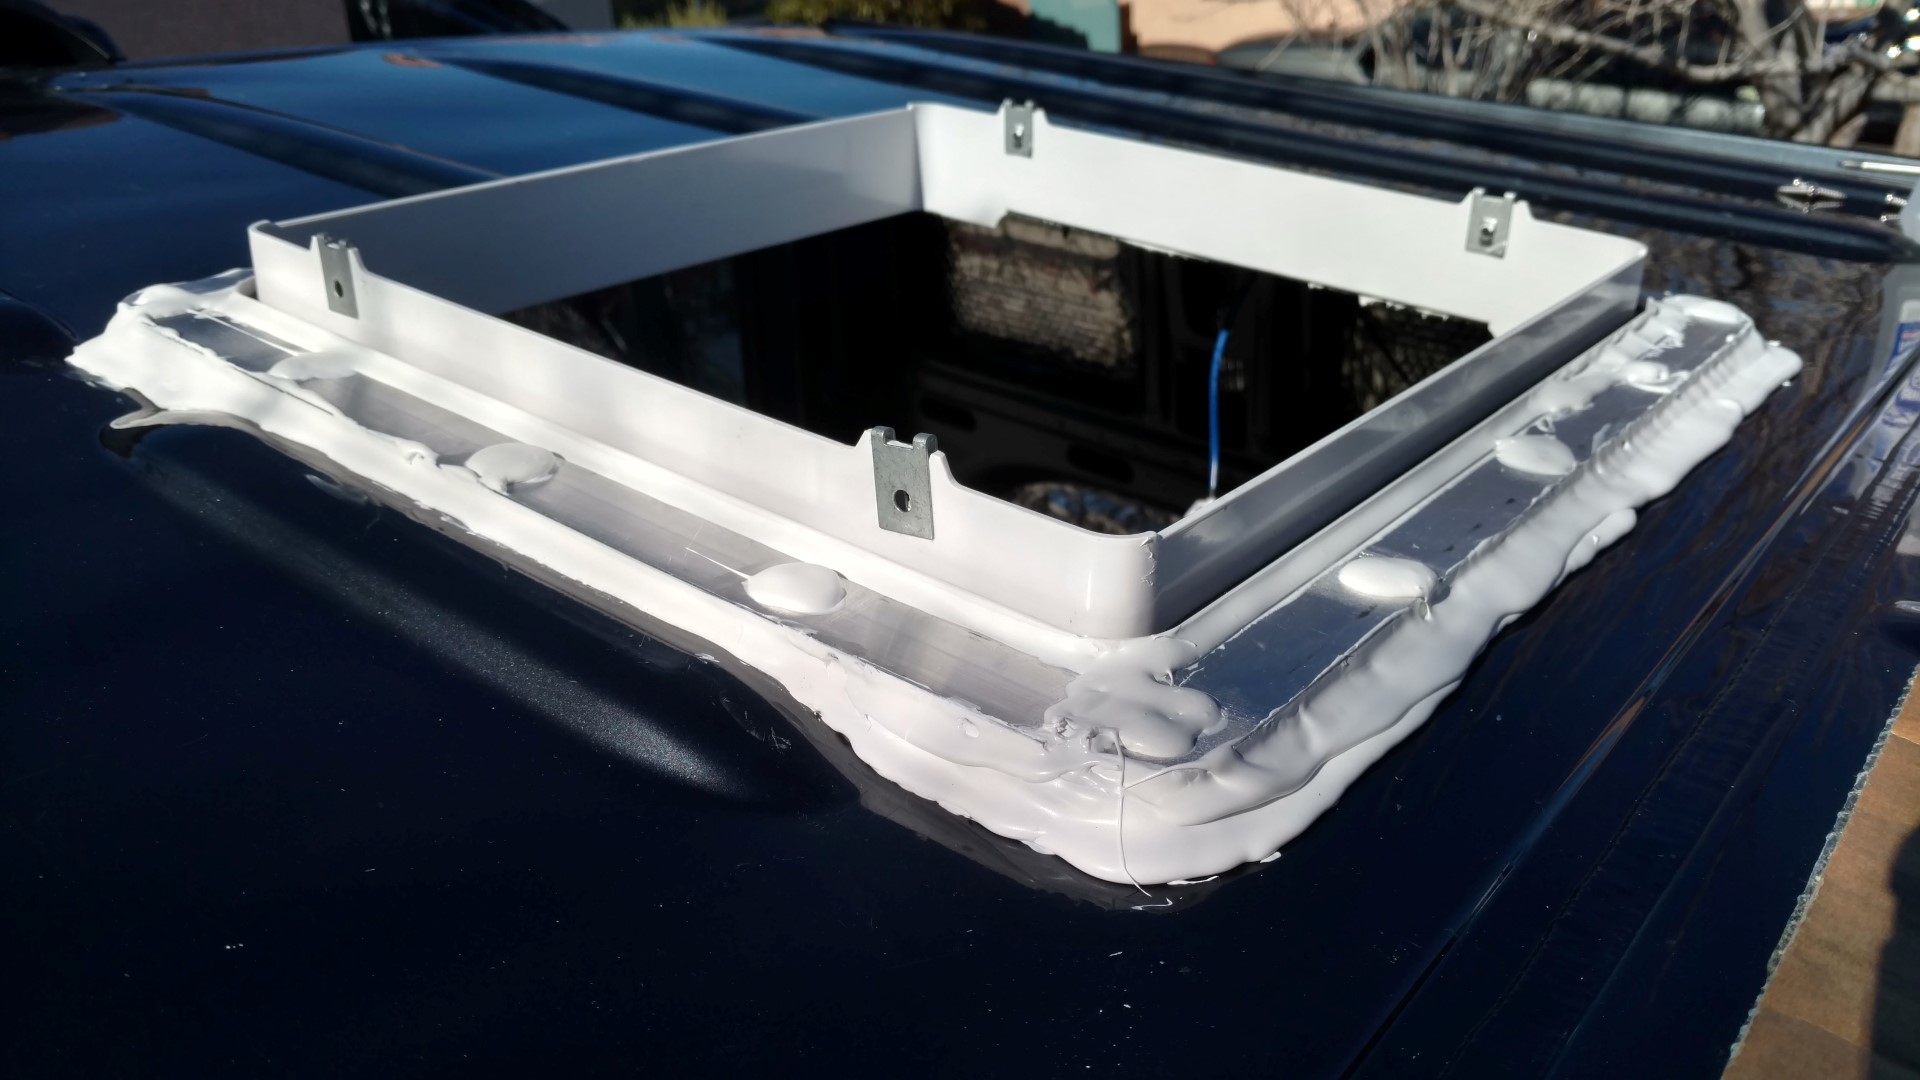
Glue Adapter in Place
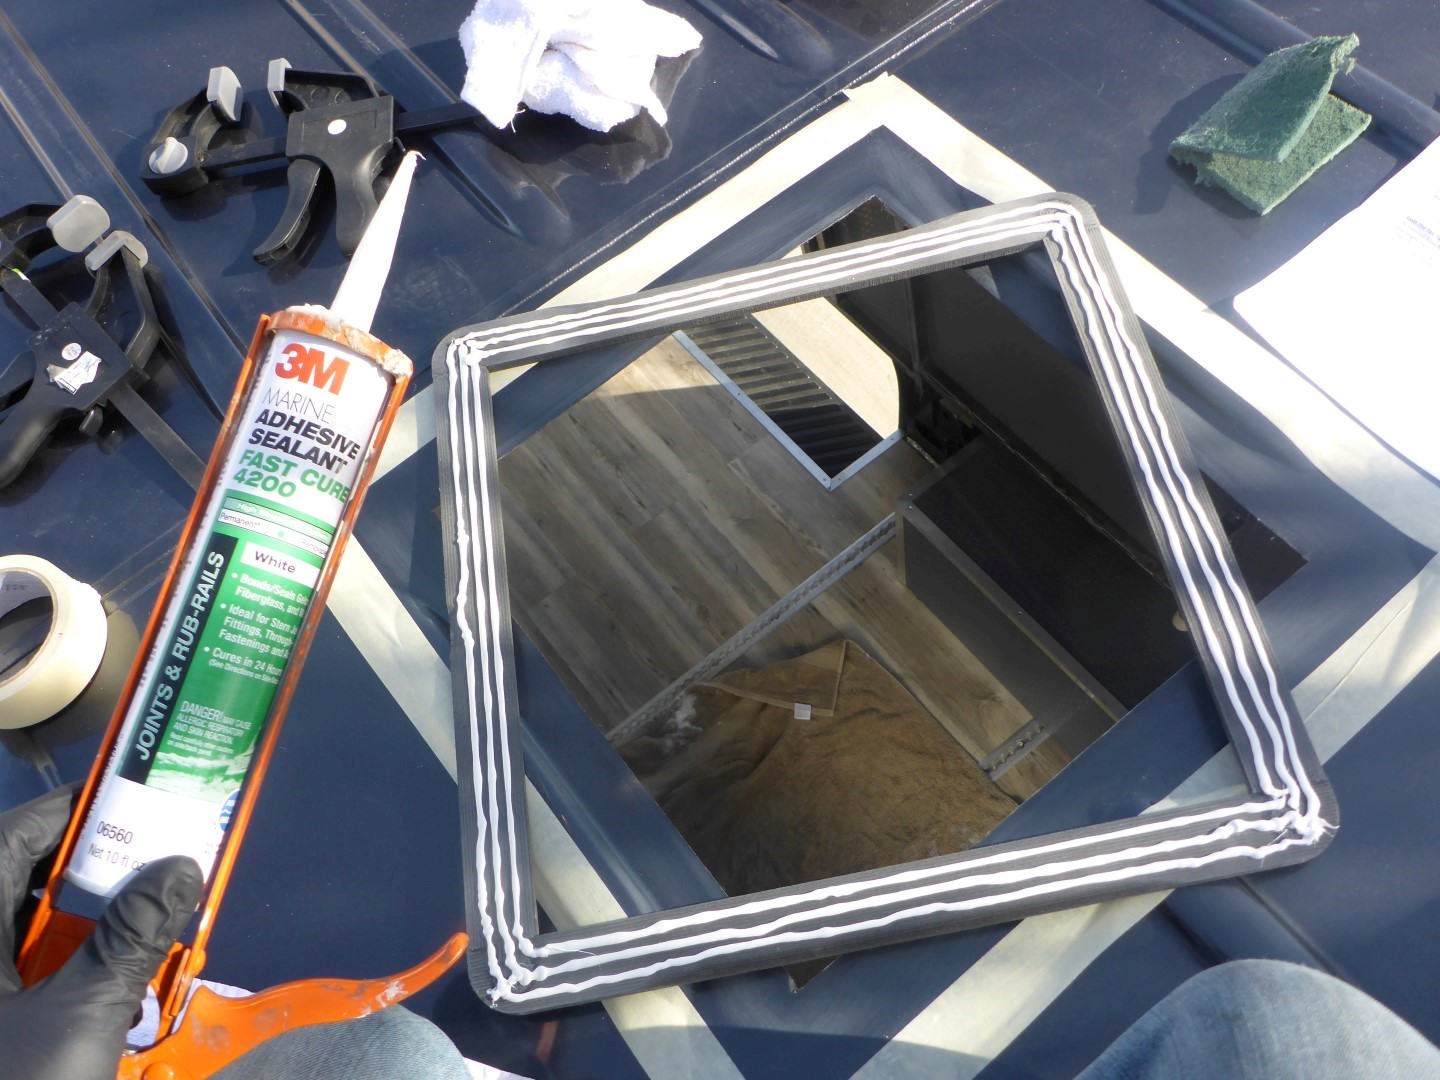
You can see in these pics the new tape line as mentioned earlier. Three 1/8″ beads of 3M Marine Adhesive/Sealant Fast Cure 4200 were applied to the adapter. Just a little tip when working with this stuff. Buy the large caulk tube and use a caulk gun to apply it. It is very thick and I’ve heard it is difficult to squeeze out of the smaller tubes. Besides, you don’t want to run out. After gluing the adapter into place I clamped it lightly with some small bar clamps from Harbor Freight like these.
Apply Butyl Tape to Fan Flange
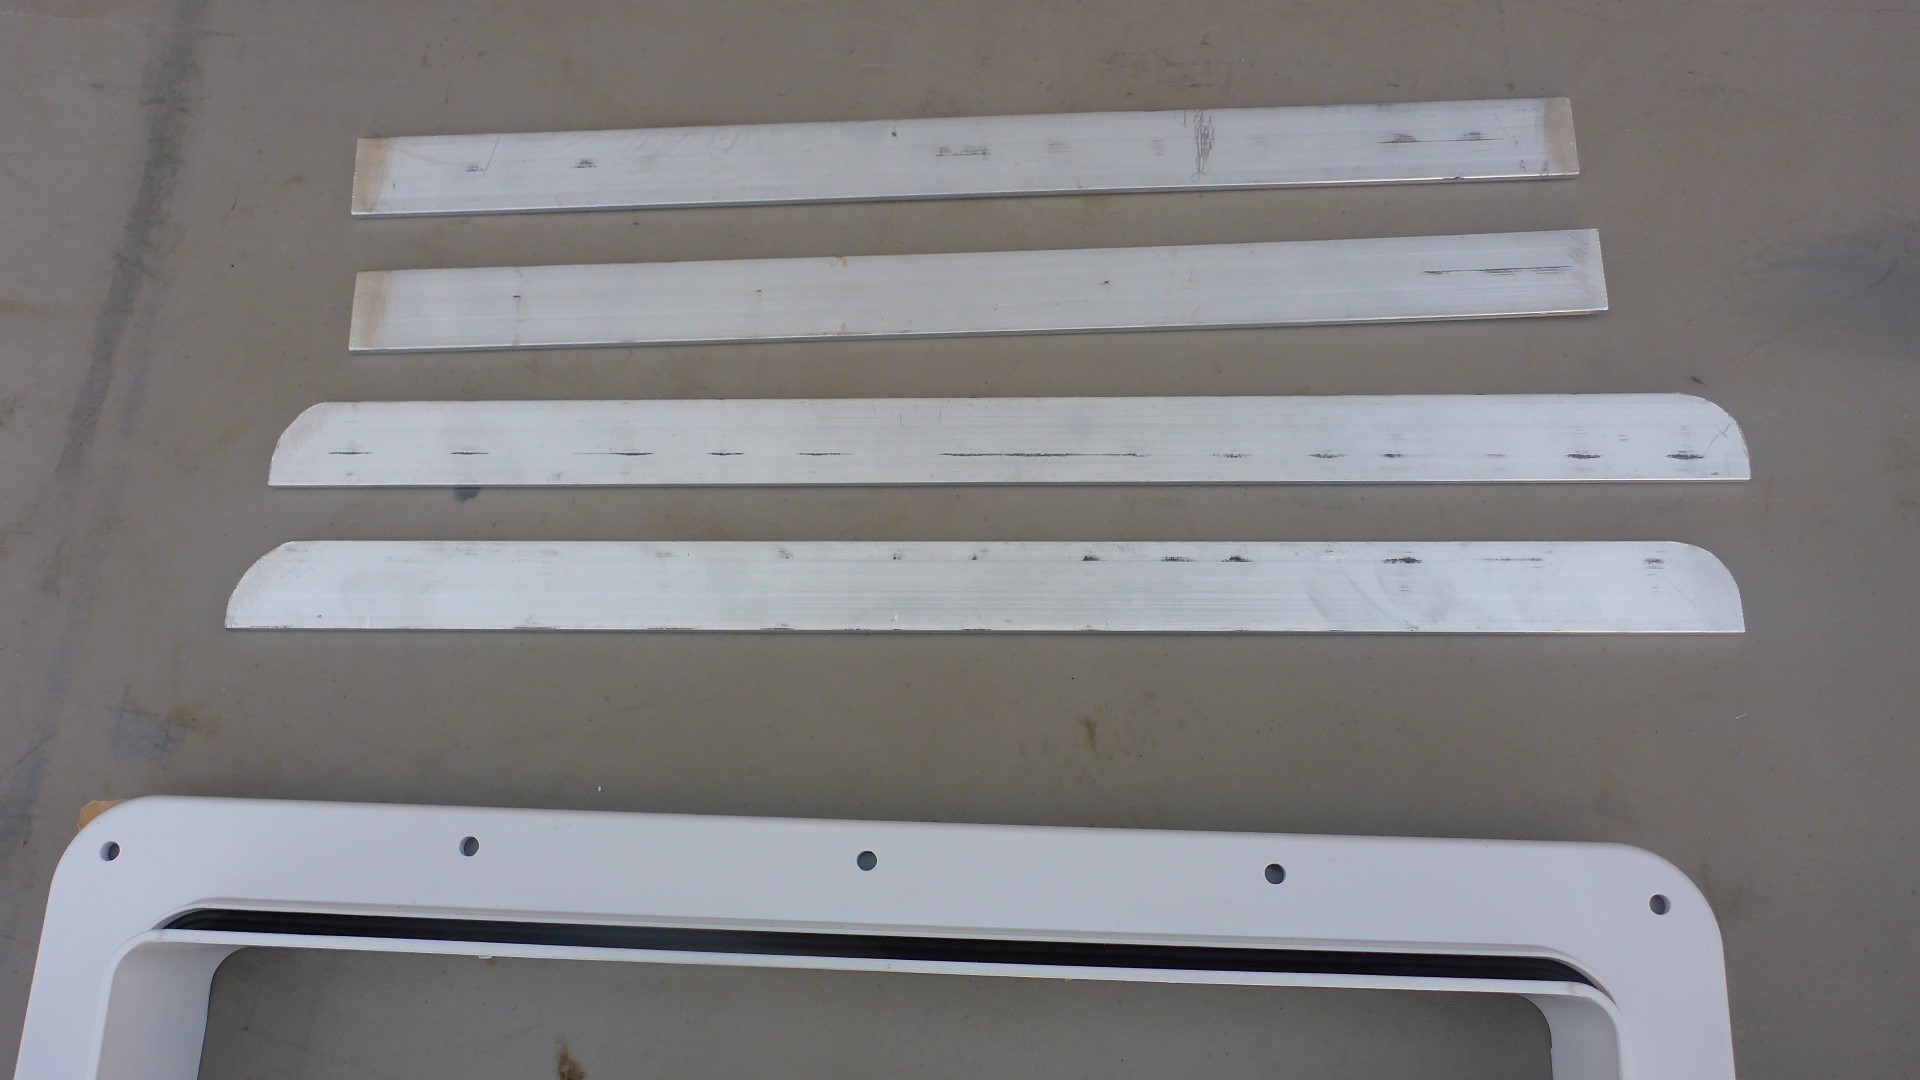
While I waited for the adapter glue to dry, I put the Dicor butyl tape on the fan flange. I also fabbed up some aluminum bars to fit the flange before screwing it to the roof. This prevents the flange from cracking over time by spreading the load evenly. I sourced the 1″ aluminum from Lowes.

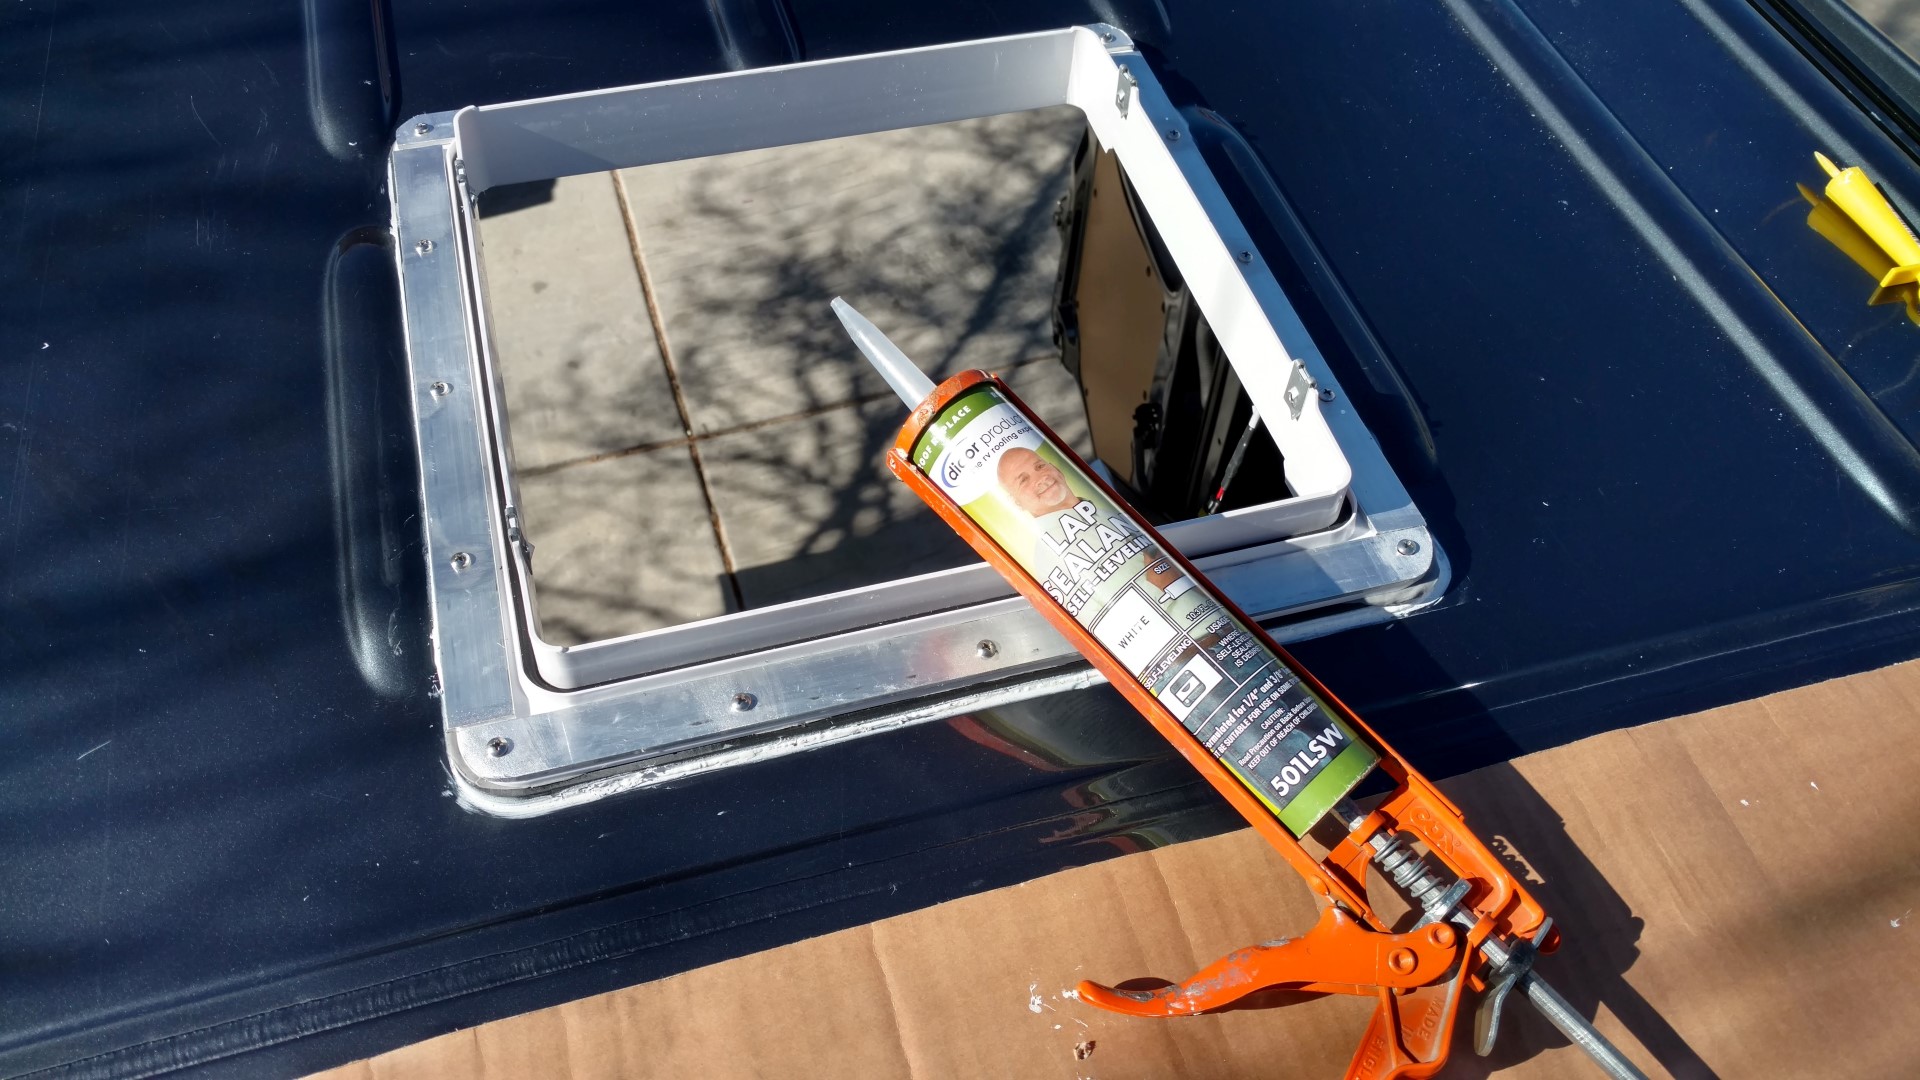
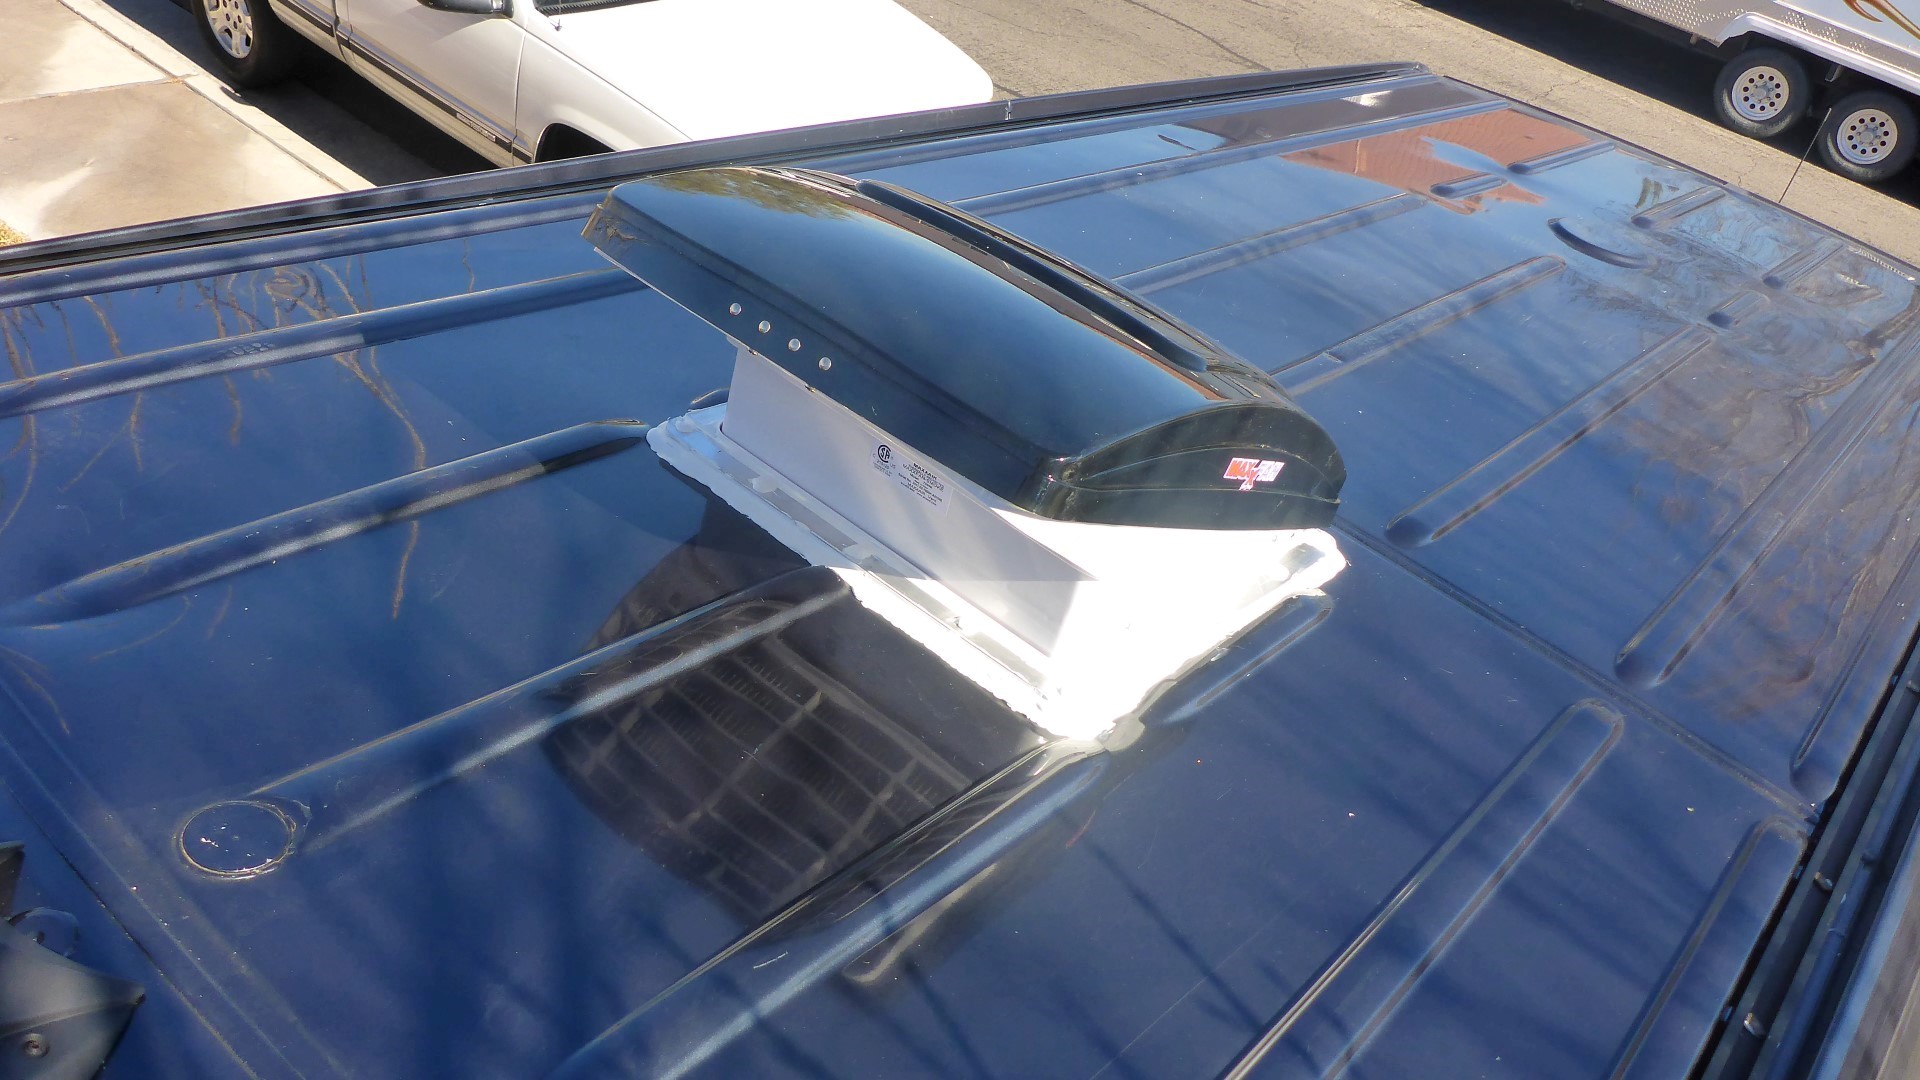
Install Flange & Fan Assembly
I used the fan flange as the template to drill the mounting pilot holes in the adapter and roof. Dicor self-leveler lap sealant was used to seal everything up afterward. Remember to seal all sides of the aluminum strips, screws, and edges with this stuff. After the fan flange is installed and sealed, there are just 4 easy screws to mount the fan assembly to the flange.
Used in This Install
- Roof Vent Adapter by Impact Products
- MaxxAir 7500k Fan
- 3M Marine Adhesive/Sealant Fast Cure 4200
- Dicor 501LSW-1 Lap Sealant – 10.3 oz.
- Dicor Butyl Seal Tape
- Isopropyl Alcohol
- Masking Tape
- Scotch Brite Sanding Hand Pad
- Rust-Oleum, Semi Gloss Black


Leave a Reply