When building our van, our goal was to always keep the weight to a minimum but not sacrifice durability. We’ve been using our van for almost a year now and found out our countertop and tabletop weren’t going to work out as we hoped. For both applications, we used an Ikea tabletop. It was the look we were going for, it was very lightweight, and it was cheap! Nine dollars to be exact.

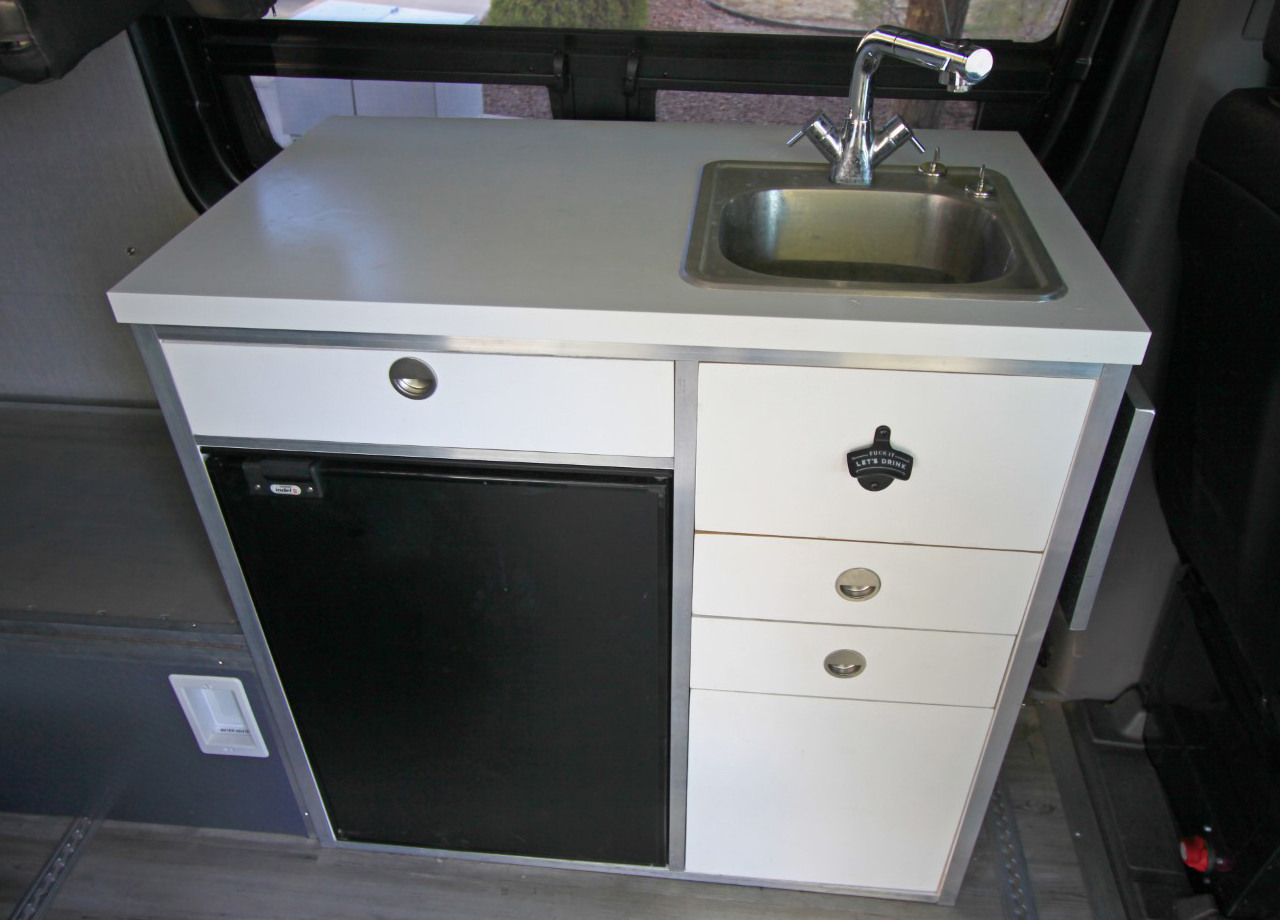
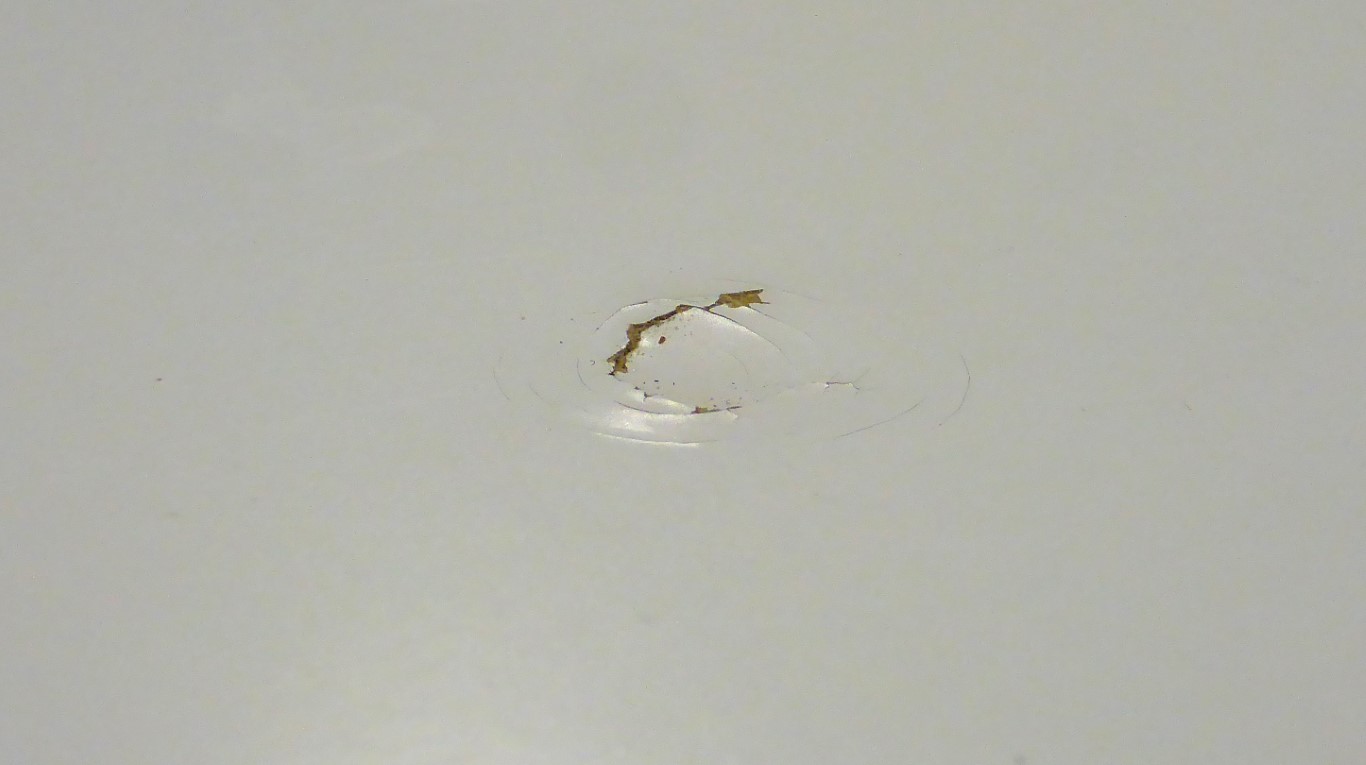
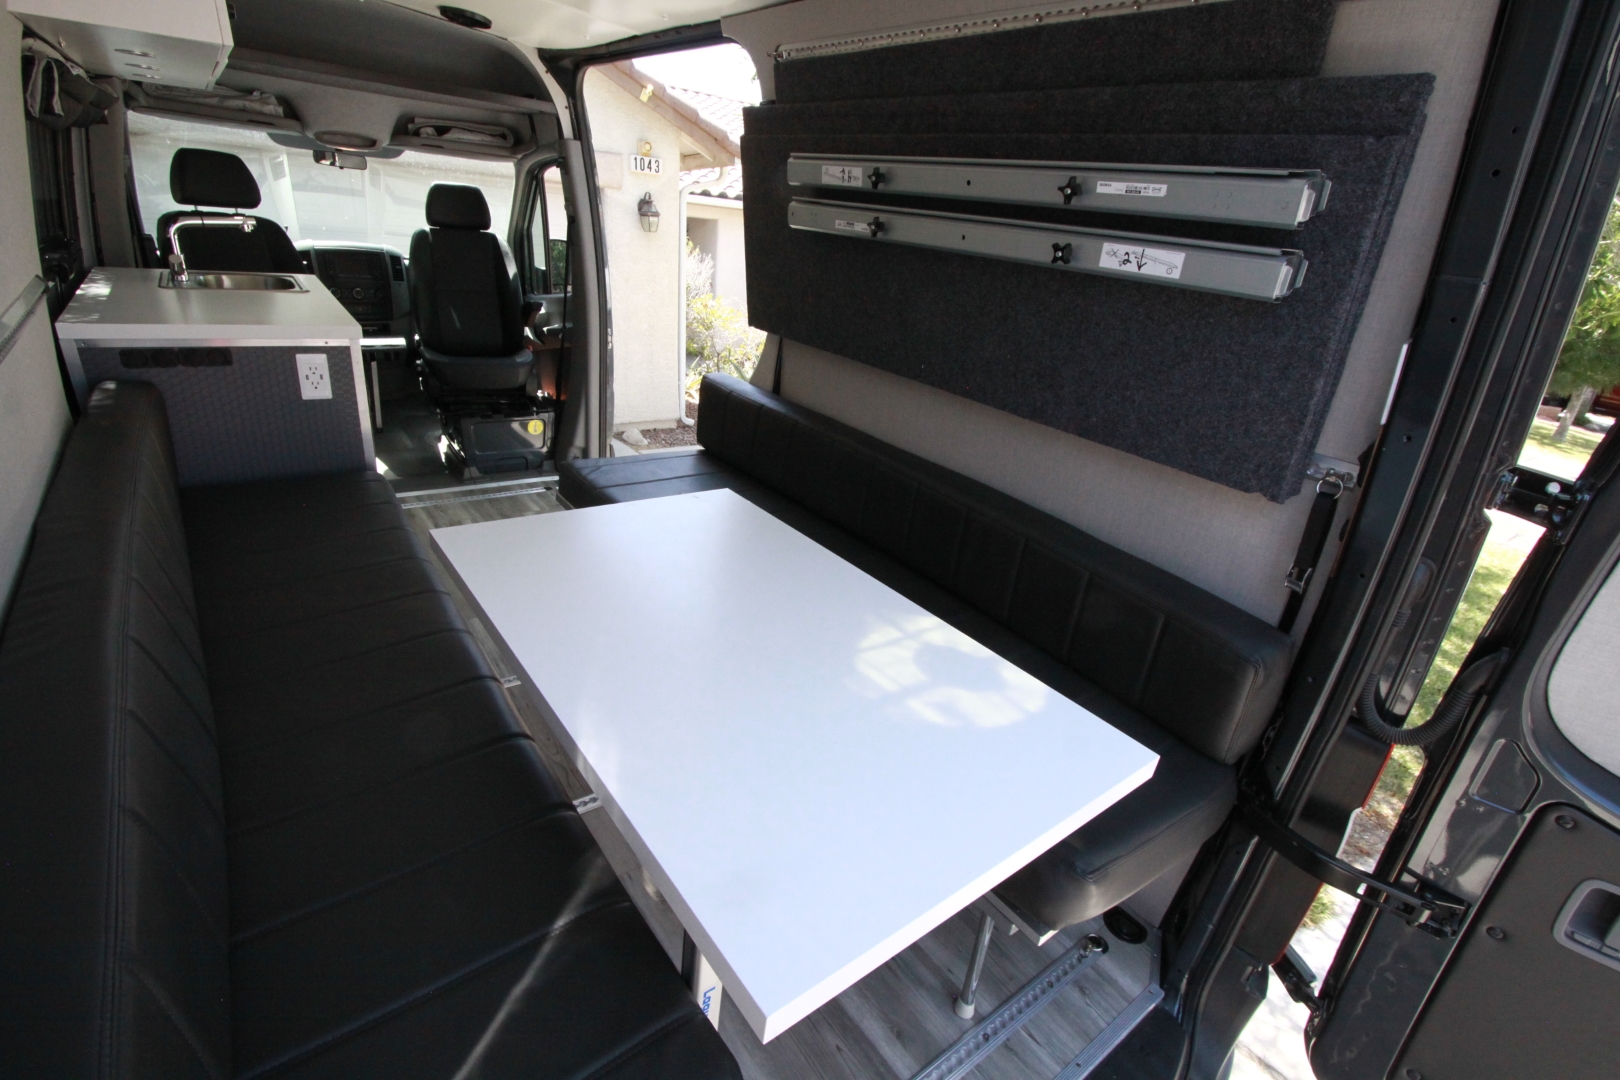
The downfall to using this tabletop as a countertop was that it was not very durable nor was it waterproof. We sort of knew this going into it, but we didn’t have a solution or the patience at the time so we just decided to see how it worked out. A couple of times while driving offroad, items fell out of our overhead cabinet and dinged up the counter pretty badly. Also, every time we would get any liquid of the counter, we would have to wipe it up right away in fear of the surface getting damaged. As for the table, it was just too big and we had the same durability concerns. It slowly got beat up over time as it was tossed around and getting stowed during our Go-Go-Gadget van transformations on trips.
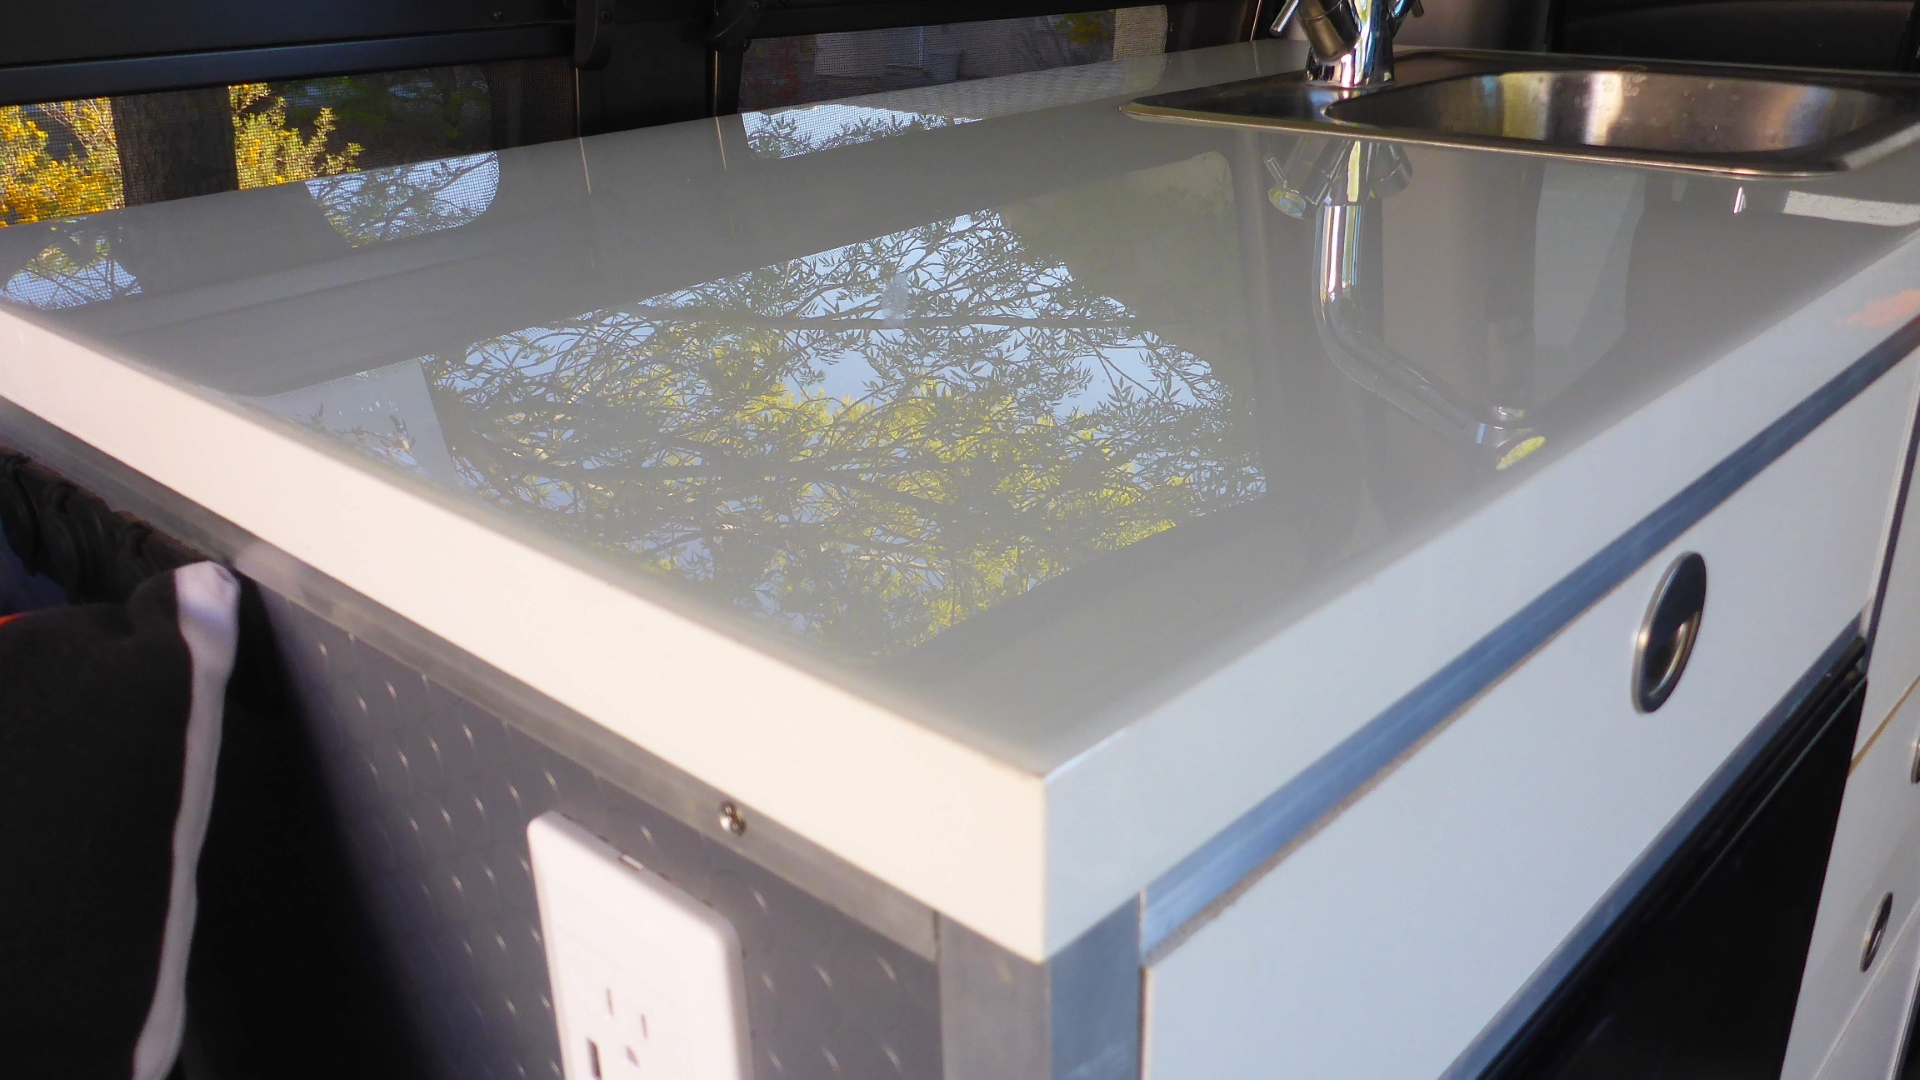
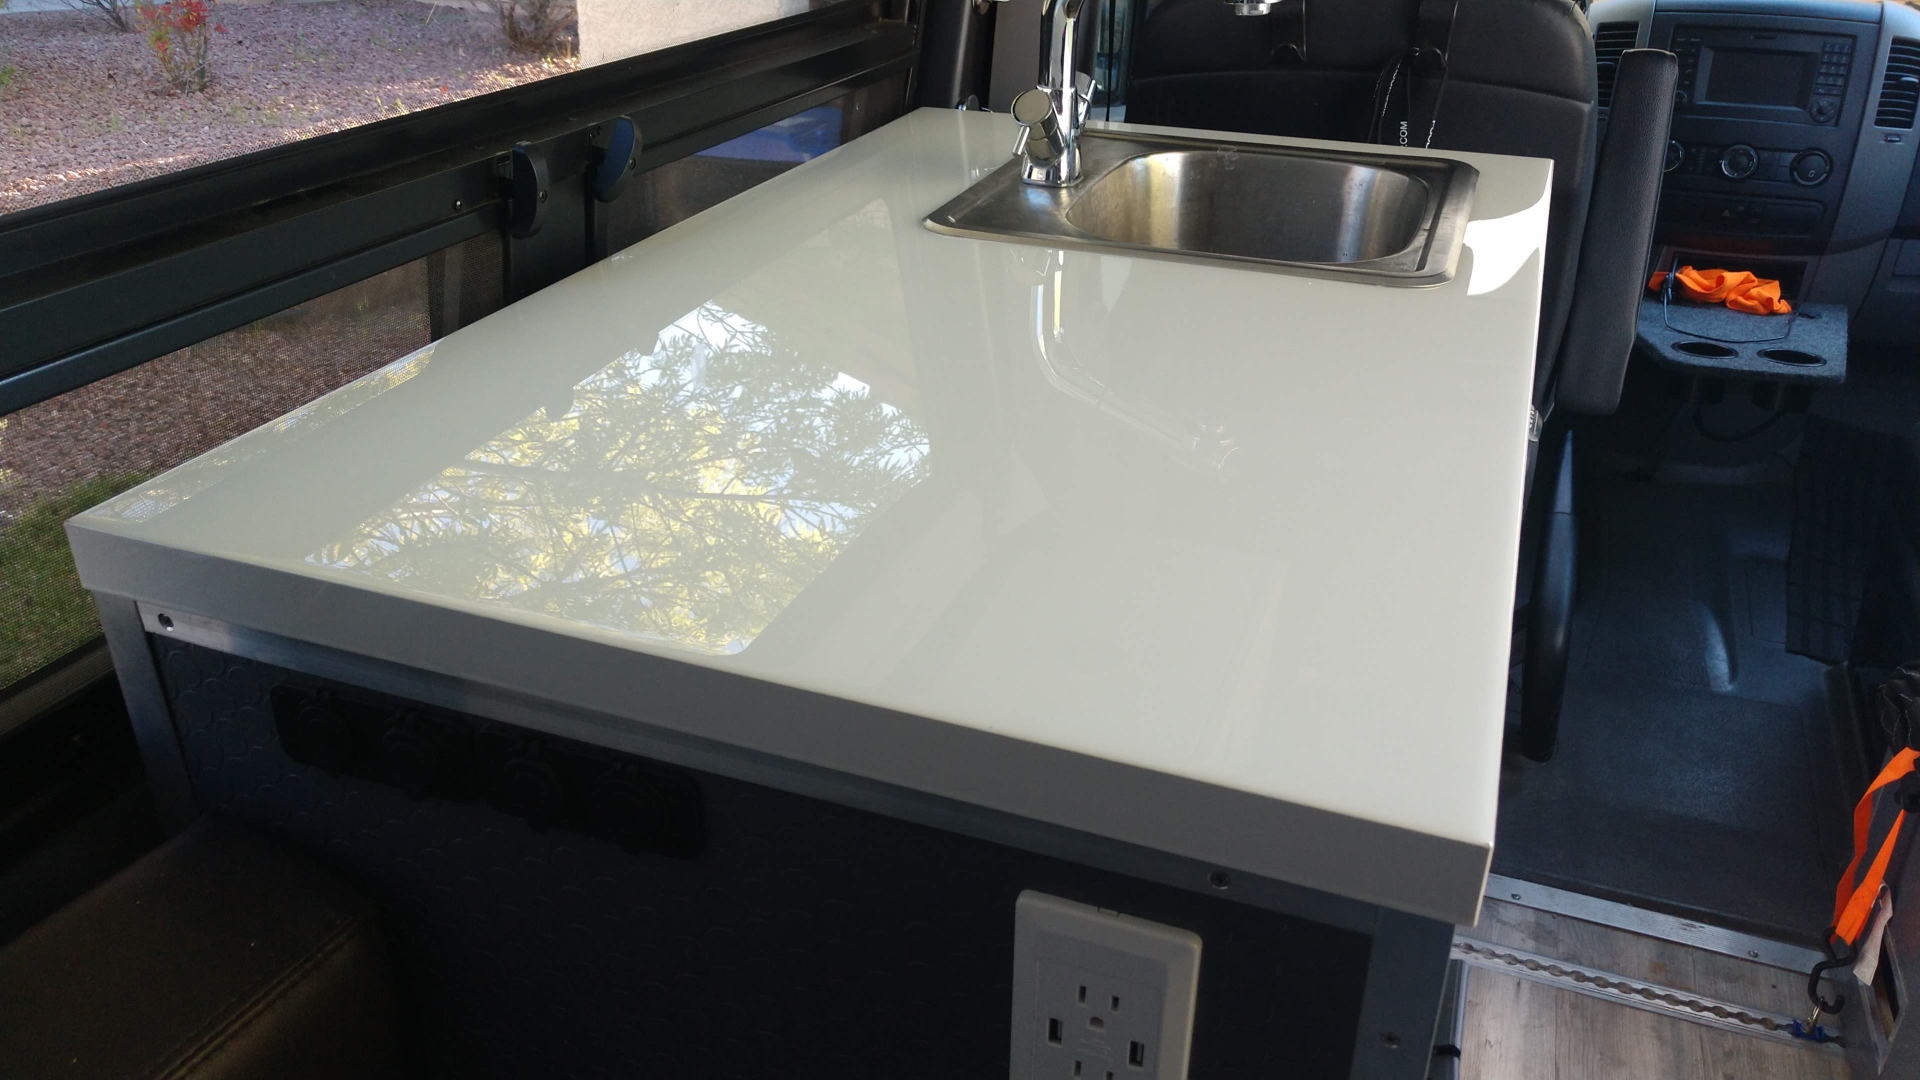
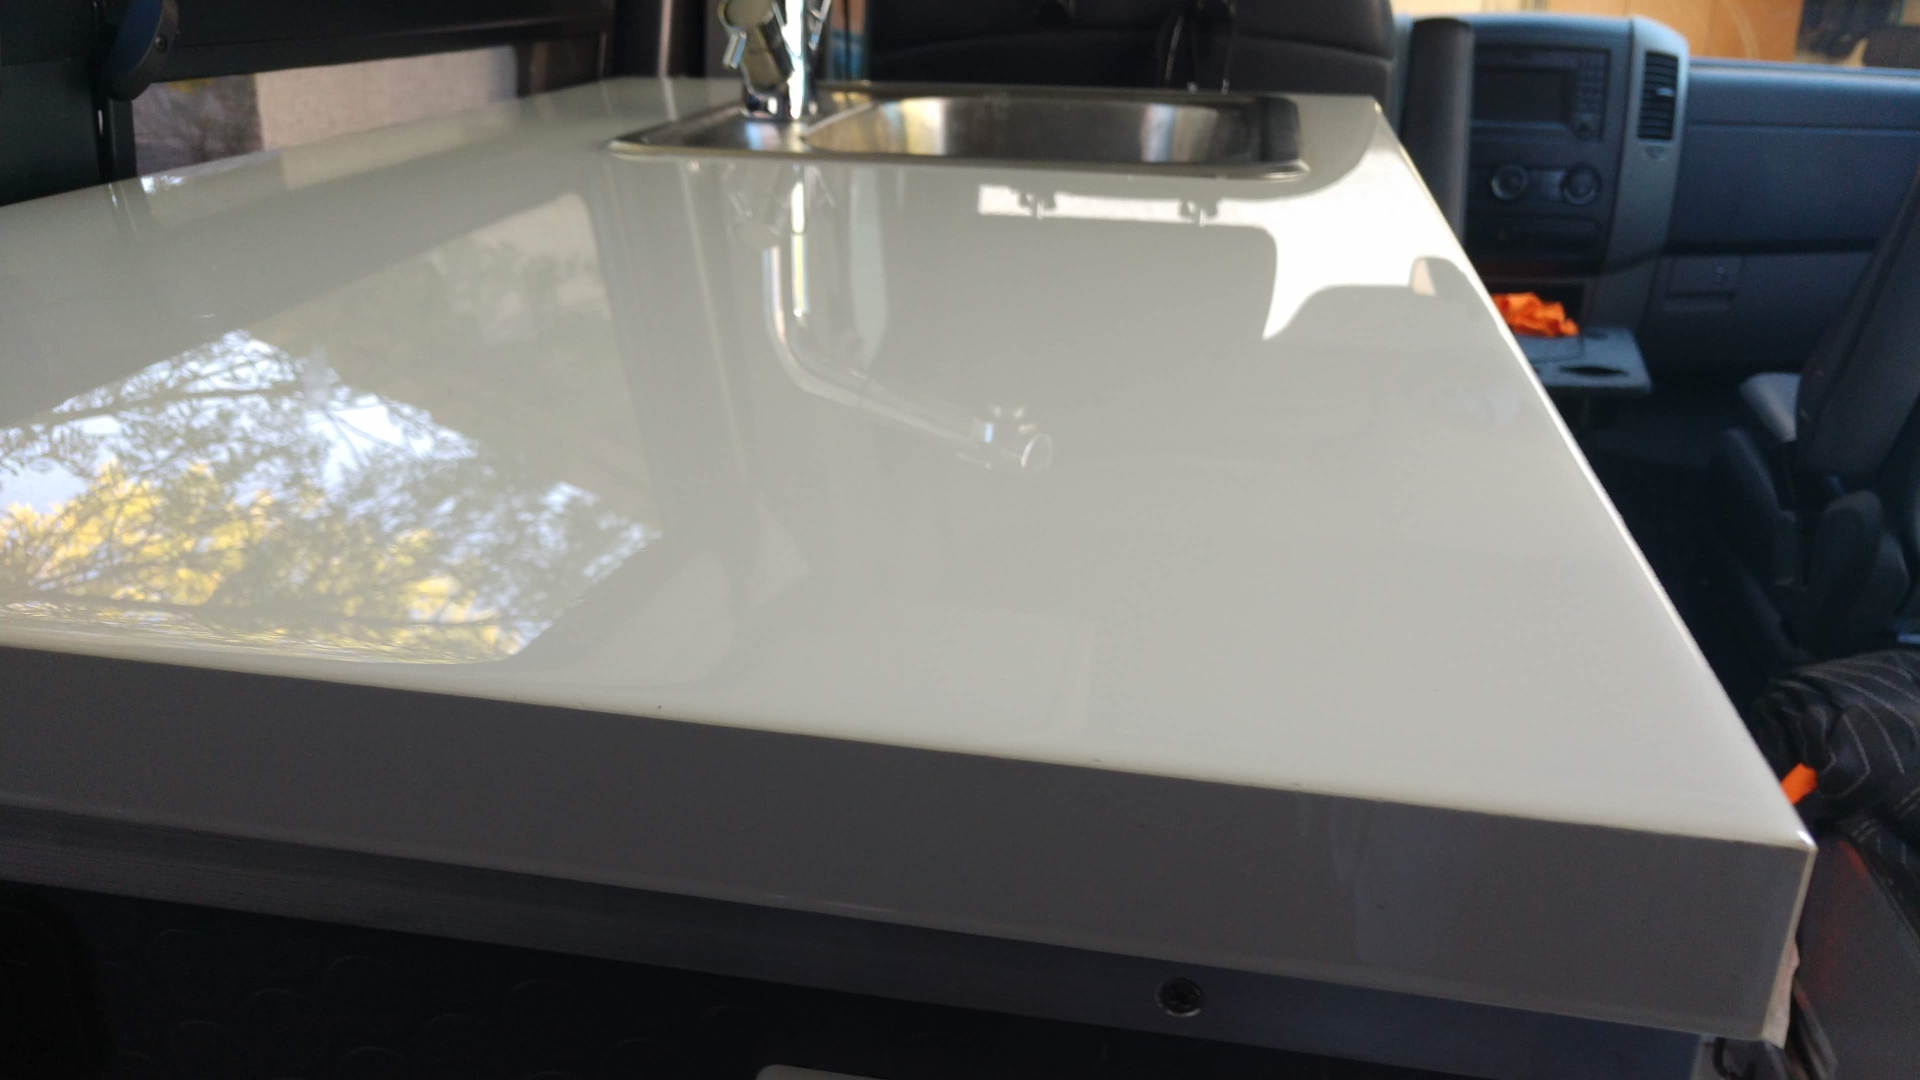
The Solution: Epoxy Resin! Designed for bar tops and tables, it is waterproof and produces a tough, glossy surface which is exactly what we needed. I figured this would be a way we could keep our same countertop but give it a high-performance finish required for adventures and daily use.
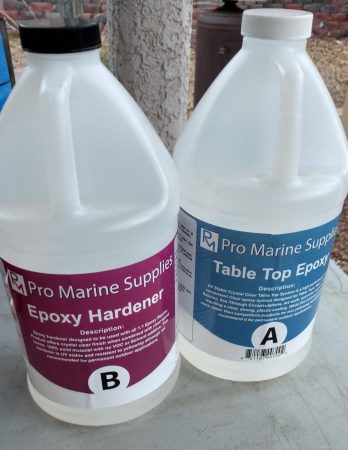
Pro Marine Crystal Clear Tabletop Epoxy Resin Coating
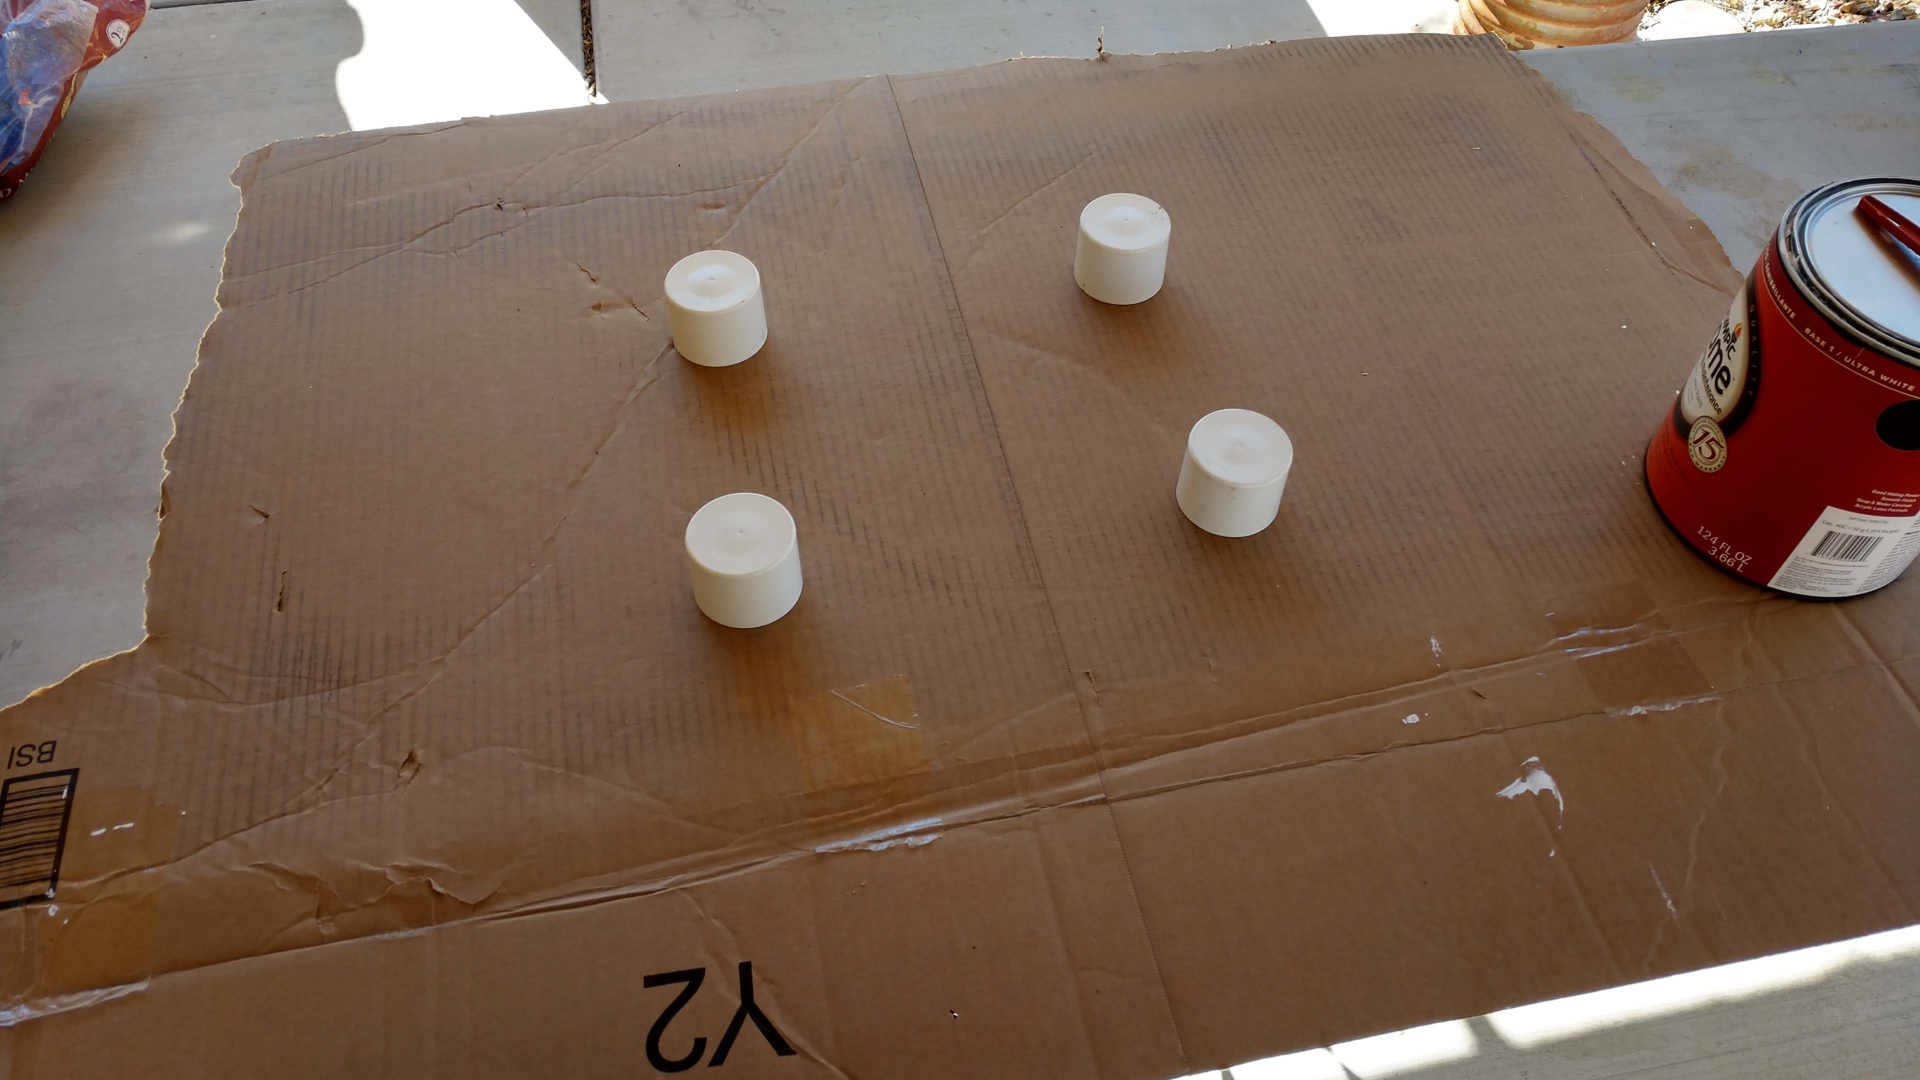
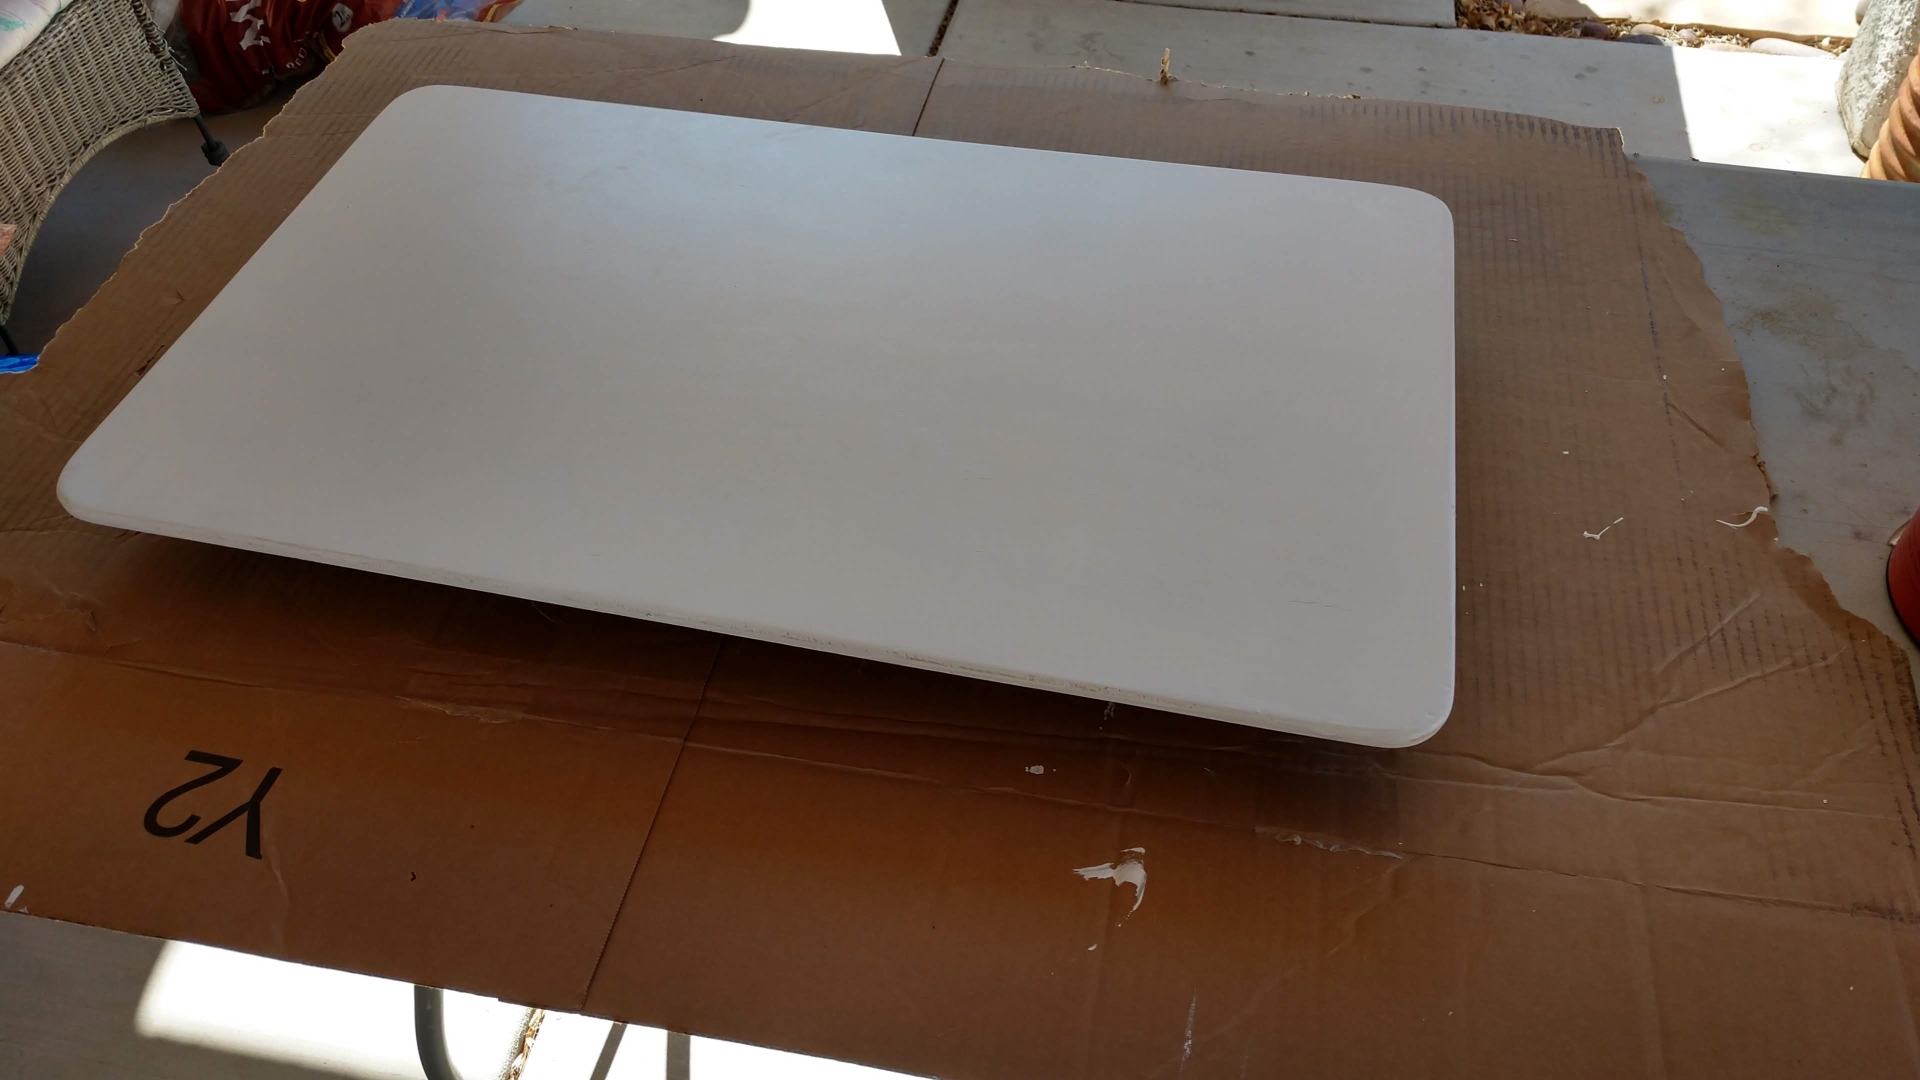
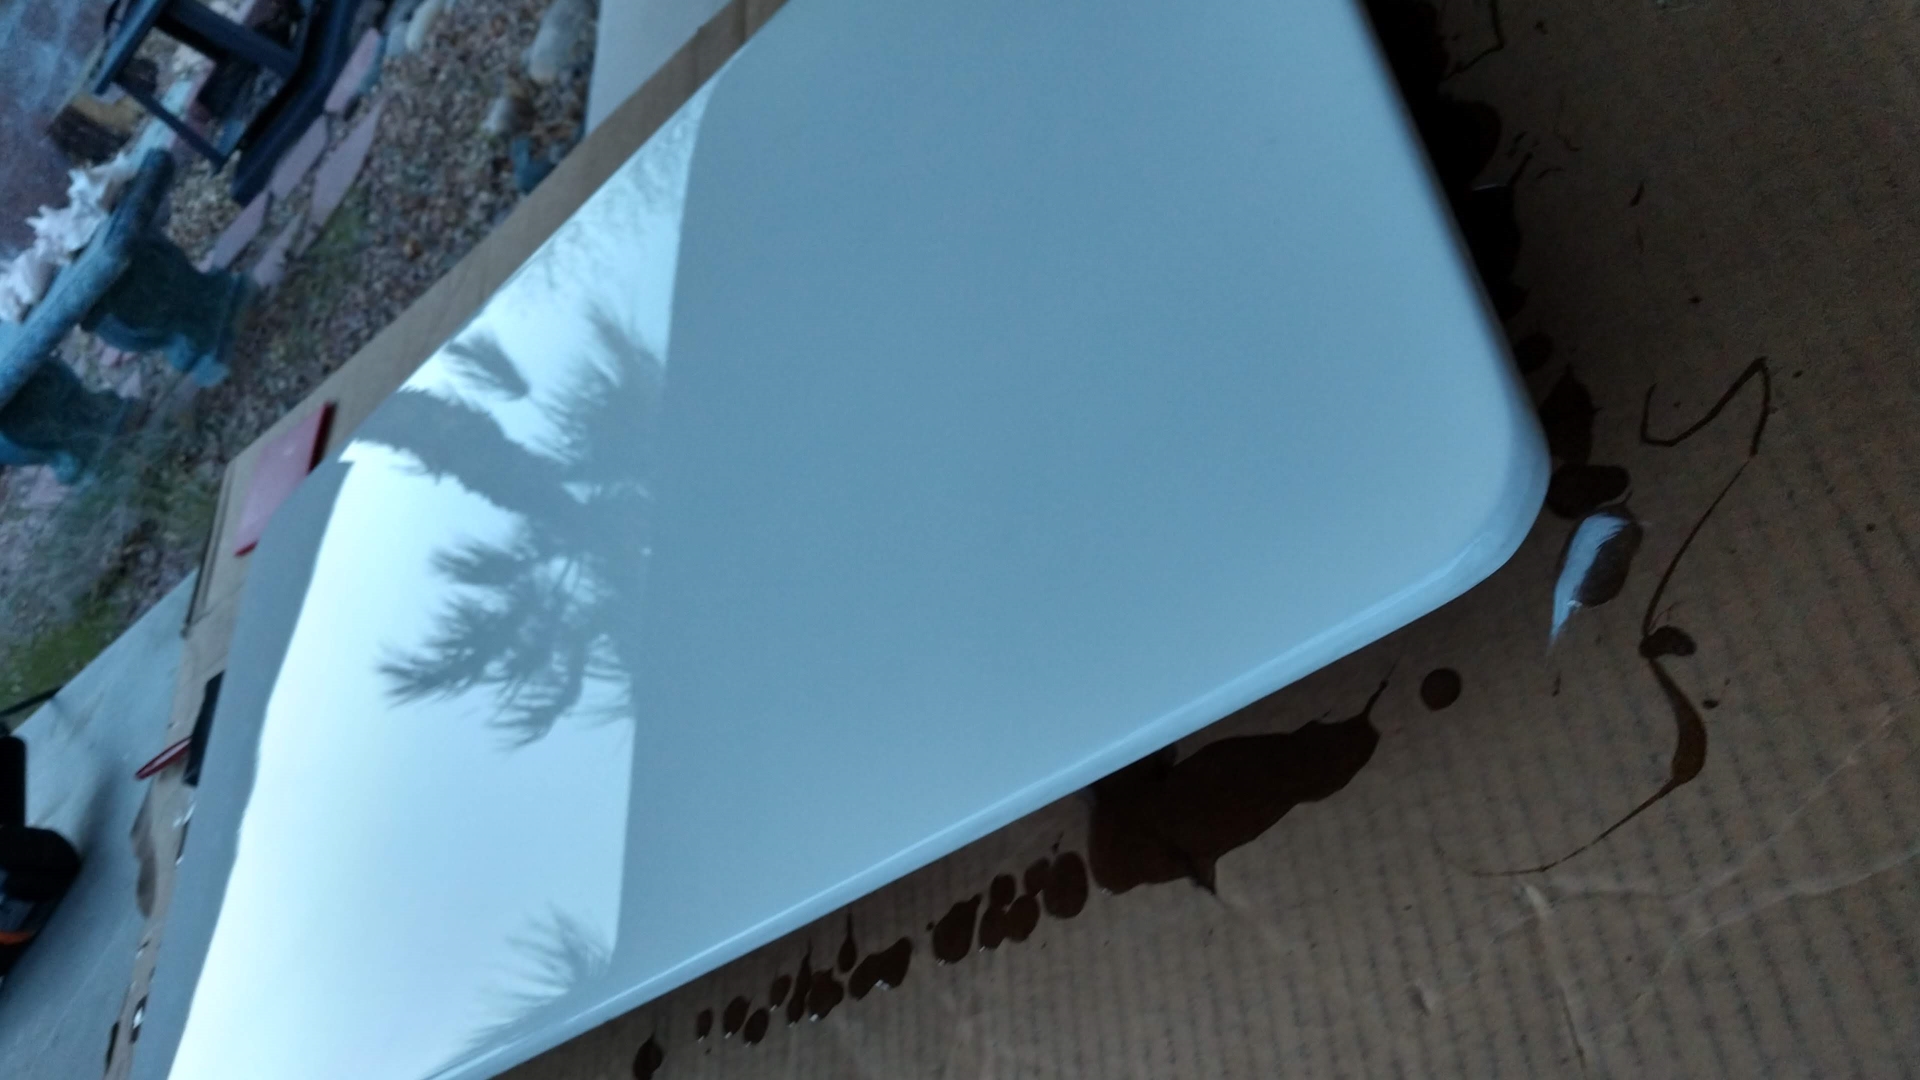
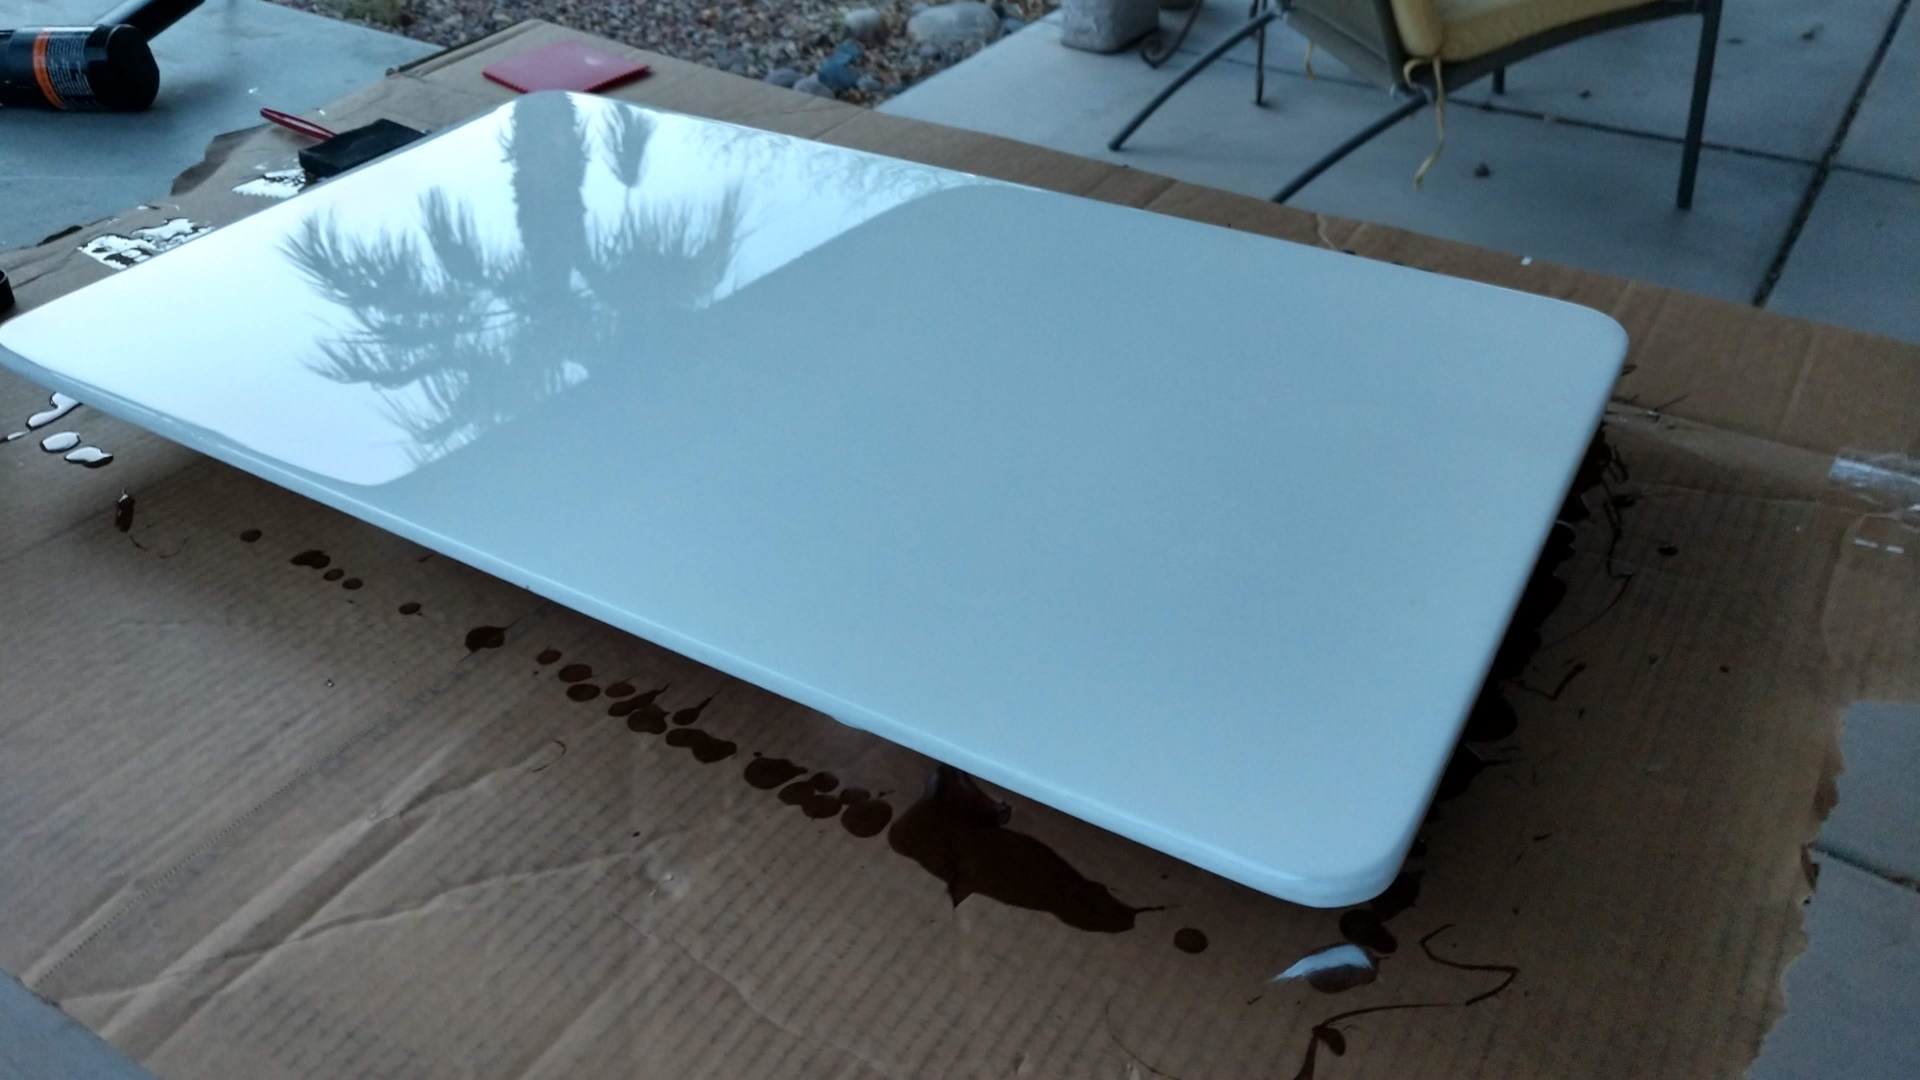
I started with the table since that would be a good (cheaper) test. If I screwed that up, I wouldn’t tackle the countertop with this stuff. To start, I ditched the Ikea tabletop idea because it was just too big and awkward with our Lagun table mount. I cut out a smaller tabletop from 1/2″ birch plywood and rounded the edges and corners. I sanded it, spray painted it and prepped it for epoxy. In order to keep it elevated off the table for epoxy runoff, I used 4 caps from spray paint cans.
Working with this epoxy resin is incredibly easy as long as you follow a couple of important steps.
- Make sure your surface is level, clean and indoors. I found out that small bugs/ flies like to land in your epoxy if outside. Luckily I caught them in time and fished them out before it dried. Also, make sure you use a large piece of cardboard underneath to catch runoff.
- Use clear plastic mixing cups with measurements and mix exact amounts of hardener and epoxy (50/50). I bought the 1-gallon kit and it was plenty to do both the table and counter.
- Follow the instructions for mixing time and do it twice in new multiple mixing cups.
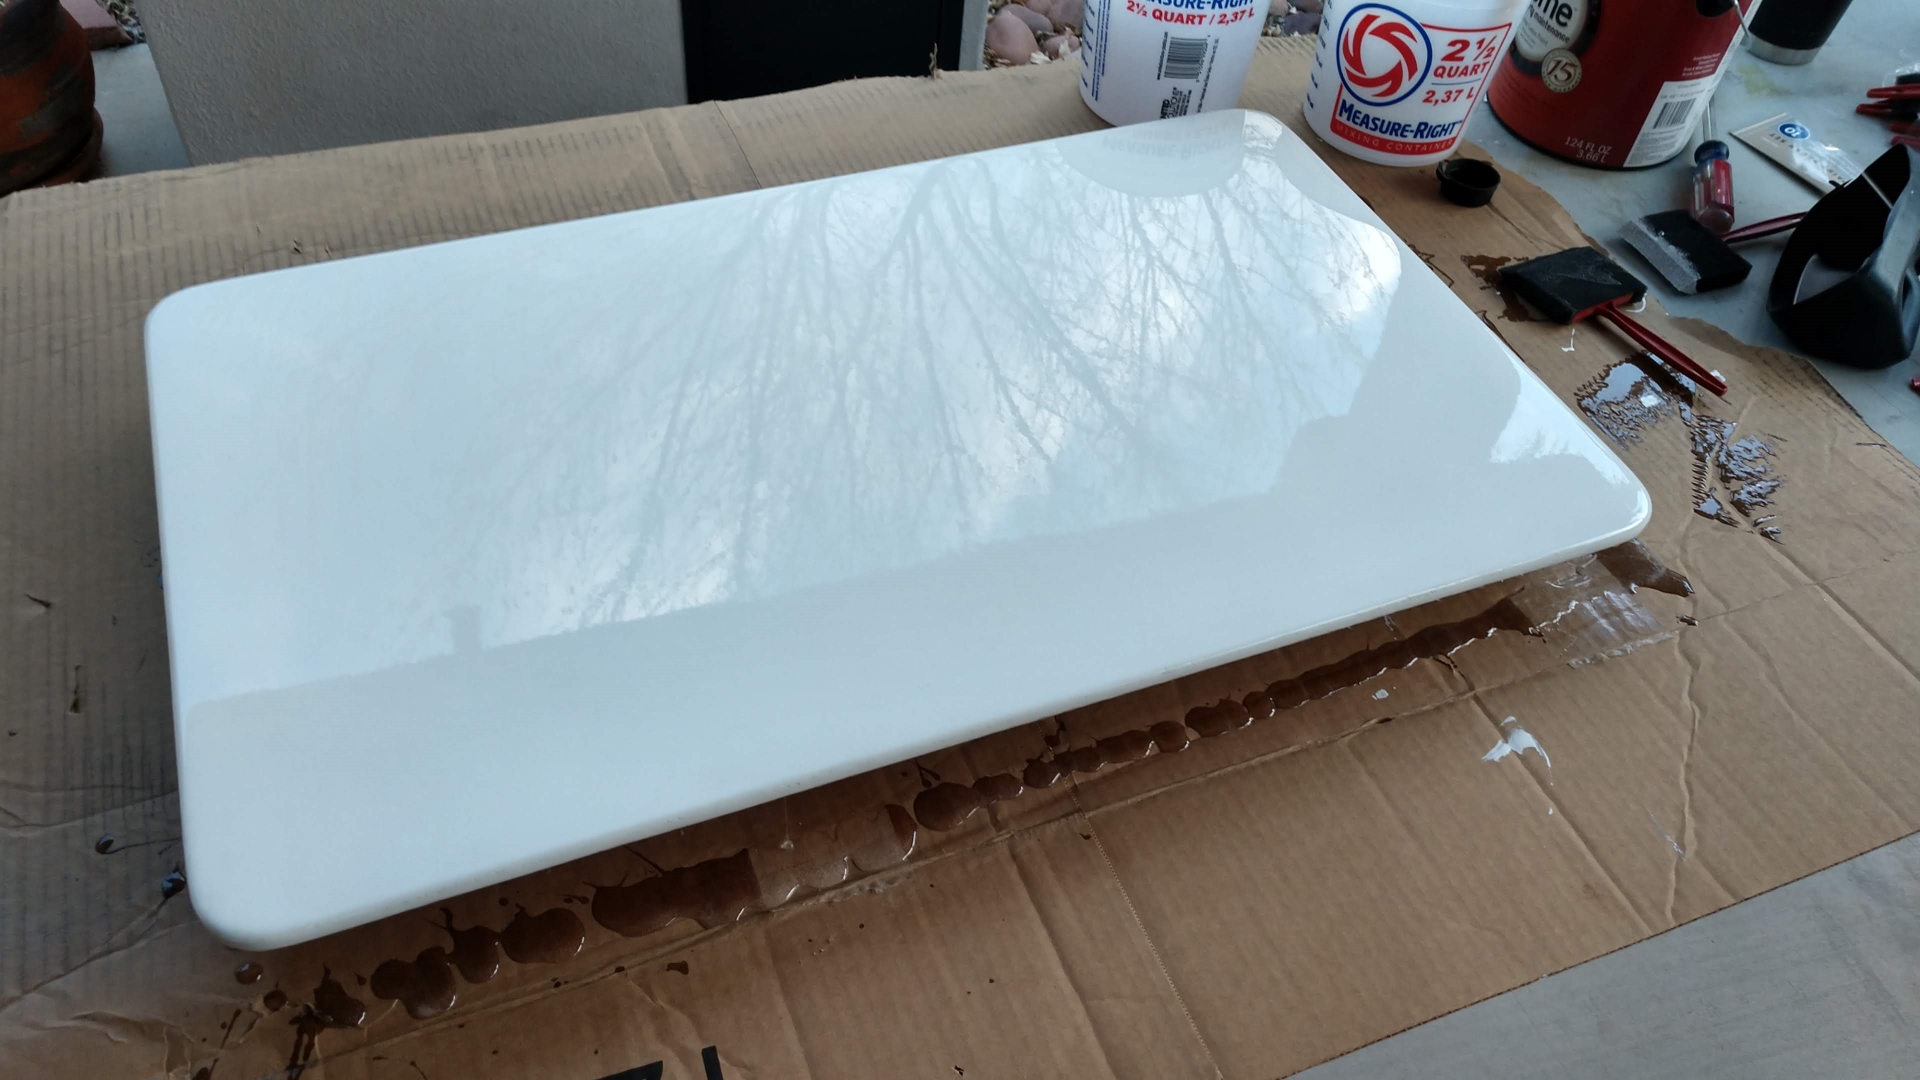
- Pour epoxy evenly over the surface. Use an adhesive spreader if needed. This stuff self-levels very easily though. I only did one thick coat since our surfaces weren’t very porous. If you are using untreated or unsealed wood, a seal coat is recommended.
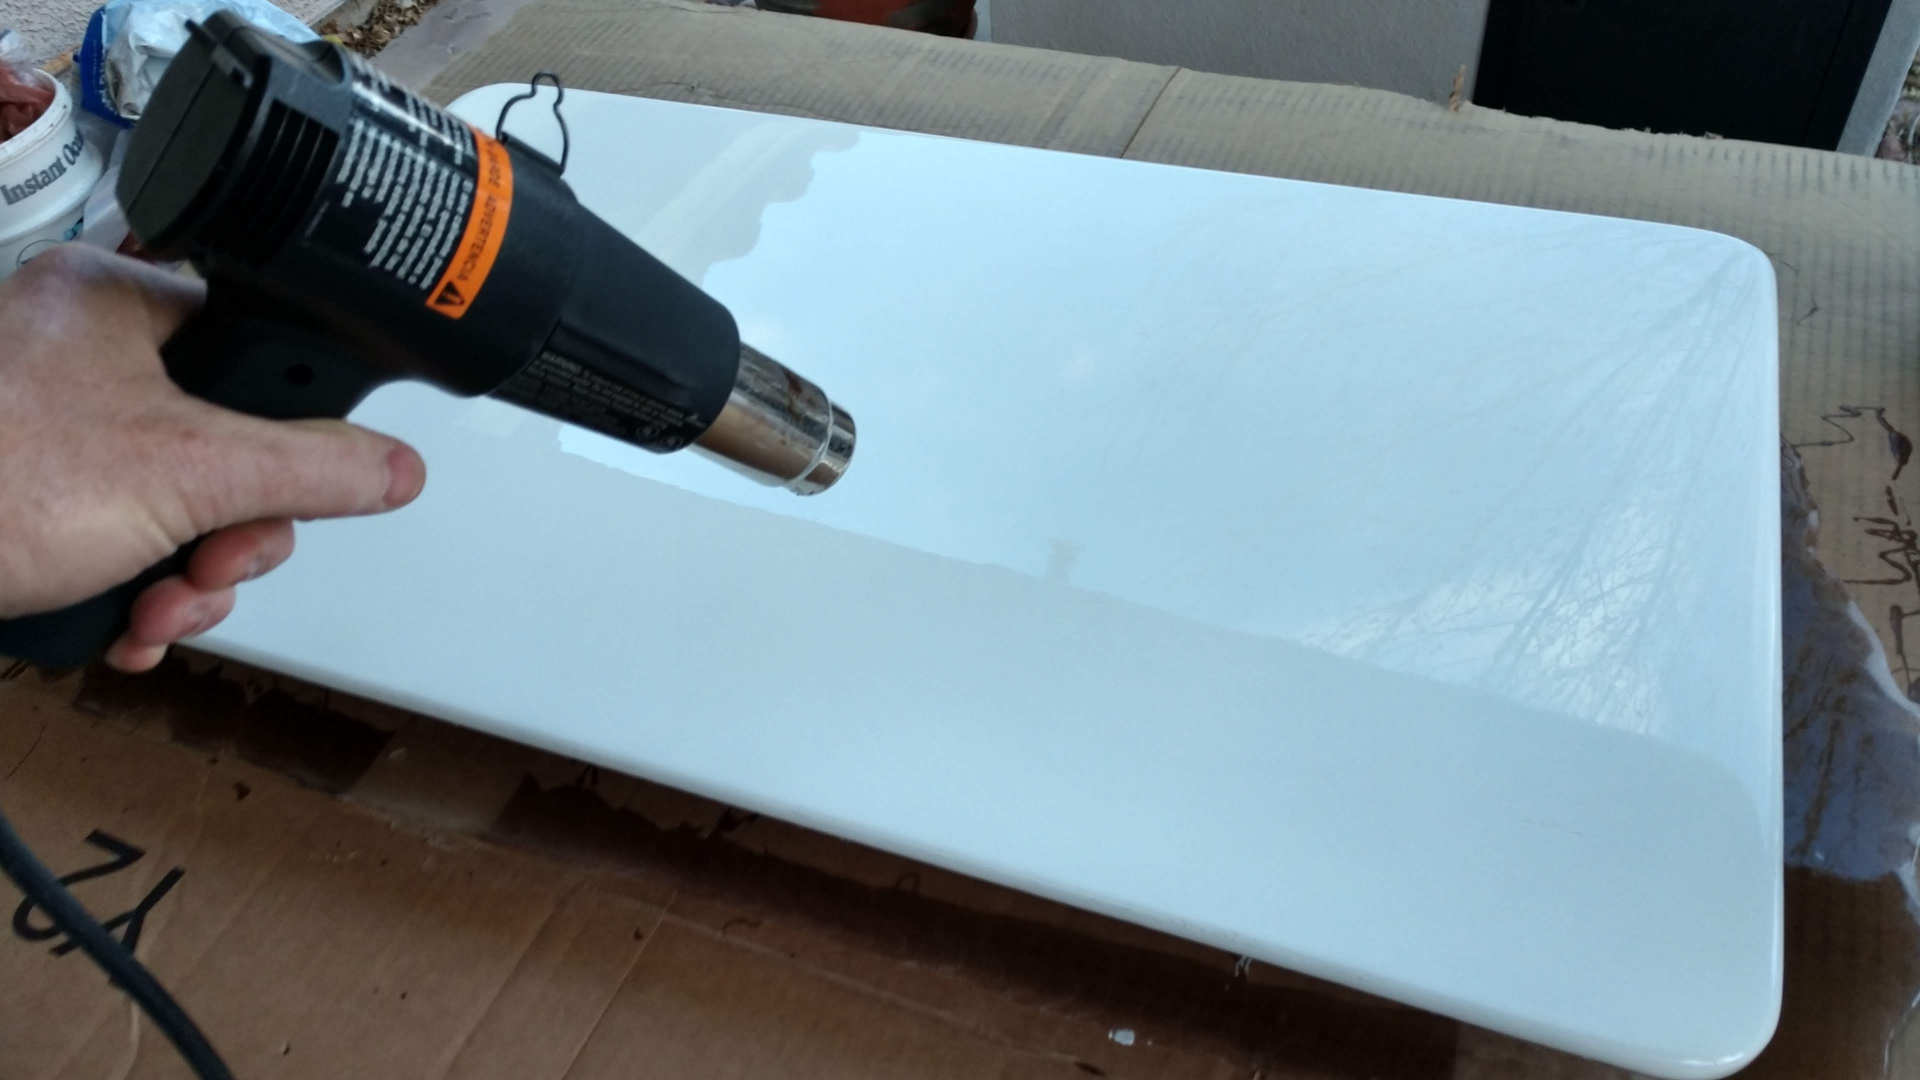
- Use a heat gun 6-10″ away after the epoxy is all level in order to remove any air bubbles.
- After an hour or two, scrape off any drips from the underside.
- Let dry for 72 hours
Mixing up the epoxy
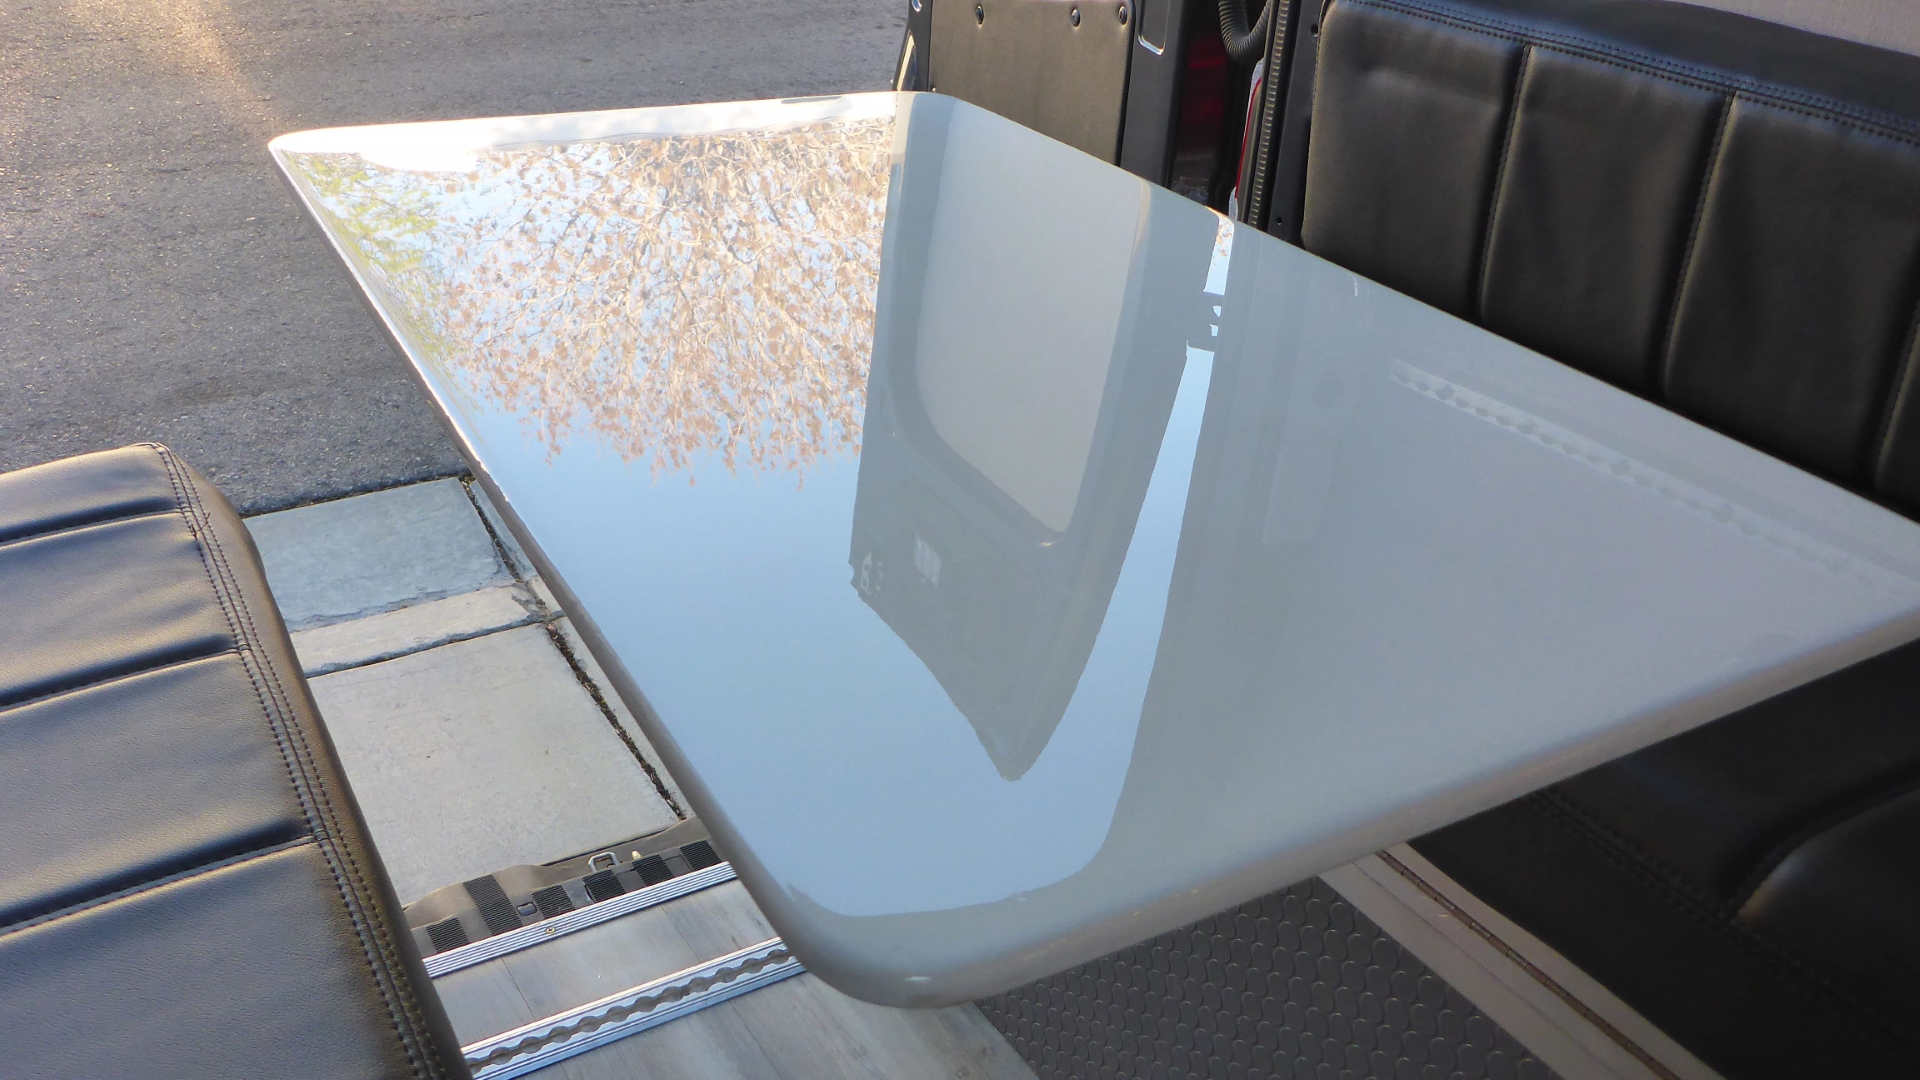
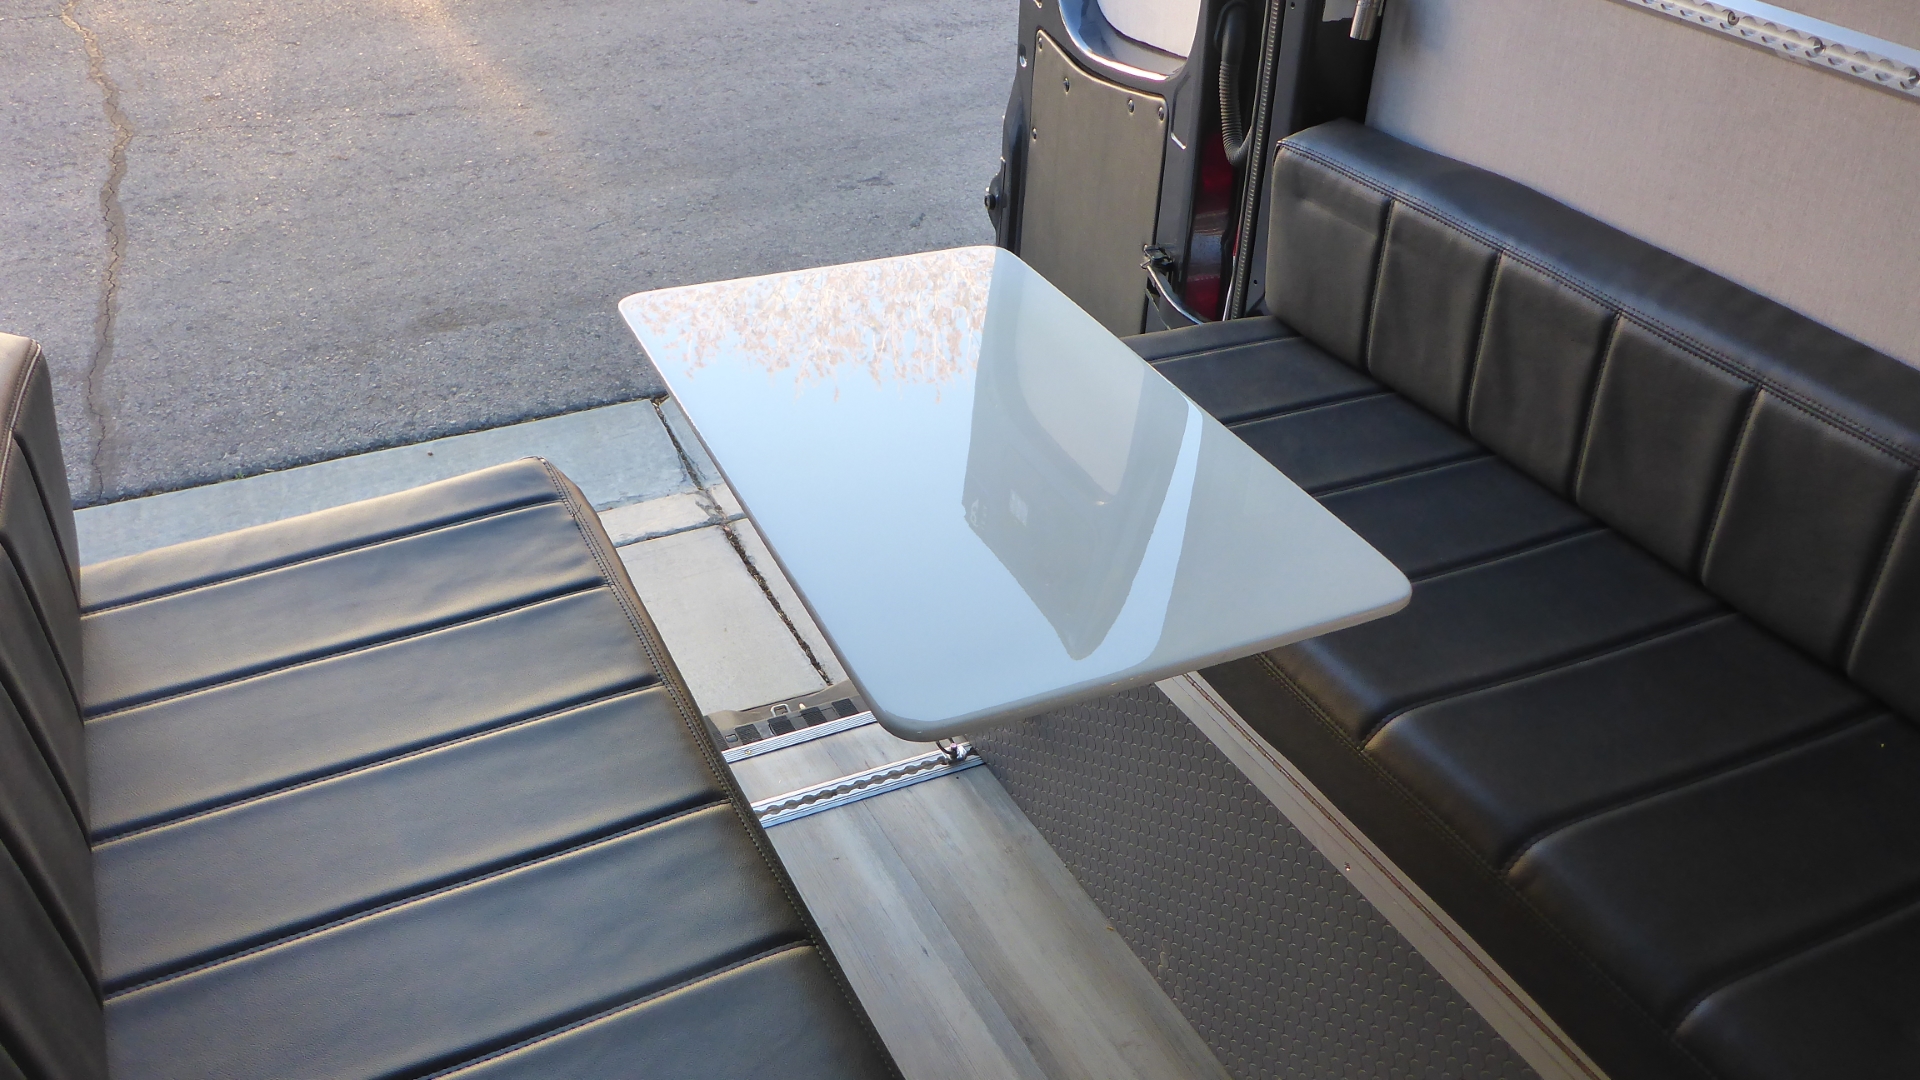
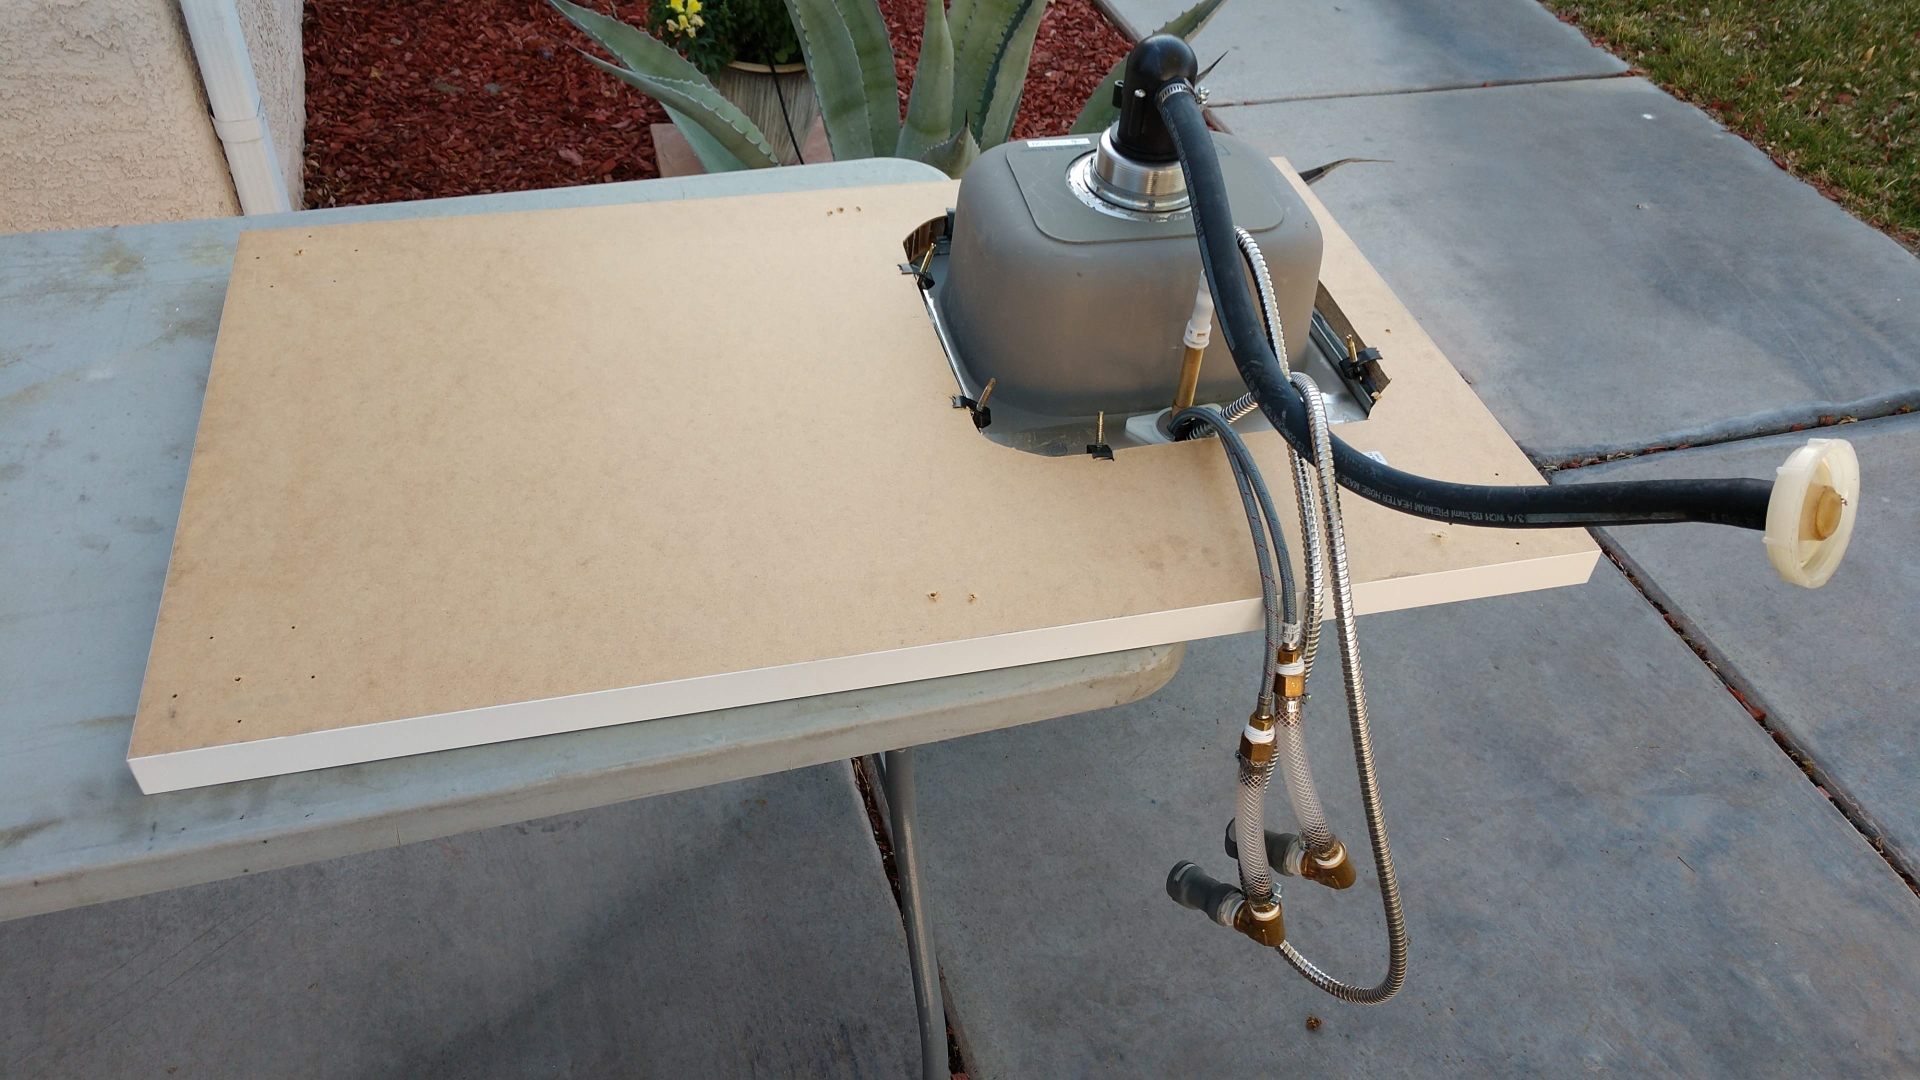
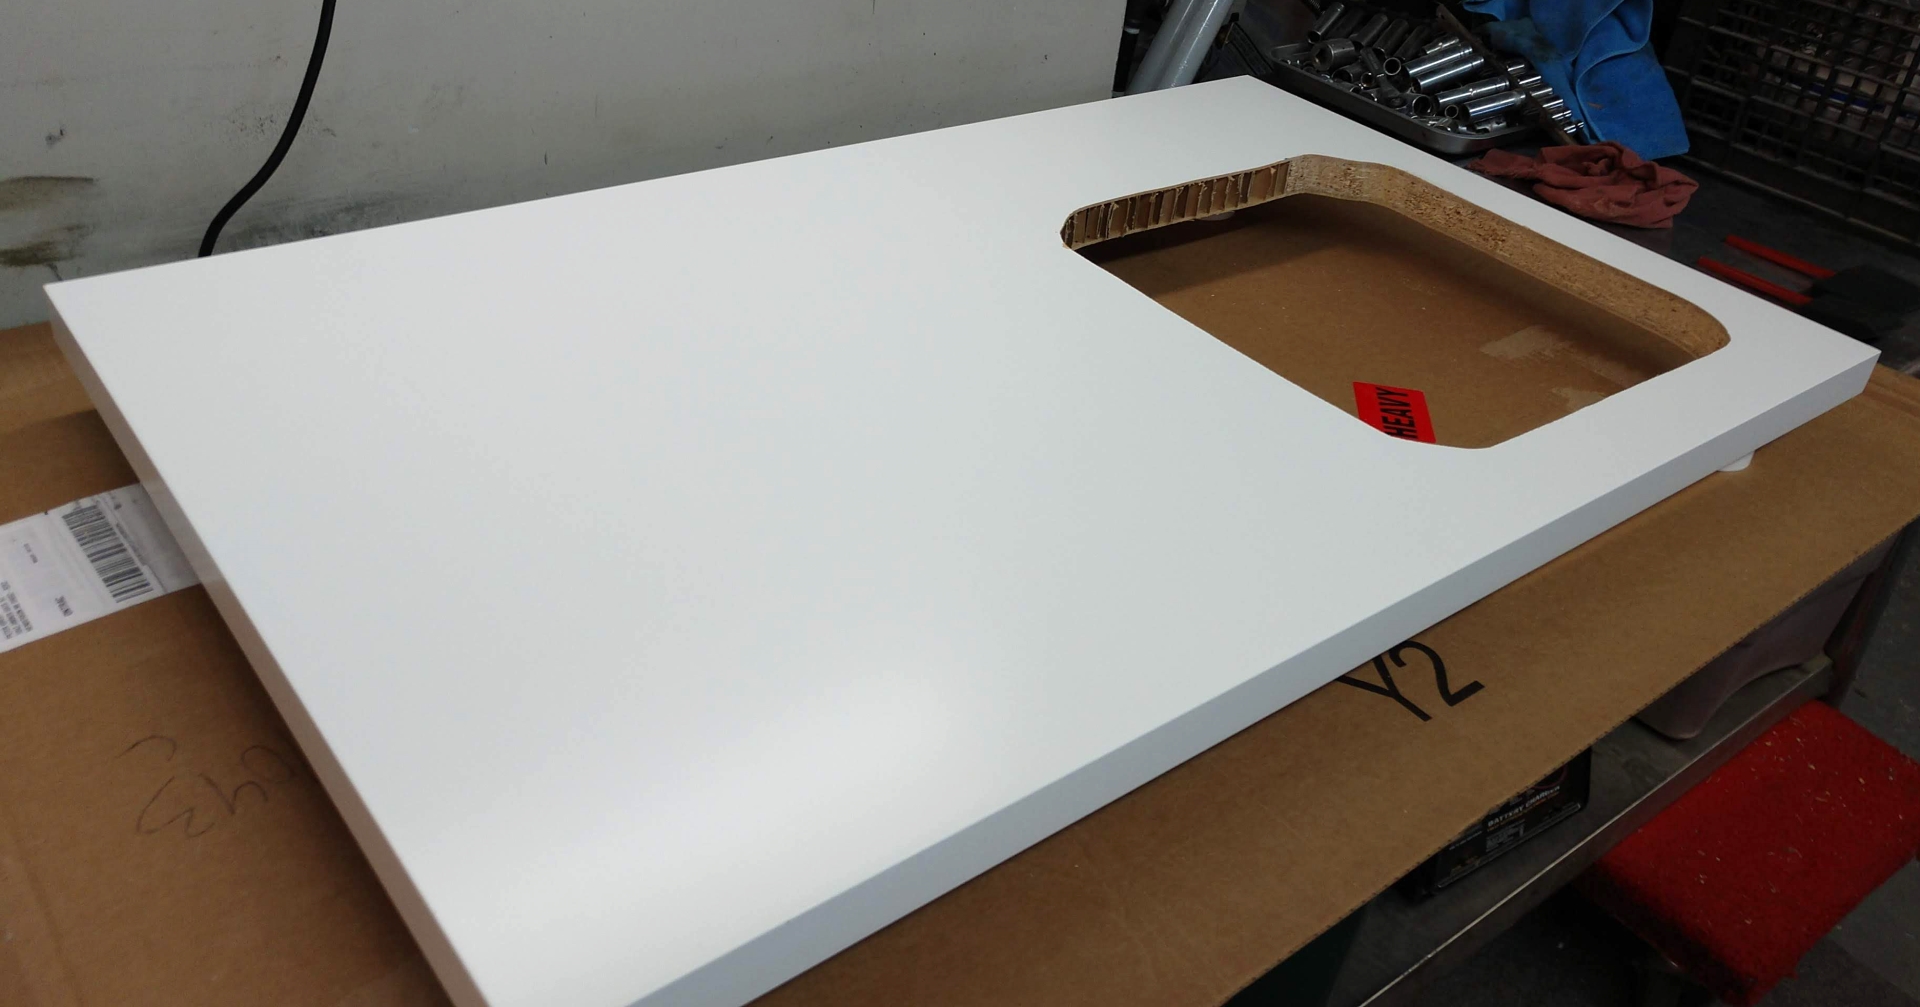
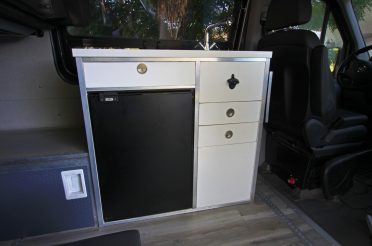
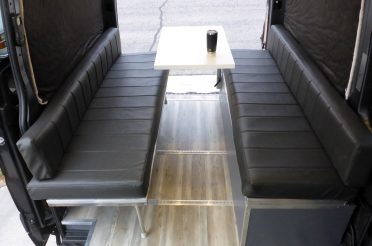
The table turned out great so it was time to rip out the countertop. I am really glad I built this thing with quick-release water fittings. I disassembled the sink from the counter, traced and cut out a hole in a new tabletop, and applied the epoxy in the same way.


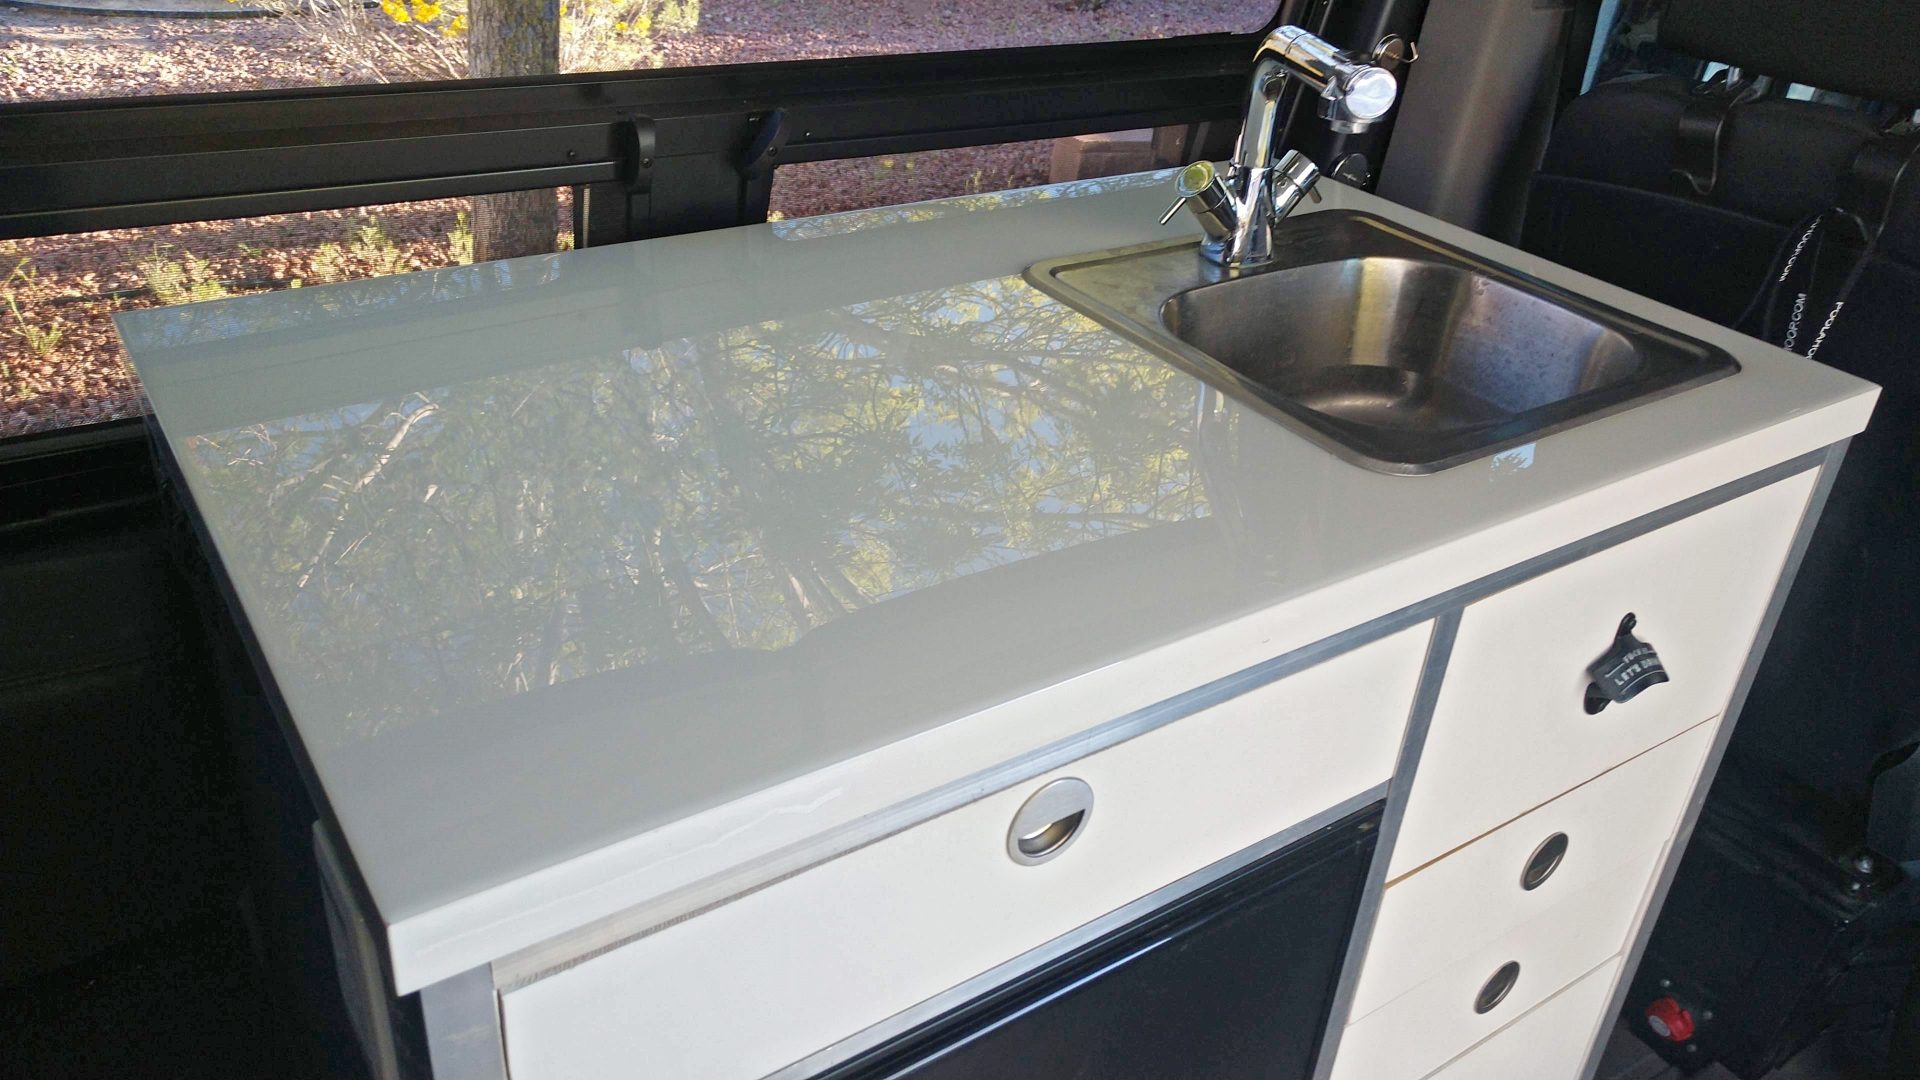
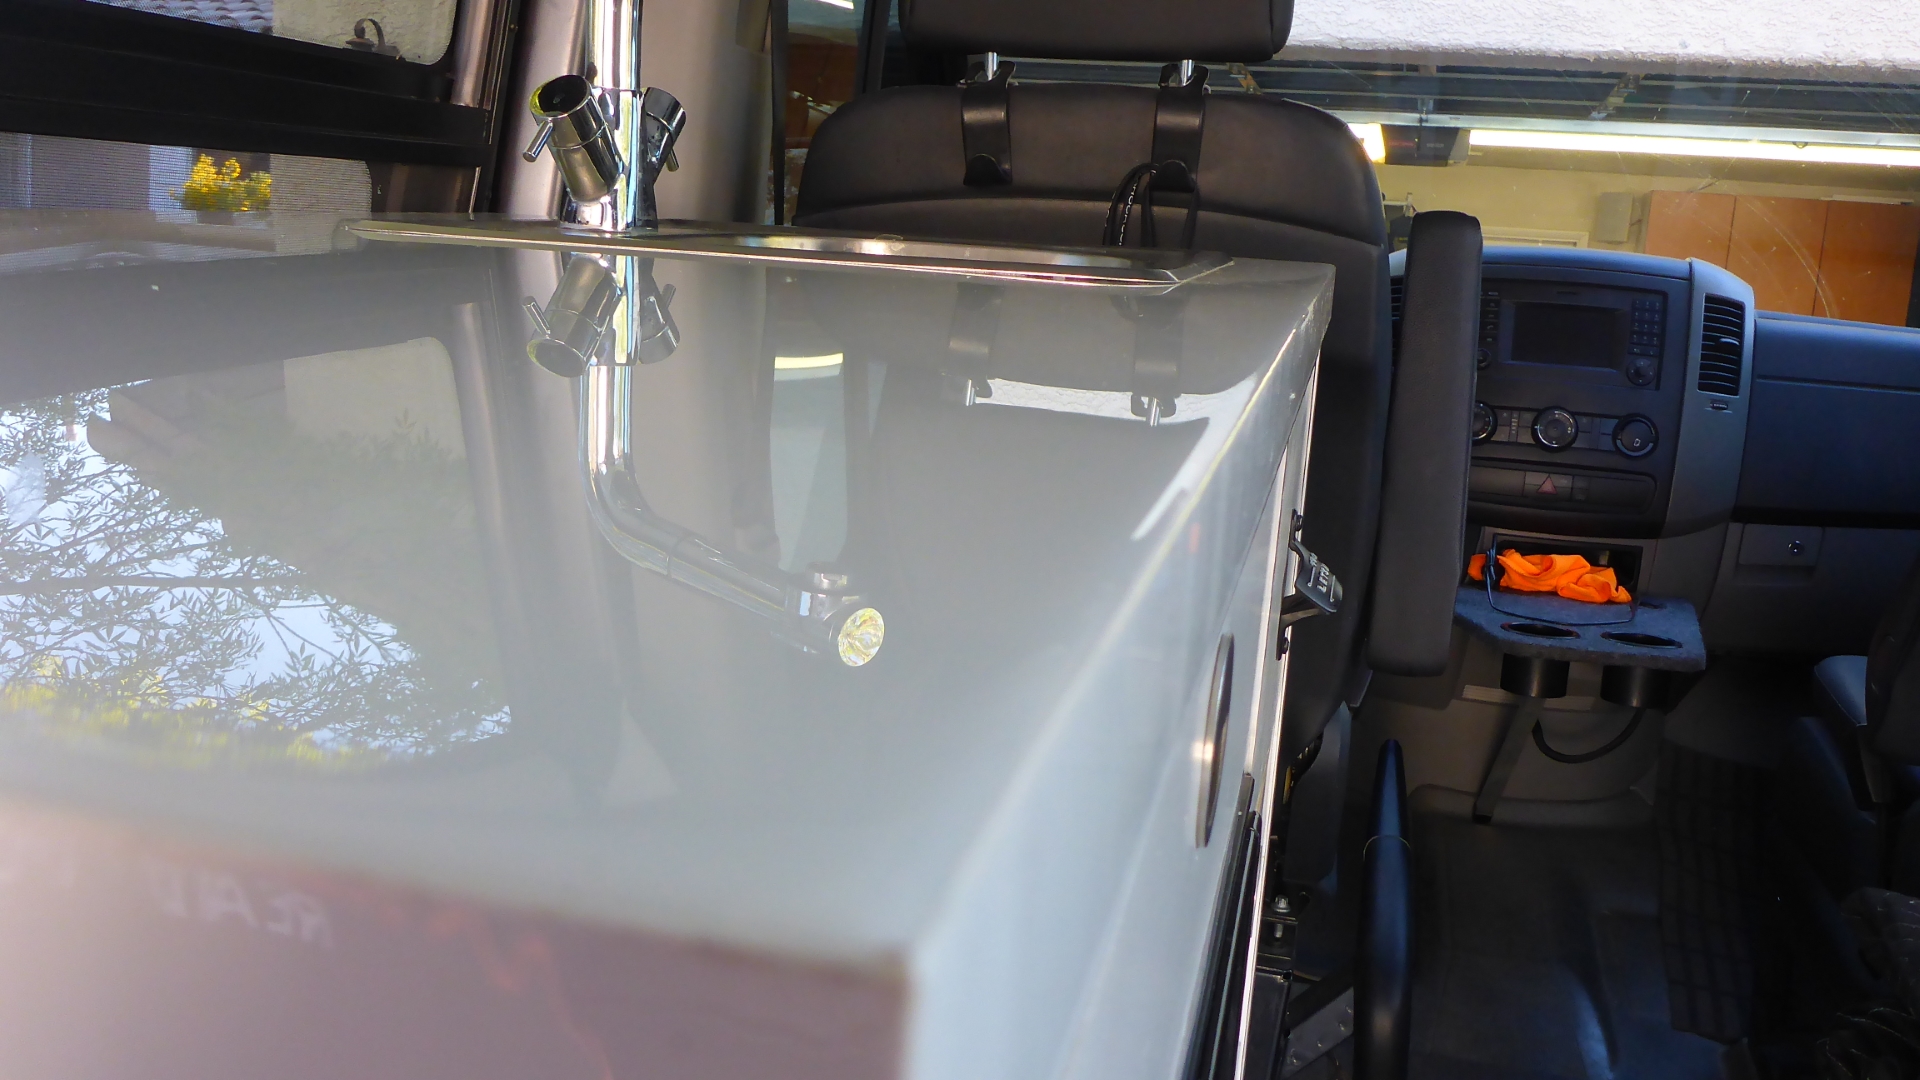
A couple of things I learned were 1) to do this inside and 2) Use a mixing stick to scrape the drips of epoxy from the bottom of the table/ counter after about an hour or two of dry time. I used a belt sander to get rid of them on the bottom of the table, but scraping them off saved me some time. After it was all fully cured, I installed the sink and mounted it in the kitchen galley. We are very happy with how it turned out.

Parts List
- Pro Marine epoxy
- Krylon Fusion All-In-One Satin White
- mixing cups with measurements (1 quart)
- mixing sticks- get these at Lowes or Home Depot- much cheaper (or free at the paint section)
Tool List
Check out more posts from our Sprinter Adventure Van Build


Leave a Reply